Hi all newbie here. I ordered a Taz 5 but have not gotten it yet.
For my printing needs dimensional accuracy is a top priority. I’ve been planing to build an enclosure for the printer. I wonder how many of you have your printer in an enclosure and how it has helped for part accuracy and minimize warping, shrinking and just overall failed prints. Any feed back you guys have would be appreciated.
The prototypes I do are pretty highly detailed mechanical assemblies with lots of small parts. (Toy scale) I bought the Taz 5 to supplement my Dimension SST1200ES parts and maybe over time replace it. At first my intention is to use the Lulzbot when and if the part tolorances are not as importanint. For example if I need to make a bunch of custom Hot Wheel. I want to use mostly ABS & HIPS for printing I don’t really like the workability of PLA. I’m also hoping the new PET material is a good alternative. Supost to be easy to print like PLA but stronger than ABS. But not sure how well it glues with super glue. Anyone know how well it glues with ca?
I’ve designed an enclosure and have the laser cut acrylic on order but haven’t received them yet. I am probably just going to post the drawings on thingverse once I prove out the design. I was thinking about offering them for sale, but frankly it ended up being so expensive I doubt there would be a big market for it. It uses someone else’s design for printed components for connecting an enclosure together: thingverse: http://www.thingiverse.com/thing:675652 to assemble the design. Note these parts are not my design, I just developed the drawings I needed for the panels. He gives the size of the sheets but of course doesn’t provide all the little details like hole locations etc. I’ve worked all that out on CAD.
The laser cut sheets were north of $400 (without shipping) and the printed parts took a couple of days of printing. The hardware is probably pushing $50 or so. Then there is the ventilation fan, magnets and the door handles. So in the end I would have had to charge close to $1000 to make it worth my while, which is ridiculous for a box.
But an enclosure is very important, not just for print quality but also your health. Printing with some of the exotic materials available you don’t want to breath those fumes. I’ve built in a vent fan mounting location on my enclosure and will run the vent through the wall of my shop and outside. Even ABS which is generally considered to be safe smells bad. And there are some who claim that printing any material is potentially dangerous because they emit nano-particles which could be potentially dangerous.
Once I receive my panels and assemble it and prove the design I will post the design here and on thingverse for anyone that might be interested.
Looks pretty good. Maybe I will follow your lead and use this design as a starting point and tweak it to my preference like your doing. I do like the printed brackets it would save a lot of time, but I think Lazer cut panels is overkill driving your cost way up. BUT will be a breeze to assemble. I’m thinking of using PETG for the panels acrylic is pretty brittle. Did you go with acrylic? If so I would go thicker than 1/8. Also the door opening is pretty small.
I did go with Acrylic, 1/4: thick. I wanted an unobstructed view from any angle. I did add a second door on the right side, but kept it the same size. Also, because this is essentially a cake box, if the doors are too small I can always just lift it off the Taz if I need to work on it with more room.
I wanted laser cut because of the tight tolerances and clean finish. The doors will fit nice and tight since they are being cut with a shared line on two sides, leaving just 2mm total clearance (1mm all around).
Regarding the printed parts, they are nice. The only issue is the corner bracket is messed up (on that thingverse page) so I remodeled that one. (I found out later he fixed it and posted it elsewhere after the fact) If you want me to post my version of it here I can. Also I don’t know how well the hinges will hold up over time. I ended up reprinting the hinge part with the rod, and did the top 60% of that at 100% infill. There will be a lot of stress on those. I don’t know if they will break or not. It might be better to go with metal hinges for the doors.
I should have the panels on Friday and will assemble it this weekend. If it goes together without any problems I will post the dxf file of my panel drawings. Then anyone can get them cut, or mod it to there liking.
Can you Post pics when you get it done?
And yes please post the STL of your corner bracket. Would that be posted to the forum??
Actually would you mind also providing a STEP file? I think what I’m going to do is make a drill jig that I can use to drill all the holes from the outside.
There are minor inconsistencies to the hole patterns that I fixed in this part, but still remain in the other components. I don’t think the differences will matter too much ( a millimeter here and there), but it’s something to watch out for. I would suggest printing all the components and measuring the final parts before deciding on a final jig design and actually drilling holes. In fact it might be best to transfer drill them from the final parts.
Bottomline is the original designer of these I think used a low end modeling program and perhaps he wasn’t well versed in locating details accurately when he made these parts. So it’s a little bit of a gotcha that you need to look for.
If you can wait you’ll be able to reverse engineer the correct hole patterns when I post my dxf file after I assemble it (hopefully this weekend, if they ship today like they are supposed to).
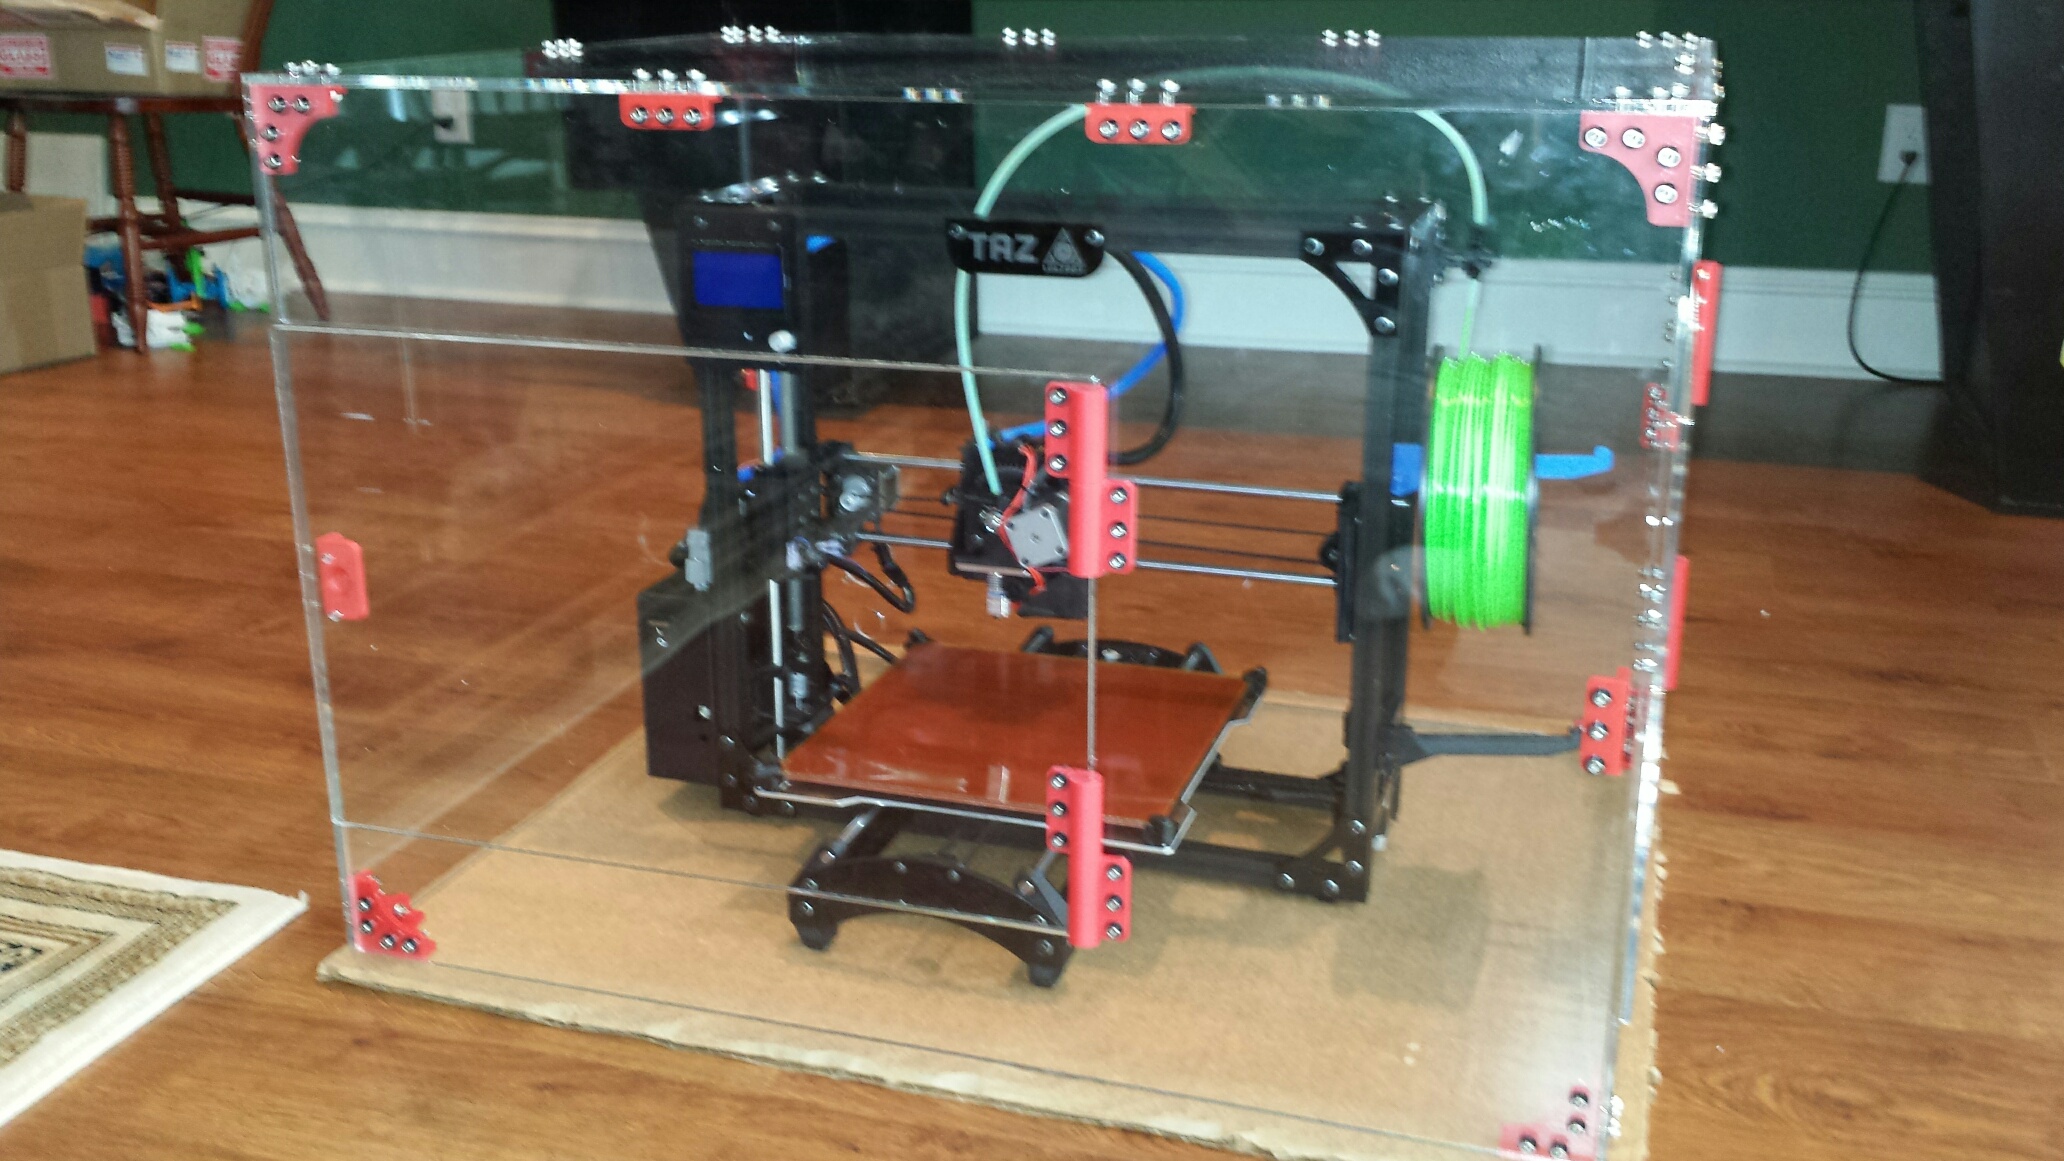
Ok great success. The enclosure panels fit absolutely perfectly and assembly went well, if not tedious, with well over 100 screws to assemble (closer to 200). I used 10-24 stainless hardware with nylon washers. The design is good. I would change one thing however. Currently the enclosure is roughly 34.5" wide x 27" deep x 24" high. If I had it to do over, I would make it 32.5" wide x 27" deep x 27" high. This is because at 24" high, the filament tube(s) will impinged on the ceiling of the enclosure. It probably won’t hurt anything, but I don’t like it. Also, 34.5" wide is really wasted space. 32.5" wide is plenty. But over all very happy with the design and it looks fantastic imo.
Attached is the DXF file I sent pololu to get the panels laser cut. Be warned, it’s quite expensive ($500+ + shipping) but also quite beautiful and precise. Of course you can buy the acrylic and cut it yourself, and save $300 or so, but you’ll never get the precision of the laser cut. The doors fit is amazing.
I’ve also attached a photo of my constructed enclosure.
ps. Be sure to download my version of the corner bracket from this thread instead of the one from thingverse if you use this dxf file to make your panels! Lulz_enc_panels.dxf (213 KB)
I used #10 screws with locknuts and nylon washers. I used 7/8" long but you could go .75"
You will need well over 100 screws and nuts, best to buy two boxes of 100 each.
Also I should mention I used the Taz nosepliers for a lot of the nuts, because there isn’t always enough room to use a socket unfortunately. It was a slow and tedious process. But the enclosure is fantastic I really like it.
Another side benefit, it cuts the noise of printing down to almost nothing.
I ordered some 0.236" sheets from acrylite-shop, I’ll make some modifications on mine, without the side door, but with a larger front door. The total was 394.98 for the sheets.
I’ll buy the rest of the hardware from mcmaster. I’ll post pictures as soon as I build it.
Don’t know if I mentioned it here, but you may want to make the enclosure 3" taller and 2" narrower. The filament tube hits the ceiling of the enclosure on mine for taller prints. It still works ok though. But I think it would be an improvement. The 2" narrower is just to cancel out some of the material used to make it taller. It’s a nice width as is but wider than necessary.
Also visit the thingverse page I posted earlier in the thread because I’ve got some other goodies for the enclosure that you might be interested in.
I’m building mine with the following dimensions 27" by 27" by 34".
How is the acrylic keeping the temperature inside? I don’t know if it is a good insulator.
I’m thinking on getting a small Ceramic Heater (15$) tear it apart and hook it with microcontroller and some PID control, to keep the temperature steady during the printer. It could turn on and off the heater and on and off the exhaust fan.
I’ve got some 24x24 acrylic sheets coming from Amazon. My plan was to make something I could break down fairly easy if I needed to transport. The plastic is just wide enough to fit the frame w/ electronics box and long enough to allow movement of the bed. Keeping the filament spool outside would help with tangles.
So I’ll probably use door hinges for most attaching most of the enclosure walls. They seem to be fairly easy to “remove” for break down.
The filament tube is a dilemma. I was thinking about having the tube stop at the top sheet of acrylic, halfway along the entire x-axis. This way the filament wouldn’t flex too much until the Z axis was maxed out… For those prints, maybe attach an extension to create an angled top for clearance.
Yes it holds the heat nicely, especially If you put the exhaust fan in the lower location. But I think it’s a good idea to add a temperature controller and additional heater, especially for difficult to print stuff like polycarbonate. For ABS it’s probably not needed but certainly can’t hurt. The more you can regulate the space, while simultaneously exhausting all the nasty fumes and particles, the better your prints will be.
ps I love my fan/exhaust arrangement it works really well. I just finished a 3 hour Polycarbonate print and didn’t smell anything. And that stuff is nasty. The enclosure is really working well.
I built an enclosure for my TAZ4 quite soon after I received it. As I’m printing at my garage, it gets down to 10c (50F) during wintertime. I placed my TAZ4 to the corner, so I only needed two acrylic sheets for the sides. Top of the enclosure is made from 8mm thick plastic sheet. Sides are attached using magnets, so it is easy to take them off for filament change etc.
I’ve also added a small heater to the right upper corner for extra heating during cold. There’s also a webcam installed so I can monitor my printing inside the house. I’m planning to install a ventilation hose to suck up the fumes outside garage. Enclosure protects printer from wood dust and all the other small particles that are flying inside the garage
My initial prints were done without enclosure and there was some warping when printing with ABS. After building the enclosure, all warping was gone.