I’d like to have the option of printing in different materials. Oddly enough glow in the dark ABS is abrasive to the standard brass nozzle. I found these hardened steel nozzles online. Is there a way to tell if they’re compatible with the hexagon hot end?
I’ve seen some data that indicates that the E3D V6 nozzle is compatible with the Hexagon hotend. I have ordered some to verify. They supposedly have the same threads (7 x 1.0 mm) so they should work.
Please let us know if it works. Also let us know if there’s any effect in print quality of less abrasive materials like ABS. Ideally if this works, I’d swap the nozzle out to a hardened steel nozzle and print all materials under the sun and never swap the nozzle again.
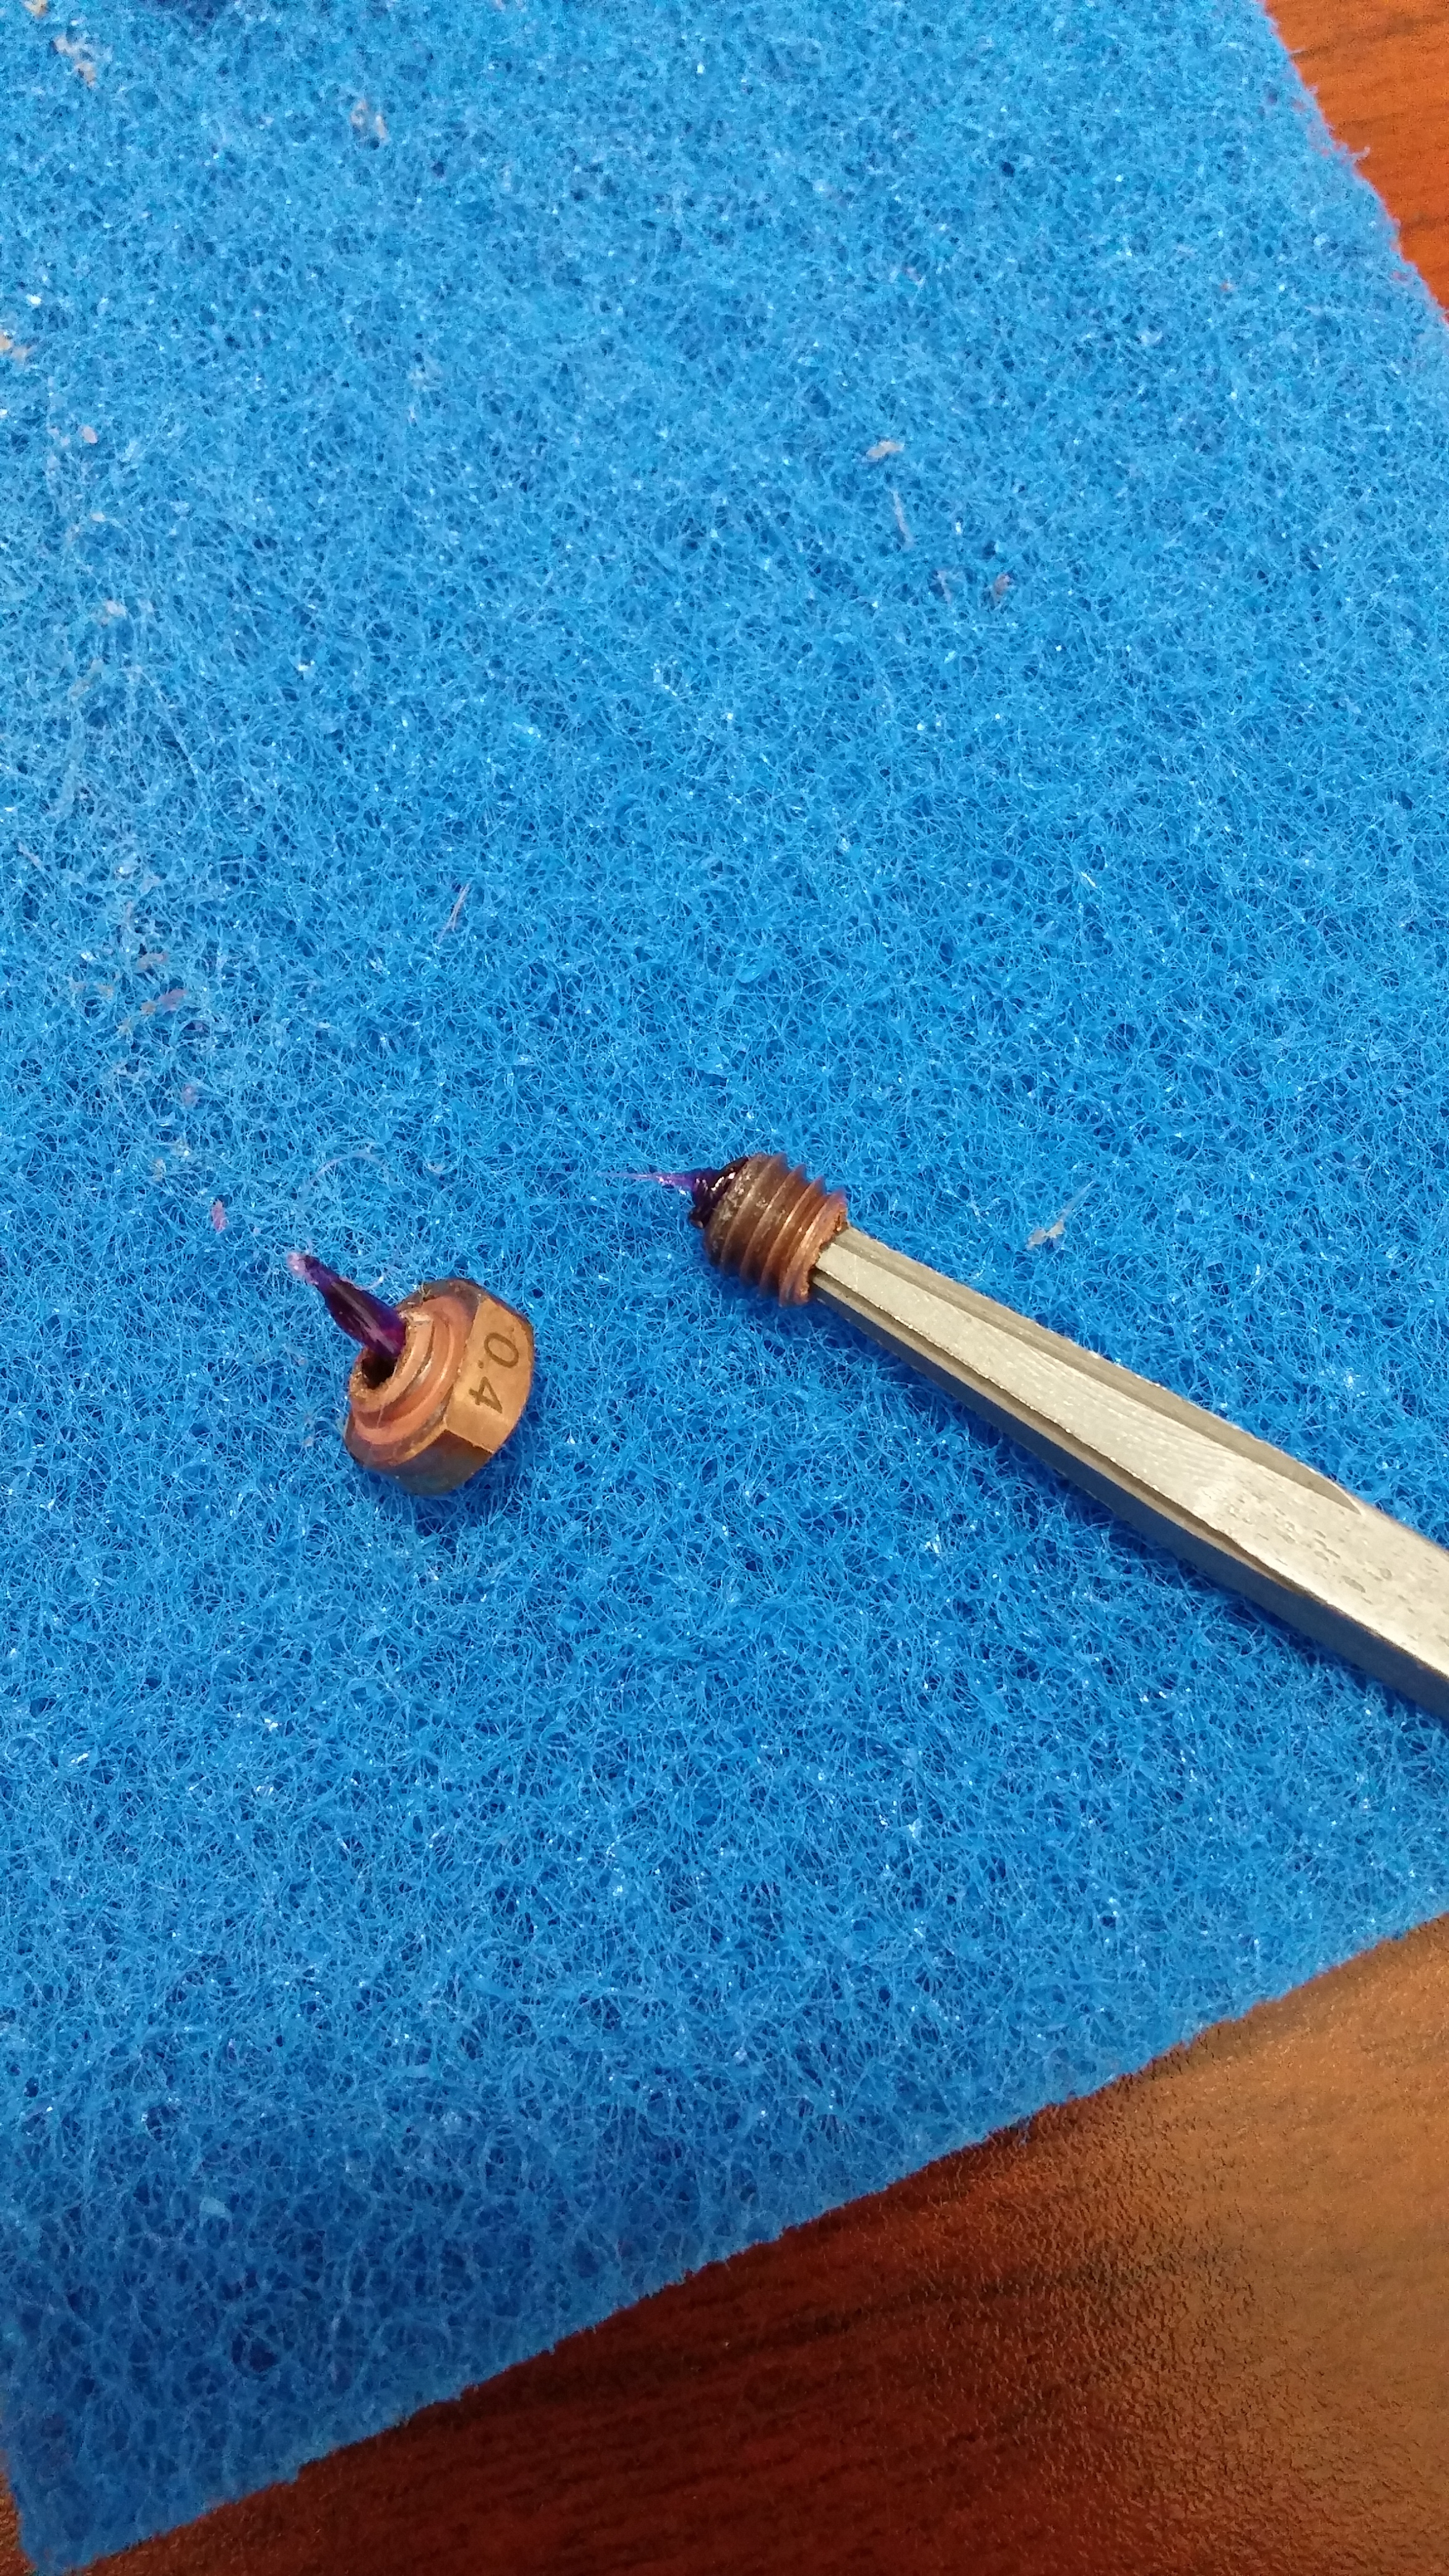
It was almost a perfect fit. I only had to lower the Z axis home by about a quarter turn and started printing. (Pretty much SOP when changing nozzles…)
I will be purchasing more of these hardened steel nozzles in the larger sizes as well as the stainless steel nozzles.
George B - please keep us posted on how those hardened steel and stainless steel nozzles work out for you. They ought to hold up better to some of the more abrasive filaments. Are there other parts of the head that now become the main wear point? Do you have issues with any of the filaments you use?
There was a post from Lulzbot support on here that said it was beyond the scope of the average person.
“Disassembling the hexagon hot end (for nozzle swaps, etc) is something we cannot recommend either. We use a torque wrench to 30in lbs of torque, and a high temp thread locker rated to 2100f. If these guidelines are followed on re-assembly (tools we can’t expect customers to have) leaking will occur. This can not only affect quality, but the automatic bed leveling process as well.”
The rest of the thread made it sound really easy though, and you seem to back that claim up. It also sounds like the thread locker isn’t needed for the nozzle itself. I assume I’d just need something like this and other than that it’s pretty straightforward.
BE aware that 30 in-lbs of torque is a rather low torque. It will be easy to miss the “click” on a click-type torque wrench. Also, the wrench you linked has a low end of 20 in-lbs. It will work, but again, using right at the low end of the range of the tool can be tough. Generally, it’s recommended to only use a torque wrench between 20% and 80% of it’s stated range (for that wrench, it would make the low end 24 in-lbs).
For those of you doing this by feel, you can easily hit 30 in-lbs with a screwdriver, nut-driver, so it’s very easy to overshoot and damage the threads when you are using a wrench. This may be more of a concern when using the brass nozzle, as opposed to a stainless steel or hardened steel nozzle.
Oh! That’s good to know, I had no idea. I admittedly have no experience in performing a nozzle swap, so I’m very grateful of the advice you, geburges, and the rest of the forum have provided.
I may not know much about 3D printing, but I use torque wrenches at work (installing Solar PV panels). If you are using one, don’t be in a rush. tighten slowly and steadily and feel for the “click”
Harbor Freight currently has their Pittsburg 1/4" Drive Torque Wrench on sale for $21.99. I have one of these. It’s definitely more cheaply constructed than a good snap-on tool, but it arrived in very good calibration, and has maintained it well (I’ve checked it against my digital torque adapter). It also has a lifetime warranty. I own one. I normally avoid Harbor Freight tools (especially precision tools), but I figured for the price, it didn’t matter much if it did not hold up very well. I did find that two of the crews holding the head together were backing out in use. when I went to tighten it, it turned out they were stripped. I emailed Harbor Freight and a new one arrived at my door a few days later, no questions asked, and they did not ask me to send the old one back.
A couple of tips:
(1) The proper procedure when using a torque wrench is to slowly and steadily turn the wrench till you feel the “click”, then relax or back off on the wrench so it “unclicks”, then slowly turn until you feel the click again.
(2) At the very low end of the tools range, the “click” when you hit the torque setting can be very subtle. Sometimes it’s easier to go by watching/feeling for the wrench head to move than it is to hear/feel the actual “click”.
(3) When storing your torque wrench, back it off to the lowest setting on the wrench. This takes tension off the spring that senses the torque, so it doesn’t take a set and go off-calibration.
(4) If you drop the wrench, or otherwise give it a good slam, there is a good chance you’d knocked it out of calibration. I’ve dropped mine from shoulder height onto a hard floor and still had it read OK, but if it happens, I check it against a known wrench before using it on a critical component.
There was a post from Lulzbot support on here that said it was beyond the scope of the average person.
My own opinion is that I am anything but “normal”.
I do respect Lulzbot’s warning! I also have a number of years working on race engines with aluminum parts. I understand what torque specifications are any why I need to follow them closely unless I want a part to fail at a critical moment.
Anyone thinking about swapping nozzles needs to be aware that if the nozzle is over tightened you will strip the threads in the heater block and disable your printer. Aluminum is a wonderful metal that is unforgiving of rough treatment.
There is an additional issue that can crop up on the Hexagon. Since the shoulder of the brass nozzle tightens against the heater block, pressure is applied to the nozzle as the heater block expands. If the nozzle is over tightened, the stress applied to the nozzle can cause it to fatigue and fracture after repeated heat cycles.
Yes, if you follow the official hexagon / Lulubot way of torquing it. If you do it the e3d way as I described it in my Howto, you don’t have this risk and even don’t need a torque wrench: Howto: Change Hexagon hotend nozzle
In my oppinion, there is no logic reason why Hexagon recommends that dangerous way of mounting!

 )
)