I have been diving into 3D printing for about 18 months now. My primary printer is a TAZ Pro with the dual extruder. Generally, love it. I am running the latest release version of Cura LE 3 on MacOS.
I usually print in PETG. I have been noticing that my print bed no longer seems as flat/level as I would expect (maybe I am expecting too much). First, most parts have some amount of elephants foot on the first layer and it varies in size across even small parts (~30mm across). My understanding is that this variation is likely due to bed leveling issues.
In addition, some of my prints now span across a large portion of the bed. Thus, I began checking my Z-offset at more points. I am seeing up to 0.15mm-0.20mm change in bed/nozzle height. Even stranger, the back left and front right corners seem to be consistently lower than the front left, center, and back right. This would imply that the bed has a ridge across one diagonal and drops on either side. Maybe I am missing something. Not sure if this amount of variation is expected on the standard glass+PEI build plate.
I have carefully checked that the leveling washers are just slightly snug. The auto leveling process always completes successfully.
I am actually completely blind and do not have pics at the moment. If something specific would be useful I can work on getting assistance taking them. Thanks in advance.
.2mm doesn’t seem out of the ordinary for a glass bed of this size. I think this is the reason that the first layer height on Cura LE is typically around .425mm.
I have found that the octograb kit helps a lot with the flatness of the build plate significantly, but since you do have a Pro, I would consider holding out a bit longer and waiting for the official release of the BLTouch for it, which will let you probe more points across the bed for that perfect first layer.
In the meantime, keep in mind that PETG is one of the stickiest filaments, so any slight buildup on the washers or nozzle will affect accuracy.
Still seeing numerous things that seem like bed leveling issues. Struggling to get anywhere near a good Z offset that works across the build plate. Tried a couple plates and seem to have the same results. In my search I found the “G29 V4” command that will output bed leveling measurements/info. Anyone see anything odd in the below output. I am not an expert but the “4th probe point, distance from plane” value seems higher than I suppose I would expect.
G29 Auto Bed Leveling
Bed X: -10.000 Y: -15.000 Z: 1.984
Bed X: 286.000 Y: -15.000 Z: 0.626
Bed X: 286.000 Y: 292.000 Z: 1.326
Bed X: -10.000 Y: 292.000 Z: 1.802
4th probe point, distance from plane: 0.88
Eqn coefficients: a: -0.00309730 b: 0.00084430 d: 1.74489164
Mean of sampled points: 1.43440008
Bed Height Topography:
±-- BACK --+
| |
L | (+) | R
E | | I
F | (-) N (+) | G
T | | H
| (-) | T
| |
O-- FRONT --+
(0,0)
+0.36720 -0.10800
+0.54960 -0.80880
Corrected Bed Height vs. Bed Topology:
+0.00001 +0.44160
+0.44160 +0.00000
Bed Level Correction Matrix:
+0.999995 +0.000000 -0.003097
+0.000003 +1.000000 +0.000844
+0.003097 -0.000844 +0.999995
It’s less than .50mm off from edge to edge, so that front right washer seems like it might need a good cleaning, or maybe just try loosening it, rotating it a few degrees, then tightening back down.
This is where the washer method really shows its limitations. You’re compounding standard fluctuations in the bed (like you see here) with the addition variable of how clean the nozzle is, tension on the washers, and such. Print-surface measured leveling is definitely the way to go, and after adding BLTouch to the 6 here at work for a grand total of $15 (BLTouch clone) and about 3 hours doing a clean build of Marlin, I truly don’t understand why LulzBot hasn’t made this available officially. No new board required. The Pro is going to get touch as soon as they get more touch sensors.
It’s not well-documented by any means, but if you get the Windows Experimental 3.6.40 CuraLE from LulzBot | Cura-windows, it has firmware for Pro w/BLTouch. Now, you’ve got to go to the instructions for the Pro Long Bed, and section 3 has info on the BLTouch install. As far as I know, there is no info on the “BL Touch Adaptor Mount with Harness” Regardless, you can design one for your toolhead if you want. That’s what I did with the M175v2.
So, I assume that the kit for adding it is coming soon. And for more reading into future announcements, they’ll have the Pro S (single head), X (dual head), XT (xtra tall), XT X (xtra tall dual head), XT Long Bed (xtra tall xtra long single), XT X Long Bed (xtra tall, xtra long, dual head). All of these have BLTouch as part of the firmware name, so it looks like they’ll be announced along with the Mini 3, which I will take a shot in the dark and guess that based on the size of the firmware file which doesn’t match approximate sizes for the Einsy Rambo, Rambo, or Archim boards, and it being a .bin instead of .hex is for a 32-bit board, so… probably firmware for the Mini 3, since I don’t think their CoreXY printer will be doing a consumer release anytime soon.
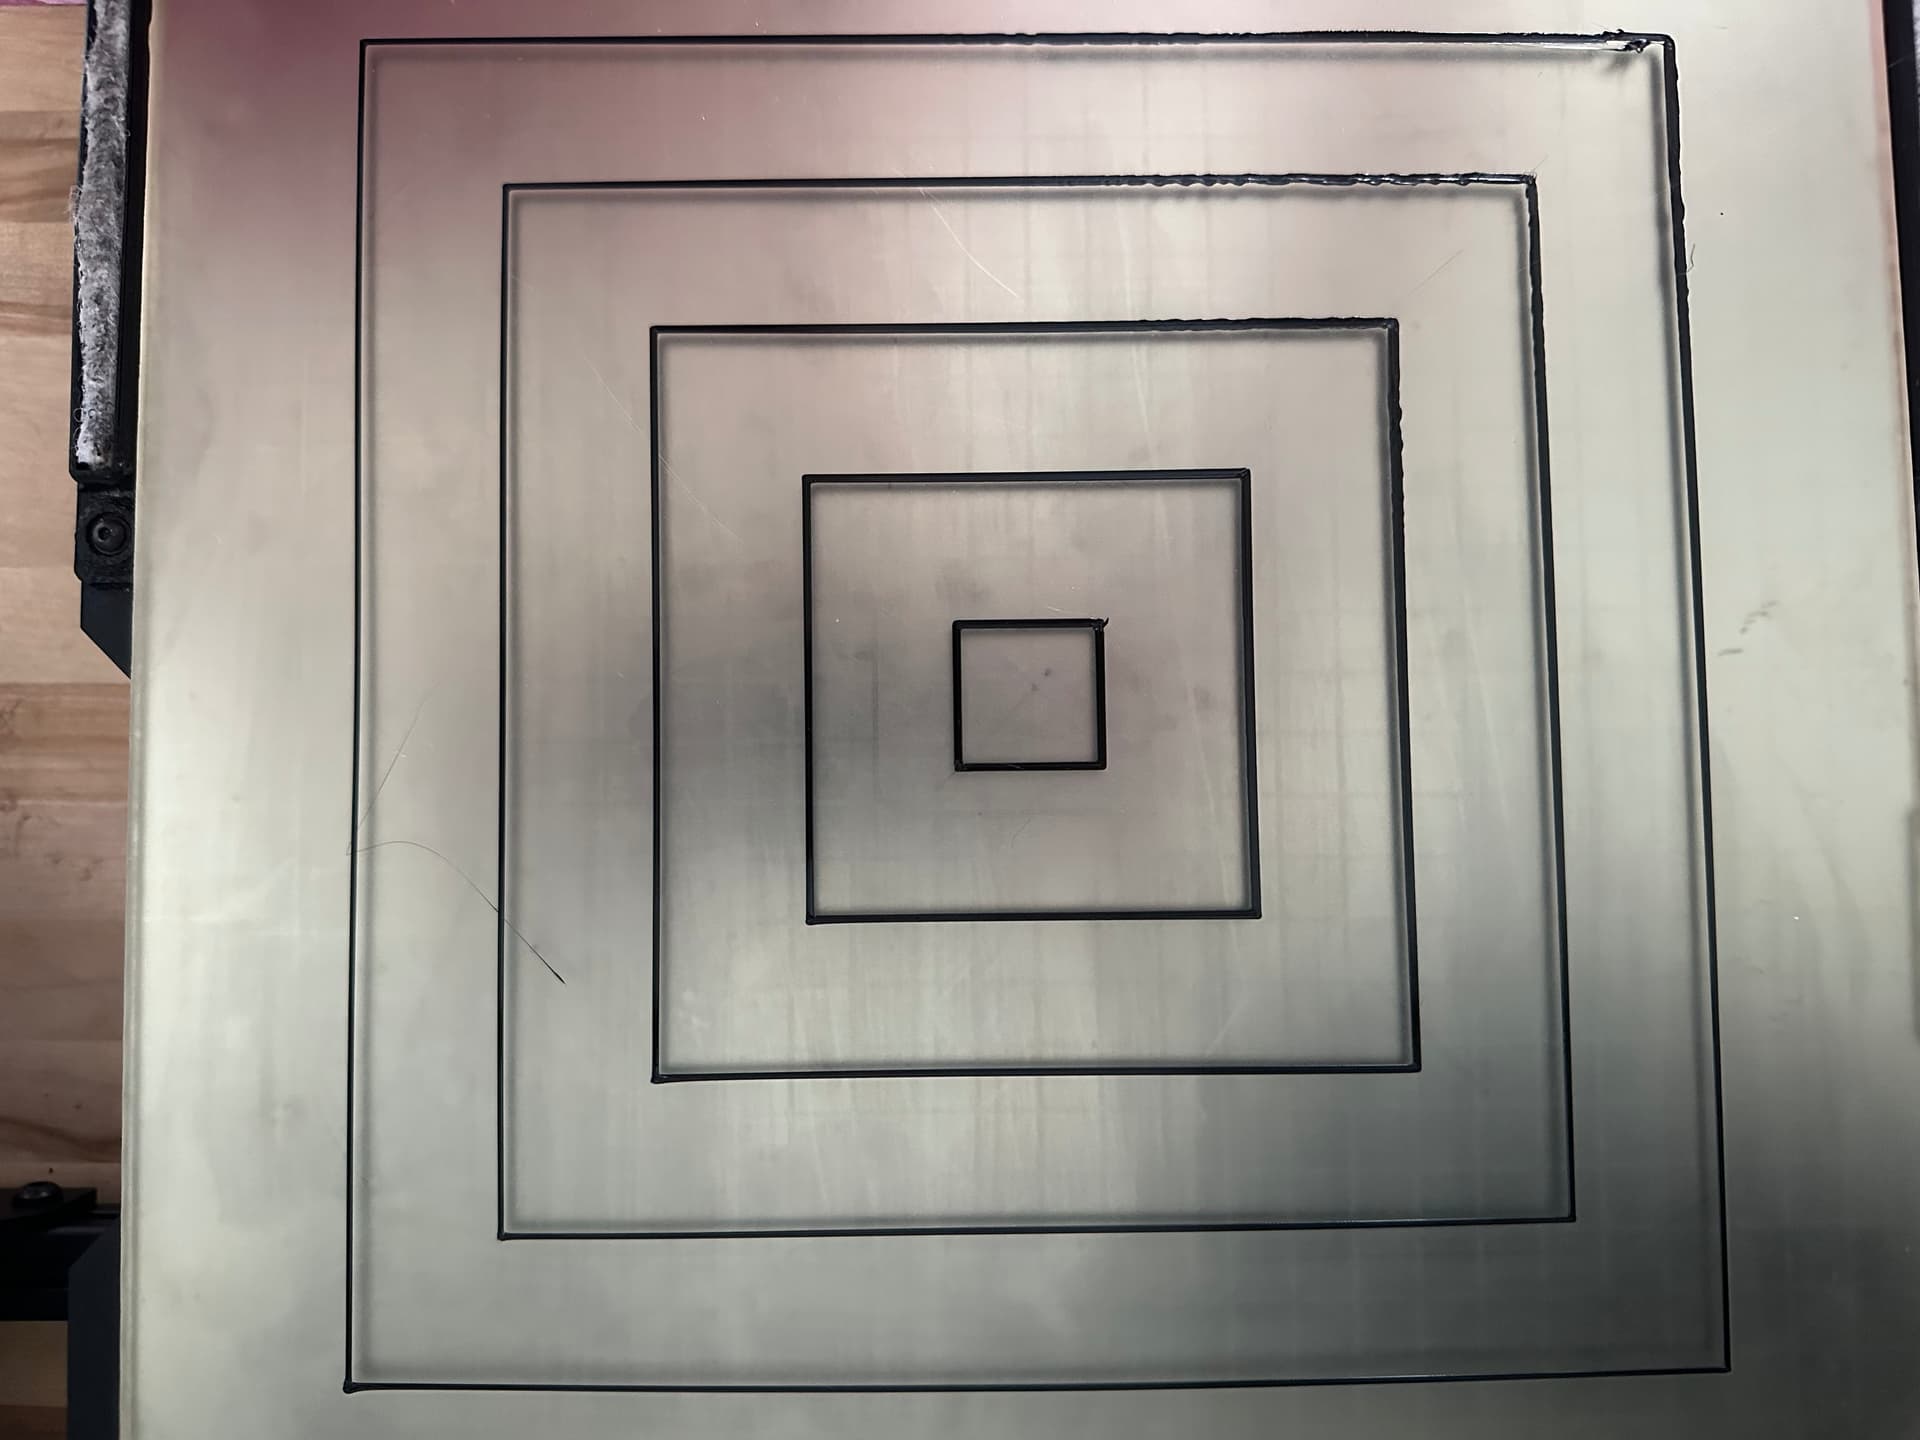
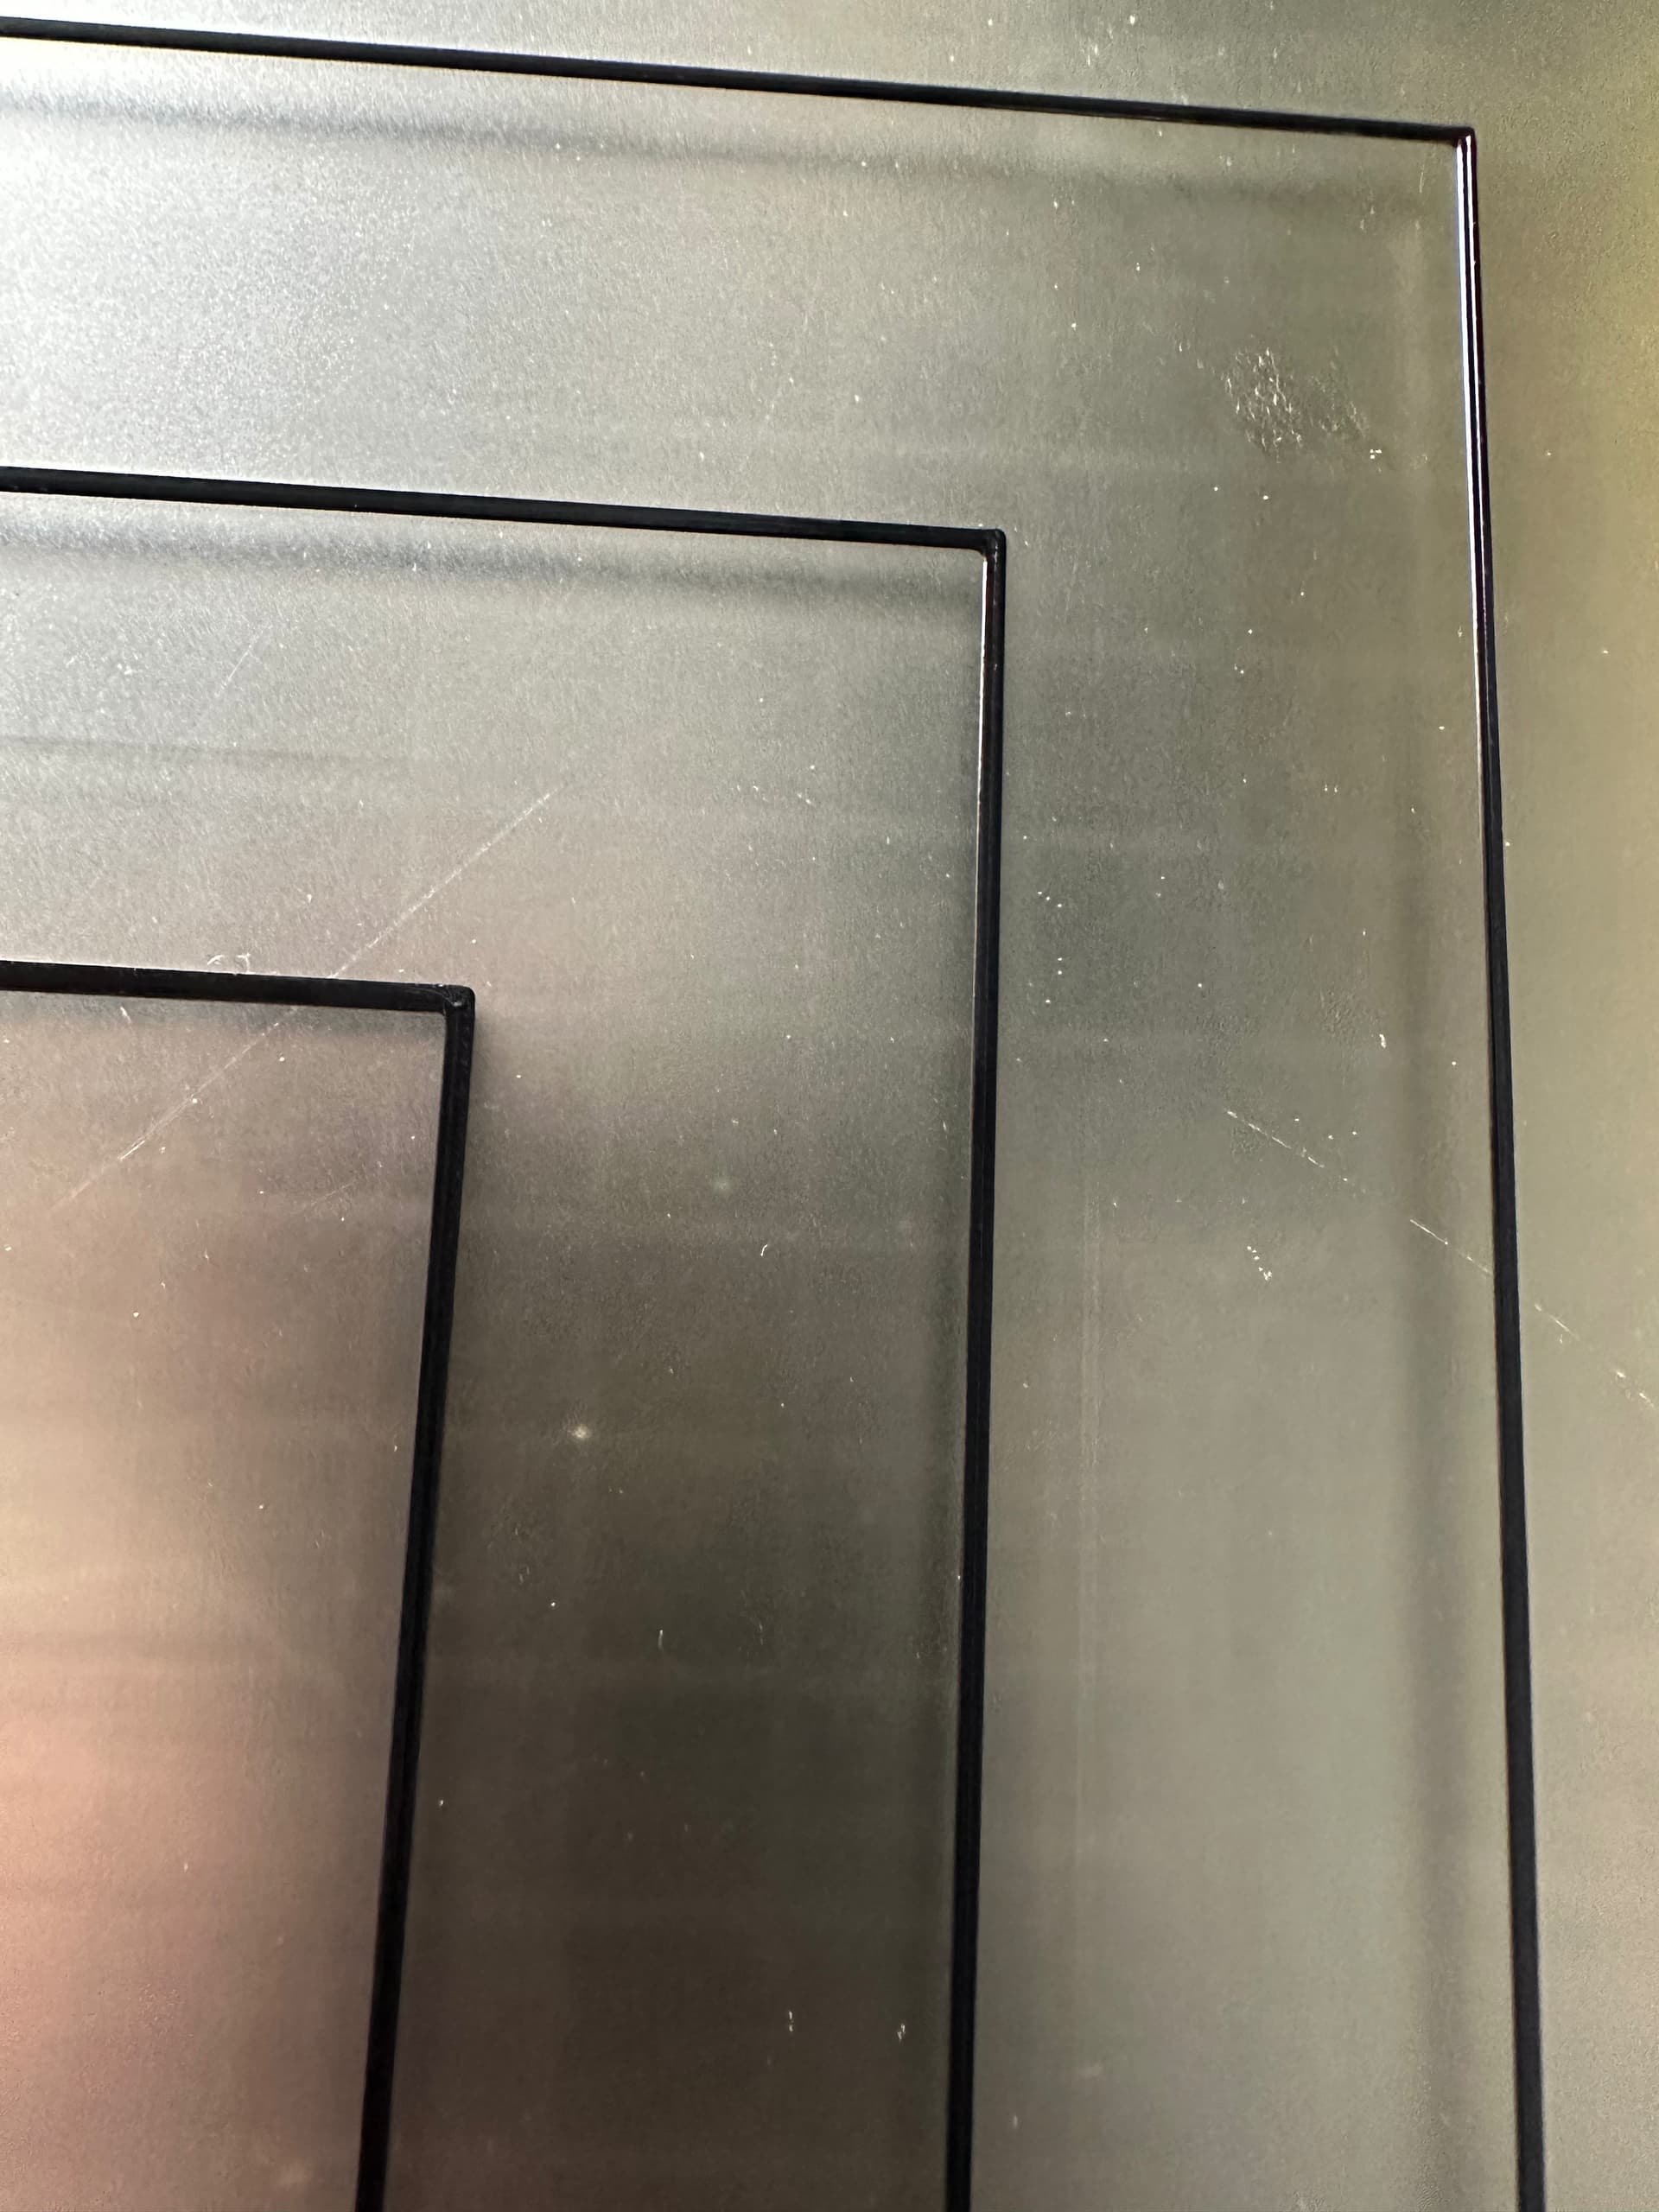
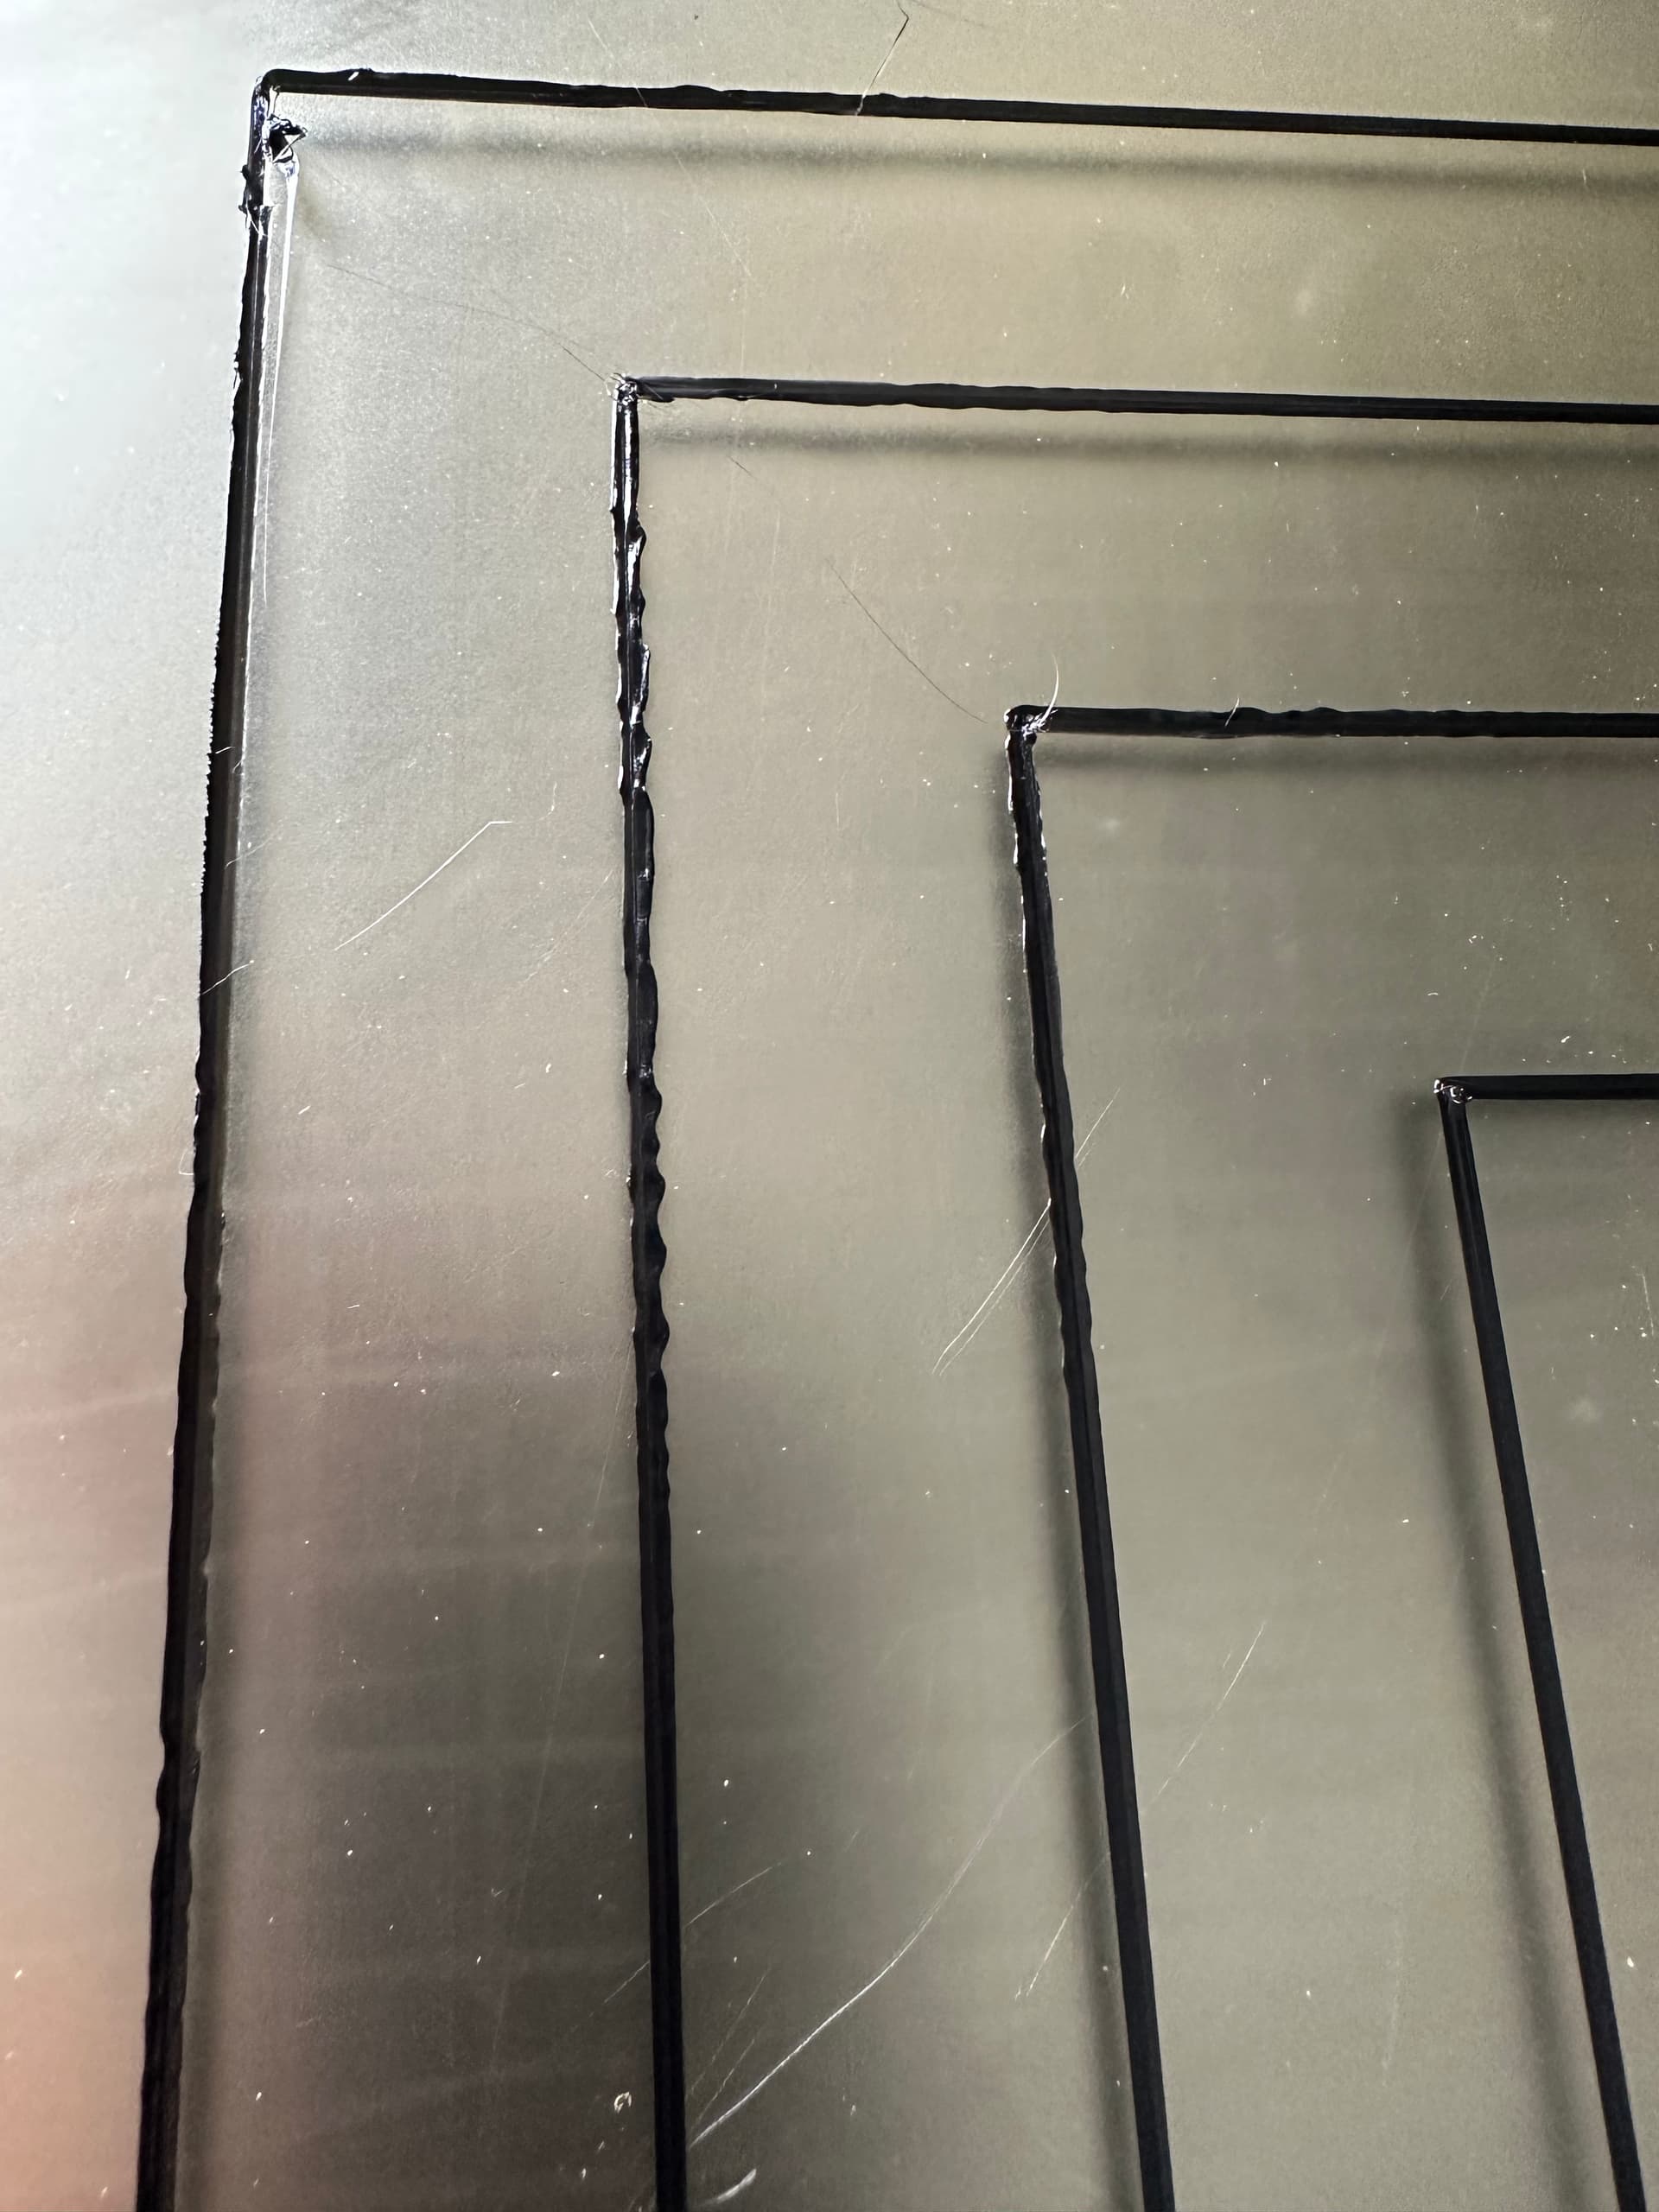
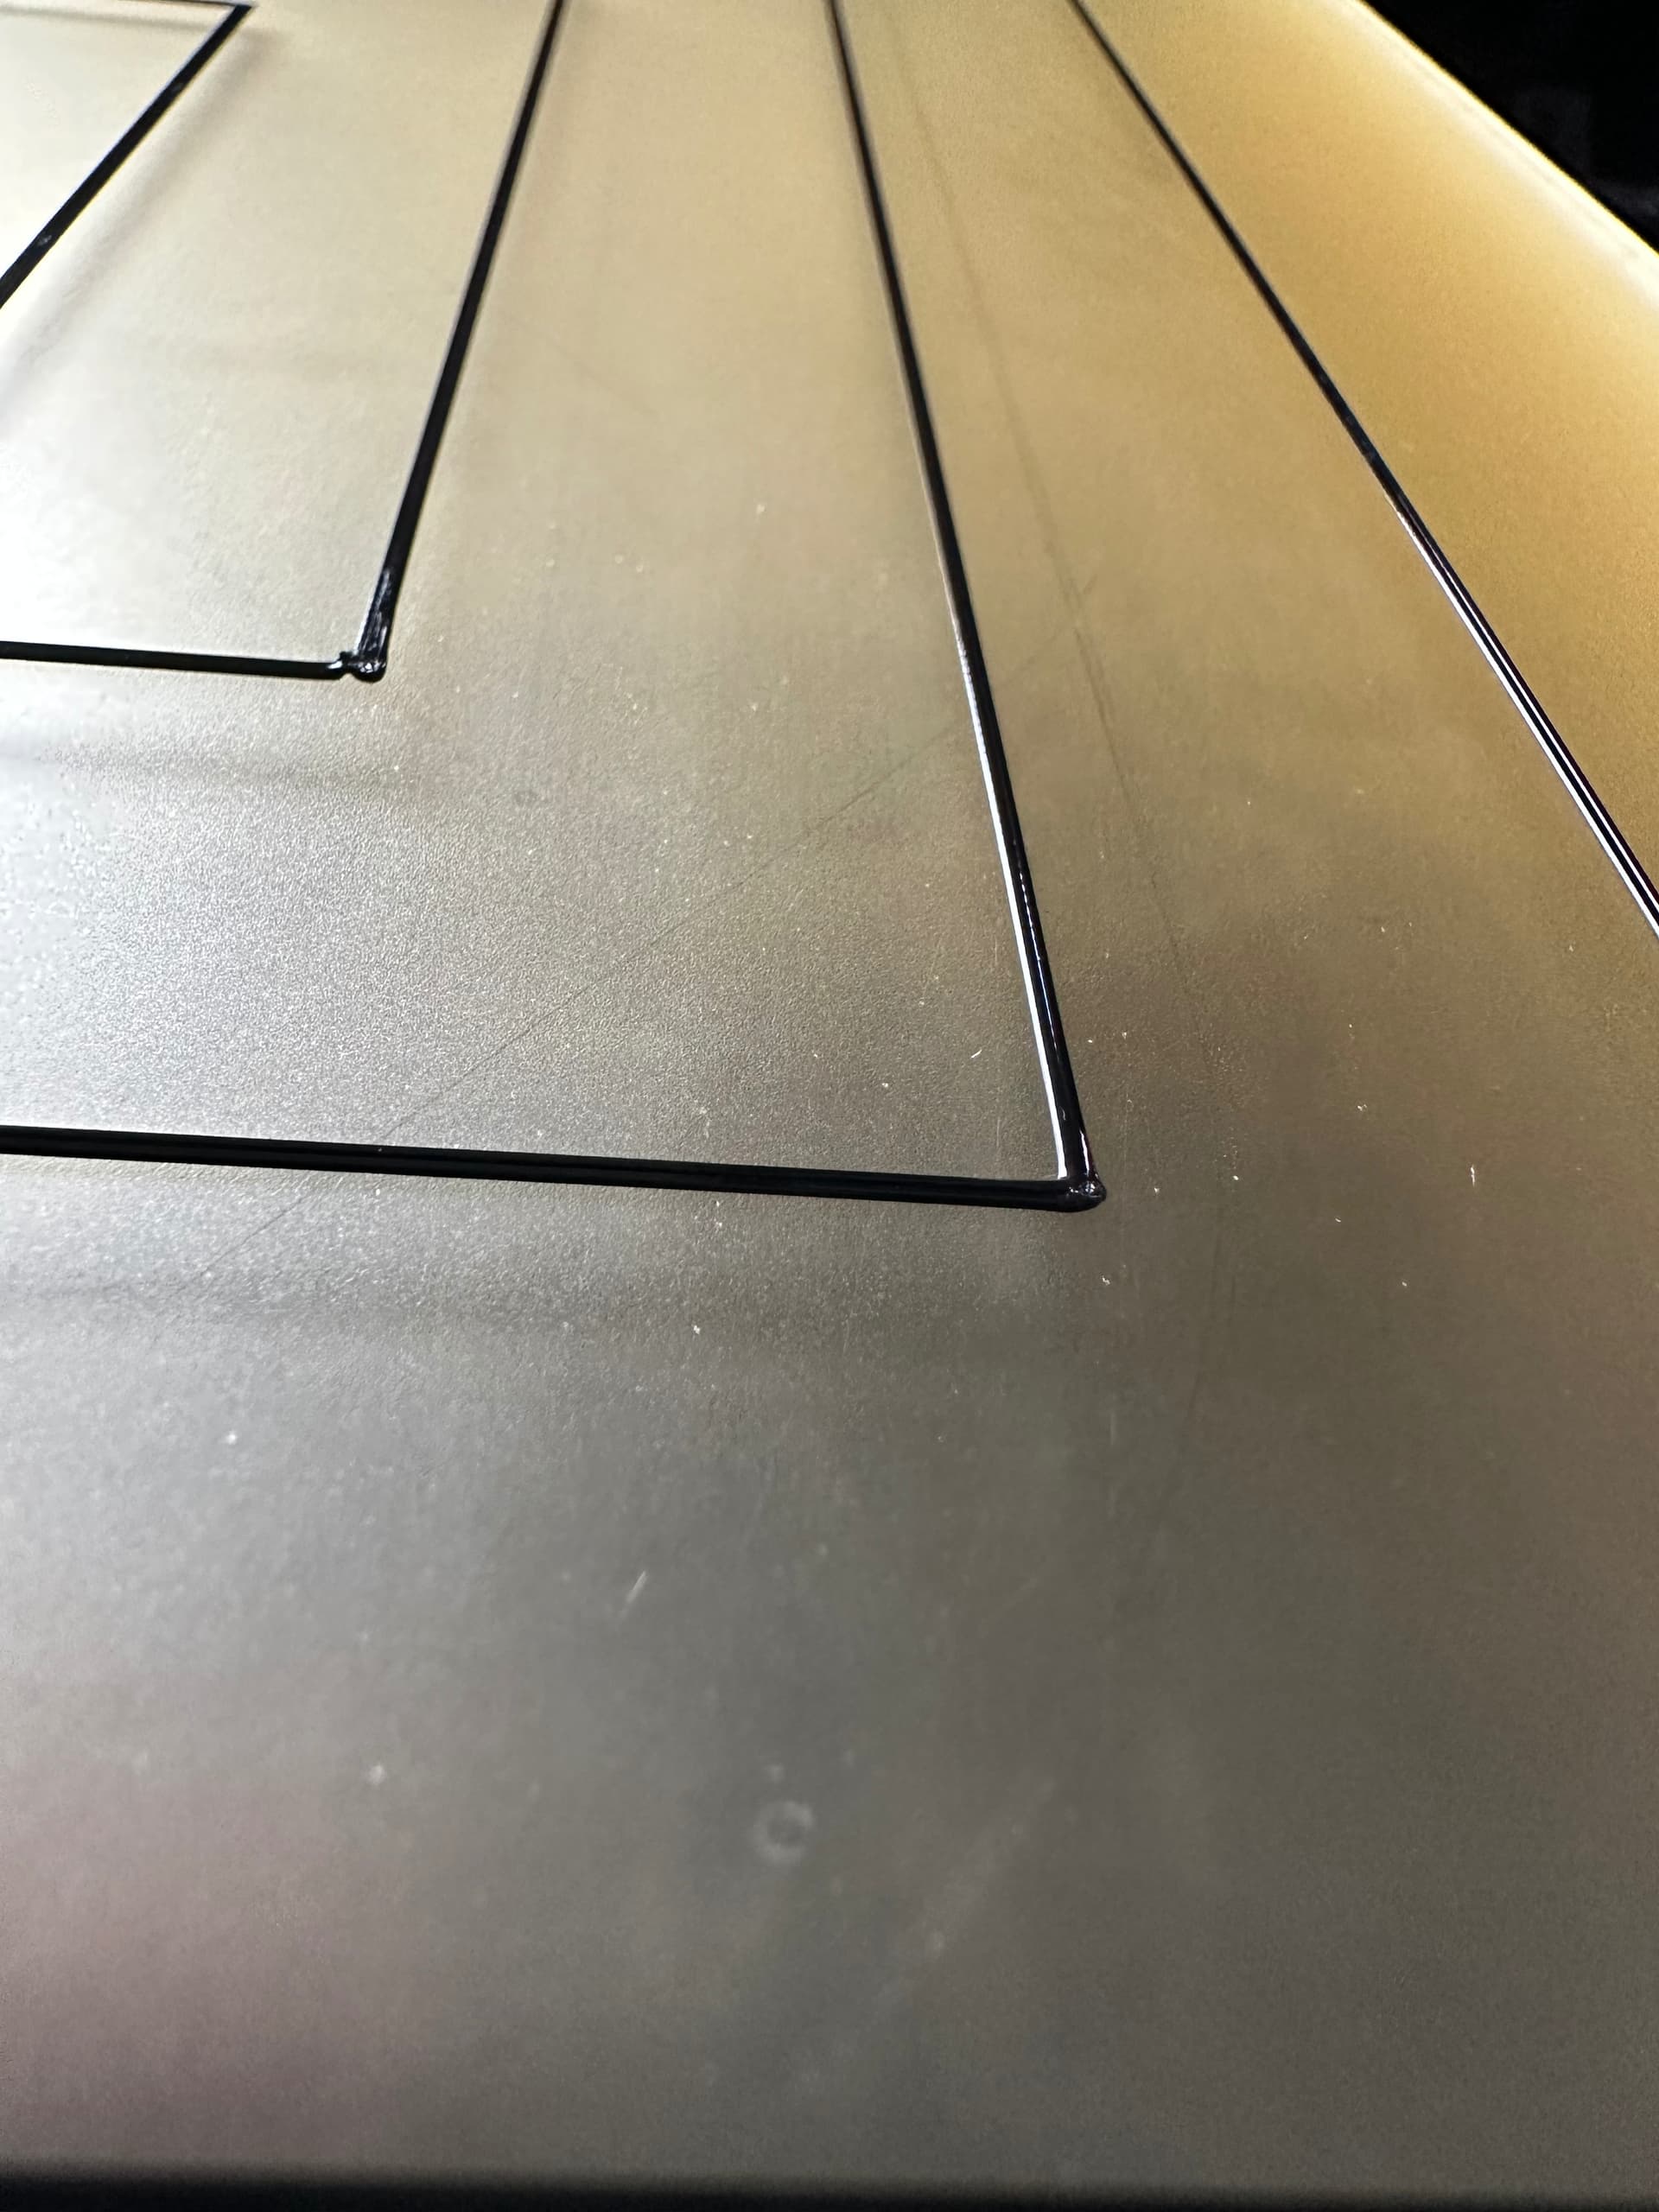
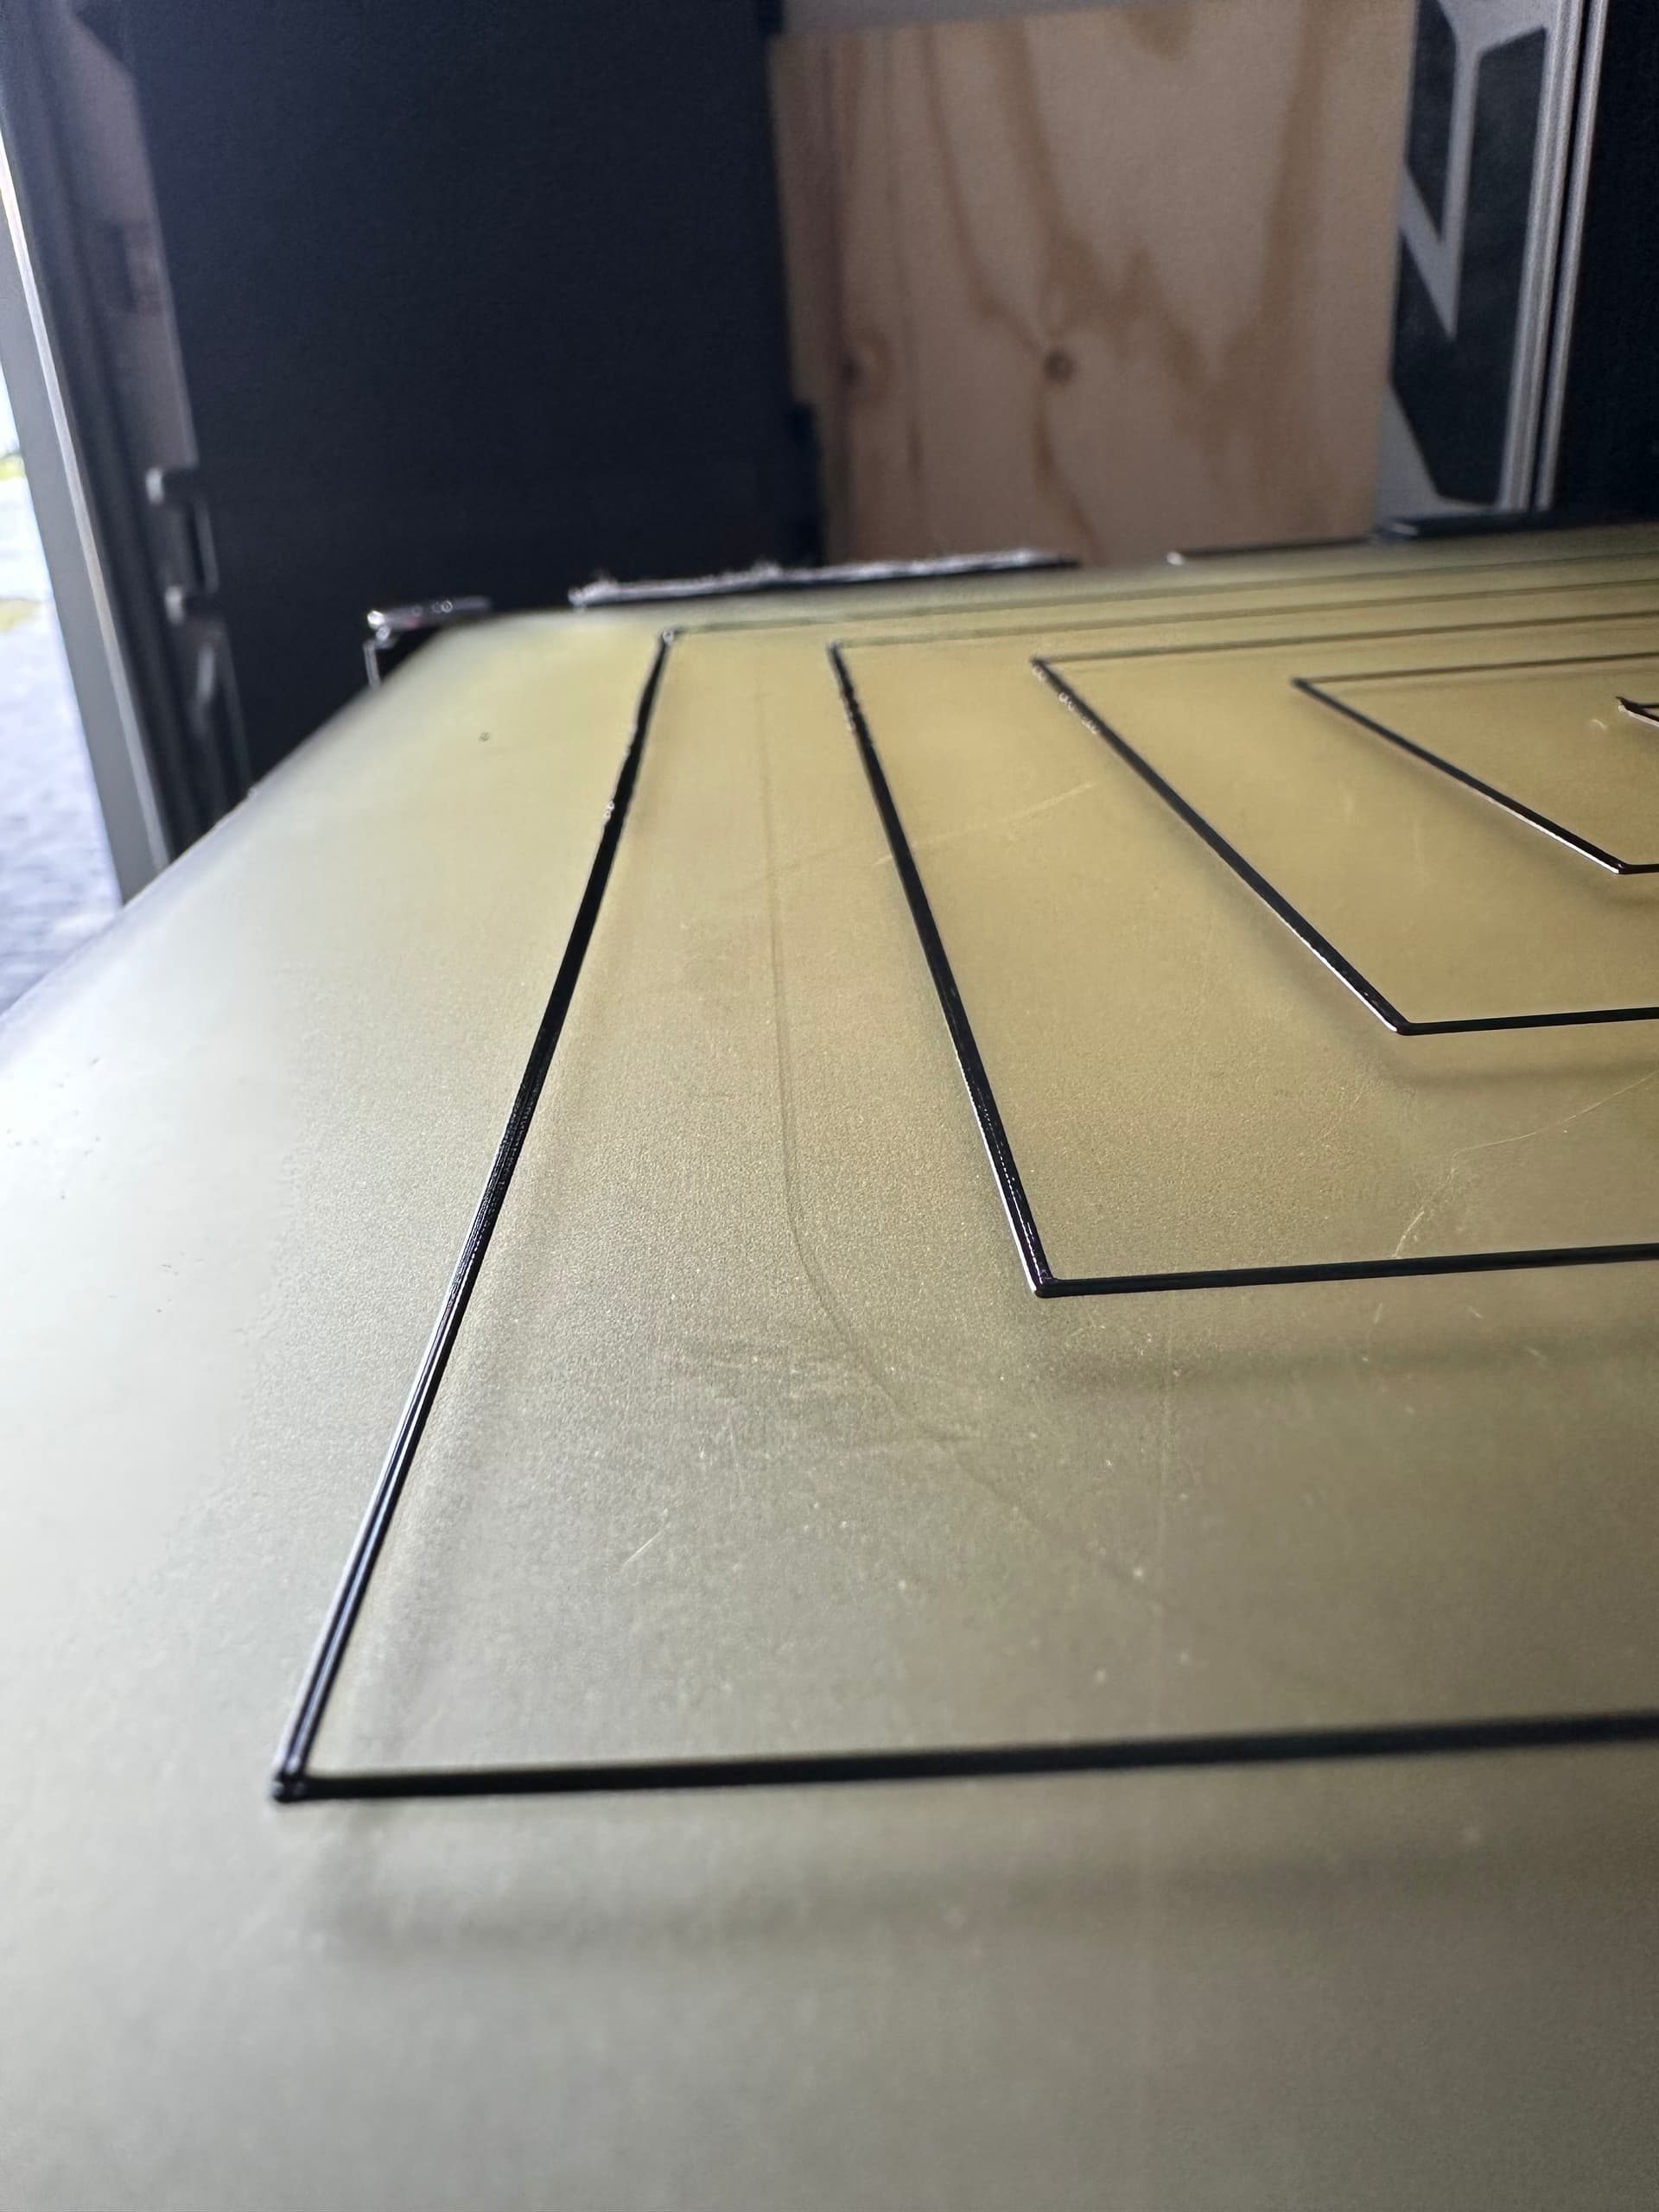
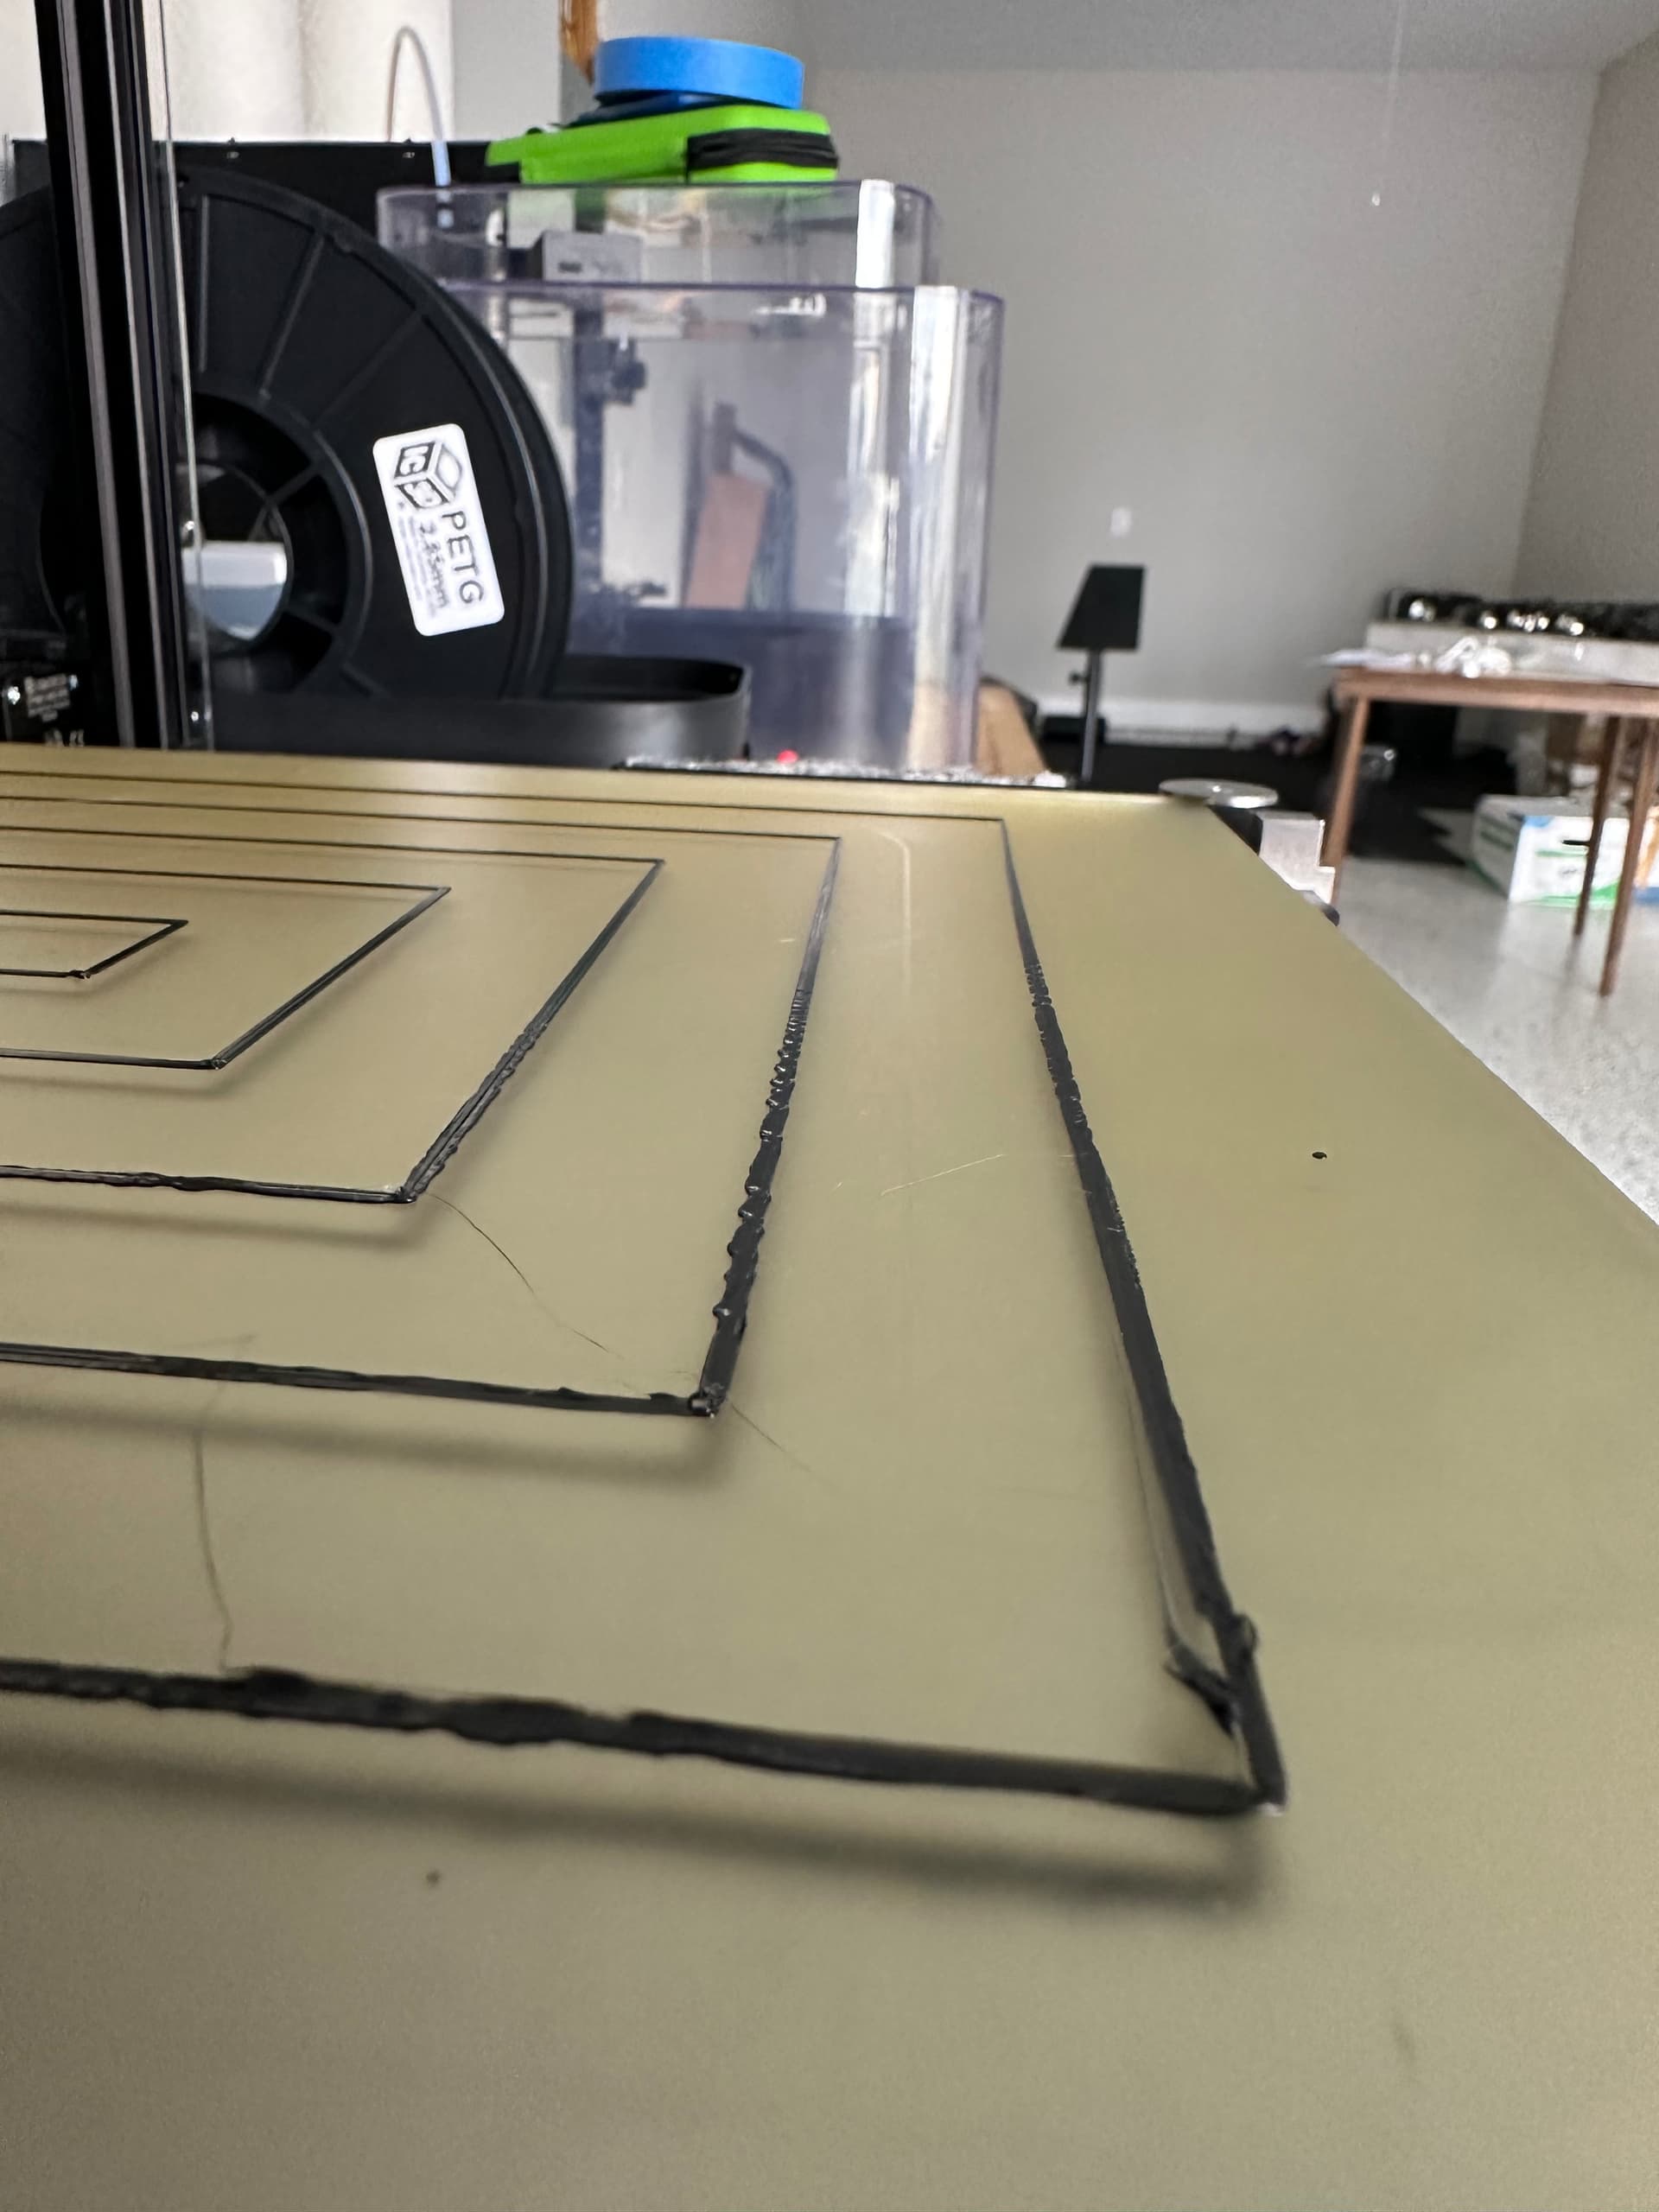
BLTouch sounds like something to definitely look into. In the meantime my results remain problematic and very repeatable. After a lot of frustration with poor adhesion on some large prints, I tried an experiment to “display” the bed leveling results. Printing concentric squares on the plate (1mm lines, 2 filament line widths) definitely seems to show my issues. Some areas have very rounded lines with almost no squish into the plate while other portions begin to block filament from even being extruded. I have repeated this multiple times with careful nozzle, bed, and leveling washer cleaning. Additionally shown to be an issue on multiple build plates.
Again, I am blind. Had someone help take a couple pics. Not sure how well they show my print. I am well aware of Z offset often being an adhesion/first layer height issue but I simply do not see a Z offset that can account for this.
The only spot that looks significantly out of tolerance is the front left. Some firmwares start leveling at the front left, others at the rear left. If yours is starting at the front left, it’s most likely a little bit of filament on the nozzle that delays sensing on that corner, resulting in the sensed location of the bed being lower than it should be. After the filament gets squished out of the way, the other three corners sense correctly.
If your starts at the back left, then you might have the bed bowing up slightly. This could be the result of the bed tightened down when cold, then expansion is causing it to bow upward. Try loosening the washers at the corners slightly, heat it up to normal temp, then tighten down again.
Yah. Mine starts at the front left. Running a variety of tests I have been watching for any sort of filament getting in the way on that corner. I have performed leveling both with the extruder hot and cold and always get the same measurements. My concern is that something happened during a recent move across the US. The printer was packed according to the OHAI instructions in Lulzbot packaging, but these issues are definitely new on this machine.
if I am wrong but the pro has a electric induction level if not then reset firmware & reset the computer/laptop.it is best to stick to manufacturing’s checked leveling unless your doing modifications for example octograb also note newer toolheads are defualt
Because if it a inductive leveling be careful not to touch it with anything that potentially electric conductive other then the washers
For 75 bucks, I would get the BL touch from Lulzbot and flash the latest bugfix firmware 2.1.3.0.x from the latest 4.x version of Cura. You will never look back. These very latest versions of the firmware finally use bilinear leveling and probe 16 points on the bed. One side note, I have not been able to get saved meshes to work (G29 and M500 and then use M420 S1 at start of each print) so I have to always regen the mesh at every print. I think it has to do with the z homing happening at the top of the gantry instead of on the bed. You can certainly change that if you know how to edit the firmware - I might just do that. But you will lose the ability to easily level the x gantry and will instead have to enable the G34 command since the z homing doesn’t do that for you.