Has anybody designed a printable bracket for attaching a runout gage right onto a TAZ 4 printer head?
Rather than using a piece of paper to “level” all four corners and then in the middle, what about using a runout gage for the corners and then just setting the height in the middle with the paper?
There was a dial indicator bracket on Thiniverse. I tried it but the x rods flexed too much with it mounted. In the end, setting the gap at each corner with a feeler gauge then running the bed level gcode to fine tune it works well. Once set, adjustment frequency is pretty low.
That gcode prints a single layer pattern across the bed. After it completes, take a look at the width of the print lines and adjust your corner screws so they are consistent. There is a picture on here as well as in the manual, I believe, that gives you a reference to what the print width / height ratio should look like for the first layer. I usually end up adjusting the z end stop in combination with the corner screws to get everything sorted out.
Don’t hesitate to print 5 - 10 of these with adjustments between each to get a good set up.
I have been setting my nozzle to bed gap to. 004 or. 005 inches with a feeler gauge when everything is at print temps. That has been working out nicely.
I used paper early on. I have had more consistent results with an actual feeler gauge. Feeler gauges also allow you to accurately try slightly lower or higher gaps without guessing.
So do you set your final gap distance in the middle of the table, or do you set your gap on the four corners knowing that the middle of your table might have a tighter gap on first layer or two of printing?
Thanks for all the help by the way. Very much appreciated.
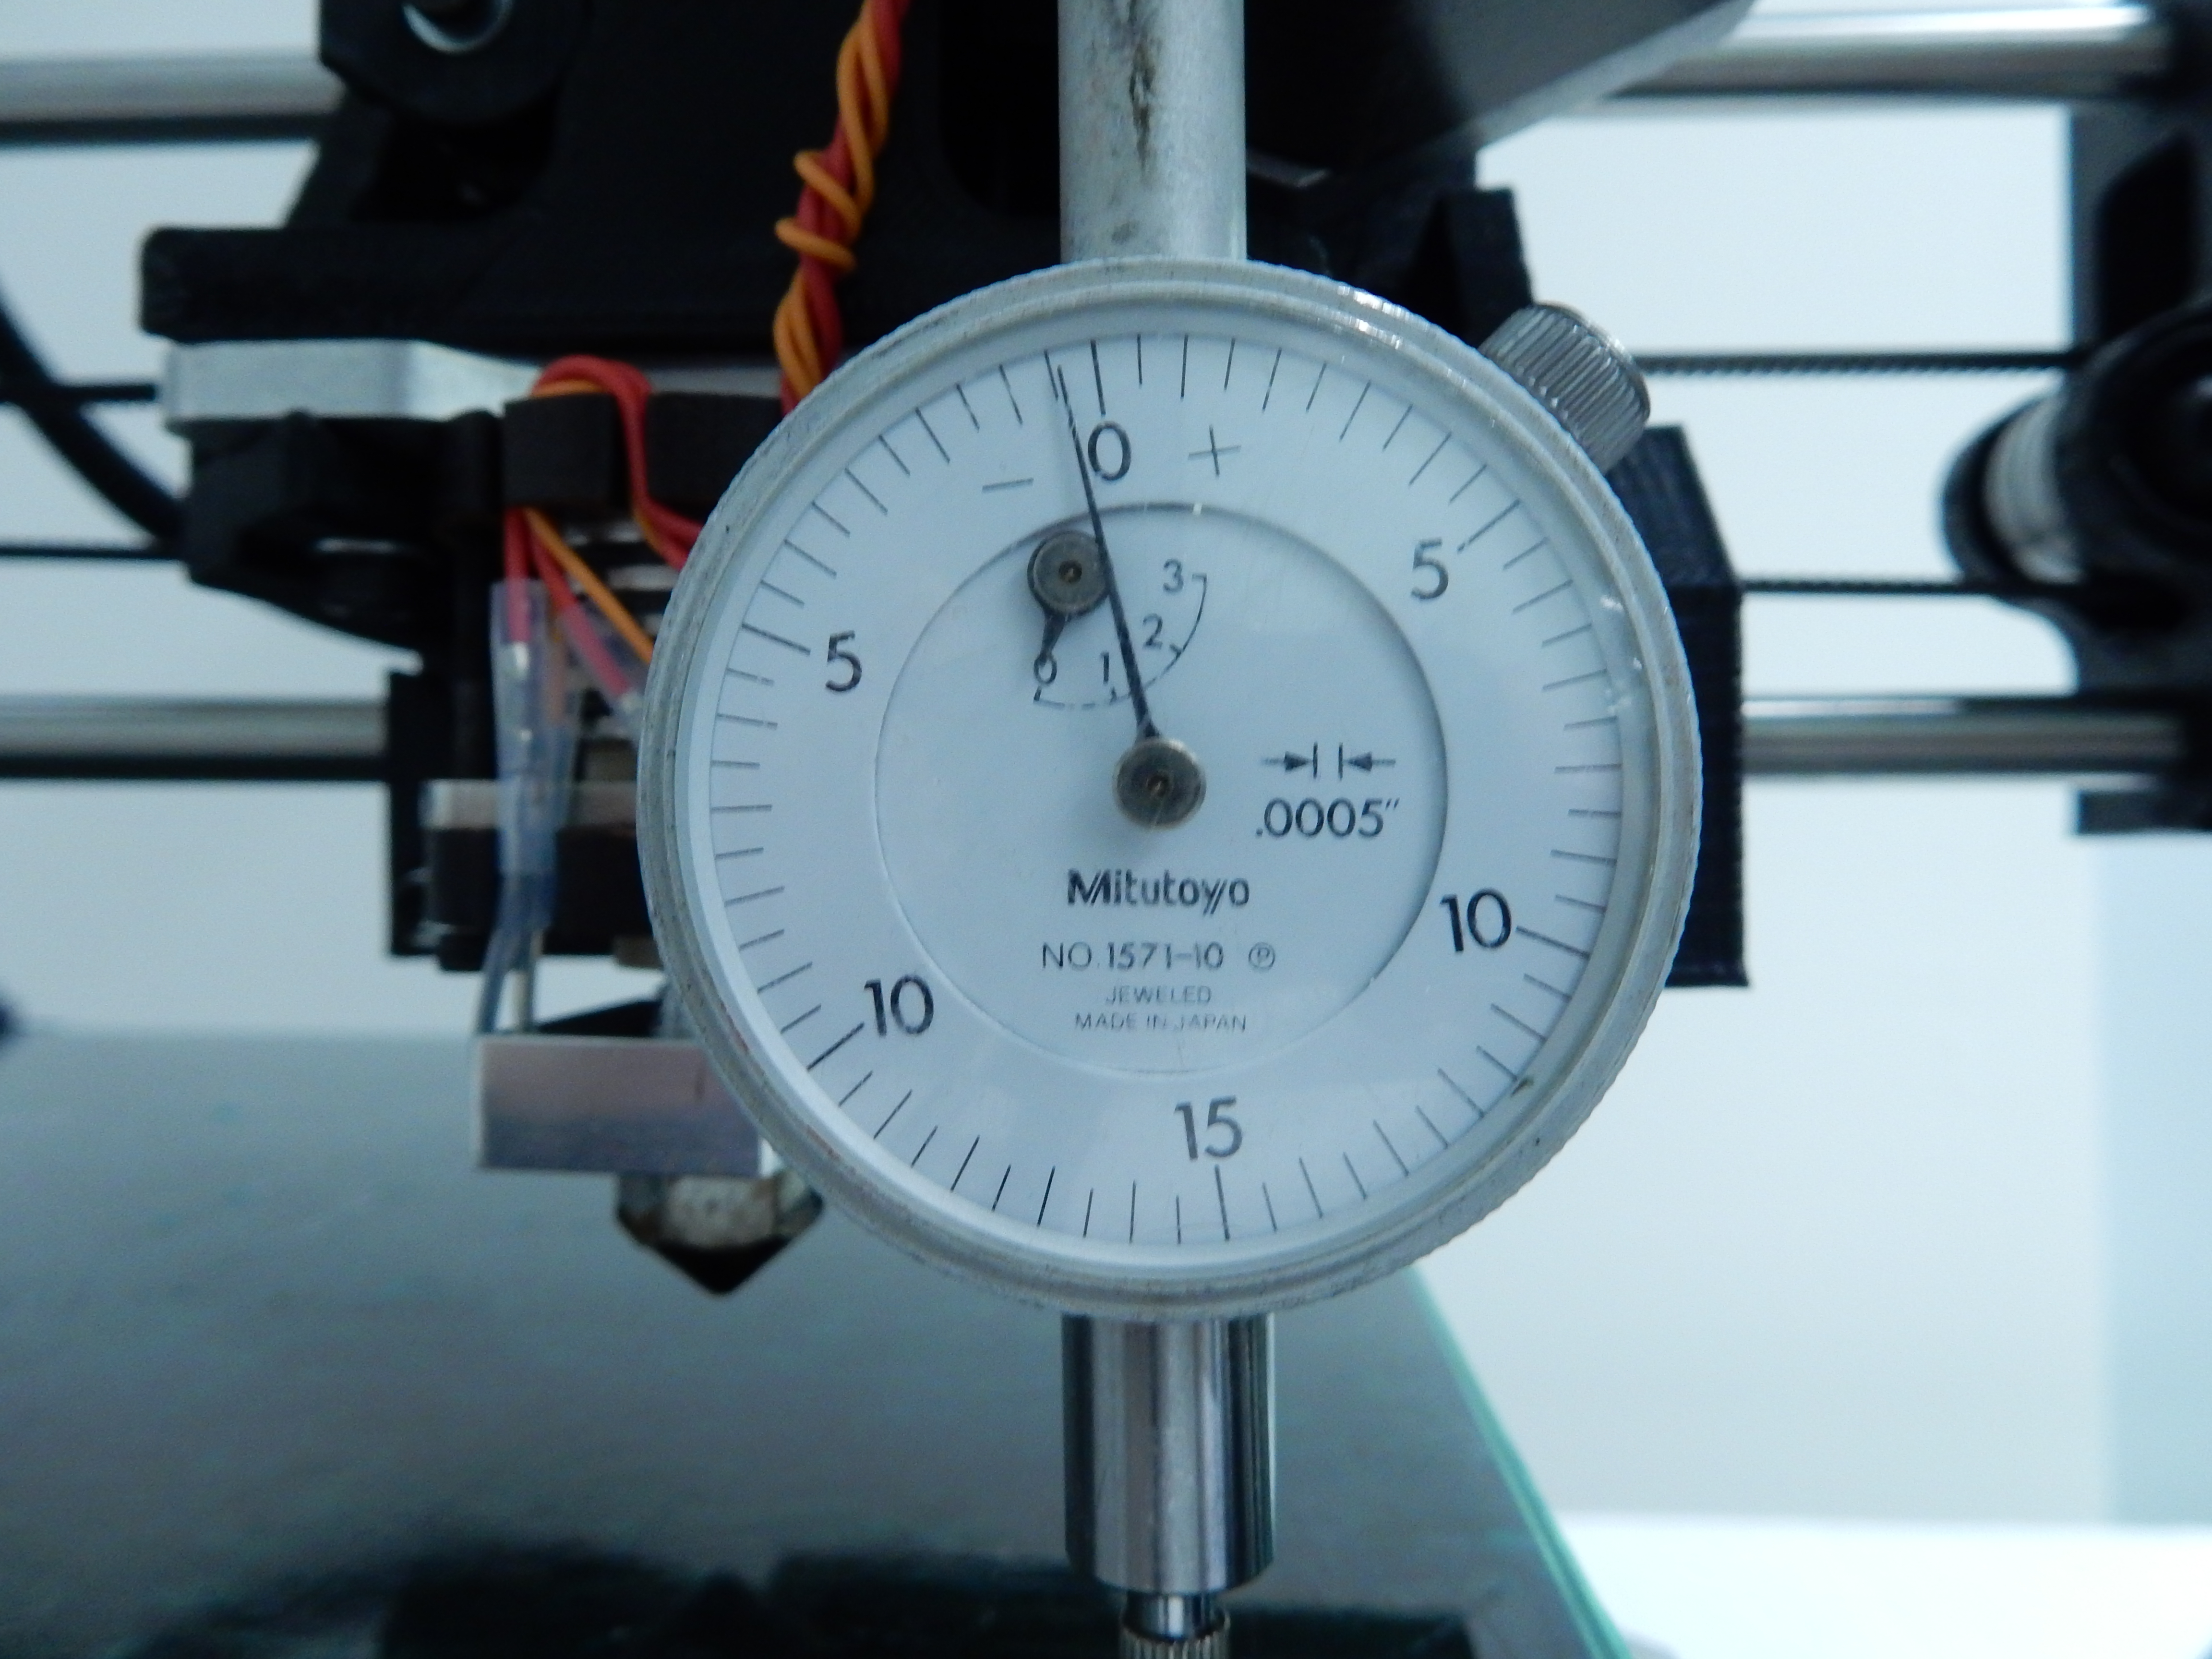
Now I realize I’ve added weight to the carriage, so the deflection of the rods might be less without my runout gage, but this still shows quite a bit if difference across the stage.
You will always see a run out across the x axis. Especially if you have the dial indicator mounted to the front of the extruder assembly. The x rods flex. The x axis rails need to be a larger diameter or supported or just replaced with a profiled rail to eliminate the flex. This irritated me early on as well but after several posts and comments from others here as well as the Lulzbot folks, I realized it doesn’t really affect the print.
After you have your bed leveled using the bed leveling g-code, move the extruder to the center of the bed and set your home gap to 0.005". Then, set up a smaller part to print in the center of the bed. Then, print the same part at the left or right side of the bed. You will probably find that it does ok even though there is a variance in the extruder tip to bed gap between those two build locations.
I have been using the thingiverse version of this for a while. It is amazing how that “upward bow” in the build plate goes away when you take the extruder off the x rails.