Their linear rail conversions I did sink some money into, but I am a little concerned as they did not publish the STLs of the X gantry parts. The belts are attached to a very precarious piece of plastic and if that were to break I am out of luck.
Back in July 2024 I had ask Zach of ITWorks if they were ever going to sell the STL files for their X and Y linear rail conversion, he didn’t have plans at that time. Earlier they had announced they would be closing down shop. Later that year in Novemember I went ahead and bought an X axis linear rail conversion kit for my Taz 5 rebuild. Was thinking about getting the Y linear rail conversion kit, but didn’t have the money for that too. About a month or so later I emailed Zach to ask if he was going to sell or publish the files for the conversions, but by that time the domain expired and the email bounced back to me. I tried to contact him via ITWorks thingiverse about the STL files, but never got a reply back. Probably any notifications went to the defunct domain.
For rail conversion, there’s always the great work put in by @piercet for these:
Openbuilds v-slot Y axis for Lulzbot TAZ 3, 4, 5 or 6 printers by piercet - Thingiverse
Openbuilds v-slot z axis for Lulzbot Taz 4/5 Printers by piercet - Thingiverse
I built my x using linear rail, but haven’t touched the Y or Z.
I have also tried to reach him on Facebook. No reply. I actually had no idea he was closing shop when I bought the four linear rail kits from him in November, so I got lucky. In some email exchanges at the time, he said he was going to send me the STLs. But that never happened.
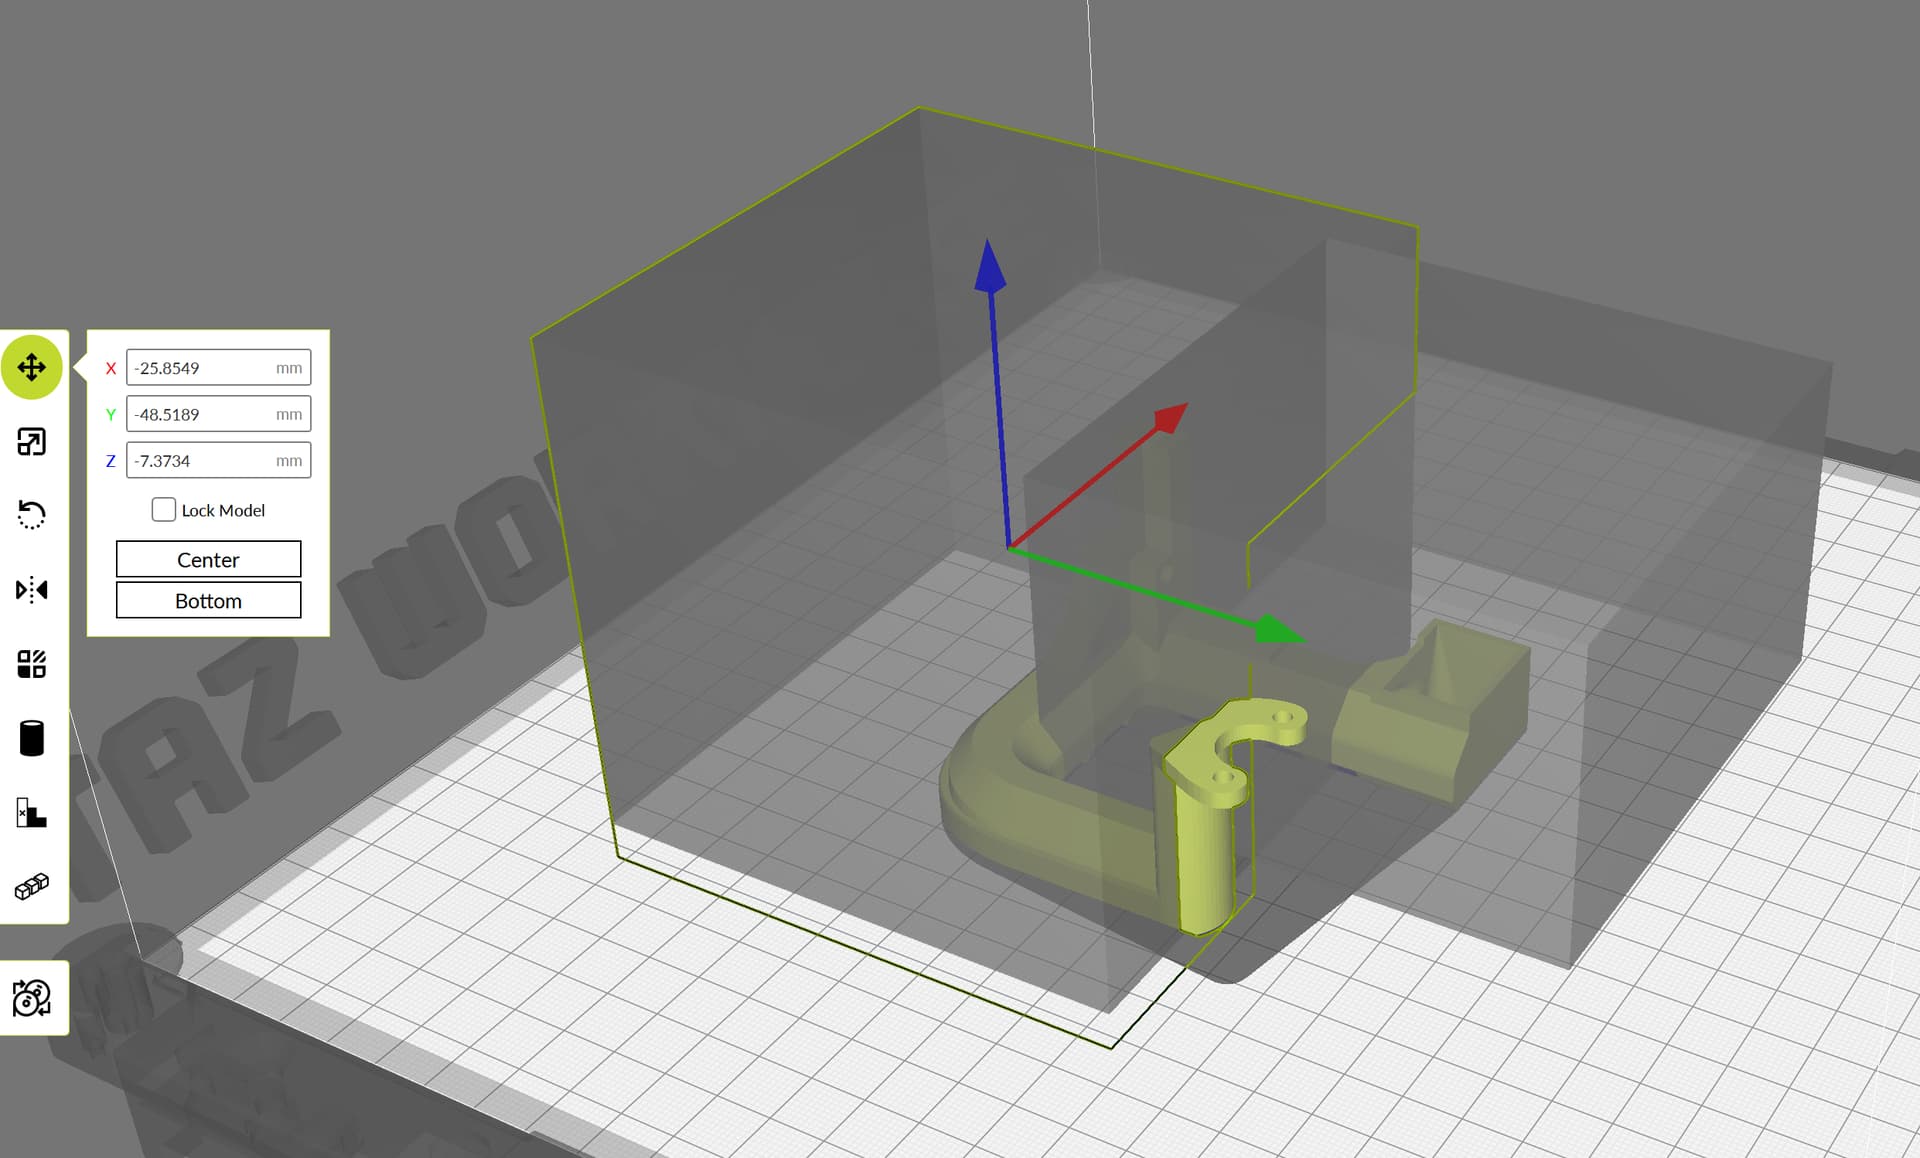
This is the belt clamp on the x gantry for their linear kits. It already cracked just getting it installed initially.

zenotek, were the kits for a Taz 5 or Taz 6 or other? Both X and Y?
I got the Taz Pro and Workhorse X and Y kits.
I think I am going to be upgrading both of my printers for the bltouch the m175 like you and Wrathernaut and the SE, which I can hopefully convert to the E3D. Just need to go out and get some PETG, BLtouches, and the cables. Is there a reason you went with the front mount rather than the side mount to prevent the axis twist? What lengths of cables did you end up requiring? I might have missed it in the video.
I bought the longest BL Touch cables that Filastruder sells. I also bought my BL Touch probes there too.
As I’ve learned over many printer upgrades, it’s sure easier to bundle up excess wire versus being a tad short!
As for the front mount - I just used what was available ![]()
I’ve seen those linear rail upgrades and didn’t want to be the guinea pig in that! I wish I had bought the upgrade kits when that business was still up!
It’s something I am still considering doing. But at this point, the Taz 6 is running great so I sort of don’t want to mess with it.
I do keep an eye on the Facebook Marketplace- I wouldn’t mind getting a used Workhorse to do some mods to.
And for the SE to E3D Titan Aero conversion, it looks like I removing the fan, duct, and back plate, swapping it out with the new back plate and the second duct file. The fan gets mounted on top, instead of on the side. The majority of the toolhead and filament gear assembly stays the same, or does it require a massive overhaul?
I am planning on the 2 mm cables since they are the longest. I might be opening up a can of worms, but I am about $20 away from free shipping at filastruder. Do people have any recommendations for purchases to get me past the hump. I figured getting spare nozzles would make sense, but I am not sure if they have any compatible with my SE and m175 v2 toolheads.
Finally, I have been noticing my z-axis gum up a bit preventing vertical motion (stop spining). I figured this was because I purposely had an extreme x-axis tilt to get the prints to print more level. I adjusted it a bit (still a little bit of tilt) and it was printing fine for a bit, but yesterday I had it stop during an overnight print and caused a massive mess, which is why I planning on switching since it is already partially taken apart to clean. Should leveling my x-axis solve my problem, or could I have stripped the internals of the weird cone thing. Since it is not spinning freely, I figured it is not stripped, but figured I would ask.
WhereNerdyIsCool, I like your YT channel. I did subscribe.
I noticed that for a Taz 6, FunkyNuggets made X & Y linear rail designs and posted them on printables. I looked at the Y axis mod, but it wont’t work for my Taz 5. Since you have a Taz 6, you might want to give them a look. Here are links to them.
Y linear rail mod Taz 6
Z linear rail mod Taz 6
1 Like
Front mount can reach the whole bed, side mount cannot. You will need custom firmware to do the BLTouch anyway, so you’d be running firmware with the X axis twist compensation anyway… it only takes about 5 minutes to run, so I believe it’s worth it. There is still some possible (minor) X axis twist from being at different positions on the X axis, so the X axis twist compensation is still worth doing, but having the sensor hang off the front amplifies the X axis twist, making it necessary for the front mount.
I bought knockoff “3D Touch” that came with a 1m cable. I tucked it into the factory wire loom on the Taz6.
For the SE to itworks3d conversion, it’s not a massive overhaul. Once printed and heat set inserts are in, the only quirk I remember was running the wires for the hot end around the back seemed like it could have been done better. It’s been a while, but I remember thinking it could have been a channel instead of a through some holes thing.
If you X axis is not perpendicular to the threaded rods, it is more likely to bind, particularly at the bottom and top where it can’t flex out. There shouldn’t be any reason to have it that bad though.
The threaded part is the metal on top of the cone. You’re not stripping that with the stepper motor. The cone itself is there to keep things aligned and spaced right, it’s just smooth (well… 3d-printed “smooth”)

I got some PETG filament in and have begun looking into to printing the parts needed for the SE and the m175 v2 toolhead conversions for the bltouch sensor. For both of the cooling ducts, supports seemed to be needed (at least using the stock support setting).
Reading wrathernaut’s comments on printables, says to use supports for only the bltouch attachment (need to figure out how to do that in cura), but I am not sure what to do for the SE duct. The only recommendation is to use supports. Do I need a multifilament printer to allow for water-soluble supports?

For Cura, you need to use support blockers.
Click the object to add blockers to, then click the Support Blocker button on the left, then click on the object to add a couple blocker cubes to the model.


Scale and move the support blocker boxes to cover everything but the BLTouch holder. Scaling blockers is really odd, so don’t be surprised if they scale huge and won’t readily shrink. Just move them where needed.
And slice!

1 Like
Yeah the support blocker in Cura has always been really wonky.
Thanks for the links.
Part of me - that looks like a great upgrade!
The other part of me - well it works, why go through all that?
![]()
Straight up I tried PETG & it can stick too much it can even tear PEI sheets off glass
I still am running my old system until we get through the end of the school year, but then will probably be reaching out about the BL touch firmware and testing protocols.
On a separate note, but jumping off of Tim’s post, I just made my first print with TPU using the magnetic flex sheet. It was nearly impossible to pull off. Is that normal or did I have a setting wrong for the bed temp at the end of a print. I just used stop TPU settings and did not prep it in any way with print glue, etc.
TPU is sticky. Use gluestick as a release agent when printing with it.