Yes it seems to connect and take some Gcode commands but then it stops and disconnects.
Now I have a new problem…when it connects it seems to check the version of firmware in the printer vs what it thinks it wants to use. In my case it says outdated and either wants me to use the new firmware which is not acceptable to me for several reasons. Or it wants me to upload custom firmware. When I try to upload the older firmware it continuously says it is outdated.
So now I am trying to delete all possible files from my har drive after uninstalling to at least see if I can get back to where I was.
no luck with getting existing Cura 21.04 1.0.2.21 firmware to work with new Cura Beta.
Tried manually uploading when prompted my firmware is out of date…simply repeats firmware out of date message.
Tried deleting all .HEX files and only putting in the older 1.0.2.21 in the firmware directory…no good
Did above and also deleted all machines and set up a new machine–no luck.
Notice that the material diameter can not be changed under printer->machine settings for FlexyDually. Defaulted to 2.9. I type in 1.75[enter] leave screen and it returns to 2.9.
When changing filament diameter in profiles it also does not change the printer->machine settings screen. But at least there it “sticks”.
Can/should there be two different material diameters possible for dual extruders–should material diameter be found on the extruder tabs instead of on the Machine Settings tab??
In dual extrusion the print bed does not heat to the setpoints in the Print Setup.
In print Setup I have initial and ongoing heated bed set to 60
When starting print(from the SD card), the bed setpoint stays at 0
The other temperature settings in the start-up Gcode immediately adjacent to the bed setpoint seem to work: Here is my start G-code:
M140 S{material_bed_temperature}; get bed heating up
M109 R{material_soften_temperature_0} T0 ; soften filament
M109 R{material_soften_temperature_1} T1
I’m not that familiar with Gcode–the obvious question for me is should the “S” really be an “R” like the other temps?
When dual extrusion printing, the inactive nozzle is set to a low temperature–very cool
When it is time for the inactive nozzle to get ready for printing it starts to heat while the active nozzle finishes. However, the inactive nozzle does not seem to reach setpoint in time. Currently I am seeing about 10degrees lower than setpoint when it starts.
I did not see any place to change the algorithm to heat the inactive nozzle sooner.
During dual extrusion, at the last switch from front extruder to back, the nozzle bed makes an unexpected move.
During this last switch the extruders seem to go to X0,Y250 or something like that to “wipe” on an imaginary prime tower.
They then go back to the correct prime tower and the print continues and finishes OK.
When typing in a negative number for the model MOVE, the “-” does not show in the display.
Example: I wanted to sink the model into the build plate before slicing, I entered “-10” for “Z” on the Move. The negative sign did not show, but the model did move into the build plate.
It seems like the cooling fan speed is sent every time the extruders switch when dual extruding. This makes it a challenge to use the manual controls of the TAZ 6 to change fan speeds at a challenging part of a print. Once one extruder is done being used, the fan speed is left alone–no more extruder switching.
Is it necessary to resend fan speed commands when the extruders switch?
When using dual extrusion extruder #1 stays at the holding temp even when it is no longer needed for the rest of the print(used for support). Extruder #2, when used as support, goes to 0 degrees when it is no longer needed.
Hmm, I’m liking this in general, especially having access to the “Horizontal Expansion” feature. Maybe I can finally print parts that fit together.
Unfortunately, I’m not actually getting successful prints. Having trouble catching exactly what’s going on, but it gets up to a certain height, seems like around 5-7mm, and the part pops off the bed and starts being dragged around. This is the HIPS Standard profile. I think I’ve tried about 6 times and 5/6 were the same failure. I even turned on a huge brim to no avail.
I think maybe it’s lack of initial layer line width.
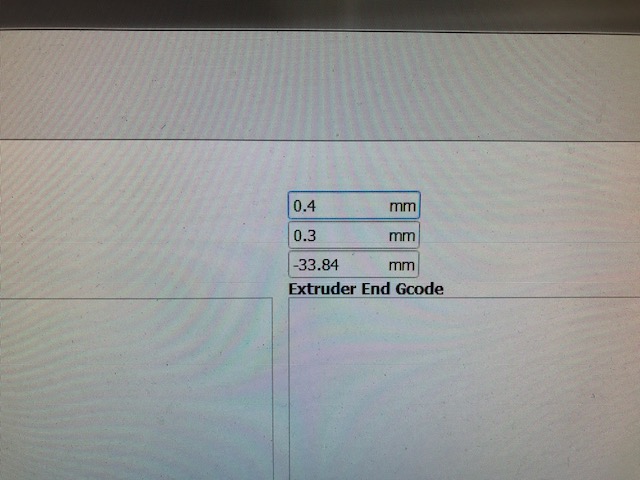
In dual extrusion, the software seems to have forgotten to compensate for the extruder offset. I had been printing successfully till this point in this regard. The offset was checked and is identical to the extruder offset in the picture. Disturbing that changing anything in the print profile would have this effect.
Eventually I had to delete all profiles and removed software and re-installed. Now printing this part successfully using the “Standard” profile as a basis again.