We recently purchased a TAZ 4 printer, but have been running into a number of issues. Initially we ran into a few hiccups, namely the nozzle wasn’t assembled properly and clogged, the firmware was corrupt and needed to be re-flashed, and the axes were a little loose/wobbly.
Even after fixing all these issues, however, we are still unable to get usable prints due to corners curling up and general ABS warping. We have tried a number of different fixes: re-zeroed the hot end, re-leveled the bed, tried various bed temps ranging from 90-110C, tried using a brim, used various adhesion layers ranging from hairspray on glass to Kapton/abs slurry to PEI, created an enclosure to eliminate possible drafts, even used a thermocouple and heat lamp to keep the inside area at a constant 38C. What is the most confusing to me is that my coworker has the exact same printer sitting on his coffee table in front of a partially open window and it prints the exact same Gcode with no issues and no special adhesion layers.
We are really unsure what to look for in terms of why this printer isn’t working properly, so any advice would be greatly appreciated.
I have had my TAZ for about a year. Initially, I was dead set on printing ABS and have been doing so all along. I have had various problems but currently, my ABS prints are fantastic, except for the warping and splitting. To be honest, I have decided that is just the nature of ABS. Some part geometries will warp, no matter what you do. I have an enclosure as well.
Recently, I have been printing with PLA. What can I say, if you don’t need a specific ABS material property like resistance to heat or a little more flexibility, PLA is awesome. The parts are accurate, flat and rigid… and not one split or crack. Printing cookie cutters drove me to PLA because it is perfect for that, but I am going to be printing more things with it to give it a good test on general parts.
I am not saying you don’t have some specific issues to work through but it might just be a fact of life for the part you are trying to build. Posting some pictures will help the forum help you.
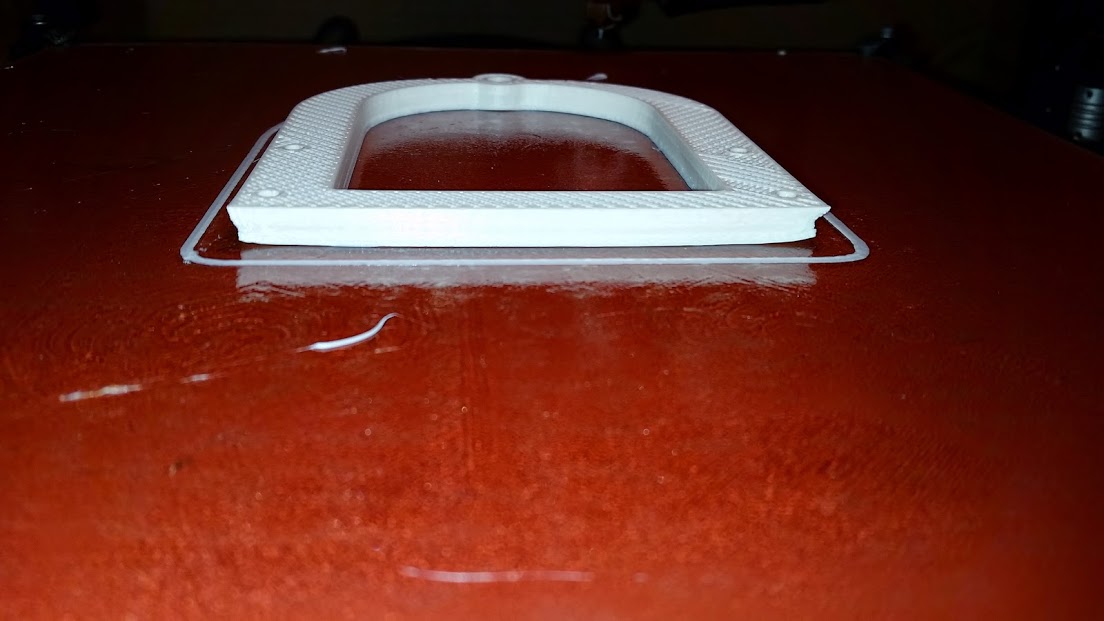
Pics below, the part in the photos is for use in the dual extrusion setup. The first was done with hairspray on glass inside the enclosure with heat control.
We ended up moving the 3D printer to a different room and removed the enclosure, and that seemed to help some but still a lot of curling. While it was pretty thin Kapton tape, it actually pulled the Kapton off the glass…
The PEI helped to remove the curling in the top end of the part (not shown) but the corners still raised up off the bed. We tried printing different parts with the PEI setup to see if it was just this part of the assembly, but the rest started raising off the bed pretty quickly.