Taz Workhorse - Filament Grinding

Too far above the bed, so the z offset is not negative enough.

The washers are 1.5mm thick, so the zero point should be exactly 1.5mm above the print surface, so in an ideal world, the offset would be -1.5mm to account for the exact height of the washer-to-bed offset, and your slicer profile would compensate for layer height and some squish… but it’s not perfect, so we have to tweak it.

I run tubes on mine from a heated filament box, and it hasn’t been an issue, but it will stress the motor more.

1 Like

If you don’t mind sharing the stl files for that setup I will totally shift mine to over the top, that seemed like a better place to put it since I took this thing out of the box.

I’ve been wondering about this but am new to this, this explains perfectly and makes a ton of sense. Thank you for sharing this. If there were stickies in the forums this diagram should be one. I’ll adjust this more tonight, the previous jump from -0.83 to -1.15 helped immensely with bed adhesion, I could see this being the final thing. Putting temps way higher on prints was making up the difference I think. 240 was what I was using in the eSun PLA with 245 for first layer.

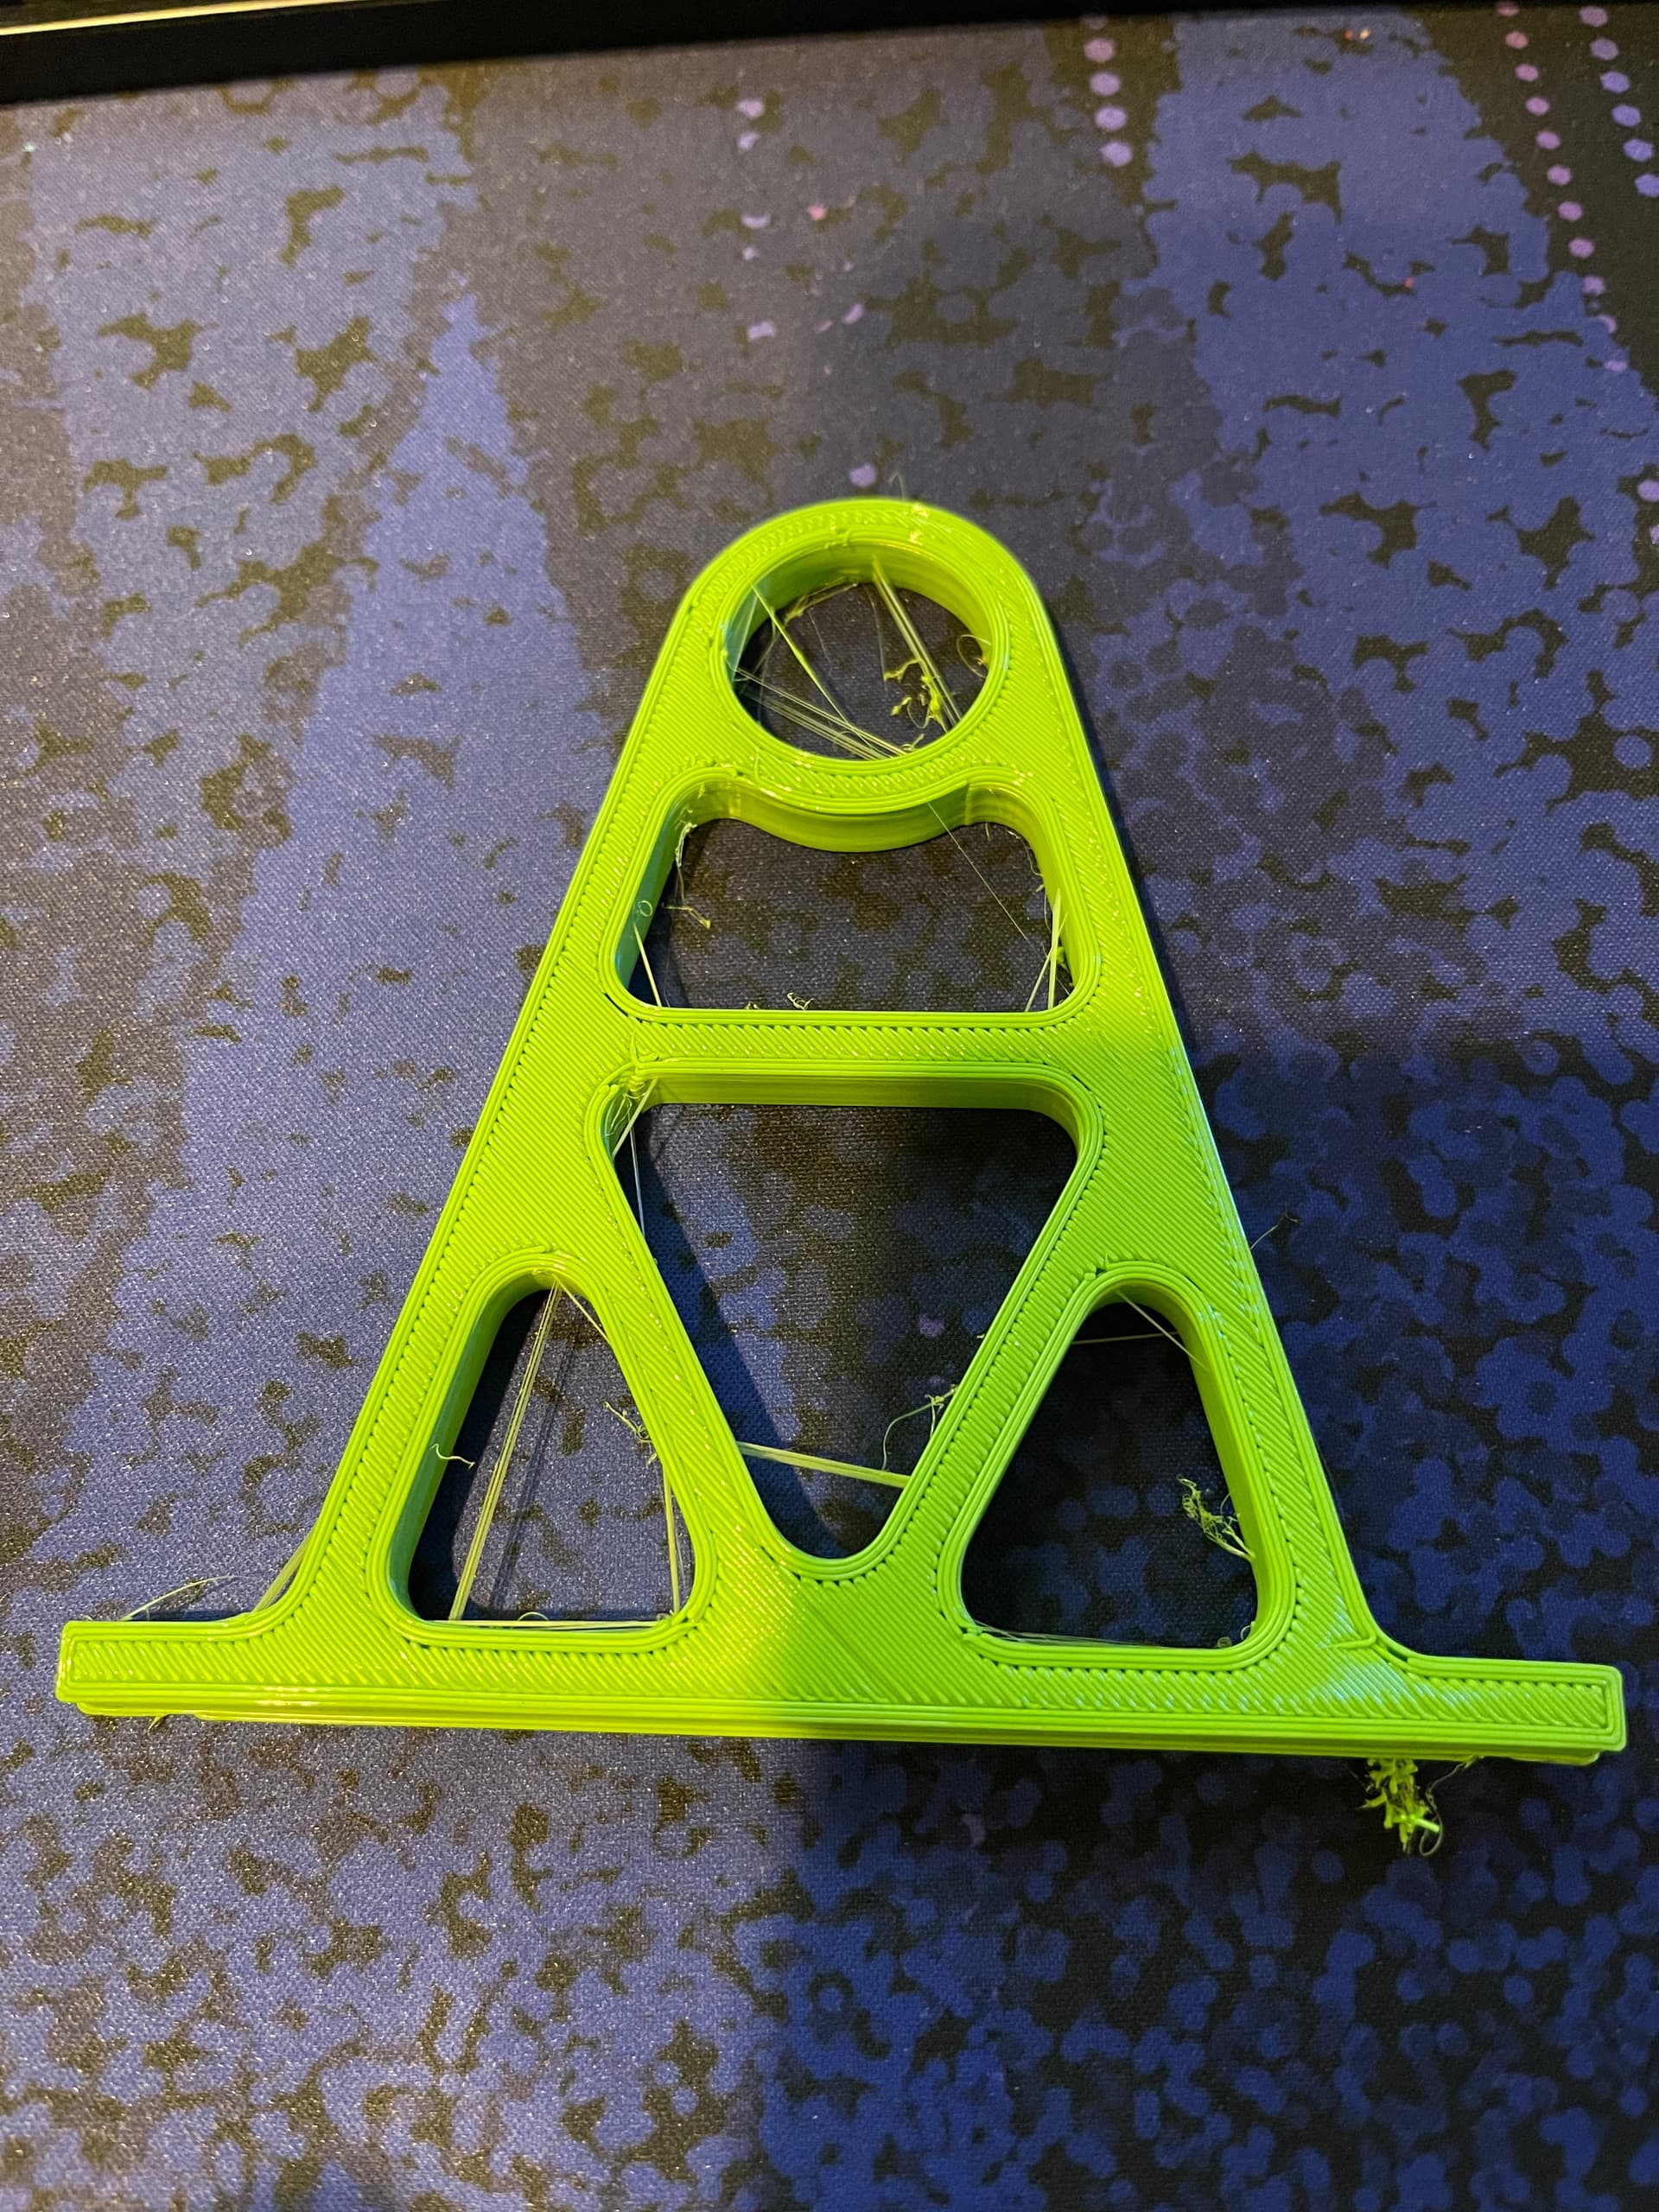
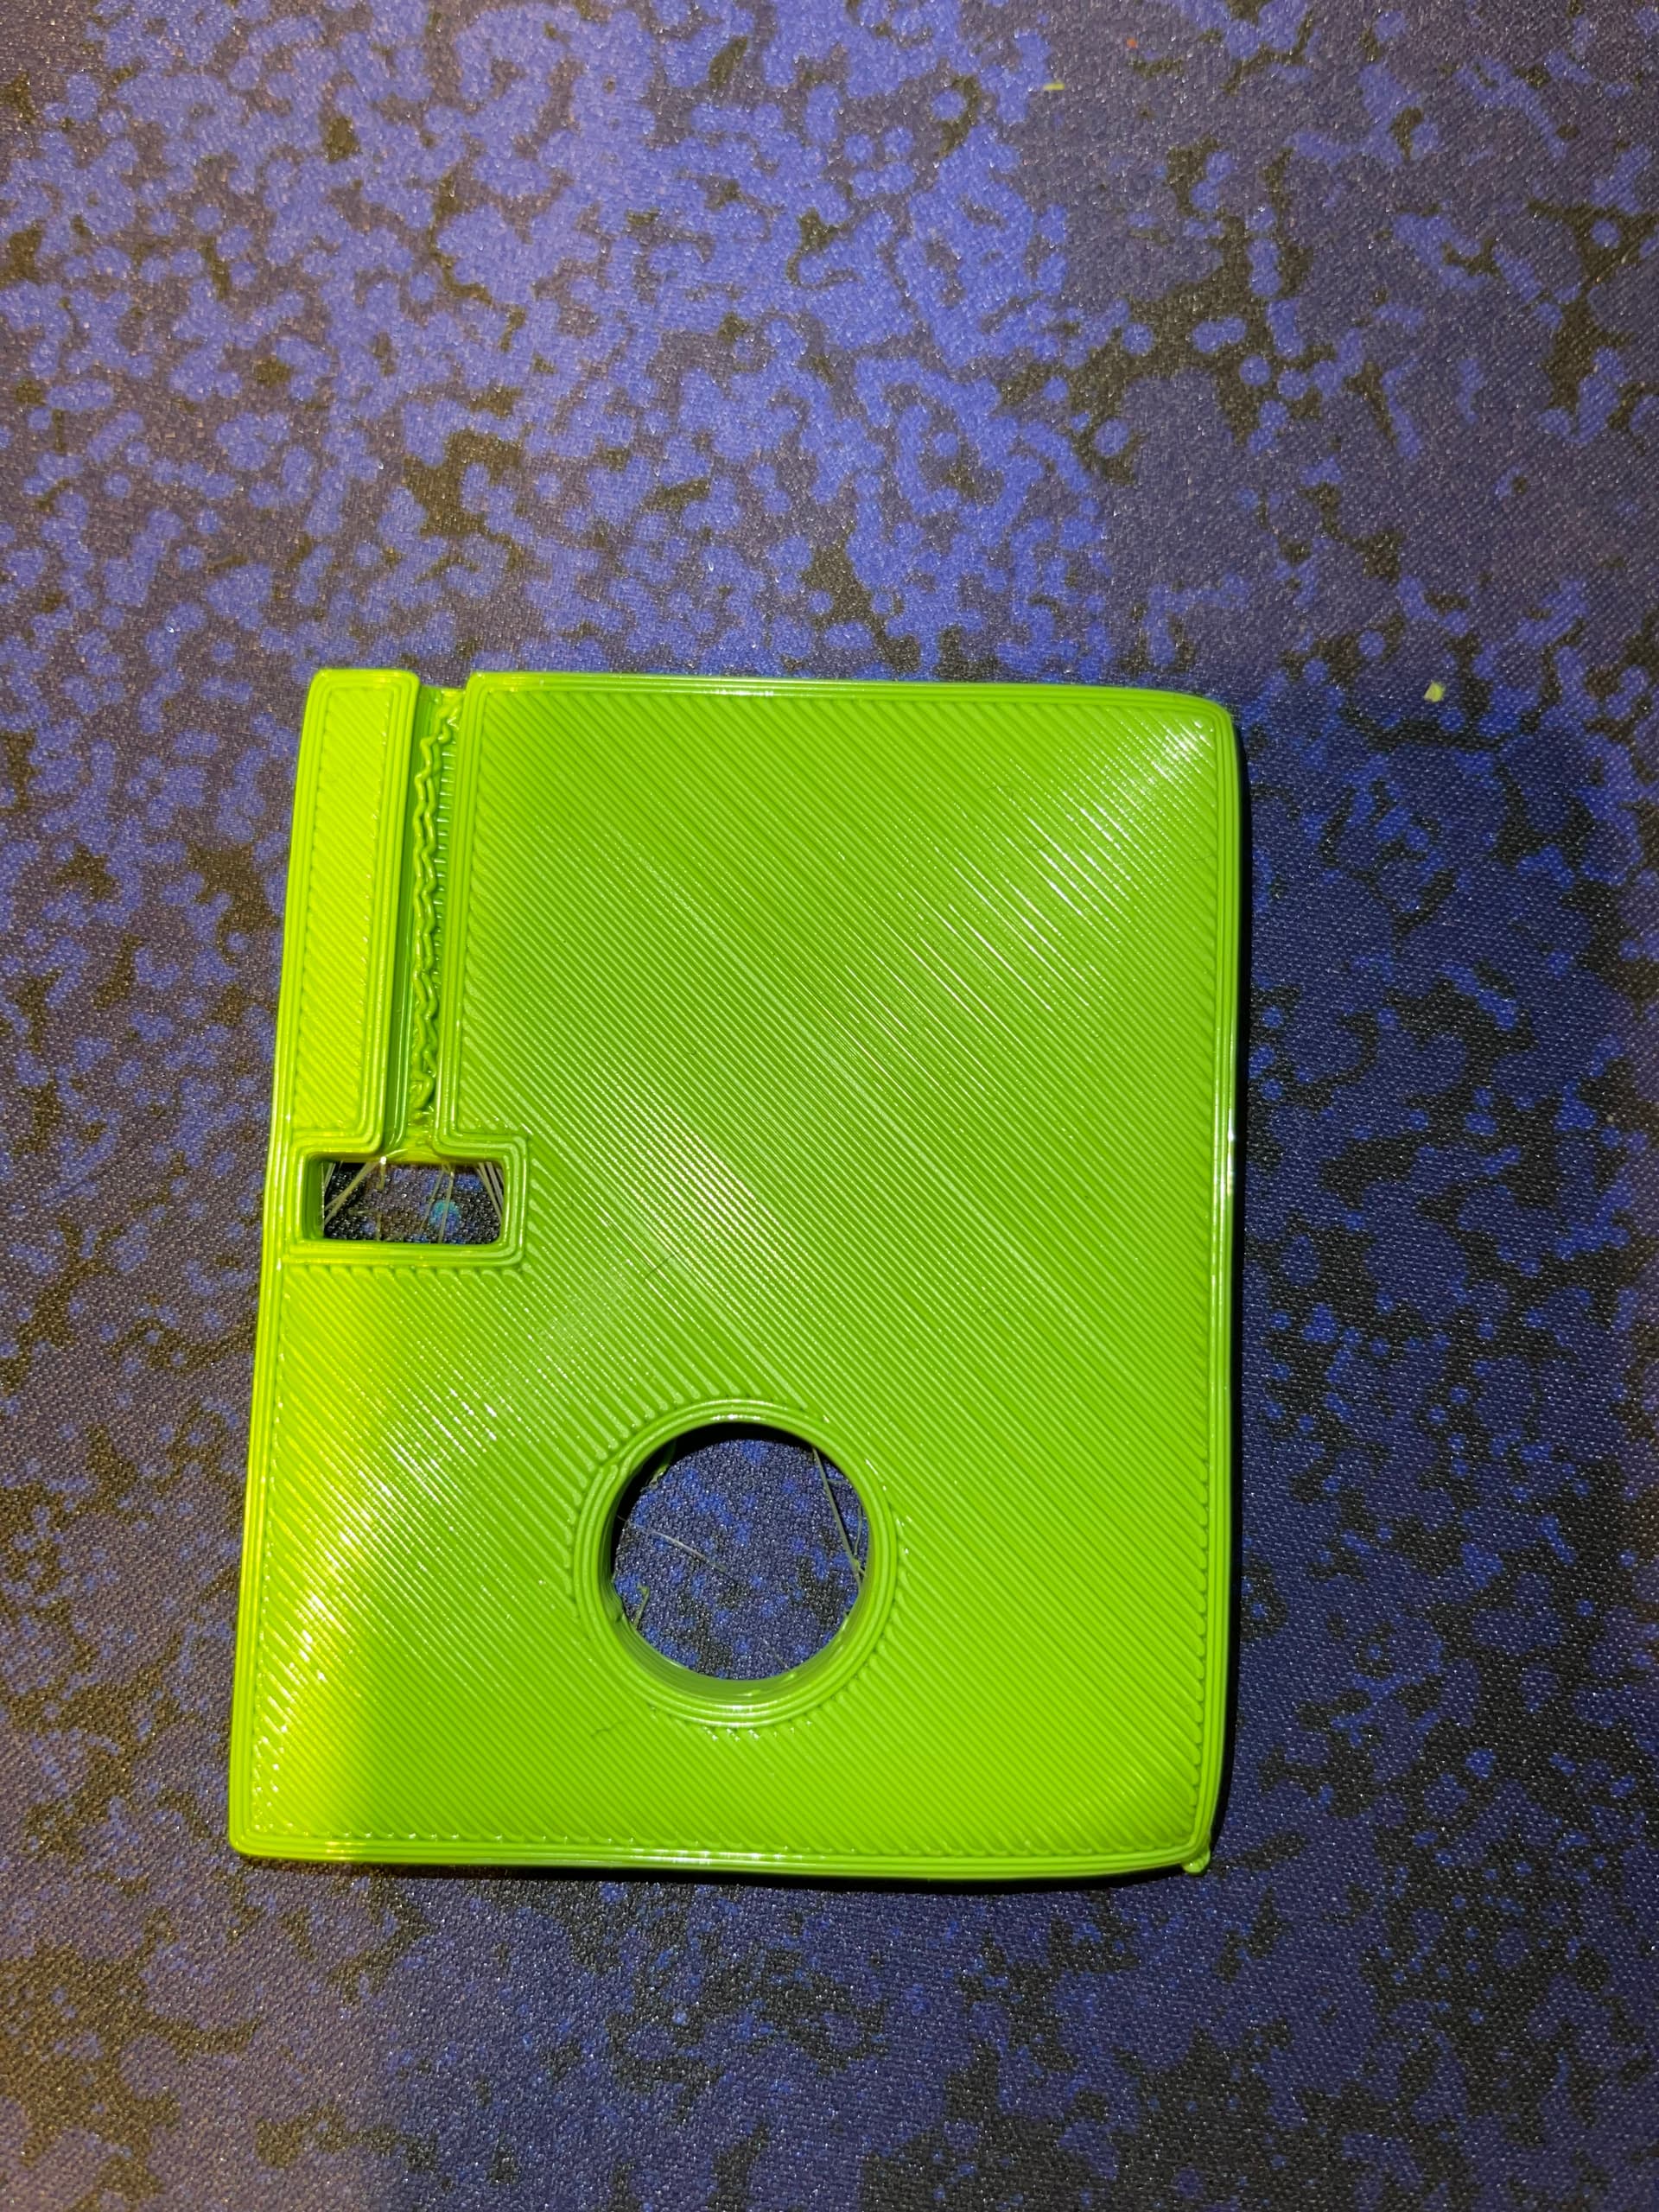
Overhead filament spool holder: https://www.thingiverse.com/thing:1424791.

I used the attached OpenSCAD file to print various sized spool adapters.

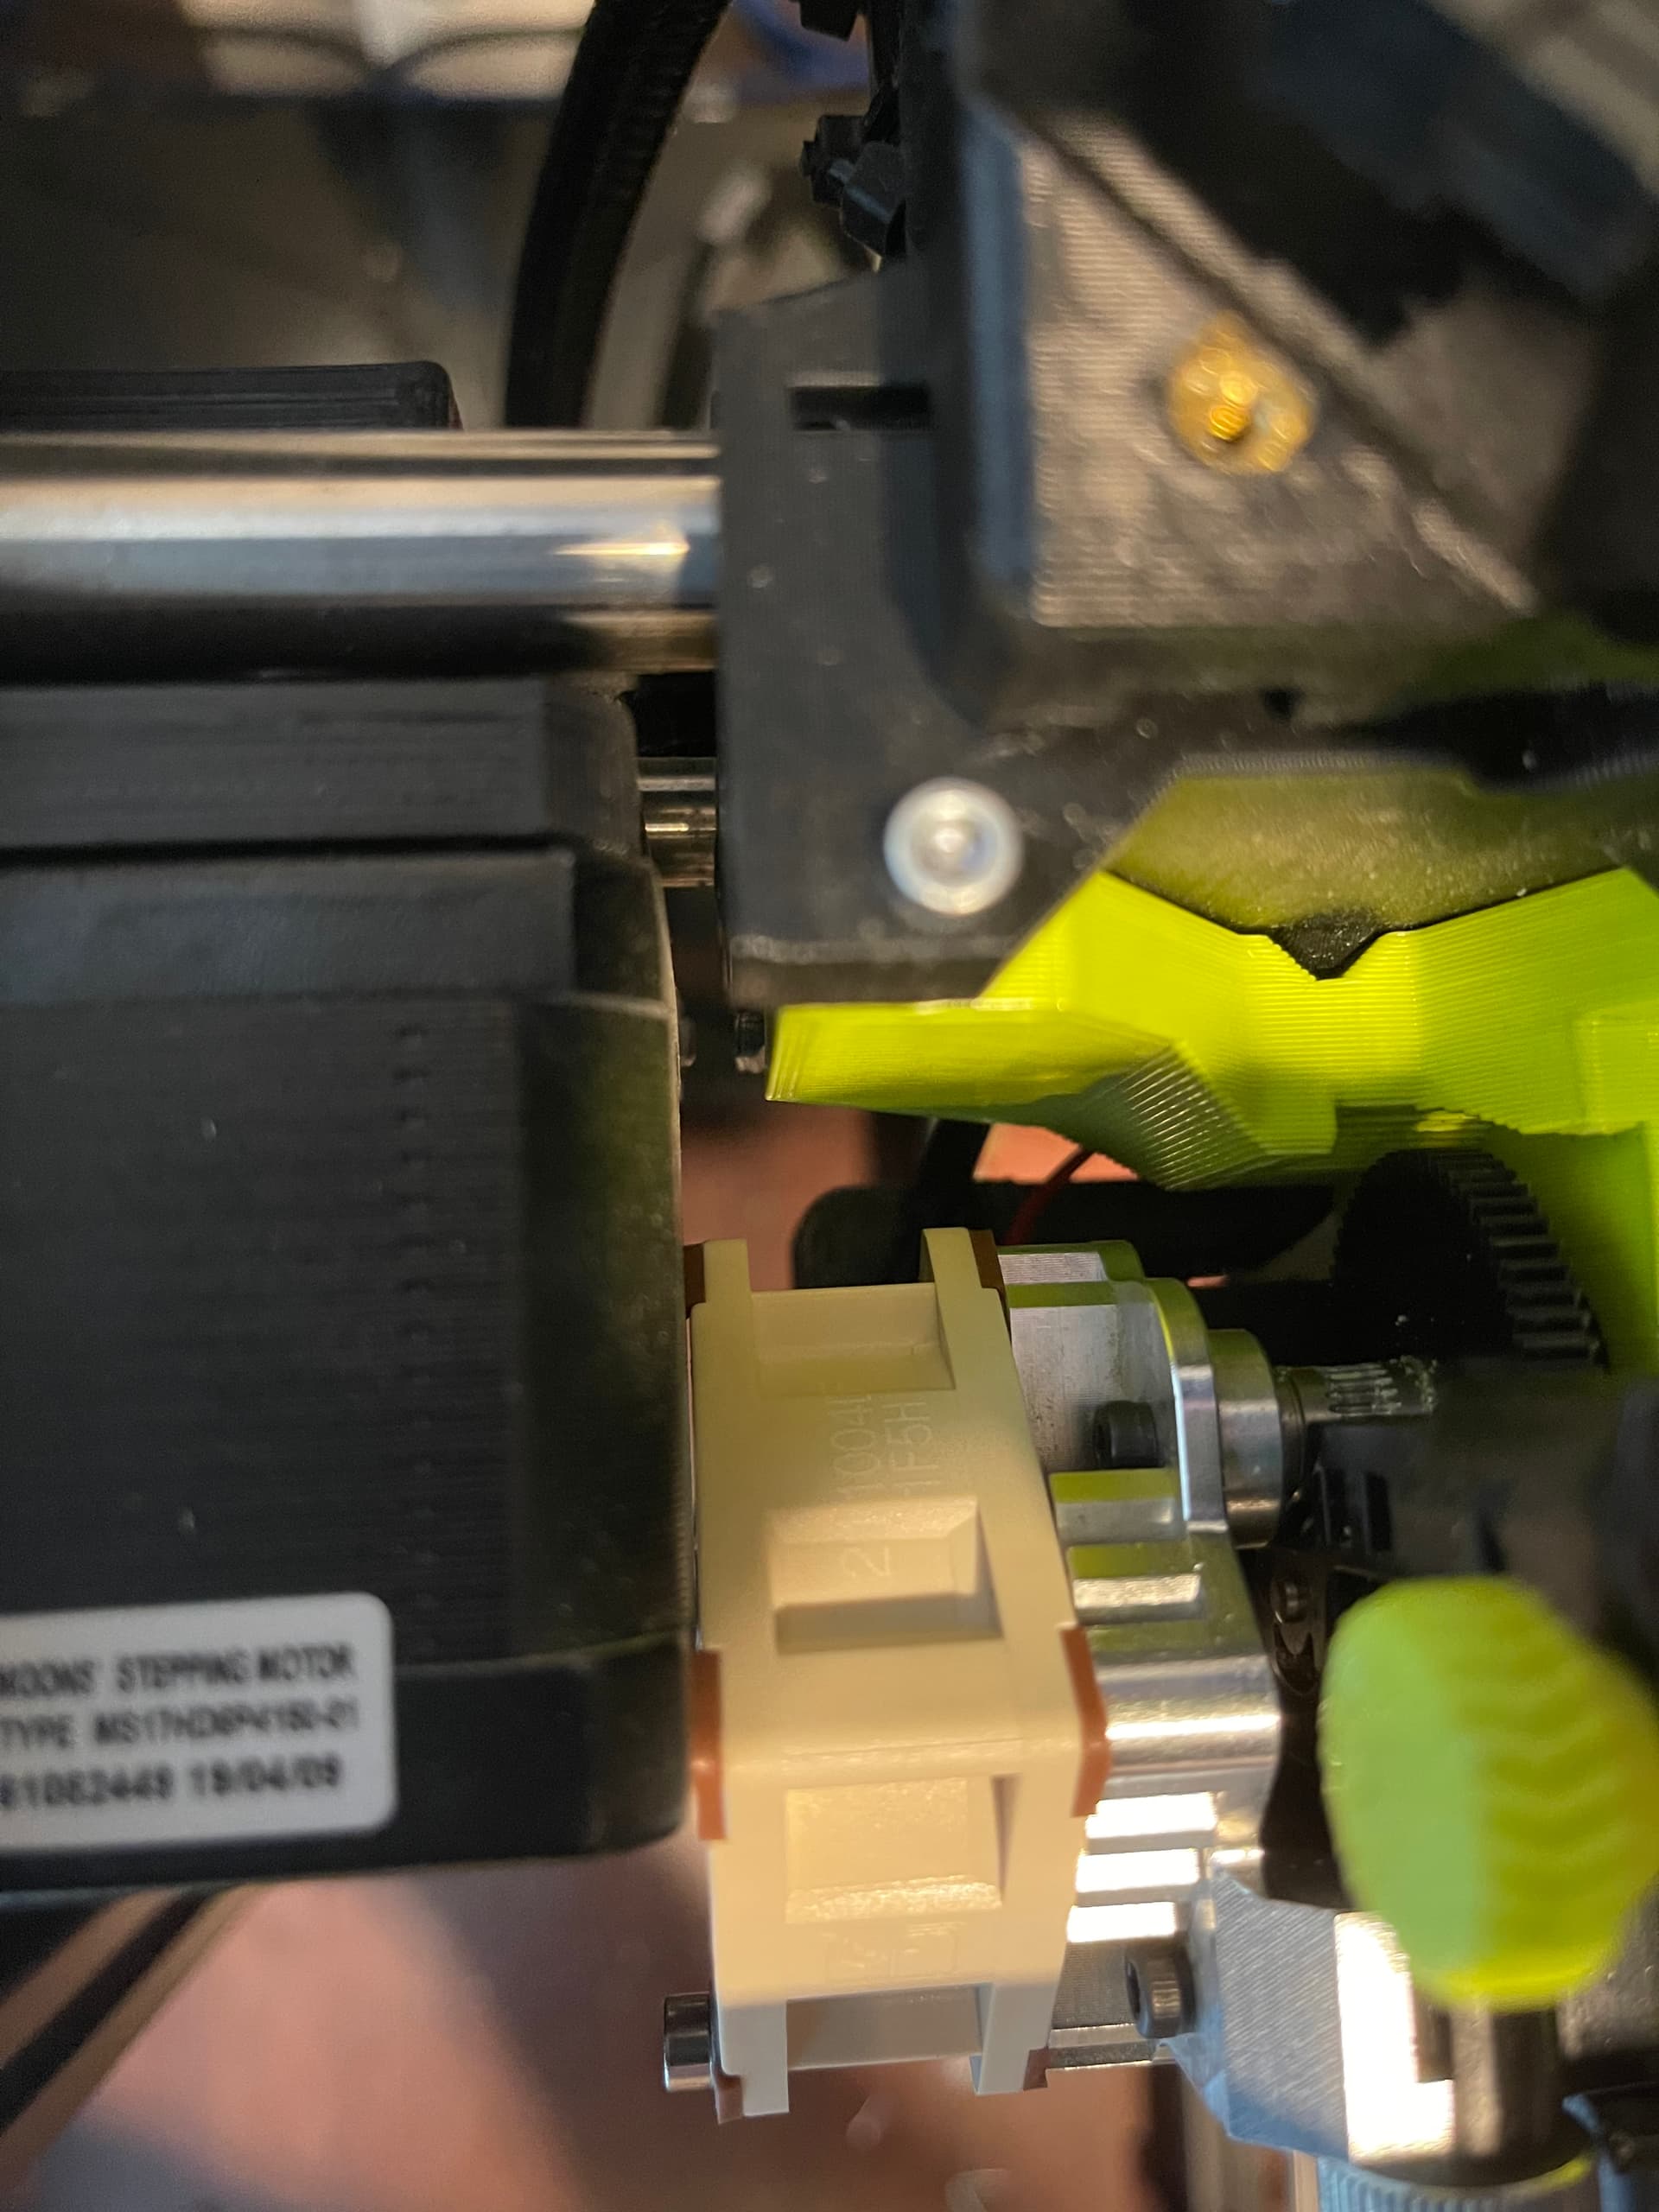
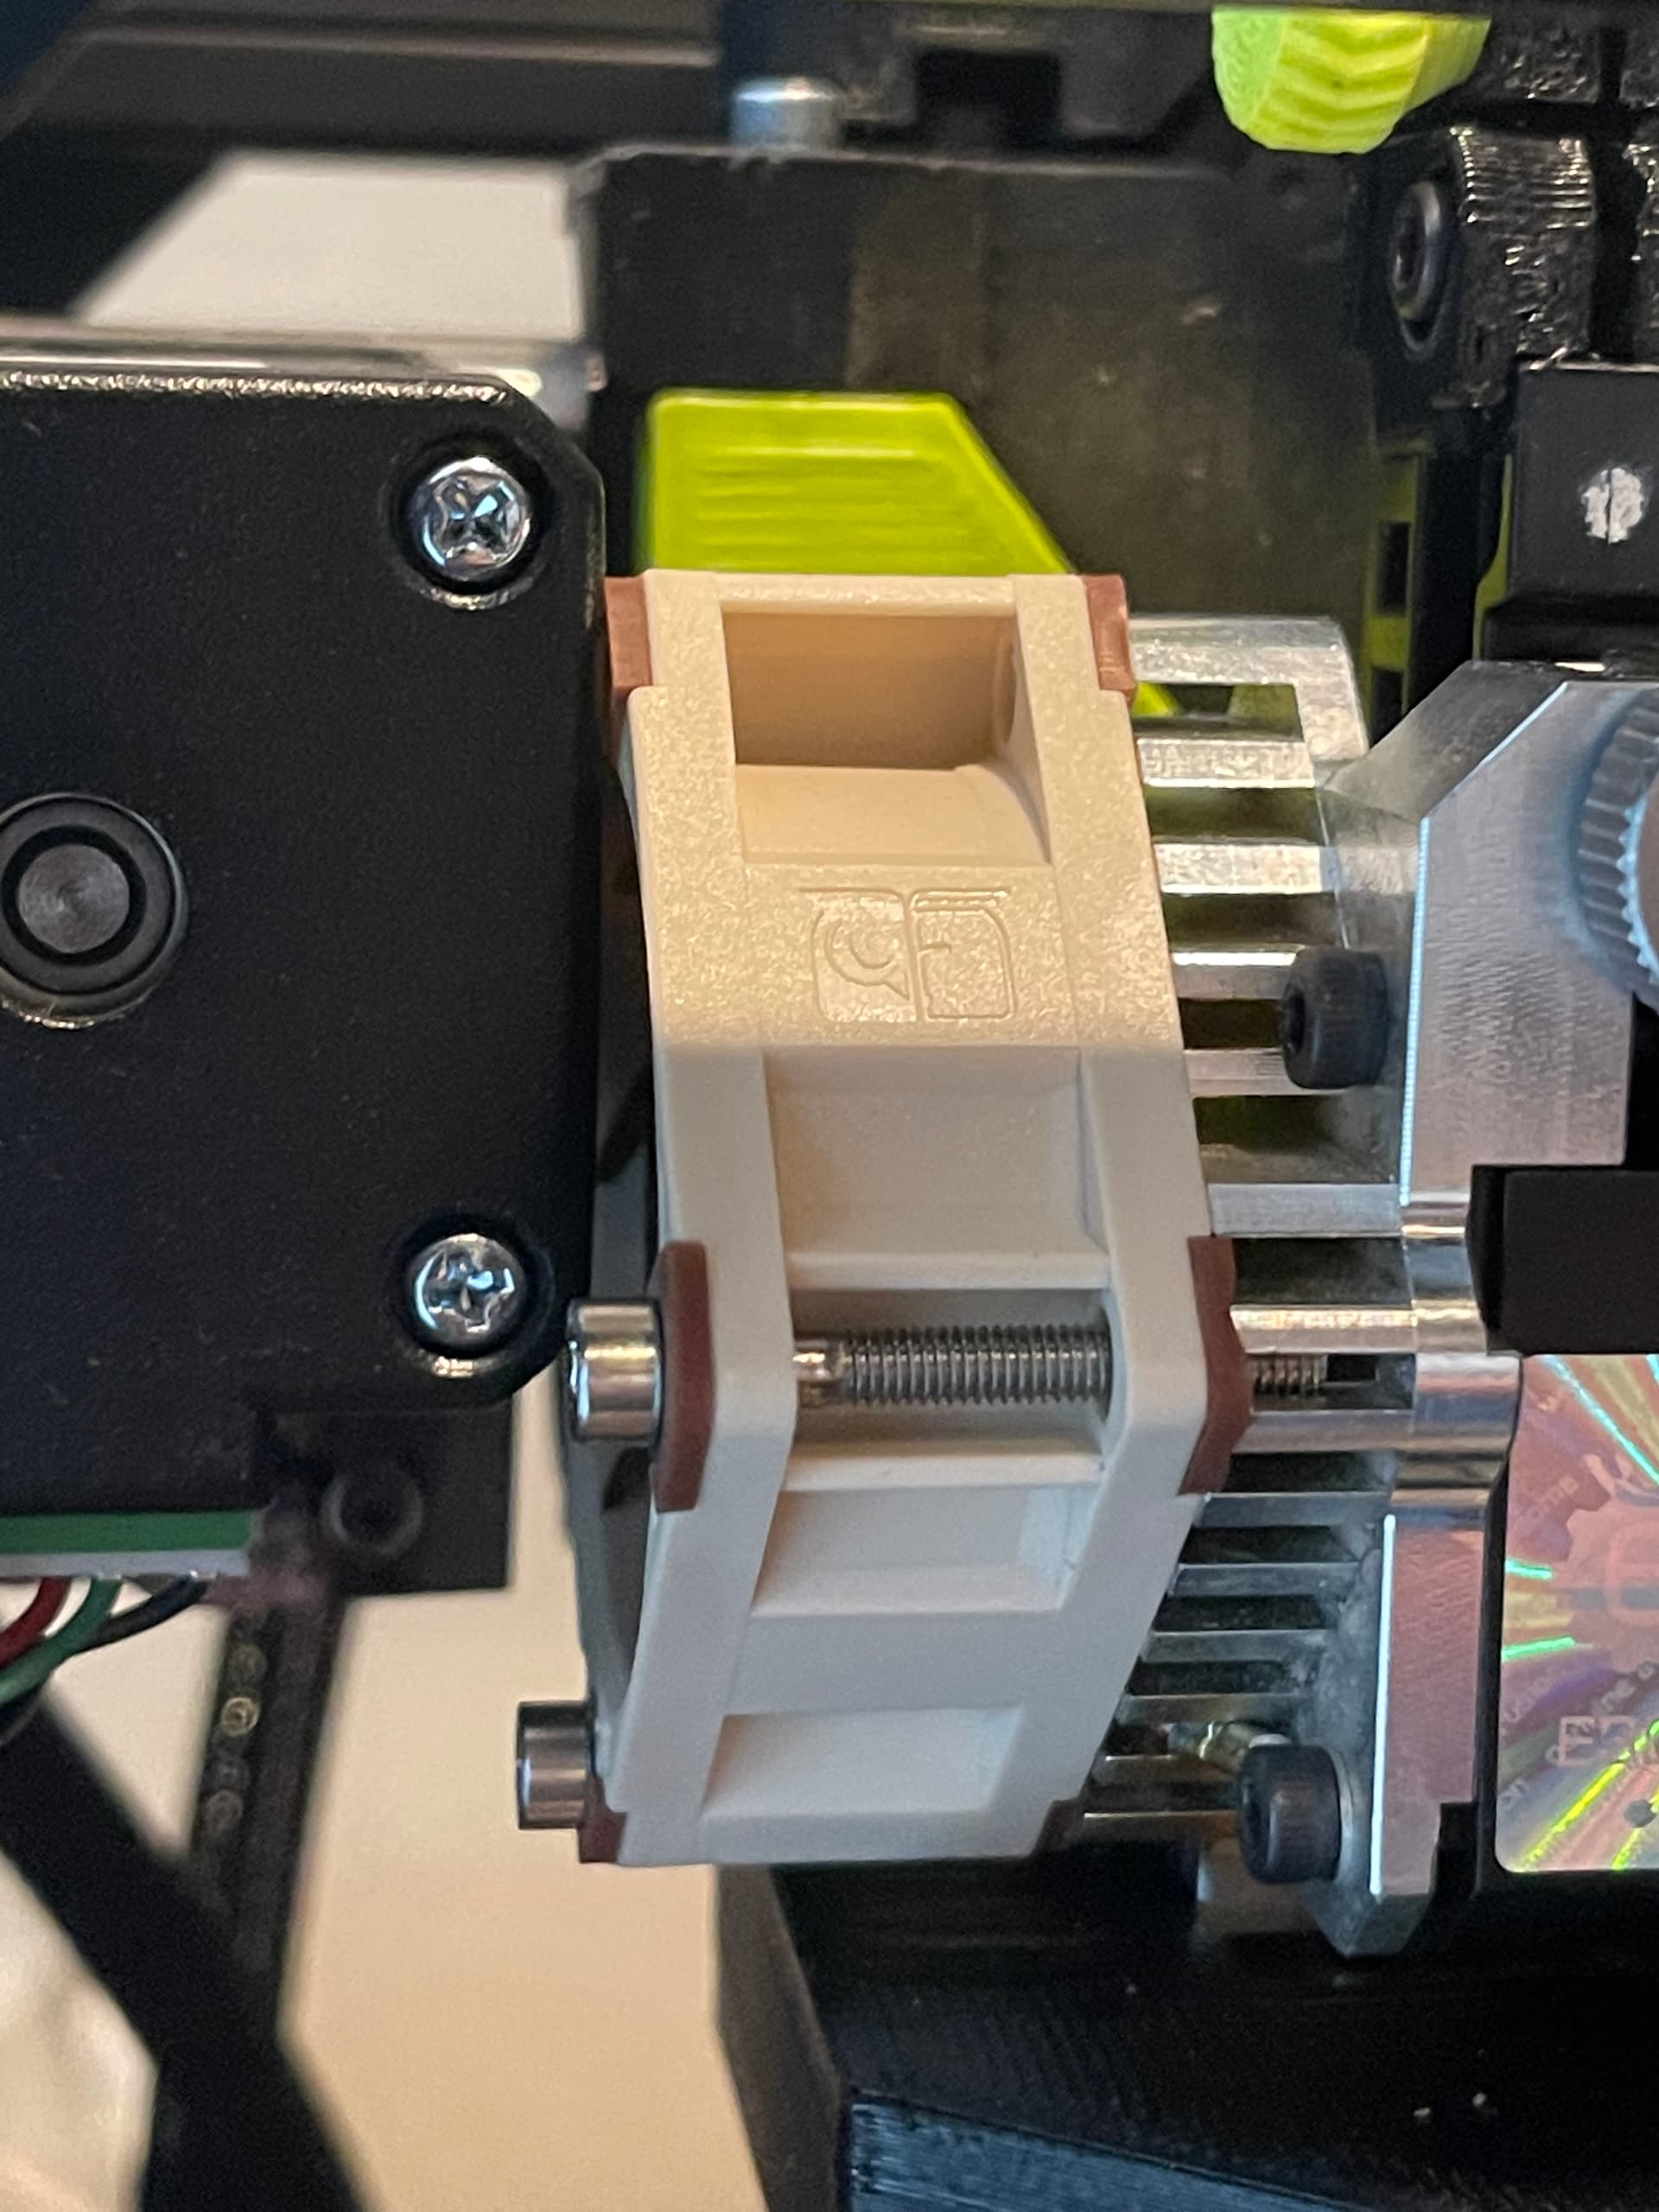
After using the above for a couple of years, I recently switched to https://www.amazon.com/Befenybay-Filament-Concentric-Printing-Material/dp/B08TM8N77D because my collection of spool adapters were beginning to “wear out”.

// 'Customizable Spool Adapter' by wstein 
// is licensed under the Attribution - Non-Commercial - Share Alike license. 
// Version 1.3.1 (c) November 2015
// please refer the complete license here: http://creativecommons.org/licenses/by-sa/3.0/legalcode
//
// V1.4: inner hole fix (see http://www.thingiverse.com/thing:1151473)
// V1.3.1: Bug fixed for latest customizer
// V1.3: Customizer creation failure fixed. Some smaller issues fixed. More slider used. New license cc-by-sa!
// V1.2: part handling optimized
// V1.1a: UI optimized
// V1.1: new star shape

// preview[view:south, tilt:top diagonal]

//to show. This setting is only relevant for preview.
part="right"; //[right:Right,left:Left,straight:Straight,star_right:Star Right,star_left:Star Left]

//depended on the inner and outer diameter, you may also need to change the "Arms" settings to get a perfect working adapter. 
tube_diameter=32; //[0:0.5:75]
spool_diameter=53; //[0:1:150]
height=15; //[0:100]
number_of_arms=5; //[3:10]
function get_number_of_arms() = (part == "straight" && number_of_arms % 2 > 0 ? 1 : 0) + number_of_arms;

/*[Advanced]*/

inner_diameter_backlash=1.0; //[0:0.1:5]
collar_thickness=2.0; //[0:0.5:10]
chamfer_depth=2.0; //[0:0.5:20]
wall=3.0; //[0:0.1:10]

/*[Arms]*/

//I used 2mm on 32/53 Adapter with 6 arms and 2.4mm with 5 arms. It depends on the length.
arm_thickness=2.4; //[0:0.1:5]
//in mm. The adapter should fit tight to the spool, so the outer diameter is enlarged by this value.
arm_compression=1.0; //[0:0.1:5]
// in mm
arm_end_diameter=5.0; //[0:0.5:20]

/*[Expert]*/
quality=80; //[60:Normal,80:Good,100:High]

function get_part_index() = search([part], ["right","left","straight","star_right","star_left"])[0];

/*[Hidden]*/


inner_diameter=tube_diameter+inner_diameter_backlash;
outer_diameter=spool_diameter+arm_compression;

outer_shape=[

    [outer_diameter/2+arm_end_diameter+.1,collar_thickness],
    [outer_diameter/2,collar_thickness],
    [outer_diameter/2,height-chamfer_depth],
    [spool_diameter/2-.5,height+0.01],
    [outer_diameter/2+arm_end_diameter+.1,height+0.01],
];

number=part == "straight"?get_number_of_arms()/2:get_number_of_arms();

arm_degree=360/get_number_of_arms();
degree=360/number;

difference()
{   
    linear_extrude(convexity=20,height=height)
    union()
    {
        if(get_part_index()>2)
        for(a=[0:degree:359])
        hull()
        {
            circle(r=inner_diameter/2+wall,$fn=quality);
            
            rotate([0,0,a])
            translate([cos_arm,0,0])
            circle(r=arm_thickness/2,$fn=arm_thickness*7);
        }
        else
        hull()
        {
            circle(r=inner_diameter/2+wall,$fn=quality);
            
            for(a=[0:degree:359])
            rotate([0,0,a])
            translate([cos_arm,0,0])
            circle(r=arm_thickness/2,$fn=arm_thickness*7);
        }
        
        for(a=[0:degree:359])
        rotate([0,0,a])
        for(i=[0:len(arm_paths[get_part_index()])-2])
        hull()
        for(j=[i:i+1])
        translate(arm_paths[get_part_index()][j])
        circle(r=arm_thickness/2,$fn=arm_thickness*7);
        
        for(a=[0:360/get_number_of_arms():359])
        rotate([0,0,a])
        translate([cos_arm,sin_arm])
        circle(r=arm_end_diameter/2,$fn=arm_end_diameter*7);       
    }
    
    translate([0,0,-1])
    cylinder(r=inner_diameter/2, h=height+2, $fn=quality);

    rotate_extrude(convexity=20,$fn=quality)
    polygon(outer_shape);
}

sin_arm=sin(arm_degree/2)*outer_diameter/2;
cos_arm=cos(arm_degree/2)*outer_diameter/2;
arm_paths=[
    // right
    [
        [cos_arm,0],
        [cos_arm,sin_arm],
    ],
    // left
    [
        [cos_arm,0],
        [cos_arm,-sin_arm],
    ],
    // straight
    [
        [cos_arm,sin_arm],
        [cos_arm,-sin_arm],
    ],
    // right star
    [
        [cos_arm,0],
        [cos_arm,sin_arm],
    ],
    // left star
    [
        [cos_arm,0],
        [cos_arm,-sin_arm],
    ],
];
1 Like

Here’s a failed print of the spool holder with -1.5 z offset.

This was printed with 215c first layer, bed at 65 first layer. 195/60 after that. Corners peeled on the bar at the bottom and are bending up but it would’ve been usable. Filament grind stopped the print again I took the tube off between the filament guide and the print head.

At some point, one just throws the problematic spool in the trash, and moves on.

I’ve been able to print with all manner of PLA (and a lot of other more exotic filaments), but had no end of failures with a wood-fill PLA from a reputable filament vendor. After wasting more time than I care to admit, I finally tossed it in the trash, went back to eSun PLA+, and haven’t had a failure since then. (And the failure mode for the wood-filled PLA is remarkably similar to what you’ve posted above, including the horrible curling and corner-bending.)

The downside of trying to print something that will improve the quality of your printing when the current quality of printing isn’t good enough to print it.

I compared the holders I printed with yours and I think I gave you the wrong link, the one I printed is https://www.thingiverse.com/thing:1608830, a remix of the original that is a bit taller, captures the cross tube, and utilizes an extension on the base which fits into the slot on the rails.

You might have to bite the bullet and purchase the aluminum version I linked. I really like them (I have two) because the spool holders have a taper and will center the filament spool over a range of hole diameters.

Being a person who never gives up, I fired up another print, adjusted the tension and it’s over half way done. I ordered one of these as well. I am not going to chuck this filament even if I don’t print anything successfully with the whole roll. It’s just my personality.

This was printed with -1.65 to start with but the nozzle started rubbing so I backed it out to -1.55

That is looking better and is probably useable. Maybe a little bit of fine tuning to address the stringing.

Found this post from you - Filament grinding - #25 by b-morgan. I have the aerostruder (and from some of the stuff on mine vs pictures online, I think I have an older Taz Workhorse). I bought the Noctua A4x20 fan, but it fails homing grinding with it on there. Is there a way to fix that, or will it just not work? I am going to have to remove it and undo my splice to put the old fan back on I guess, or order another fan.

Edit: also this showed up 2 days early

According to the Features section of https://lulzbot.com/store/lulzbot-taz-3d-printer-workhorse-boxed-for-retail-na-kt-pr0051na?ref=KT-PR0051NA, the stock tool head for the Workhorse is the https://lulzbot.com/store/lulzbot-se-tool-head-nickel-plated-copper-0-5-mm-kt-cp0136.

I’m at a disadvantage here because I have a TAZ 6, not a Workhorse. I have an Aerostruder tool head for my TAZ 6 but it is an older model and is mounted differently.

So I think we need pictures (or maybe a video) of your assembled tool head with the new fan (or the old fan) mounted on the printer.

You replaced the stock cold end fan with a NF-A4x20 5V which is thicker. Is it interfering with the X end stop? Perhaps preventing the tool head from reaching the end stop? This is the only thing I can think of that would cause a failure to home and/or grinding.

Replacing the stock cold end cooling fan with a NF-A4x10 5V fan would have the same dimensions as the stock fan but would have a higher CFM.

BTW, I’m not completely convinced that we are dealing with a heat creep issue assuming that the stock fan is blowing in the proper direction.

I will reassemble and provide pictures in this post, it is interfering with the x end stop. It is running into the motor for the x axis movement. I can order the 10mm fan defaulted to the 20 because more CFM when I compared. I see the x end stop bumper switch, and it looks like it is ~5mm now that I took two bolts out of the fan that were hitting otherwise it was like 6mm. Give me a few minutes to post pictures, and thank you so much for being willing to help!


If this is not an Aerostruder Titan (the Lulzbot version) I apologize, I’m just going off what I saw and was told when I bought it. It is this one I’m pretty sure: HE Tool Head | 2.85 mm | Hardened Steel | 0.5 mm (lulzbot.com)

Edit: Ordering fan.

I believe it is the Lulzbot tool head with the E3D “Aero Titan” Extruder/Hot End. If it is the HE then it has the hardened steel nozzle. That could explain why we haven’t got it dialed in yet.

The hardened steel nozzle doesn’t conduct heat has well as the brass nozzle so it needs higher temperatures, around 10-20 degrees hotter than brass (as on the SE tool head). Unless you are printing with abrasive filaments, the HE nozzle isn’t needed, IMO, and causes more problems because of the higher temperatures needed.

So replace the 20mm thick fan with the 10mm Noctua version for the “bump” in CFM without the “bump” into the frame!

I think a temperature tower is going to be needed to get things dialed in.

1 Like

Thanks for clarifying, I didn’t think I was crazy using 240 based on previous temp testing I did, I have not run a full temp tower, need to do that. New fan on the way. Putting old back for now.

With the hardened steel nozzle, I’d start with adding 10-20 degrees to the lower and upper recommendations on the filament. The higher you go, the more chance there is of inducing heat creep. I’ll say it one more time… You really need to print a temperature tower.

BTW, search this forum for “hardened steel”. I think you’ll find quite a few topics that might contain some useful hints.

Thanks, this is what is happening with the prints that don’t stick well without higher print temps. Note the corner peeling. I just got stuff setup to do a temperature tower tomorrow.


Rocktopi printed with 240c and -1.6 z offset, maybe 1.6 is a bit high. I can dial in from here as adherence to bed was amazing.


Edit: Tried to print a temperature tower. Failed before it finished the first section of the tower. I tried switching filament to some eSun that was brand new. It stripped out as well. The drive motor for the feeder was 196F when I hit it with an infrared thermometer while the job was failing. I think there is something with the drive motor. I went ahead and ordered another one.

Your z-offset is much too high. You will want to lower that to help with your bed adhesion issue for the parts that are not sticking.

You think it’s too high on the rocktopai in the last photos?

Not on the rocktopus, but all of the other prints you have supplied pictures for.

The new noctua fan arrived yesterday. I put it on and tried a print, no dice. Failed from grinding at the same tension I’ve been using for eSun pla+ and I swapped to a roll of that before the print. I will see what happens when the new motor arrives on Friday.