A holddown clamp would work, that or a side conveyer. I’d have to make sure i’m not adding too much mass to the bed though.
Yep, there will be much testing of this before it gets to “release” status, and I fully expect I will destroy a few belts along the way. I know Buildtak would release ABS at that angle without too much trouble, other materials are going to be an unknown. I’m going to make a blanket “this is for ABS and PLA only until testing indicates otherwise” statement for now, since adhesion for well adhered ABS is something I know I can work around.
I think the concept will work. Initial nozzle height will be key.
One dilemma may be warping of ABS. Since the film won’t be secured to the bed, cooling ABS could lift the film off the bed and continue to contract. You’d need to have the film pretty taut.
I am hoping the tensioner will let me get it very taut. That and the new silicone spring replacement things. The machine this ends up on also has my micrometer adjustment z endstop target, so hopefully I can get that set well and keep it there.
I have one more cable path assembly to design, then the motor mount is next.
I found my stack of mylar plotter sheets finally, and that looks like a much more promising belt material. It cuts easily enough with scissors, is damned near impossible to tear on purpose, is designed to go into a laser printer plotter that heats sections of it up to above 110c without distortion, and contact cement will adhere to it. The surface actually looks like a smoother version of the top of Buildtak where it separates from the black layer, but that stuff is more brittle so its probably just a visual similarity and not a material similarity. i’ll be curious to see if anything sticks to this as is though, since near as I can tell no one in their right mind has ever considered it as a 3d printer bed surface material.
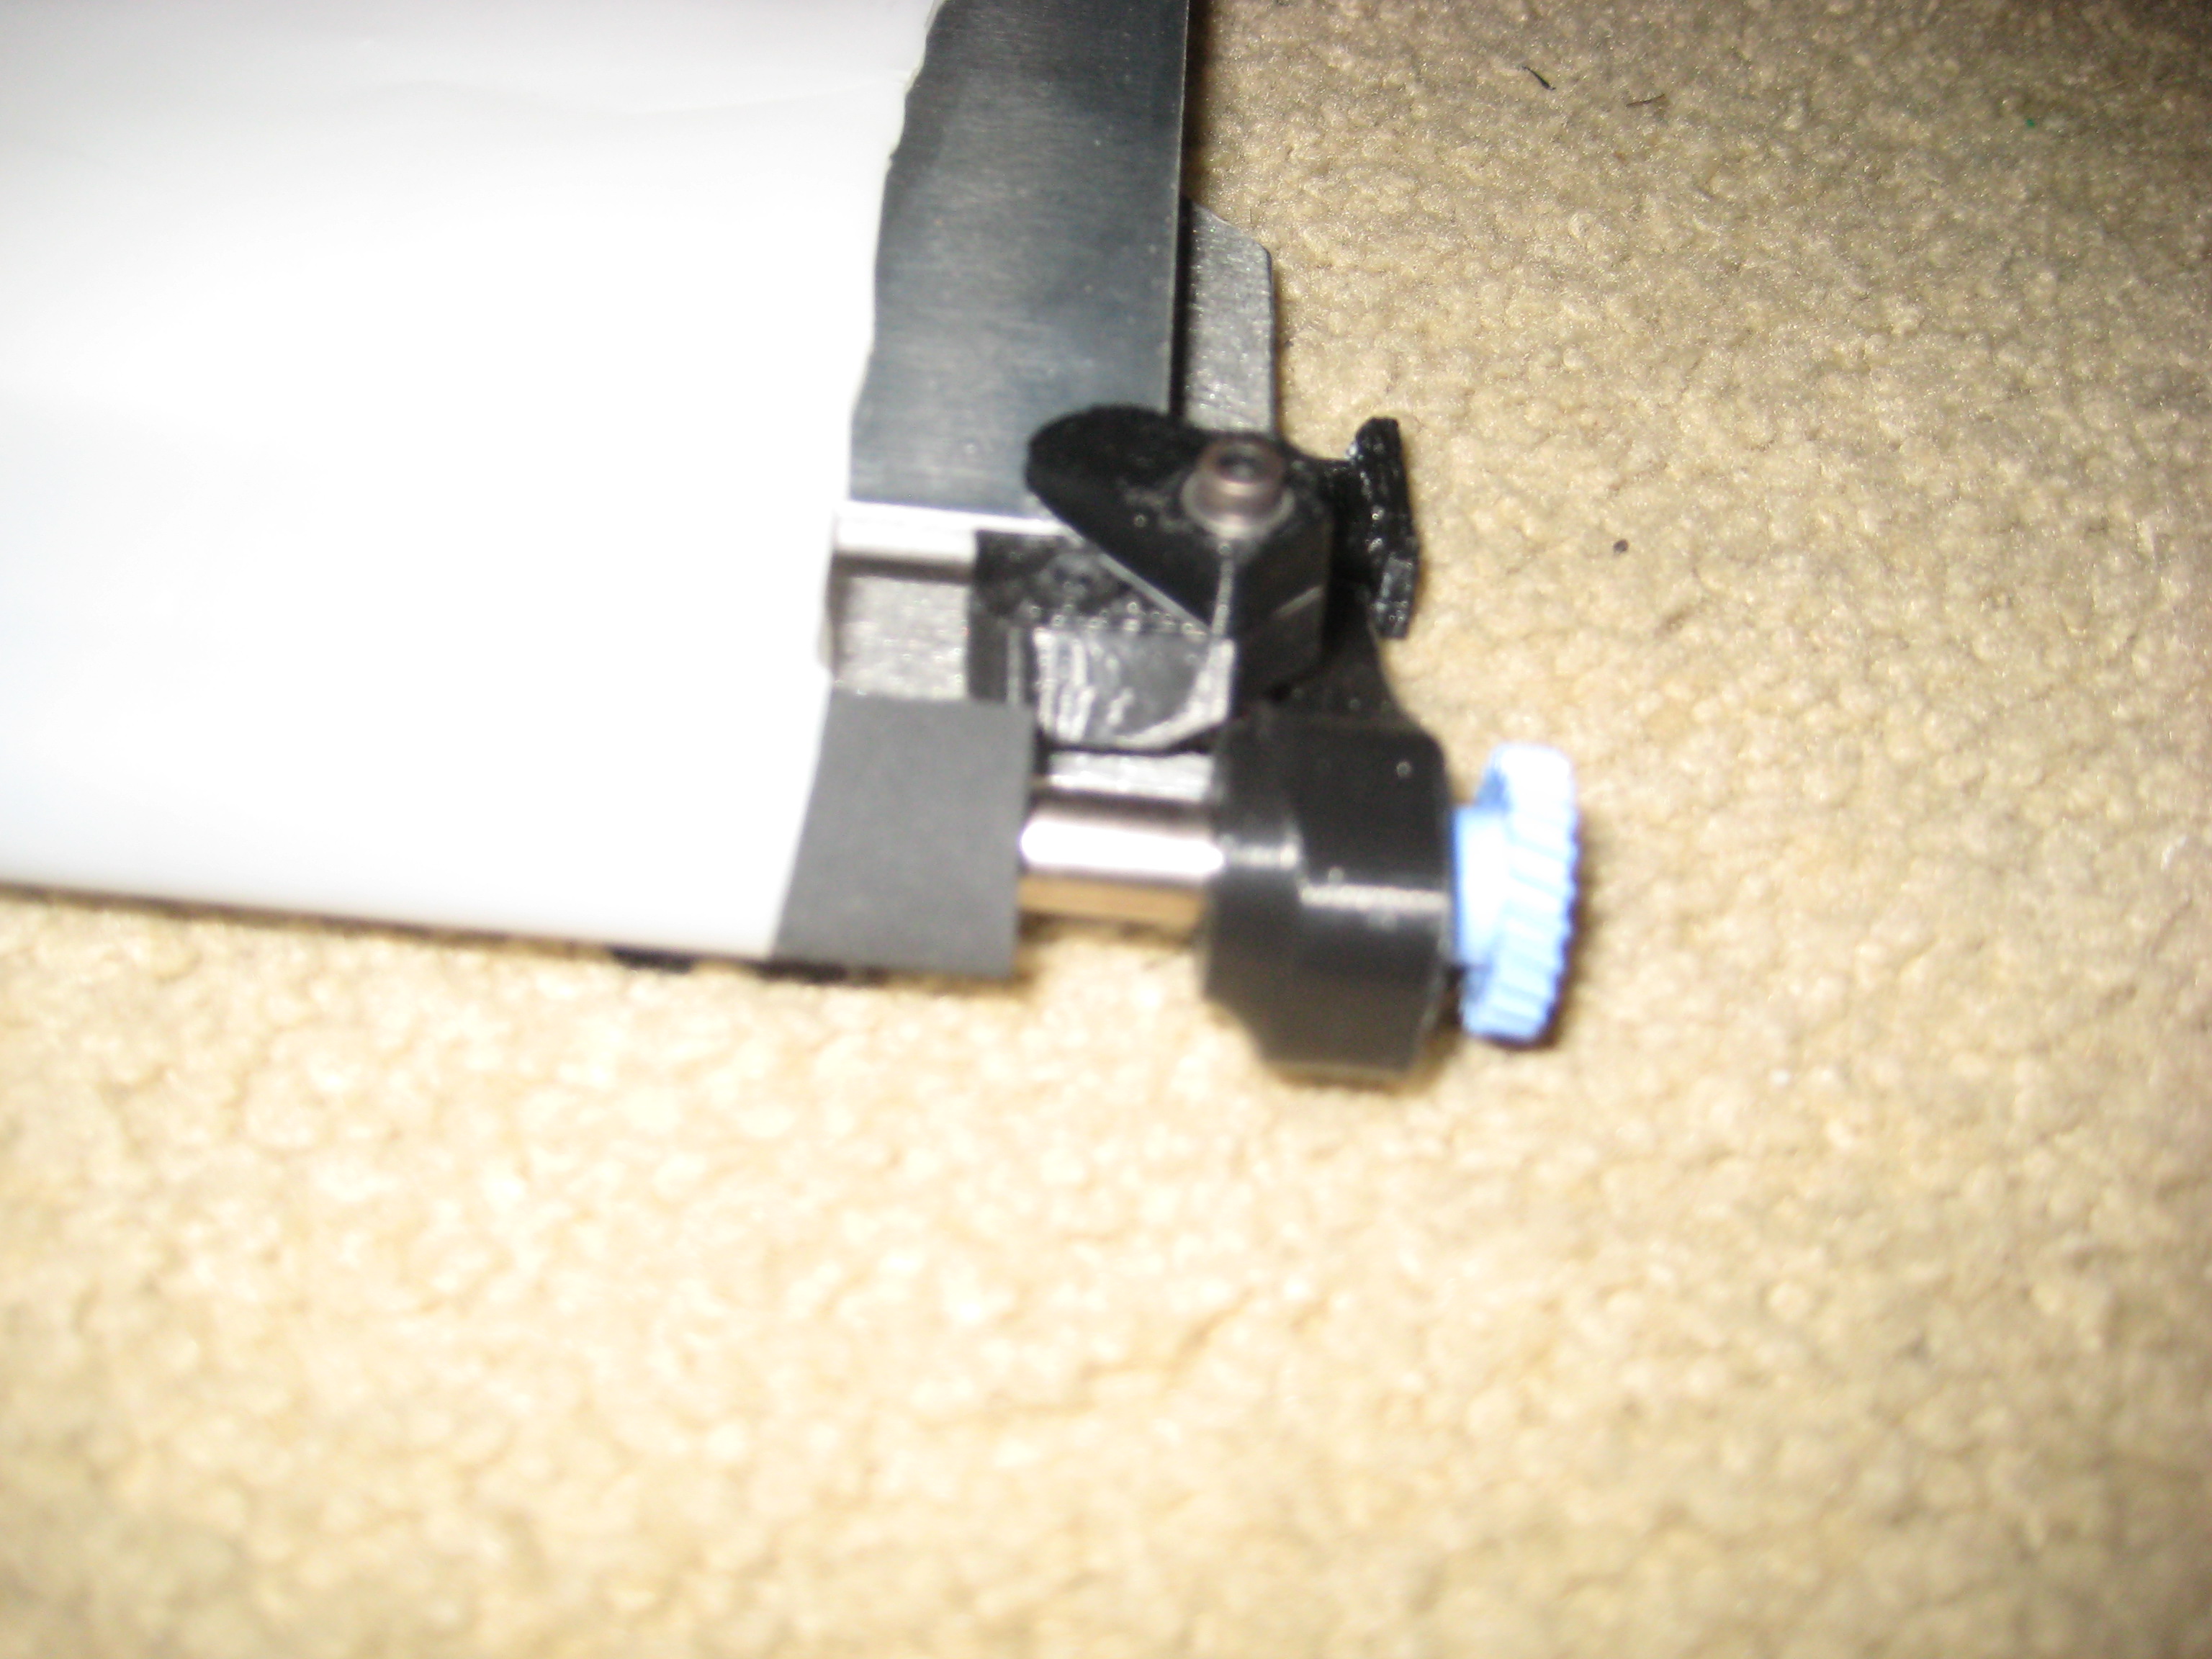
I finally got some time to play with this some more. I have officially fitted a test belt to the assembly, and tested a sort of working gear brake mechanism.
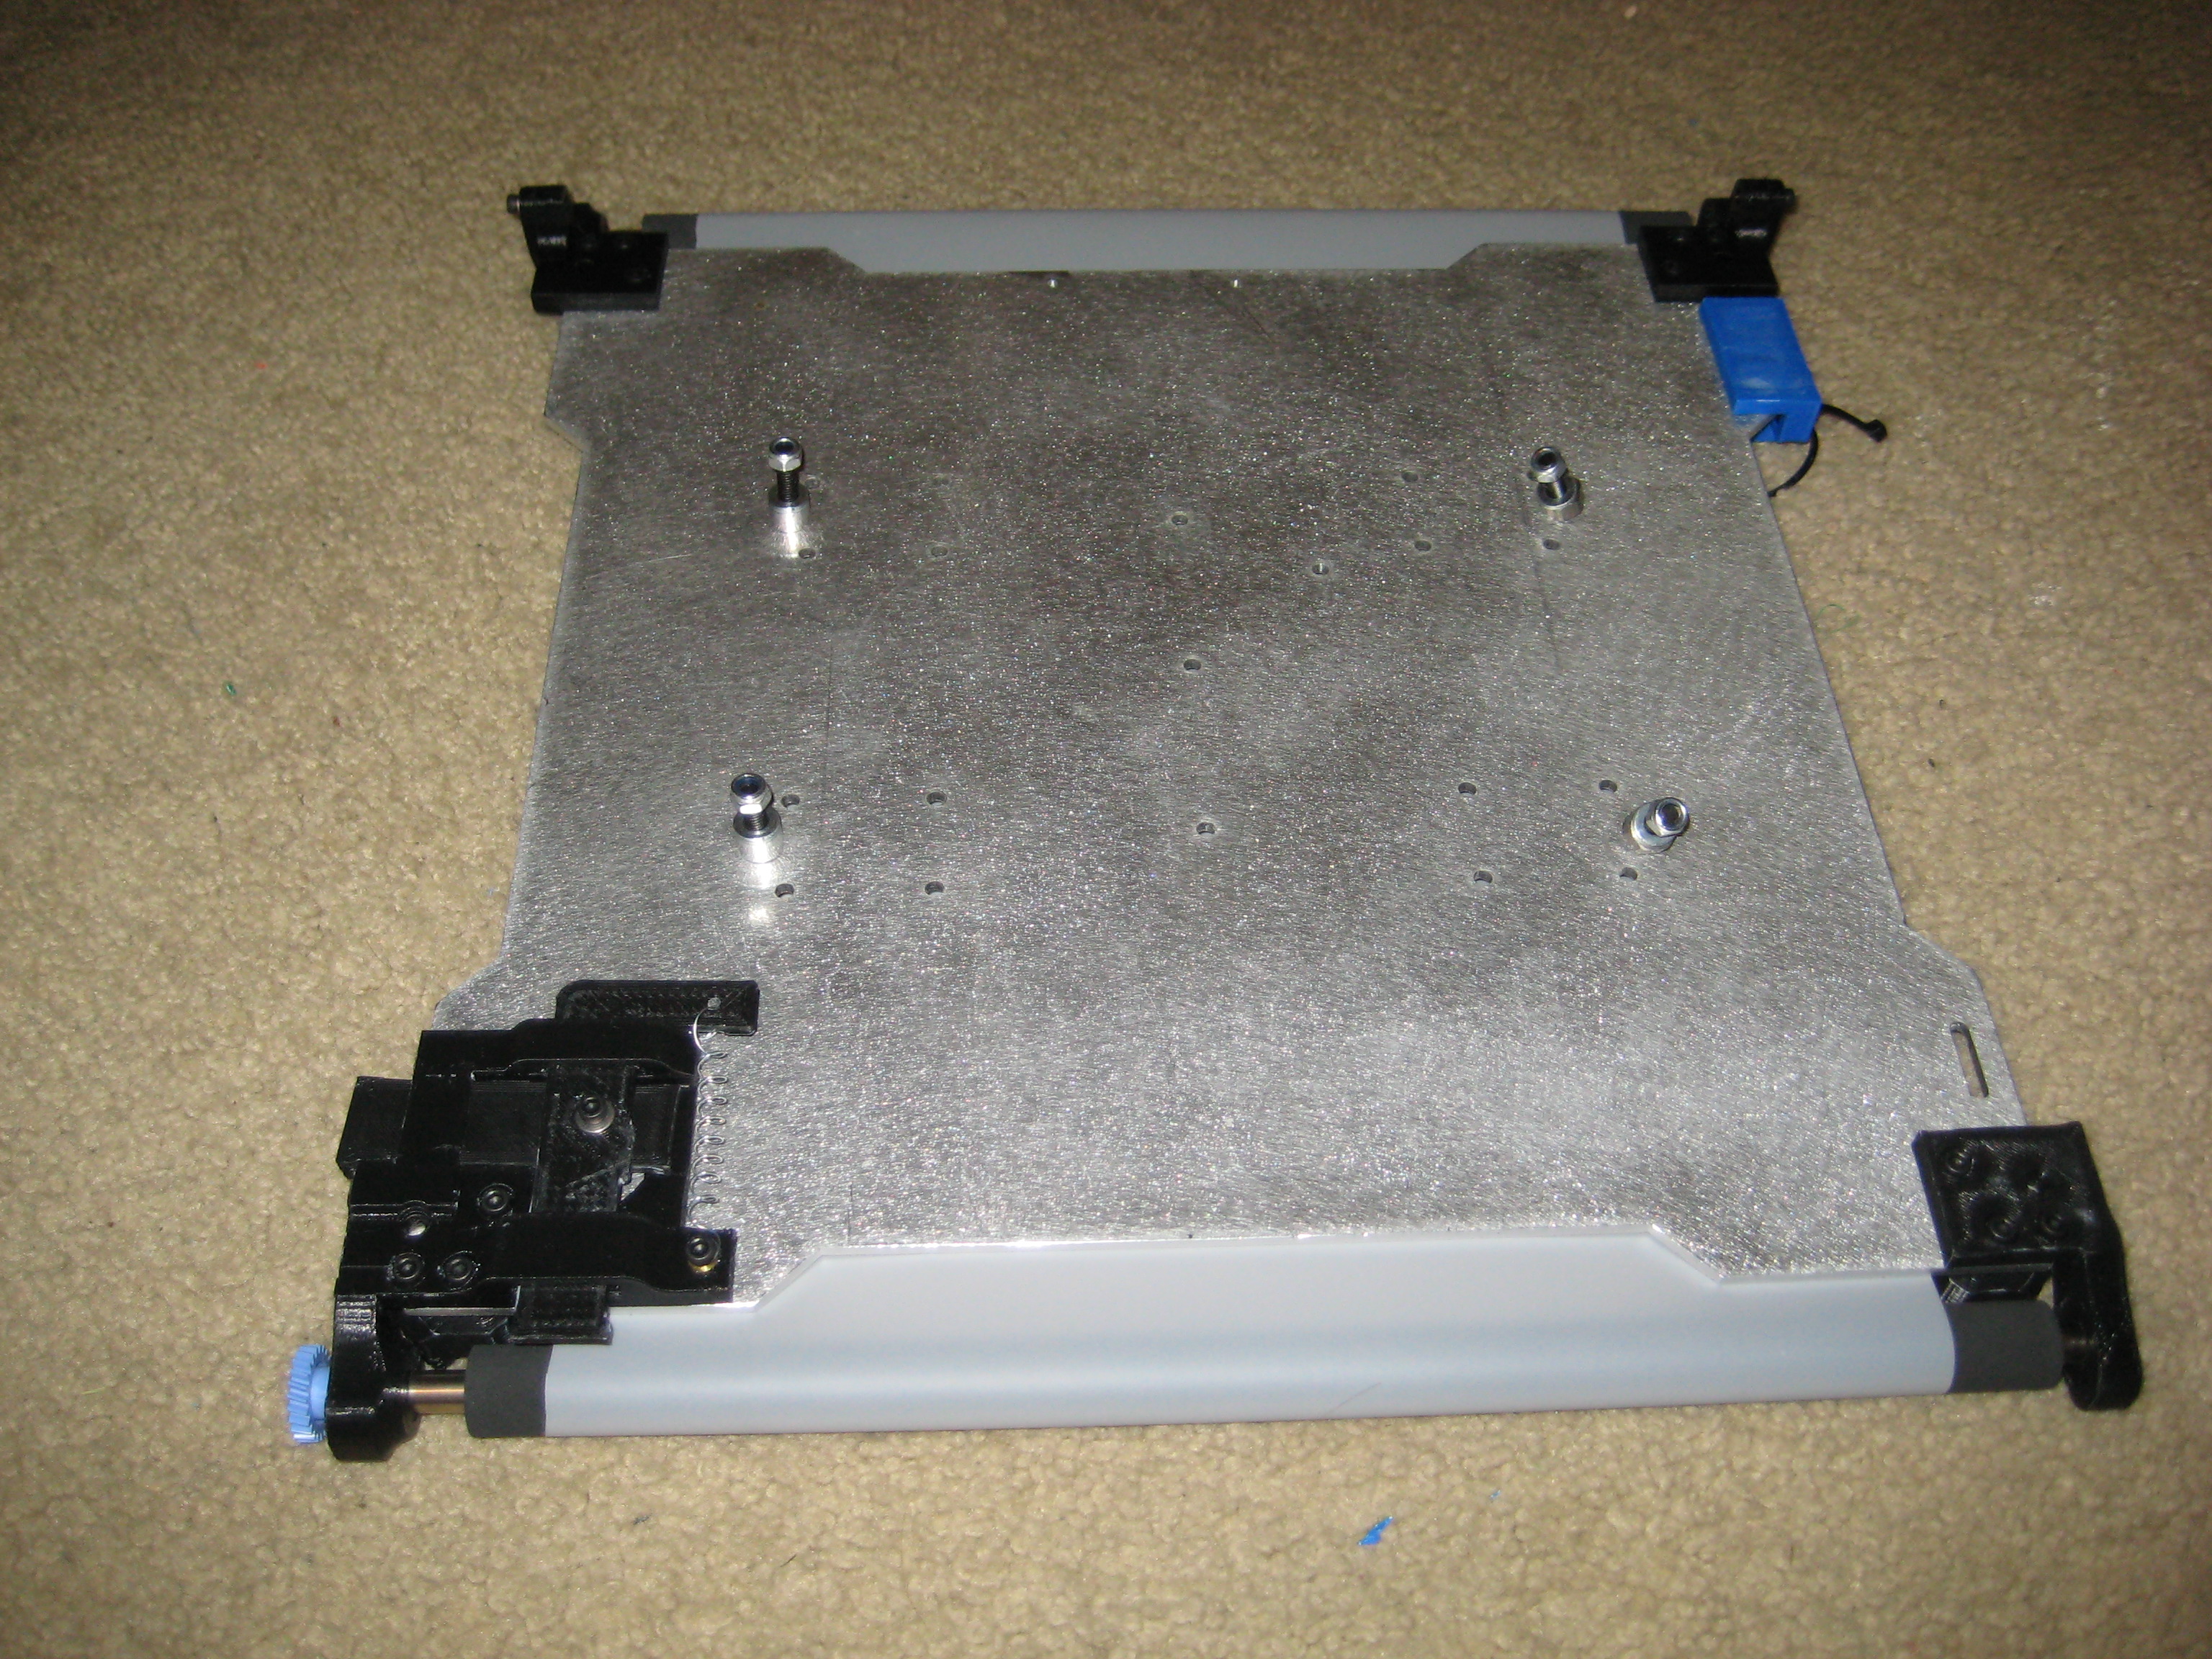
The belt is just temporary, will be cut better and adhered better on the permanent one, etc. For right now it’s just a placeholder for fit. The bed tensioners work great, the belt feed works great, with a bigger gear on the spindle i see no issue with ejecting moderate sized parts in the future.
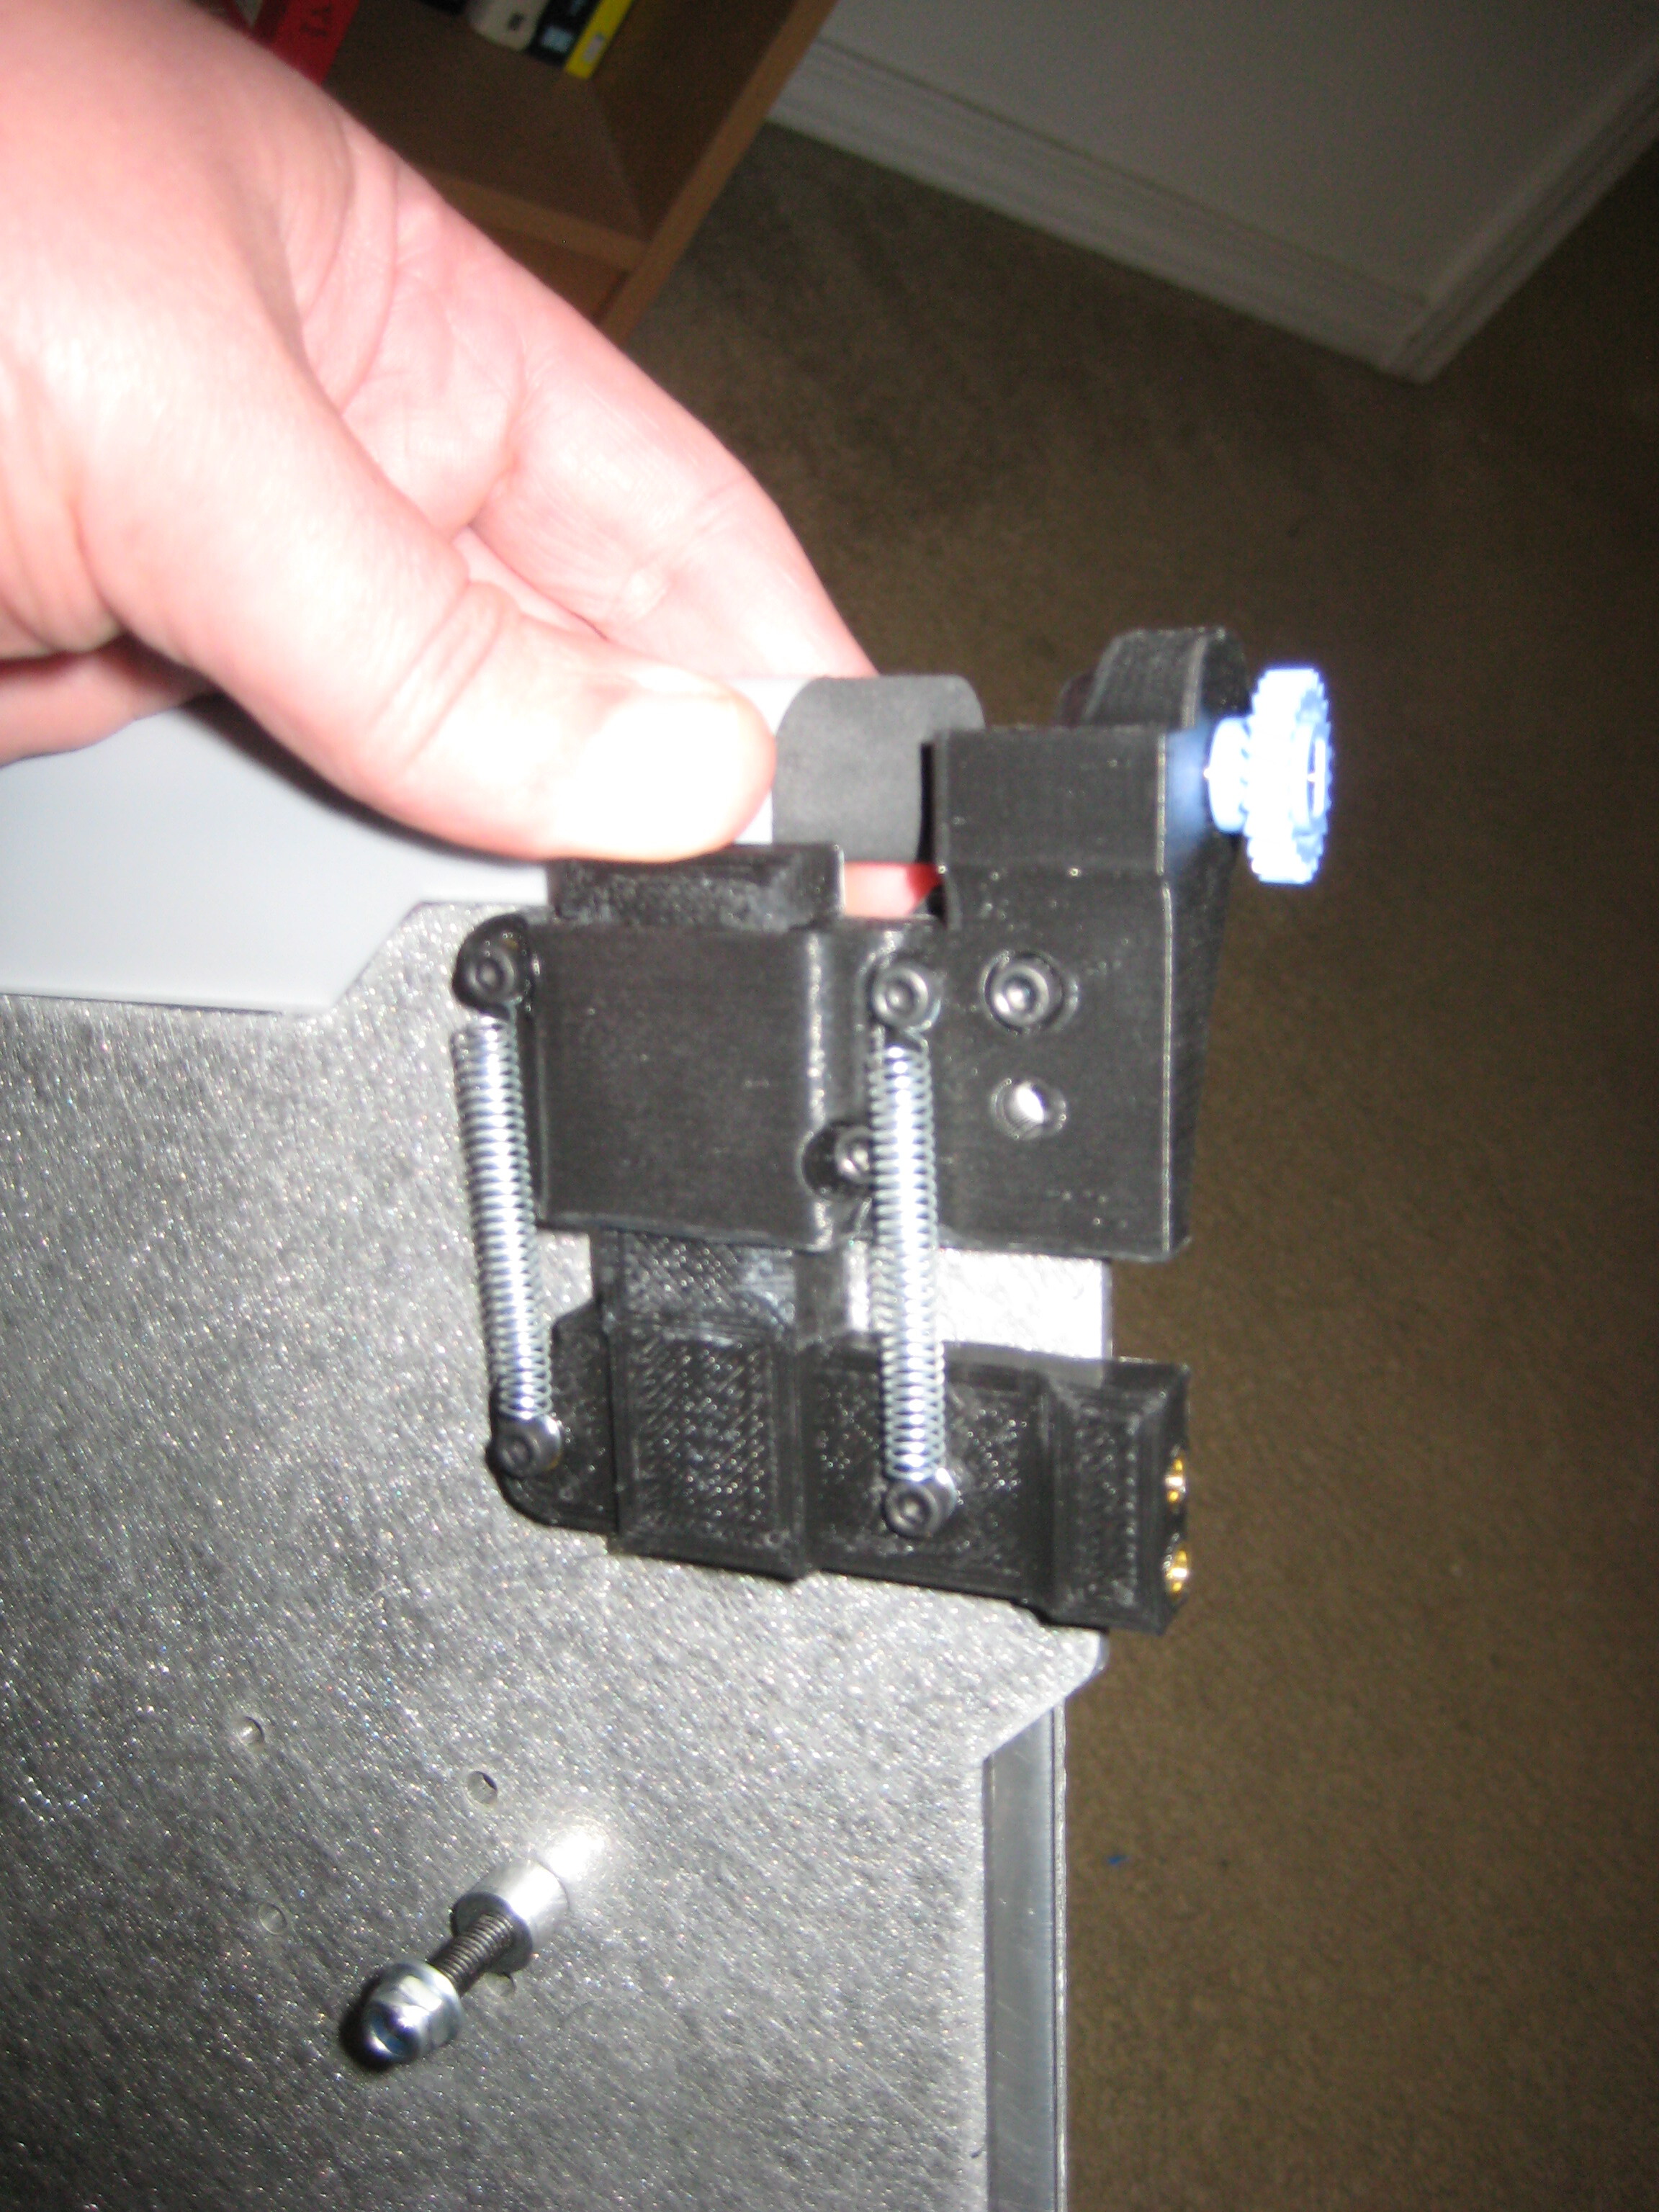
The gear brake mechanism on the bottom front right corner also technically works. Impact does indeed retract the mount where the gear brake teeth would eventually engage the gear. Sort of. And it does eventually go back kind of. There’s just too much friction the way I have it right now. Thicker parts, a bearing on the guide pin, a better spring, a better holding bracket, etc. will all fix that. I erred on the side of trying not to add too much weight, but it is working as a proof of concept anyways. It just needs a bit of refining.
You also see the new bed mount corners. These use a precision cut segment of flexible silicone tubing to relpace the spring dampers. It will give the bed a more solid feel, but still allow for impacts. These are basically the same density as the ninjaflex spacers on the Taz 6 bed, but less expensive to make and adjustable. That STL is ready to be used for aluminum beds, and will be posted somewhere below. The other bracket peices still need some work. I don’t have the actual bed heater installed yet (it’s on the way) but I do not see any potential clearance issues in that area, even witha thicker multi layer bed. There is plenty of room for the openbuilds wheel bolts, someone fitting this to a stock Taz may want to replace the stock M3 bed bearing holder bolts with low profile head ones, but either way it should work with no snags. The belt feeds manually without traveling back and forth, there is plenty of tension possible even with just the tape seam, and everything lines up perfectly for the motor mount. I just need to add the limit switch mount location, actuator fingers, and rebuild the brake system to be more reliable, and I think we have a prototype for testing. My confidence level in this project is very high at the moment that it is viable.
More pictures and the Corner mount STL. This one takes a 1/4" soft silicone tube with a 3mm inner diameter hole. I think its intended for use with spray nozzles.
I should also mention that this project so far requires zero modification to the Taz build plate. The openbuilds Y axis modification is reccommended, but not required. Once I get it working on the Taz 5 bed, a Taz 6 bed variant is possible without too much trouble. The mount corner holes are a bit different, but not too far off, and the changes will be in areas that don’t affect pathing or operation.
I also have no idea what size gears I am going to want to build. I kind of need to see how fast my motor goes. I’m planning on adding a speed control potentiometer, with possibly a later version having a fixed speed circuit.
When the bed approaches Y maximum, a pokey thing on the back of the conveyor belt motor can housing will hit the gear brake, pushing it back about 5mm before the second pokey thing on the bed itself hits the conveyor belt actuator limit switch. You can see the general arrangement below.
Next up, the back side piece that will hold the limit switch and the protrusion that trips the gear brake. Once I have all that roughed out I can print the motor housing and get some real world measurements to see how things line up. There will most likely need to be two motor cans, or two sets of gears to make the system line up for an openbuilds Taz or a stock Taz.
One challenge I am going to encounter is the right extruder fan. At full Y zero bed position, if the extruder head goes to X maximum, the right side fan will clip a large gear. I can probably get away with something like a 60mm radius, but that is smaller than ideal. There is room to extend the motor shaft over and make the gear clear that way, but that throws a whole mess of complications into play, so I think i’ll try to make it work and adjust the motor speed and gearing as needed. For simplicity and torque, I really want to limit this to a two gear system, but that may not be able to occur.
It’s getting there! next up, the system will get mounted to the test frame, attached to a small 24 volt power supply and tested for motion a few times
Some more pictures. The motor can is on there now, though it’s looking like it will need to go down and back quite a ways to engage properly. Which will result in a changed mounting location.
I suspect the PEI film and mylar may not be enough to overcome the contraction of ABS, but may be promising for other filaments. Have you rounded the edges of your aluminum bed… could increase the life of the mylar.
If the mylar doesn’t hold up, tyvek is pretty durable… crumple it up and it softens up. Not sure how well it would hold up to the heat.
The aluminum bed will indeed get its edges rounded. I’m waiting to see what the full width of belt I can fit ends up being, and then I will profile the edge accordingly.
Tyvek is not a material I have played with before. I’ll have to see if I can find some. Will it take any sort of glue?
Titanium foil, exotic. That should be the next thing you try. Aluminum foil is already pretty light… the Ti foil should float in a breeze.
Not sure about gluing Tyvek. Made some make-shift organization pouches while on travel. Used tenacious tape for the seams (butted the edges together for uniform thickness and maintain flex). Got the tyvek from the local hardware store.
Also used it to make some durable waterproof signs for a community event… They make inkjet/laser printable sheets too. Fun stuff.
Looks like it has a melt point of 140c, so that may work for a belt. Home depot has rolls of it pretty cheap, I’ll pick one up this weekend and see how it goes. I’m hoping to have my main motor gear working soon too.
The Tyvek stuff is pretty durable. I think some company makes laser printable sheets,. I’ve had one of those “event” wrist wraps on the handle of a piece of luggage for the past 5yrs… its still there and warding off people looking for a non-descript black rollaboard. The bag on the other hand is getting pretty shabby looking from business travel.
Still looking forward to see where this goes… promising for non-contracting material.


 Aluminum foil is already pretty light… the Ti foil should float in a breeze.