Can someone reupload the firmware?
I’d really like to install this mod.
edit after re-reading some of the posts in this topic
Does the current firmware that ships out with the TAZ3 include firmware that supports auto bed leveling?
Hi all. Sorry to post in such an old thread but I’d love to get some feedback on my issue.
Tshulthise has let me borrow his TAZ for a few months under the agreement that I would get auto bed probing and Z-axis improvements installed and working correctly. I have it all installed but for some reason I can’t get the RAMBO board to recognize the G29 command (or G30-G32 for that matter). I have straight copied the gcode and configuration.h file from 1013’s first post on this thread so I’m not sure where my difference is. The switch works, the probe works, and I can level the bed with the probe by hand but I would love to have it level by itself. It’s a first generation TAZ if that helps.
Picture of the installation because everyone likes pictures =)

and if the image doesn’t work here’s the url: http://imgur.com/XJzAwN3
No worries ![]()
We’re just diving back into autoleveling now for the EZ TAZ Mini, current development can be found here: http://devel.alephobjects.com/lulzbot/Easy_TAZ_Mini/autolev/
Here’s what I’m working with for start g-code:
G21 ; set units to millimeters
M107
G28 ; home all axes
G1 Z5 F5000 ; lift nozzle <----
M203 X192 Y208 Z4 ; set max rapid rates mm per sec
G91; set to incremental motion
G1 Z5.0 F11520; raise Z
G90; set to absolute motion
G28 X0 Y0; home X and Y axes
G1 X276 F11520; go to probe deployment position
G1 X288 F350; deploy probe
G1 X250 F11520; go to safe place
G28 Z0; Home Z axes
G29; probe bed
G1 Z4.0 F11520; raise probe off bed
G1 X14 F11520; go to probe retract position
G1 X0.5 F350; retract probe
G1 X1 F350; move away from limit switch
M206 X0.0 Y0.0 Z-5; offset home position for fine tuning
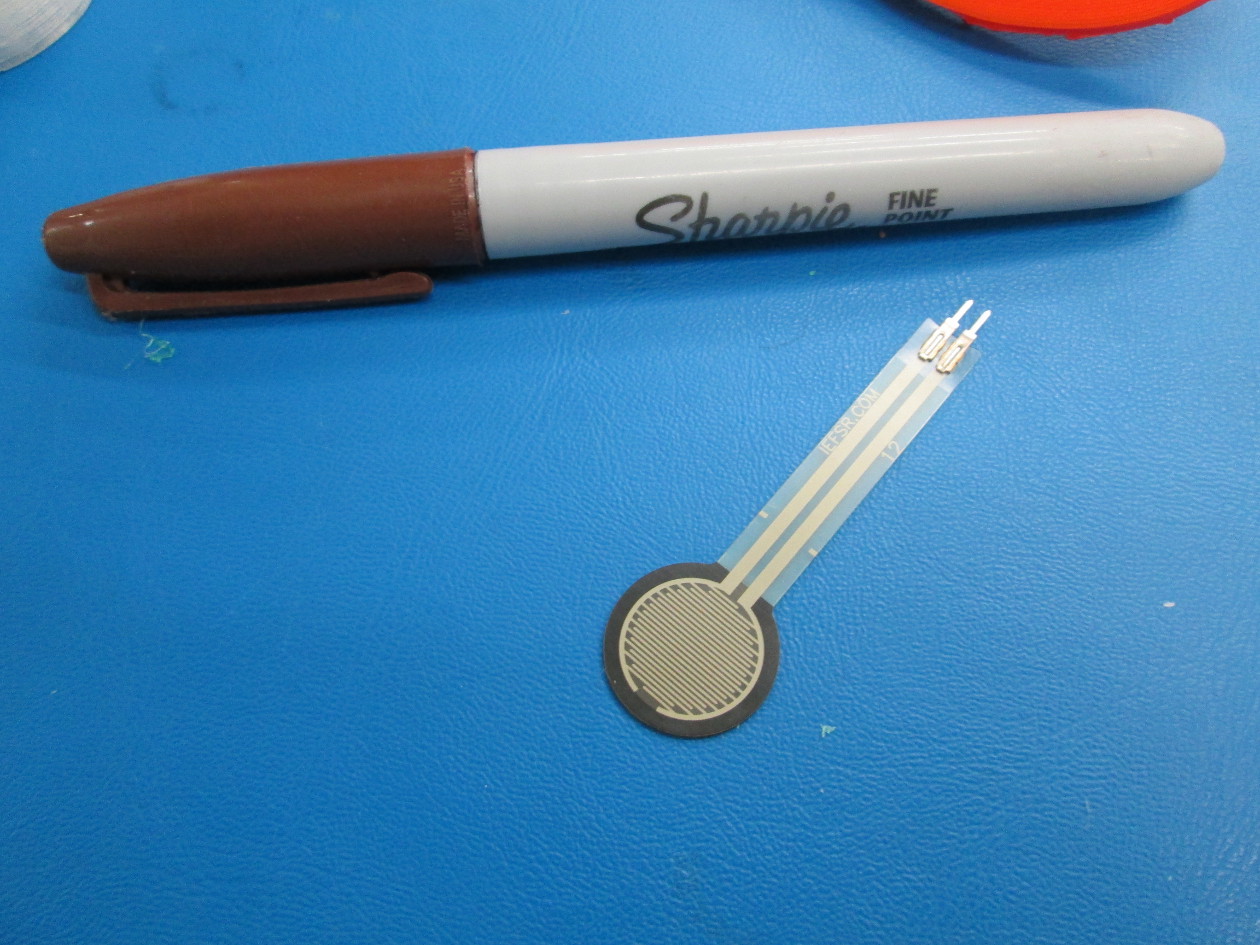
Also, We’re currently working with force sensitive resistors embedded in the bed corners as an alternative to using a deployable probe. The advantage is that the ‘probing’ of the bed is actually done by the nozzle, so you don’t have to worry about x, y, or z offset errors skewing the compensation.
If you check in the development files ( http://devel.alephobjects.com/lulzbot/E … i/autolev/)you can find a video of the printer homing through nozzle-bed contact, rather than any Z-switch.


That’s rather clever!
Apparently, some jerk decided to delete the firmware off their github repo. glares
Here’s the firmware I’m currently running and is the same used in the video I did:
http://www.geneb.org/TAZ/taz-autolevel-marlin.zip
g.
That’s really cool. I just got a TAZ 4 and am very interested in this solution. Any update on the status?
On our server? What is the URL you were using?
-Jeff
Hi, I’m on holiday and back working on my homemade TAZ  .
.
I’m encountering some difficulties having this mod working.
All is well wired and working, motors, endstops… all checked manually via pronterface.
For the moment I’m trying to check the feature manually.
Executing this is working fine :
G28 X0 Y0; home X and Y axes
G1 X276 F11520; go to probe deployment position
G1 X288 F350; deploy probe
G1 X250 F11520; go to safe place
G28 Z0; Home Z axes
But when I execute G29, it is not executing the process as expected.
Instead of leveling up in Z going to a point, leveling, and etc for each point, I have no Z move and no Y move.
The carriage is moving along X axis only, and the process ends giving 0 corrections as expected with auto-level (and I know there should be, the center is a bit “higher” than the side because of the way my plate is pinched).
Any idea where it could come from ? Could it be related to maximum speed (I think I haven’t it well set for the moment these values  ).
).
Any orientation welcome  .
.
Regards
Hey All,
I was able to get this thing printed and installed on my TAZ4. Following the instructions from here http://blog.yuliyruzin.com/2014/06/lulzbot-taz-3-bed-auto-leveling.html
I did have to change the custom Gcode to
G1 X276 F11520; go to probe deployment position
G1 X279 F350; deploy probe
and
G1 X14 F11520; go to probe retract position
G1 X3 F350; retract probe
To keep from crashing the printer.
These changes may be because of the different actuator that I used. Downloaded from here https://forum.lulzbot.com/t/taz-3-4-bed-auto-leveling/651/1
So after homing the Z axis with the new probe and taking a measurement to the nozzle opening to determine my offset. I calculated it being about 3.57mm in Z. So I edited the Z_Probe_Offset_From_extruder value in the calibration.h file to -3.57 saved the file and uploaded the changes to the printer.
Now when printing it measures the bed with the probe but stops at about 3mm from the glass and starts printing. Its acting like the Z_Probe_Offset is zero.
I tried editing the Z value in the, M206 X0.0 Y0.0 Z0.0; offset home position for fine tuning line of the custom code, but that didn’t seem to make a difference. Can anyone help me?
Oh and I noticed my X motor making a clunking sound when printing now. Could this have something to do with the firmware?
Awesome! ![]()
iinteresting… I’m not sure what’s going on with the offset, it could be that the minimum software endstop function is stopping it from going below 0 even though there’s an offset? I’ll have to check it out.
You might try changing the z-offset in slic3r: printer settings → General —> Z-offset. It seems to work a bit better.
Could it be the z steppers? With compensation they’re constantly moving to keep the nozzle at the right height over the non-level bed. They move way slower than the other steppers and make a much lower tone than the other steppers, to the point where you can hear the individual steps. I kinda like it, adding some base notes to the song your printer sings while it’s making your cool stuff ![]()
Hope that helps
-bam
We’ve been working for some time now on bed leveling, and have working prototypes featuring a neat way to tackle bed compensation.
The hack uses the nozzle as the probe to find the bed, so the probe-nozzle offset doesn’t need to be measured and accounted for. We’ve taken the 2 leads to the z-endstop and wired one to metal corner pieces of a rigid mounted bed, and the other to the hotend itself. That way, when the printer homes or probes at any of the corners, it can accurately measure the plane AND z-position of the bed with a small offset.
This method is working pretty well, but has some significant challenges:
-the metal contacts on the corners need to be as close to the same thickness as possible so they match the plane of the bed. We used shim washers in the first tests, and have moved to custom machined discs. For a quick hack, you could probably use tin foil or shims spread over the corners.
-the nozzle and pads have to be really clean. A good first step is setting up your end g-code to retract the filament ~45mm at the end of each print, and the start g-code to extrude that much before printing. This will keep oozing to a minimum,and a good wire brush is also handy for getting the stubborn buildup off of a nozzle. It also helps to have the nozzle at at least 170C while homing and probing so that any plastic that is there can squish out of the way.
The begonia prototypes have an integrated wiping pad so we can have the printer vigorously scrub it’s nozzle before probing, it’s a pretty great thing to see 
-You either need to keep your z-min endstop as a backup, or be really sure that your printer won’t drive it’s extruder through the middle of the bed the first chance it gets. There are a lot of great firmware safeguards, but you might want to keep the endstop wired in place.


Is there a video of the wipe motion? I’d love to see that!
I tried changing the Z offset also. It acts like its a fail safe once the Z=0 it just won’t go.
I did find this article Marlin Firmware Home Offset Guide Using G-code M206 | Airtripper's 3D Printer and Arduino Blog that talks about the M206 command and how to get your printer to actually do it.
The Knocking sound only occurs when I add all of that custom gcode to slic3r. It also does it when the carriages moves in the X direction when homing, so its not the Z steppers. When I remove the custom gcode it its as quiet as always. So its something in the custom gcode thats posted to the page. Maybe its a speed it doesn’t like.
I’ve hit some weird resonances before that seem to depend on speed and where it’s at on the axis (e.g. more resonances when it’s high up on the z and traveling back down to the bottom at a certain speed).
I was wondering if with the most recent Taz 4 firmware if I still need to flash the firmware to get access to the G29 probe commands or if it comes stock with the Taz.
When will the auto bed level upgrade be available for the TAZ 4?
There is an enhanced version of the Auto_Bed_Leveling G29 code:
http://3dprintboard.com/showthread.php?3105-Auto_Bed_Leveling-Enhanced-G29-command
It says Marlin now allows for topographical mapping of the bed to allow for a non-planar surface. Has this been done for the TAZ 4?
Many people including myself report the center of the bed to be a different height by as much as 0.15 mm than the corners. This is significant for a 0.35 mm nozzle and makes it difficult to get a good first layer down for large prints or multiple small prints that cover the TAZ 4 build surface; hence the reason the TAZ 4 needs software to map the build surface and account for a non-planar build surface.
inventabuild I feel is right - when i calibrate my TAZ on all 4 corners, the center of the bed will always be the highest point by far, didn’t measure it but it must be at least 1mm height difference.
Is there something wrong or is that normal? As inventabuild is stating I reckon it could cause problems for large prints. (which I have not attempted yet)
So far I just did a manual calibration of the part of the bed which I was using for my smaller prints
I wonder if it is the Y rails sagging under the weight of the print head rather than the bed being warped?