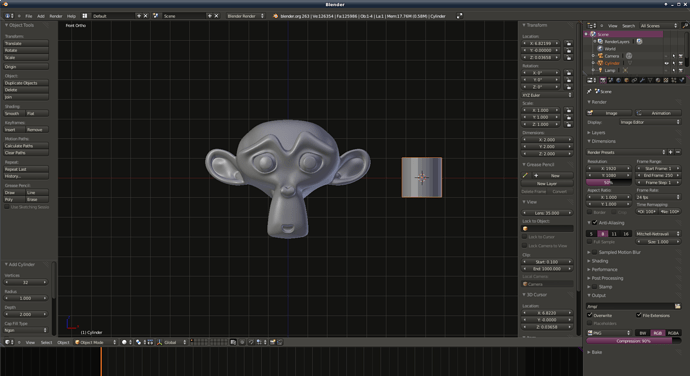
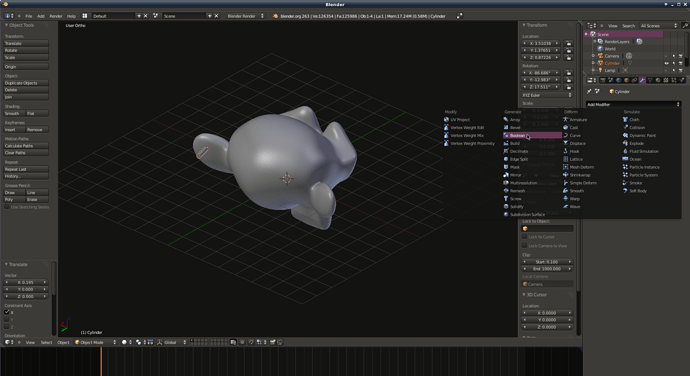
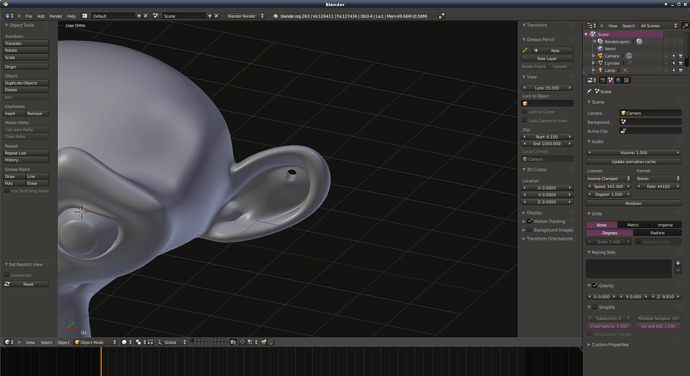
Blender is a great program for editing .stl files, which is great in 3d printing. Here is some stuff to help get started:
The middle mouse button (click and drag) rotates the view
Shift+middle button (click and drag) will pan the view
The left mouse button sets the position of the 3D cursor (new objects added to the scene will appear wherever the cursor is, rotations are around the 3d cursor)
The right mouse button will select/deselect objects in the scene.
Blender has a lot of hotkeys that are very useful (this is not a comprehensive list, feel free to add some):
x will delete the selected object (so will Delete… surprising, I know)
g will grab the selected object for moving. Press x,y, or z after pressing g to constrain the motion to that axis.
z will switch between wireframe and non-wireframe view
shift+a will bring up a menu of meshes that can be added to the scene
a will select or deselect everything
Tab will switch to edit mode for the selected object
7 on the numpad will give you top view
1 on the numpad will give you side view
3 on the numpad will give you other side view
Ctrl+7 on the numpad will give you bottom view, and similarly for Ctrl+1 and Ctrl+3 for the sides
5 on the numpad will switch between perspective and orthographic views. Note: in orthographic view, there will be a grid after you press 7,1, 3, Ctrl+7, Ctrl+1, or Ctrl+3
0 on the numpad will align the view to the camera position
Ctrl+Alt+0 on the numpad will align the camera to the current view
n will show/hide the object properties toolbar
t will show/hide the object tools toolbar
c will toggle circle select mode, which is a multi-select tool (you can adjust the size of the circle by scrolling the middle mouse button) left mouse button will select, middle mouse button will deselect
f will generate an edge or a face between selected vertices
s will scale the selected object. When you push s, make sure your cursor is close to the object that you are scaling so that you will have some room to work. Press x,y, or z after pressing s to constrain the scaling to that axis.
b will give you box select mode
r will rotate in the plane perpendicular to the viewing axis. Press x,y, or z after pressing r to constrain the rotation to that axis.
Shift+c will center the cursor the origin
Ctrl+Shift+Alt+m will select non-manifold vertices in edit mode – very useful for finding pesky holes in .stl’s to be filled with f
h will hide the selected objects
spacebar will bring up the tool search… good for when you can remember the name of the tool, but not which menu it is in
Ctrl+v will bring up the vertices tool menu while in edit mode
Ctrl+e will bring up the edge tool menu while in edit mode
Ctrl+f will bring up the face tool menu while in edit mode
L will select all linked vertices while in edit mode
Esc will back out of whatever tool you are currently using. Esc=oh sh*t button
p will seperate the selection in edit mode into another object
Up next: various tutorials


