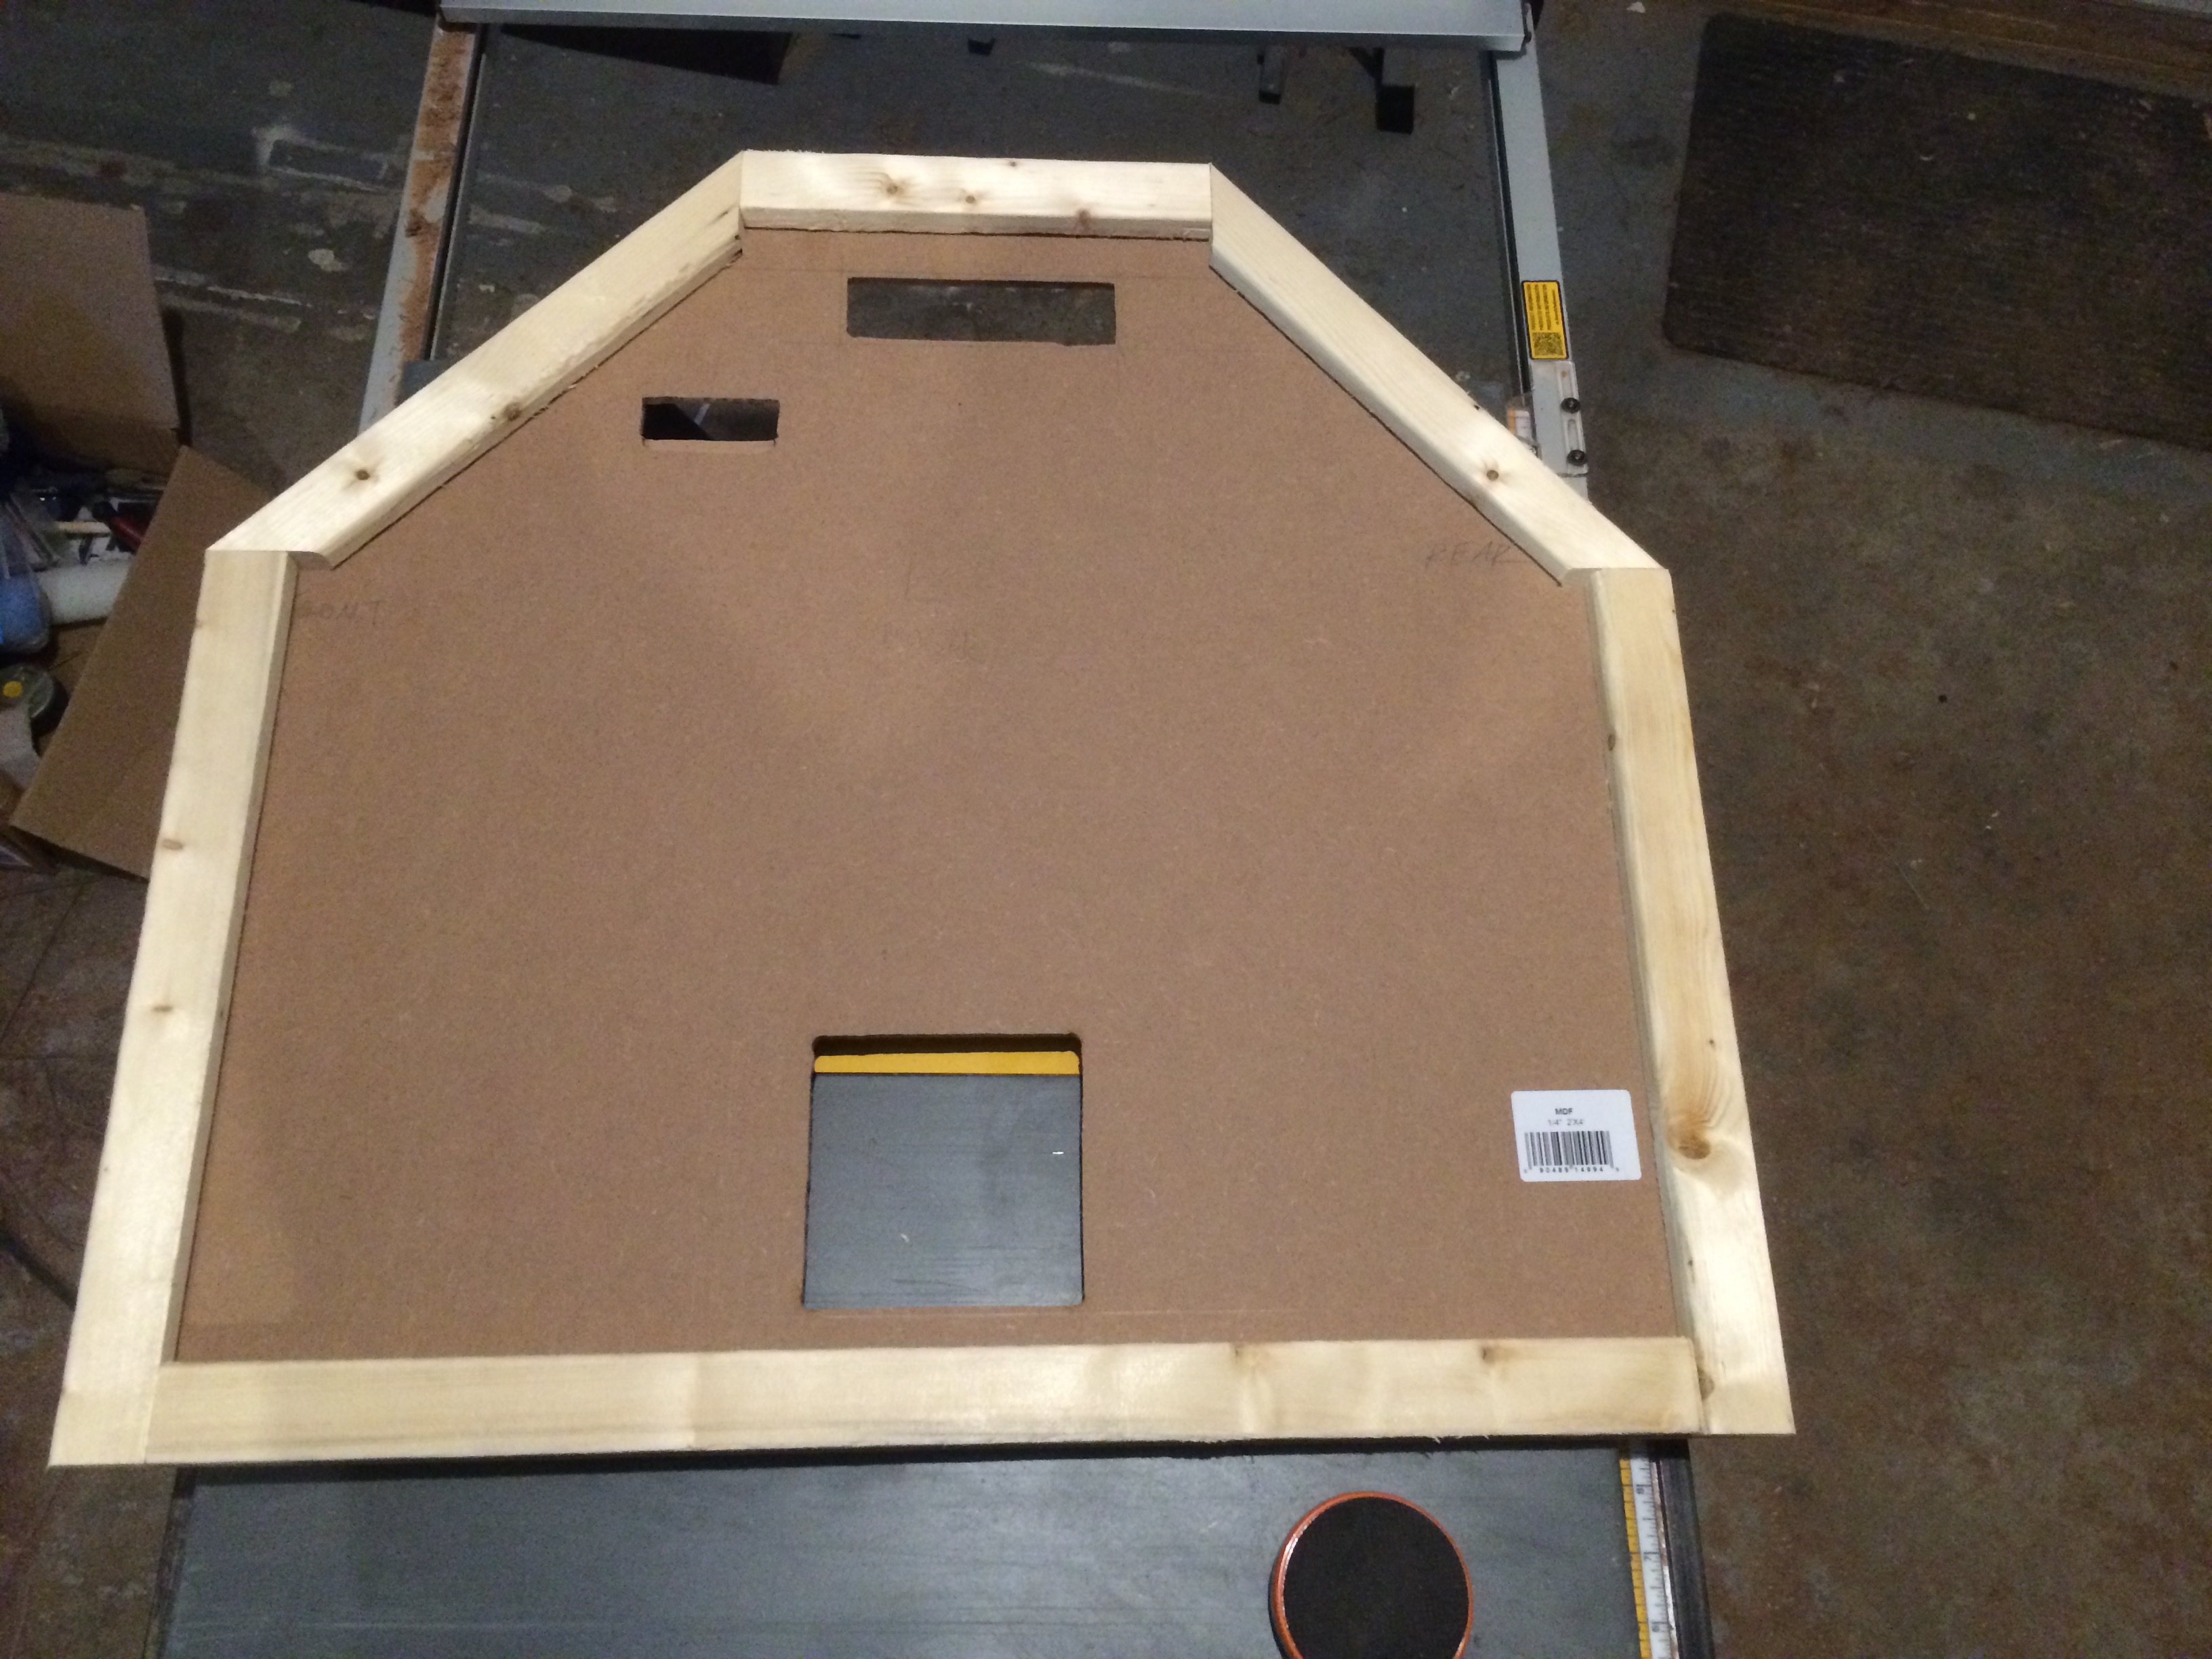
Prototype modified Hotbox for my modified Taz. This version will probably end up residing at the local Makerspace for one of their Taz’.
http://www.haveno.info/IMG_20150531_201523.jpg (Slightly blurry when not viewed on phone, oops.)
Nice work, can’t wait to see it finished…is that insulation on the outside? or just black fabric, will be interesting to see how much heat it holds in…
Hey guys, just wanted to share a few questions I have had so far that people have private messaged me, I will post them here so everyone can benefit from the answers:
QUESTION:
" Besides that, I have a couple of questions. I see in the instructions where the power supply gets mounted to the back wall. It doesn’t show, however, where the power cable comes out of the box so it can get plugged into the wall. On that note as well, where does the power cable from the printer come out as well? "
ANSWER:
“Regards about the power supply, obviously the power AC side cable should be positioned downwards, it says so in the directions, not sure if you started the build or where you are in the build, but you’ll notice that the bottom floor plate that you use, will have about a half inch gap in the back, you run all your power cables through there. AC power, USB cables etc.”
QUESTION:
"That makes much more sense about the power supply. I knew that it was supposed to be positioned downwards, but it didn’t make sense of where the cords would come out. It makes much more sense of why the bottom panel is cut short on the back to allow the cords to come out. Since it’s not sealed there, do you lose a lot of heat there? Also just curious, to get the enclosure as hot as you do, what do you set your print bed temp to, and how long do you let it warm up until you start the print? "
ANSWER:
"There’s no heat loss, heat rises…Printing in ABS = 110C always. My box routinely gets up to 40C on multihour prints. Definitely let your bed get to atleast 100C before you hit print, I’ve been impatient before, started printing ABS when the bed was only 50C and rising and I had adheasion problems and had to restart. You DO NOT need to let the box warm up to 30-40C before you start printing, just make sure the bed is atleast 100C and rising and then you’re good to go, you’re box will heat up as your print progesses…
IMPORTANT UPDATE:
When creating the holes for the acrylic window, when you go to make the holes for the handles and the magnet plates, it says to use the 1/8" drill bit, that’s fine but that will be too large for the #6-3/8" screws supplied with the kit. you will want to use a 5/64" bit for these four holes(magnet plates). Sorry for the confusion. I understand that if you already made the hole at 1/8", they will be too large, all is not lost, other screw sizes will fit, you’ll just need to use slightly larger flat head screws that will thread into that 1/8" hole, they will probably be too long, so you can either cut them or just use a little 3D printed cap on the ends to protect from the point. For anyone in this situation. Let me know what the screws cost you and I will send you that amount as a refund via paypal. Thanks for understanding…
Please check back here for updates frequently, any other issues, please, if they are general questions about the build, post them up here so everyone can benefit from the answers.
thanks
Jon-
I’d like to thank you for all the work. I’m actually making a box for my Taz 5 based on your wonderful instructions. There are some things I’ve modified, and for now I’m going to leave the taz display where it’s mounted on the printer. I am working my own electronics into the box, and next week I will go down do the plastics shop to have the window made once I’m certain all the dimensions came out right. I think if I were to build this again, I’d use 1x3’s where the 45 degree cuts are made just to give a little more meat for the screws. My taz has been happily printing parts for a week straight. I’ve been able to get pretty much everything to come out with ABS even without the enclosure, but I’ve had some lifting and such. Can’t wait for it to be all finished.
Oh and for those drilling the acrylic, you can buy special drill bits. I got one on amazon for $5. It keeps the bit from pulling through the plastic and potentially cracking or chipping. I’ll post pix of my build when I’m done.
Box is getting close! Built and caulked and the panel is almost assembled! Really happy with how this is turning out and excited to see the difference in my prints!


@ Catz, ok awesome, can’t wait to see it. Well that’s good if you were getting ABS prints to work without an enclosure, find it hard to believe though, you’re room must have been really hot  . I’m sure on longer prints you’d have trouble no?
but ya, post up your build here so we can all see it. Also, touché about the 1x3’s, unfortunately I didn’t have them at my local hardware store, wasn’t sure if they were as common. But ofcourse that’s what it’s all about, improving the design until it’s perfect…
@ Anson, wow, looking awesome! obviously you took your time with it, the fit and finish is superb, love to see that, basically looks exactly like mine, how it’s supposed to look. Love the color choices also, funky stuff.
Awesome guys, keep posting your builds here, it’s awesome to see everyone’s take on the design and colors…
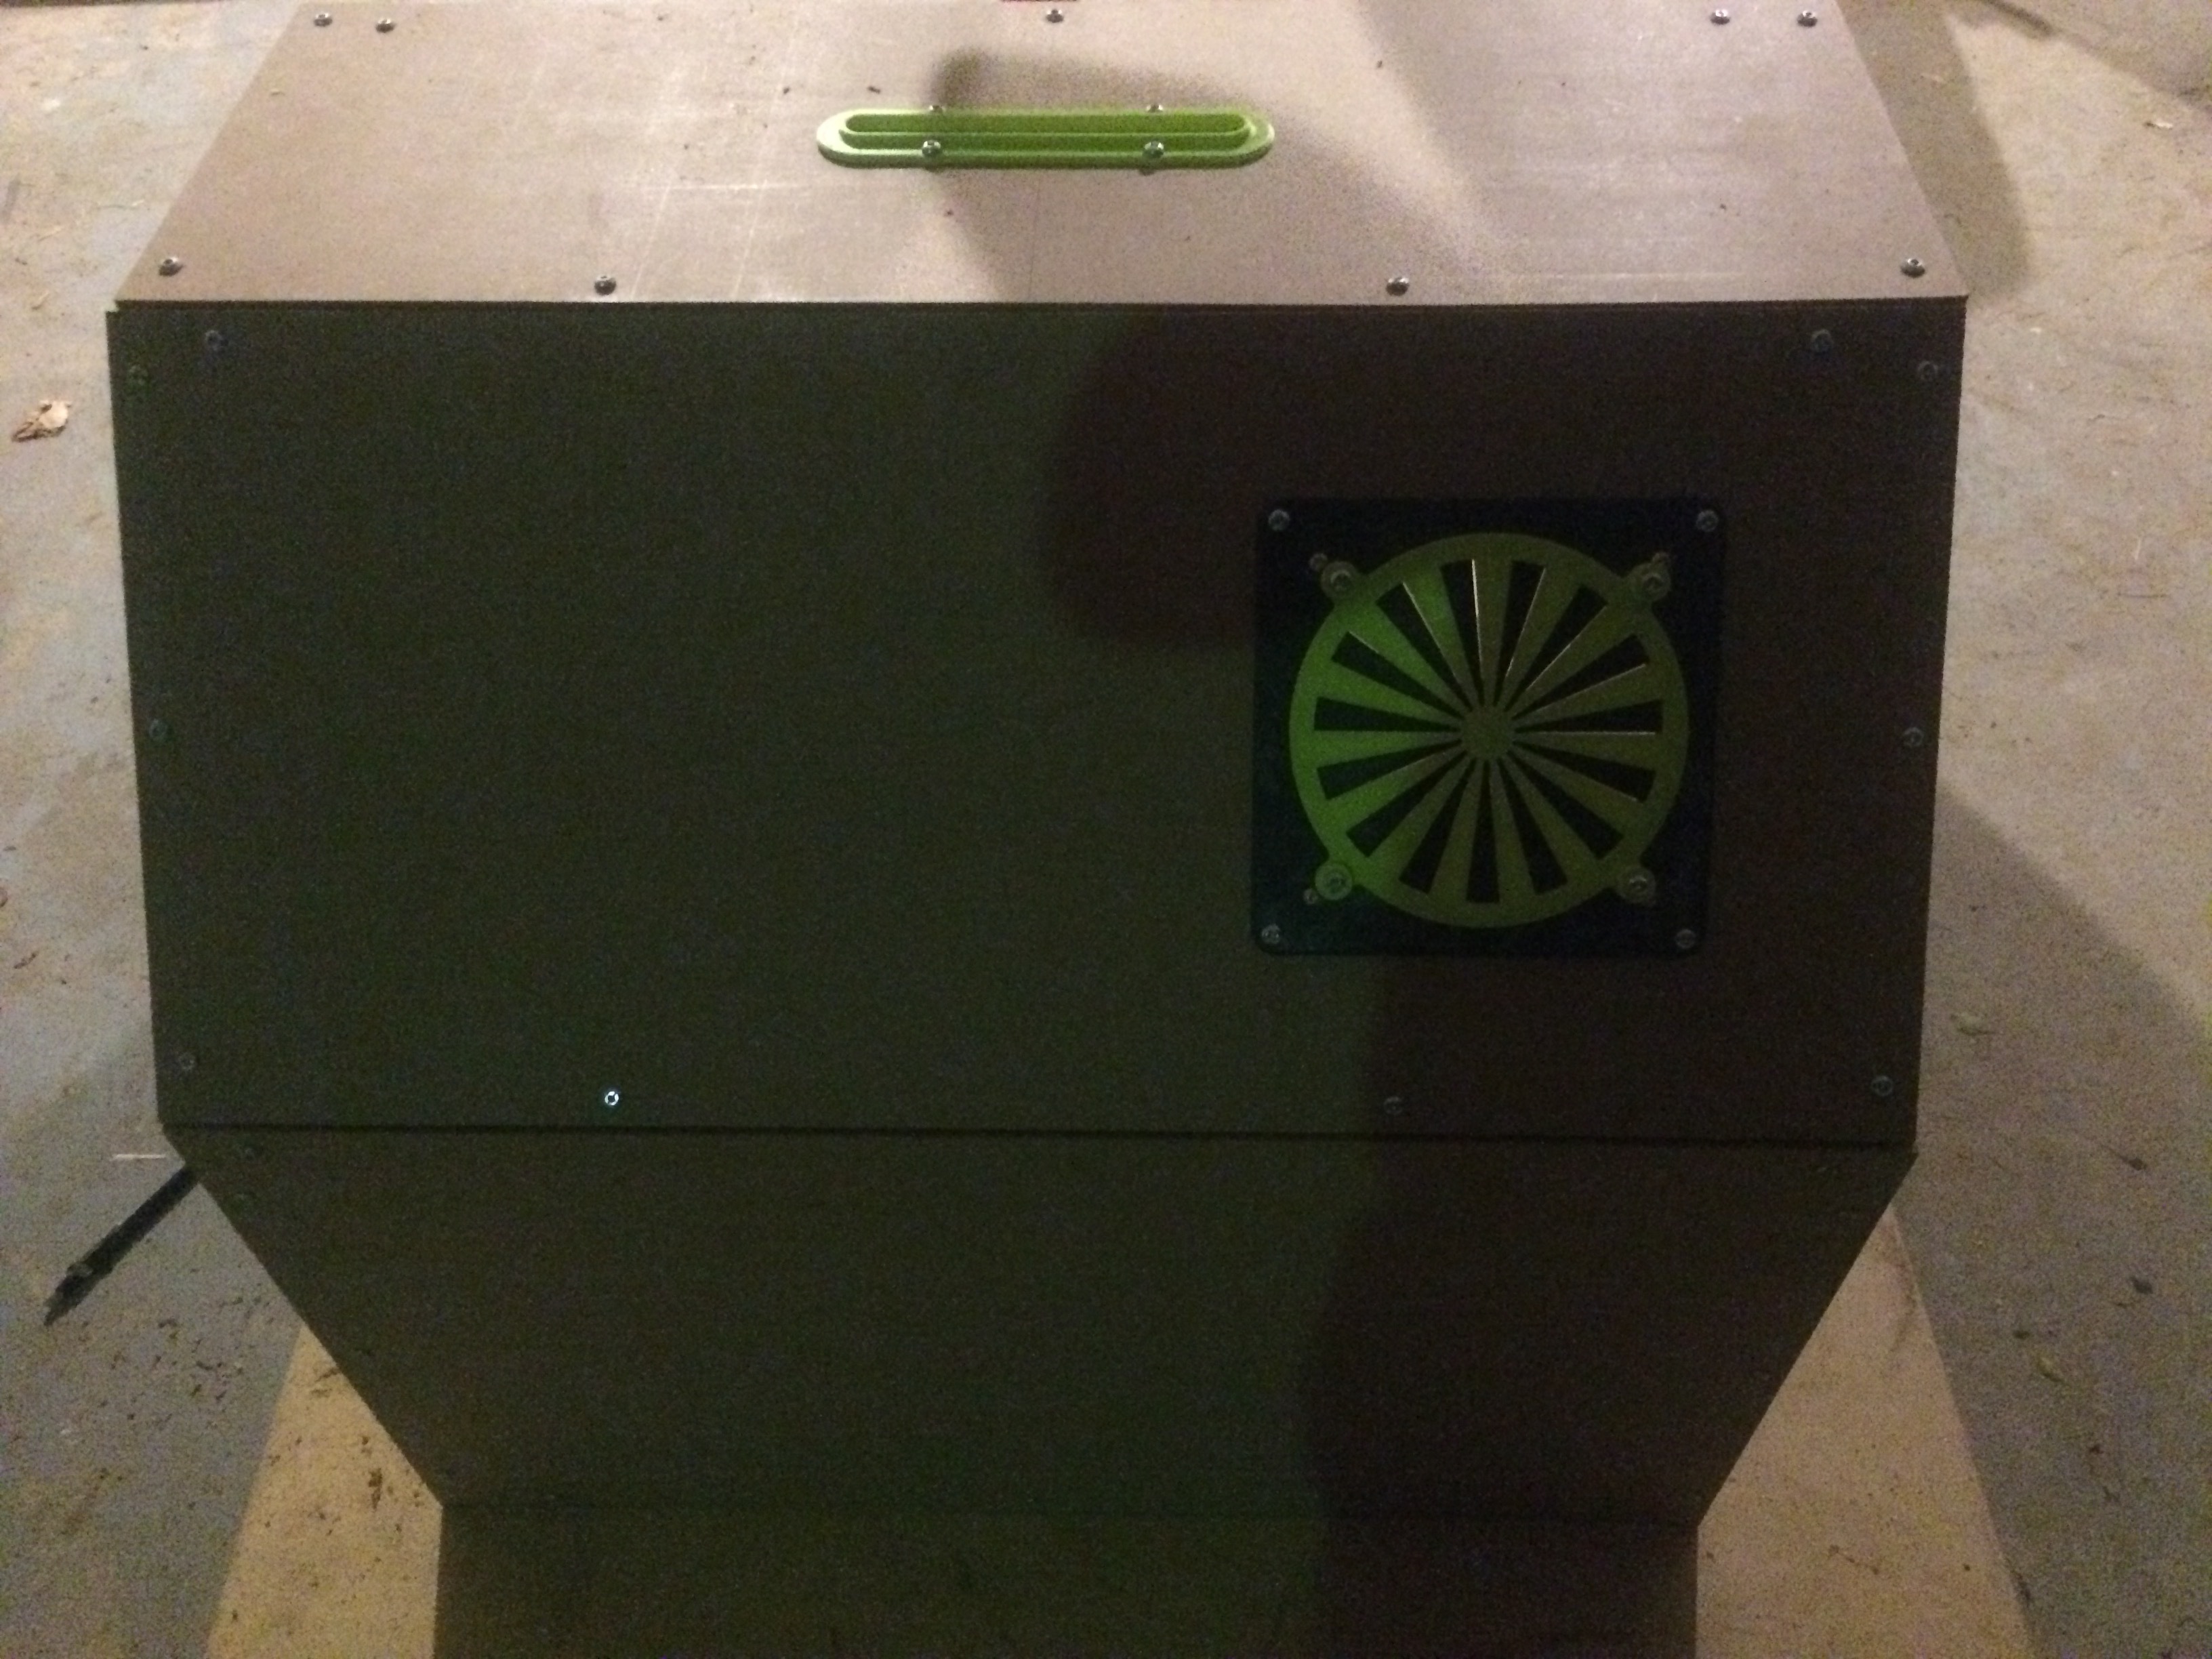
Here you go. I am still waiting on the handle inserts, the acrylic tube, the friction hinges and the window is being fabbed locally. All the hotbox parts are in abs. I had to print the top tube guide twice as it lifted once. I’ve been running large brims on the flat parts to help with the lifting. I have had some issues with abs and hips on tall thin-walled items or flat items warping post-printing. I also added a vent grill for the ebox to match the fan plates. The fans are just on/off with the switches on the right vs variable speed.


One other thing I did different, which in retrospect I’m not sure if there is any advantage except not needing epoxy, is I used 3/4 inch MDF for the base part, and used threaded inserts and brass machine screws for the base brackets rather than the epoxied hardware and wingnuts. We’ll see how they handle things long term. And the gasket I made didn’t slide on the feed tube as well as I liked so I pulled it out. I may try a felt gasket at some point. Your cad files were great. I imported them into Creo parametric and so I had the entire assembly to check over. You really did a great job. Fit my Taz like a glove.
@Jonathan – thanks I really like how the colors came out. I had the Lulzbot green filament, so it felt right to use it on my enclosure. All parts are printed in ABS and turned out really nice. Great design.
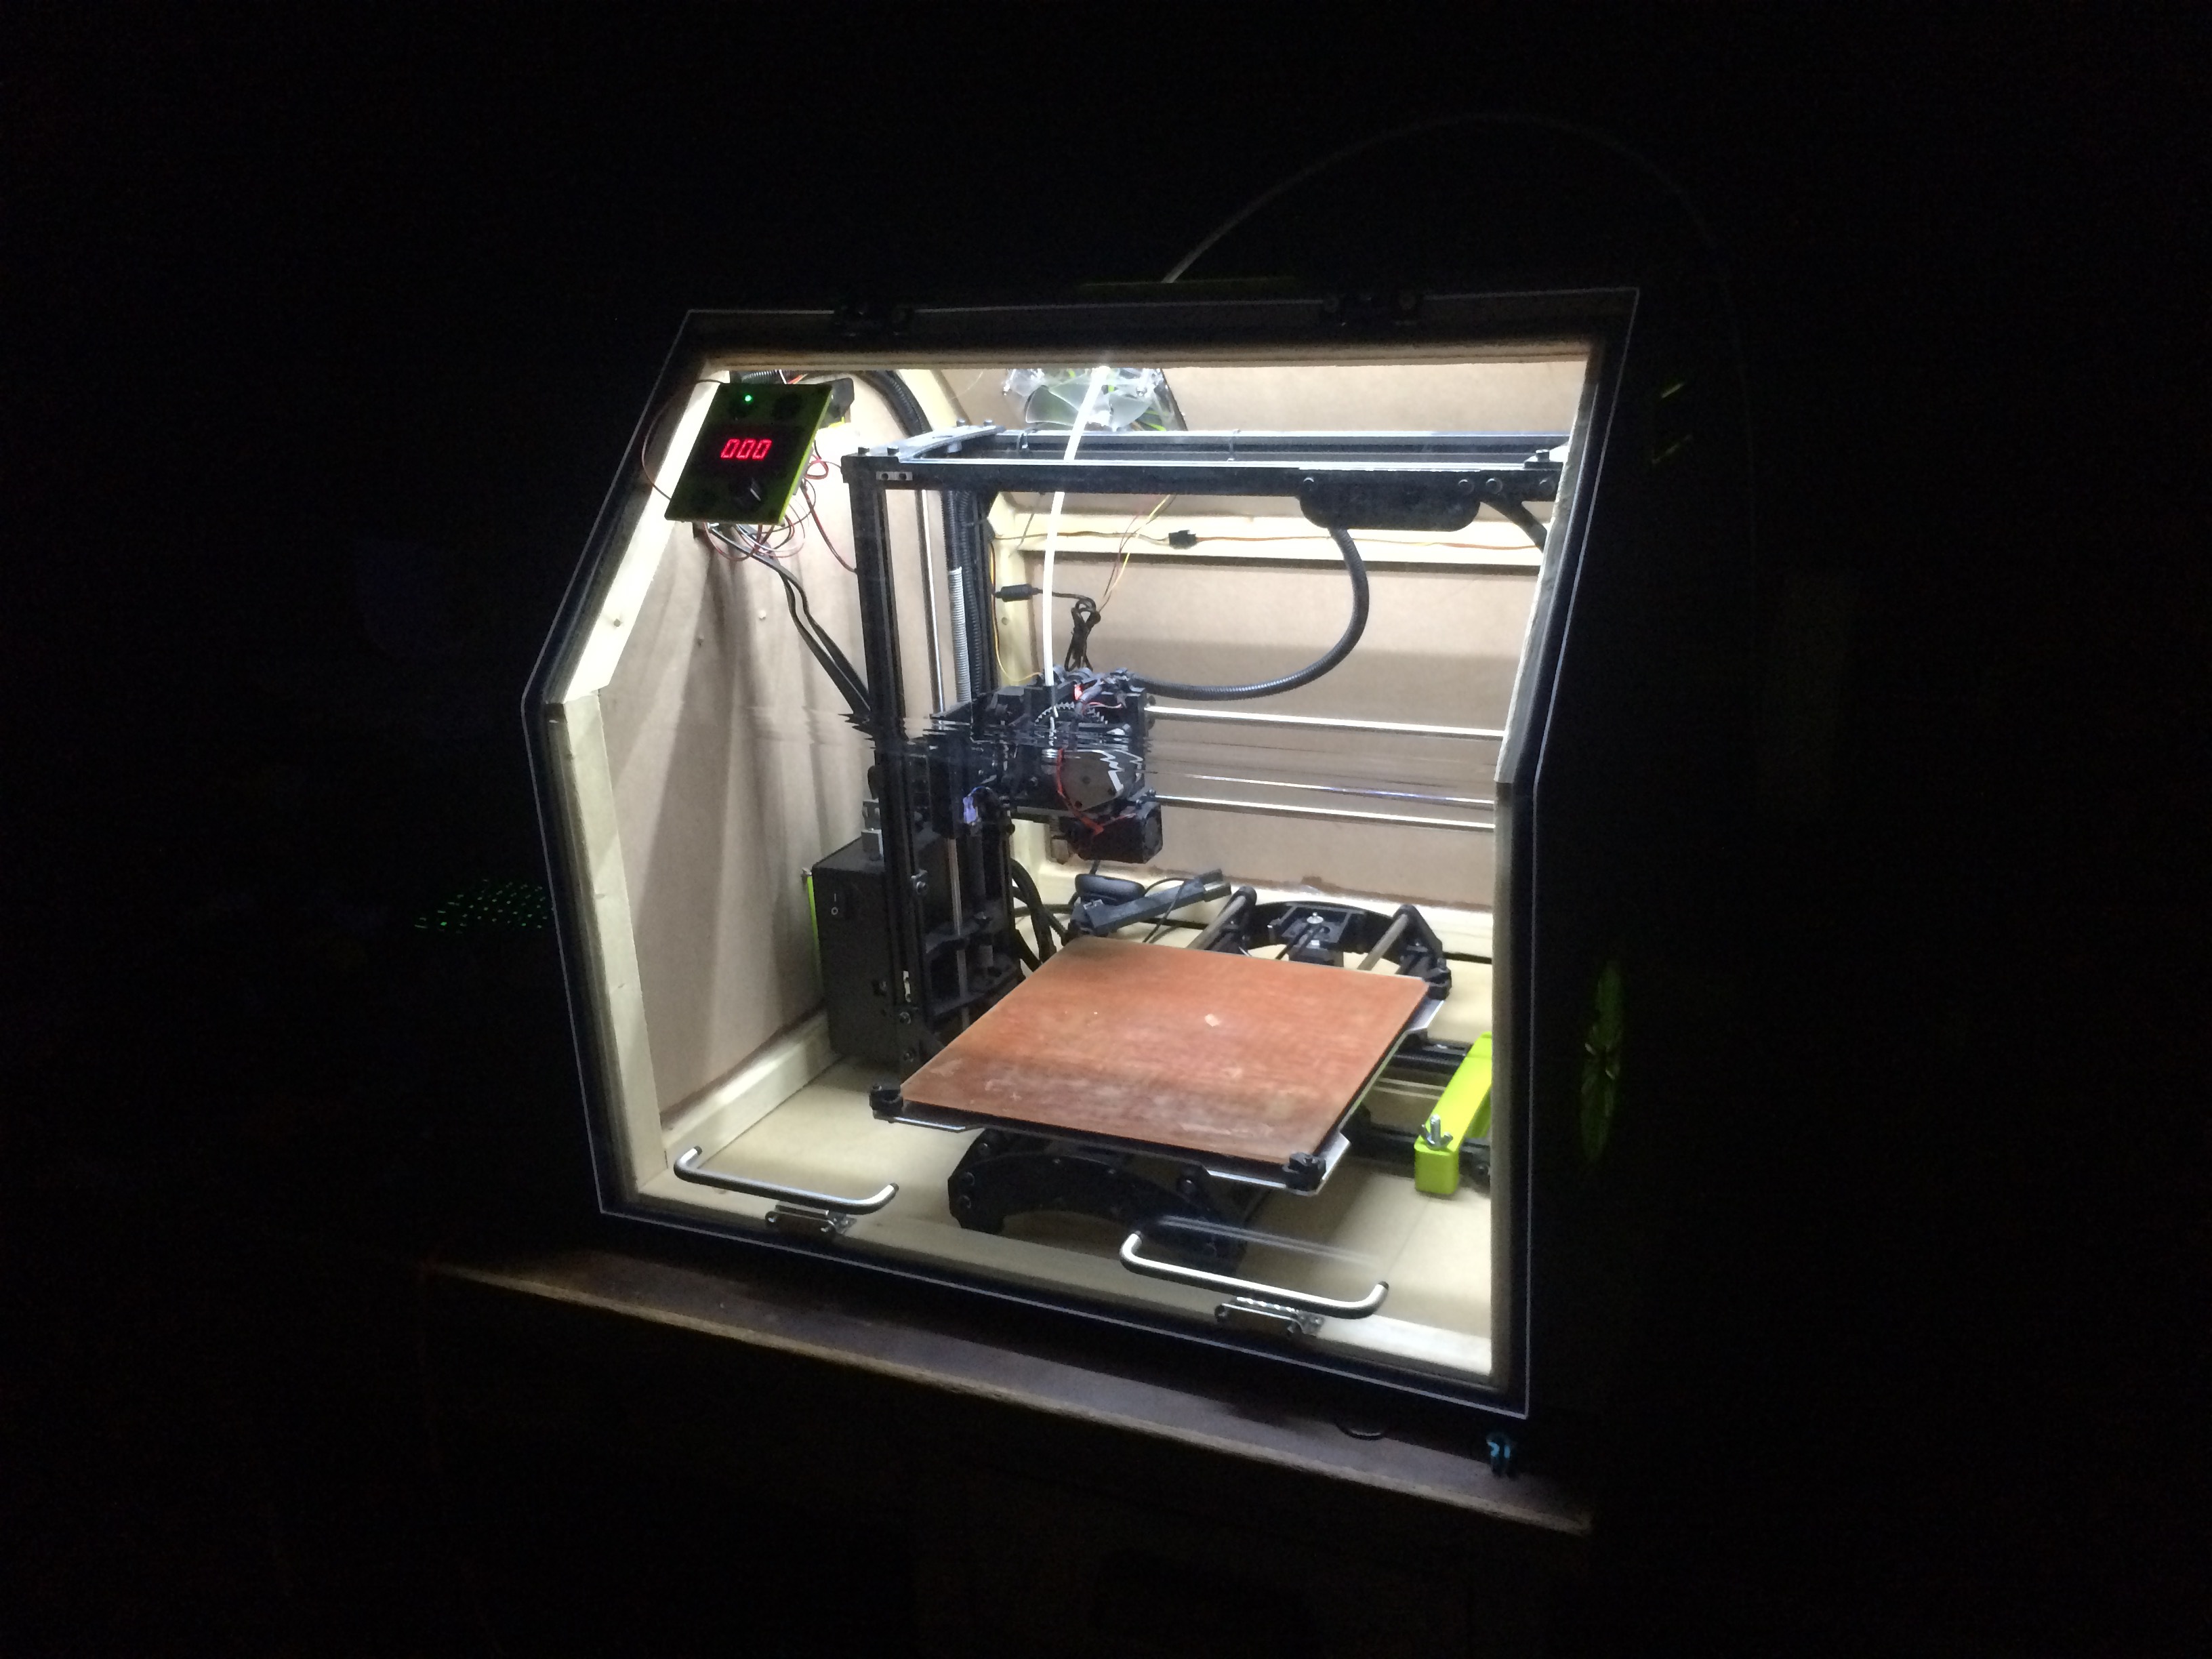
Well my enclosure is finally finished! Excited to start running some tests on this thing and see how well it does. Anybody have a stl that would be good to test for warping? The acrylic piece right around the bend is not quite touching the stripping so there’s a little gap there. I’m convinced it’s the guy that made it so can’t complain there. I think a thicker piece of weather stripping should do the trick in sealing that up. I really like the LED’s in there to keep it well lit so I don’t have to have the lights on anymore to keep my TAZ lit up 
I’ll post my results here after I run some tests. Excited to see the improvement in my prints!


One of the reasons I made a modified Hotbox was the list of required materials at the front of the instruction guide. You only listed the wood needed (and tools), but digging around in all of the text to identify the list of screws, nuts, etc. without going to the hardware store 20 times made me stop reading and just use all metric as I went along. Some screws (for the large fan assemblies) simply have no sizing listed.
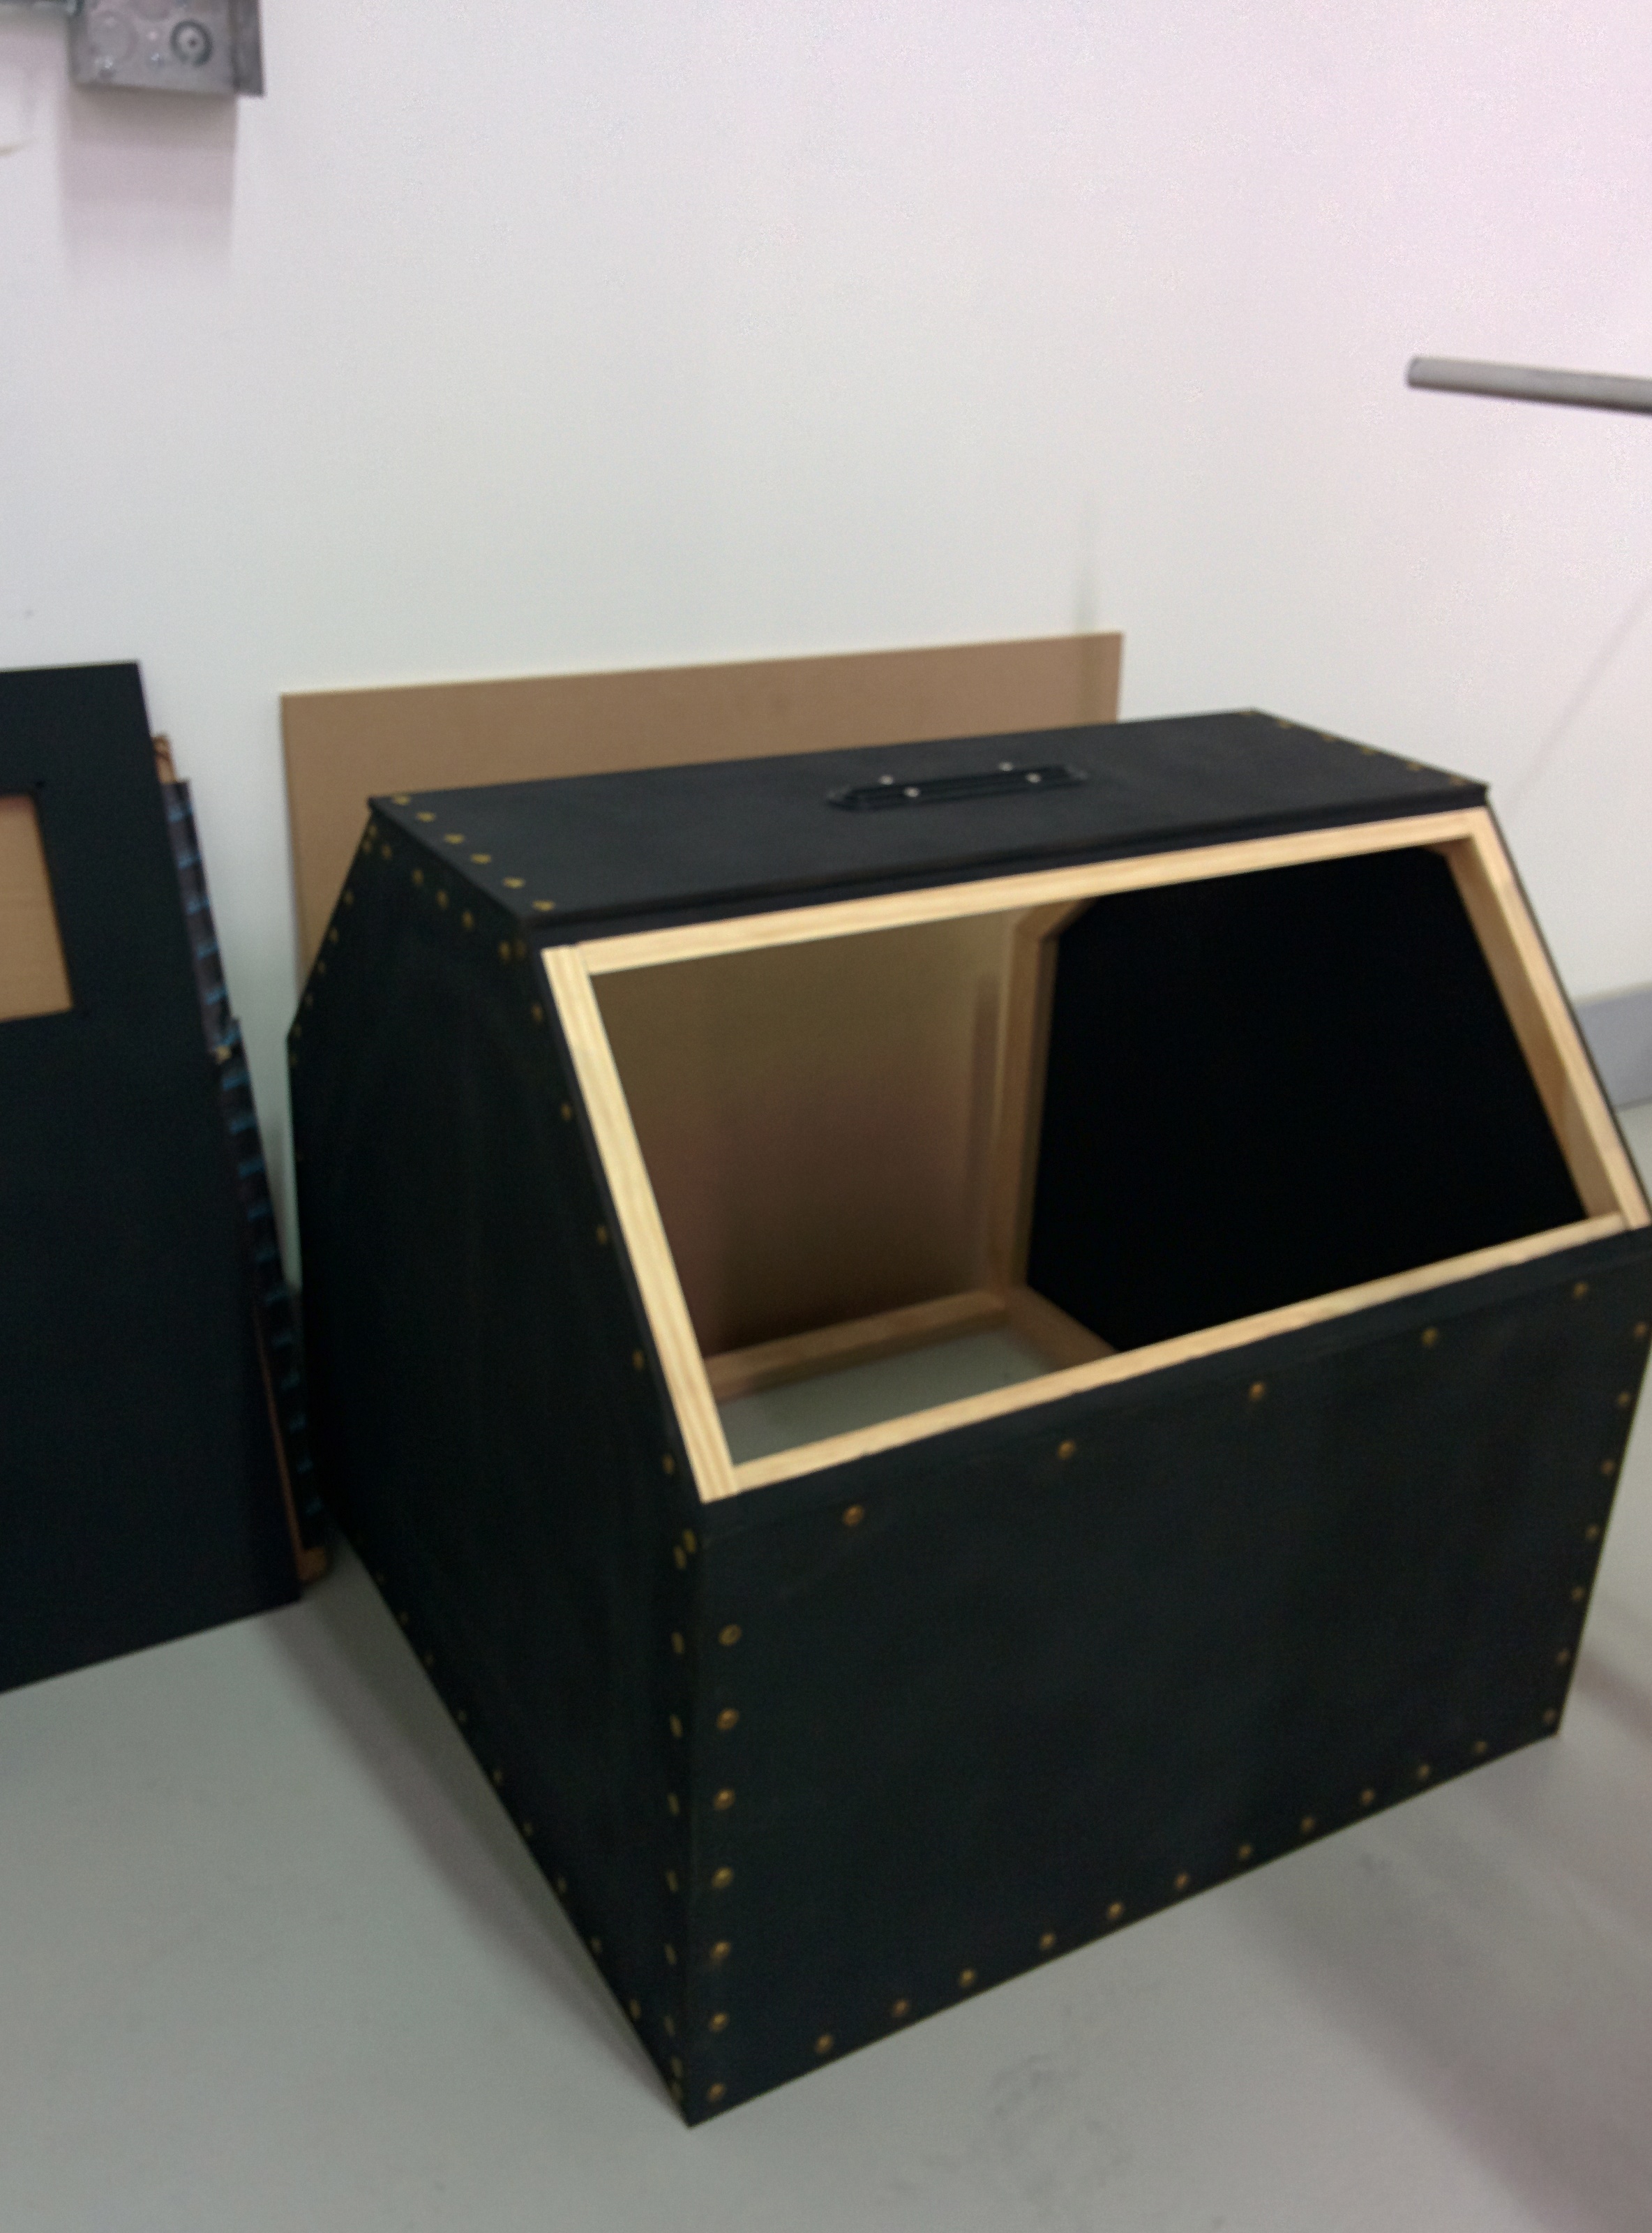
The black ‘fabric’ is simply chalkboard paint. My actual insulation hasn’t been selected yet. As I said this is a prototype for me and will get a v2 anyway. Nice work on the rest, especially time spent on images!
@ Anson,
Gotta get those pictures turned around there buddy…my neck is getting sore.  Build looks really tight though. Nice to see it come out like it should from a secondary source who followed the instructions etc. Looks like they did the trick.
@ NEO. Thanks for the comments. The whole idea with the kits is to save people time and hassle of sourcing all the parts. Obviously you can comb through the whole document and figure things out yourself, but you STILL have to order the parts, Some of which are a little hard to source, STILL have to sort things out on your own etc. You’re basically paying to save that headache and time. A lot of people, like yourself, don’t mind doing it the hard way so that’s ok.
It’s a trip to see my design being used and shared by others…


Great looking parts.
ideally, what changes should I make since I now have an enclosure? I ask because I did a print, and it stuck so well to the bed that it pulled the PEI off of the glass when I removed it! I did have ABS slurry on there. Theoretically, should I not need to use any type of adhesive with an enclosure? Also I had a harder time removing supports and wondered if that was due to my enclosure as well? Interested to hear people’s experiences!
The only 2 cents I can throw in is that normally when my supports stick too well that means the temperature is too high so maybe drop your printing temperature by 5-10 degrees
Anson,
I’m taking it you’re new here… on the main forum pages there are countless threads about PEI and how to use it, not to mention tons of information about proper printing techniques…
You are NOT supposed to use abs slurry or acetone on PEI, you’ve just ruined your surface and that’s why it stuck too well. With PEI, you also have to make sure your first layer isn’t too squished or you MIGHT have sticking problems also. I havn’t experienced this but I know it has been an issue for some, as detailed in other posts…
I do all my ABS prints @ 235C, 110CBed on plain PEI and I’ve had no issues. It actually surprises me how well it works, I can print PLA, ABS and HIPS without issue… I just use isopropyl alcohol to clean the PEI once and while but I’ve done many prints without cleaning it at all… It’s best to wait until the box cools down to remove the print from PEI. After a long print, I usually just crack the door or put the fans on low for a half hour before I try to remove the print, it also helps the part to cool down uniformly, just make sure you don’t put the fans on too high.
Not too new, but since we’re discussing enclosures, I thought it would be helpful to ask in the thread on what people have had to adjust since getting an enclosure.
I started using slurry when the PEI wasn’t adhering my print to the bed. I only started having problems when I used slurry on the pei after I put my Taz in the enclosure. If the pei isn’t working and I clean it, then I’m going to try different things to get my print to stick. I’ve read others doing it and had good success. I realize the PEI is meant to replace other adhesives, but if it’s not working, I do what I have to, right? 
When I first started with my taz, I was having bed adhesion problems. I talked to one of their tech support guys who told me many people do a light sanding of the surface with 1500-2000 grit.
Since I’ve done that, I’ve not had hardly any adhesion problems. I have other things I’m dealing with, but parts stick quite well. I’m not sure if you have tried that or not. My door should be here next week, and then I’ll post some more photos.