have you oiled or lubricated the rails… ever? I use WD40 seems to work fine, I do 60-70 hour prints without issue.
No lubrication issue with the stock components. I wanted to see if the harder shafts would eliminate the dip in the center of the x-axis while still using the IGUS bushings.
Thanks to all the posts here. I have just made the same bearing & shaft upgrades as erv and the difference is substantial. I wanted to put down how I made the change for others looking to do the same, let me know if I missed something or if something isn’t clear. I understand why Lulzbot uses the polymer IGUS and the soft rails–keeps costs down to stay at the purchase tempting $2G. I was noticing that I was having trouble getting intricate prints to come out super clean. After messing with settings and switching between Slic3r and Cura and back and fourth I figured that maybe something else was going on. I noticed that I would get chatter when the head/bed printed in long fast straight lines–some walls were pretty ugly. I also noticed the scalloping on curves, trying to print gear teeth was almost impossible. I then realized that the nozzle would move around a bit relative to the print and after looking at the X & Y bushings I found a good place to start making improvements. I didn’t change the Z-axis for 2 reasons: 1) it is only loaded in one direction so any backlash issue is mitigated by gravity 2) way more complicated disassembly and re-assembly. I don’t think the effort or gain in print quality would justify replacement.
I ordered 7 LMU10 linear bushings (they are actually linear ball bearings) and 4 PSFU10-500 linear shafts from Misumi. Shipping was free and fast–less than a week–and it totaled $116.69 plus tax came to $123.22, the same as 3 spools of filament.
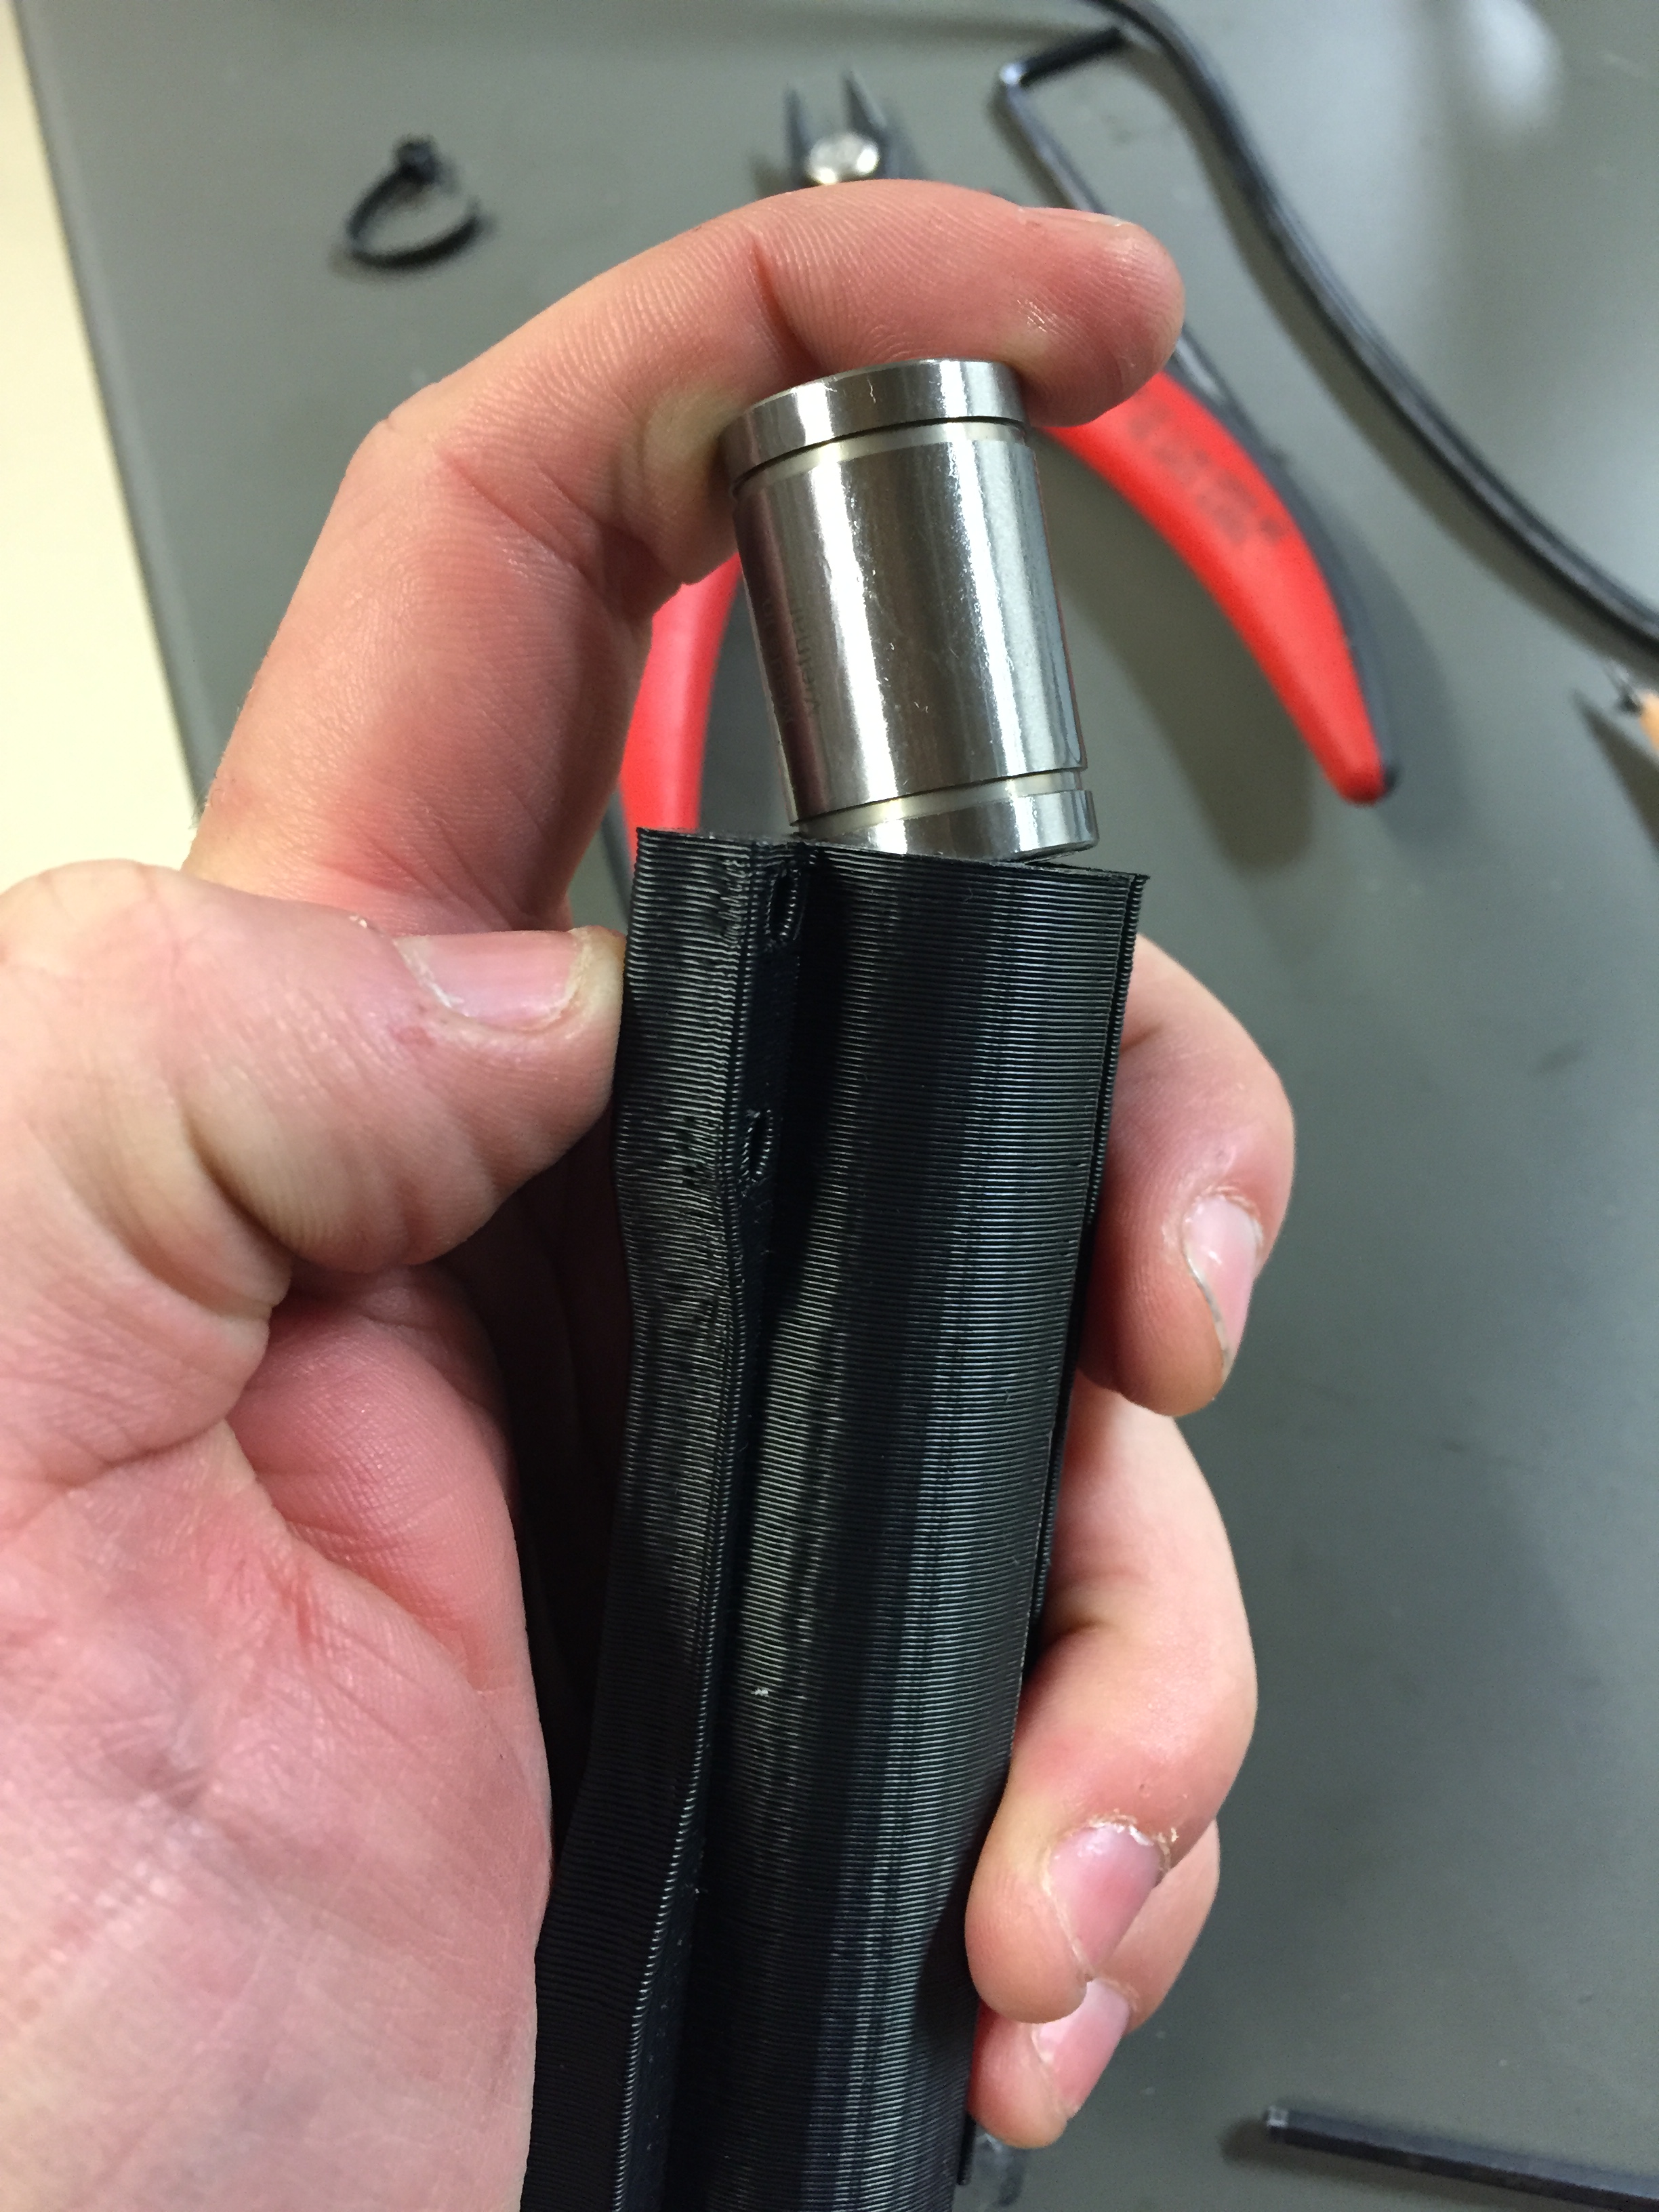
Installation was pretty easy and straight forward. The hardest part for me was popping the old bearings out. I did’t have a press. The amount of flex the bearing holders can take is surprising–I thought for sure that I was going to snap at least one of them. I used a lineman pliers to push the bearing out to where it was flush with the bearing holder.

From there I could easily push them the rest of the way out by hand using the new bearing.

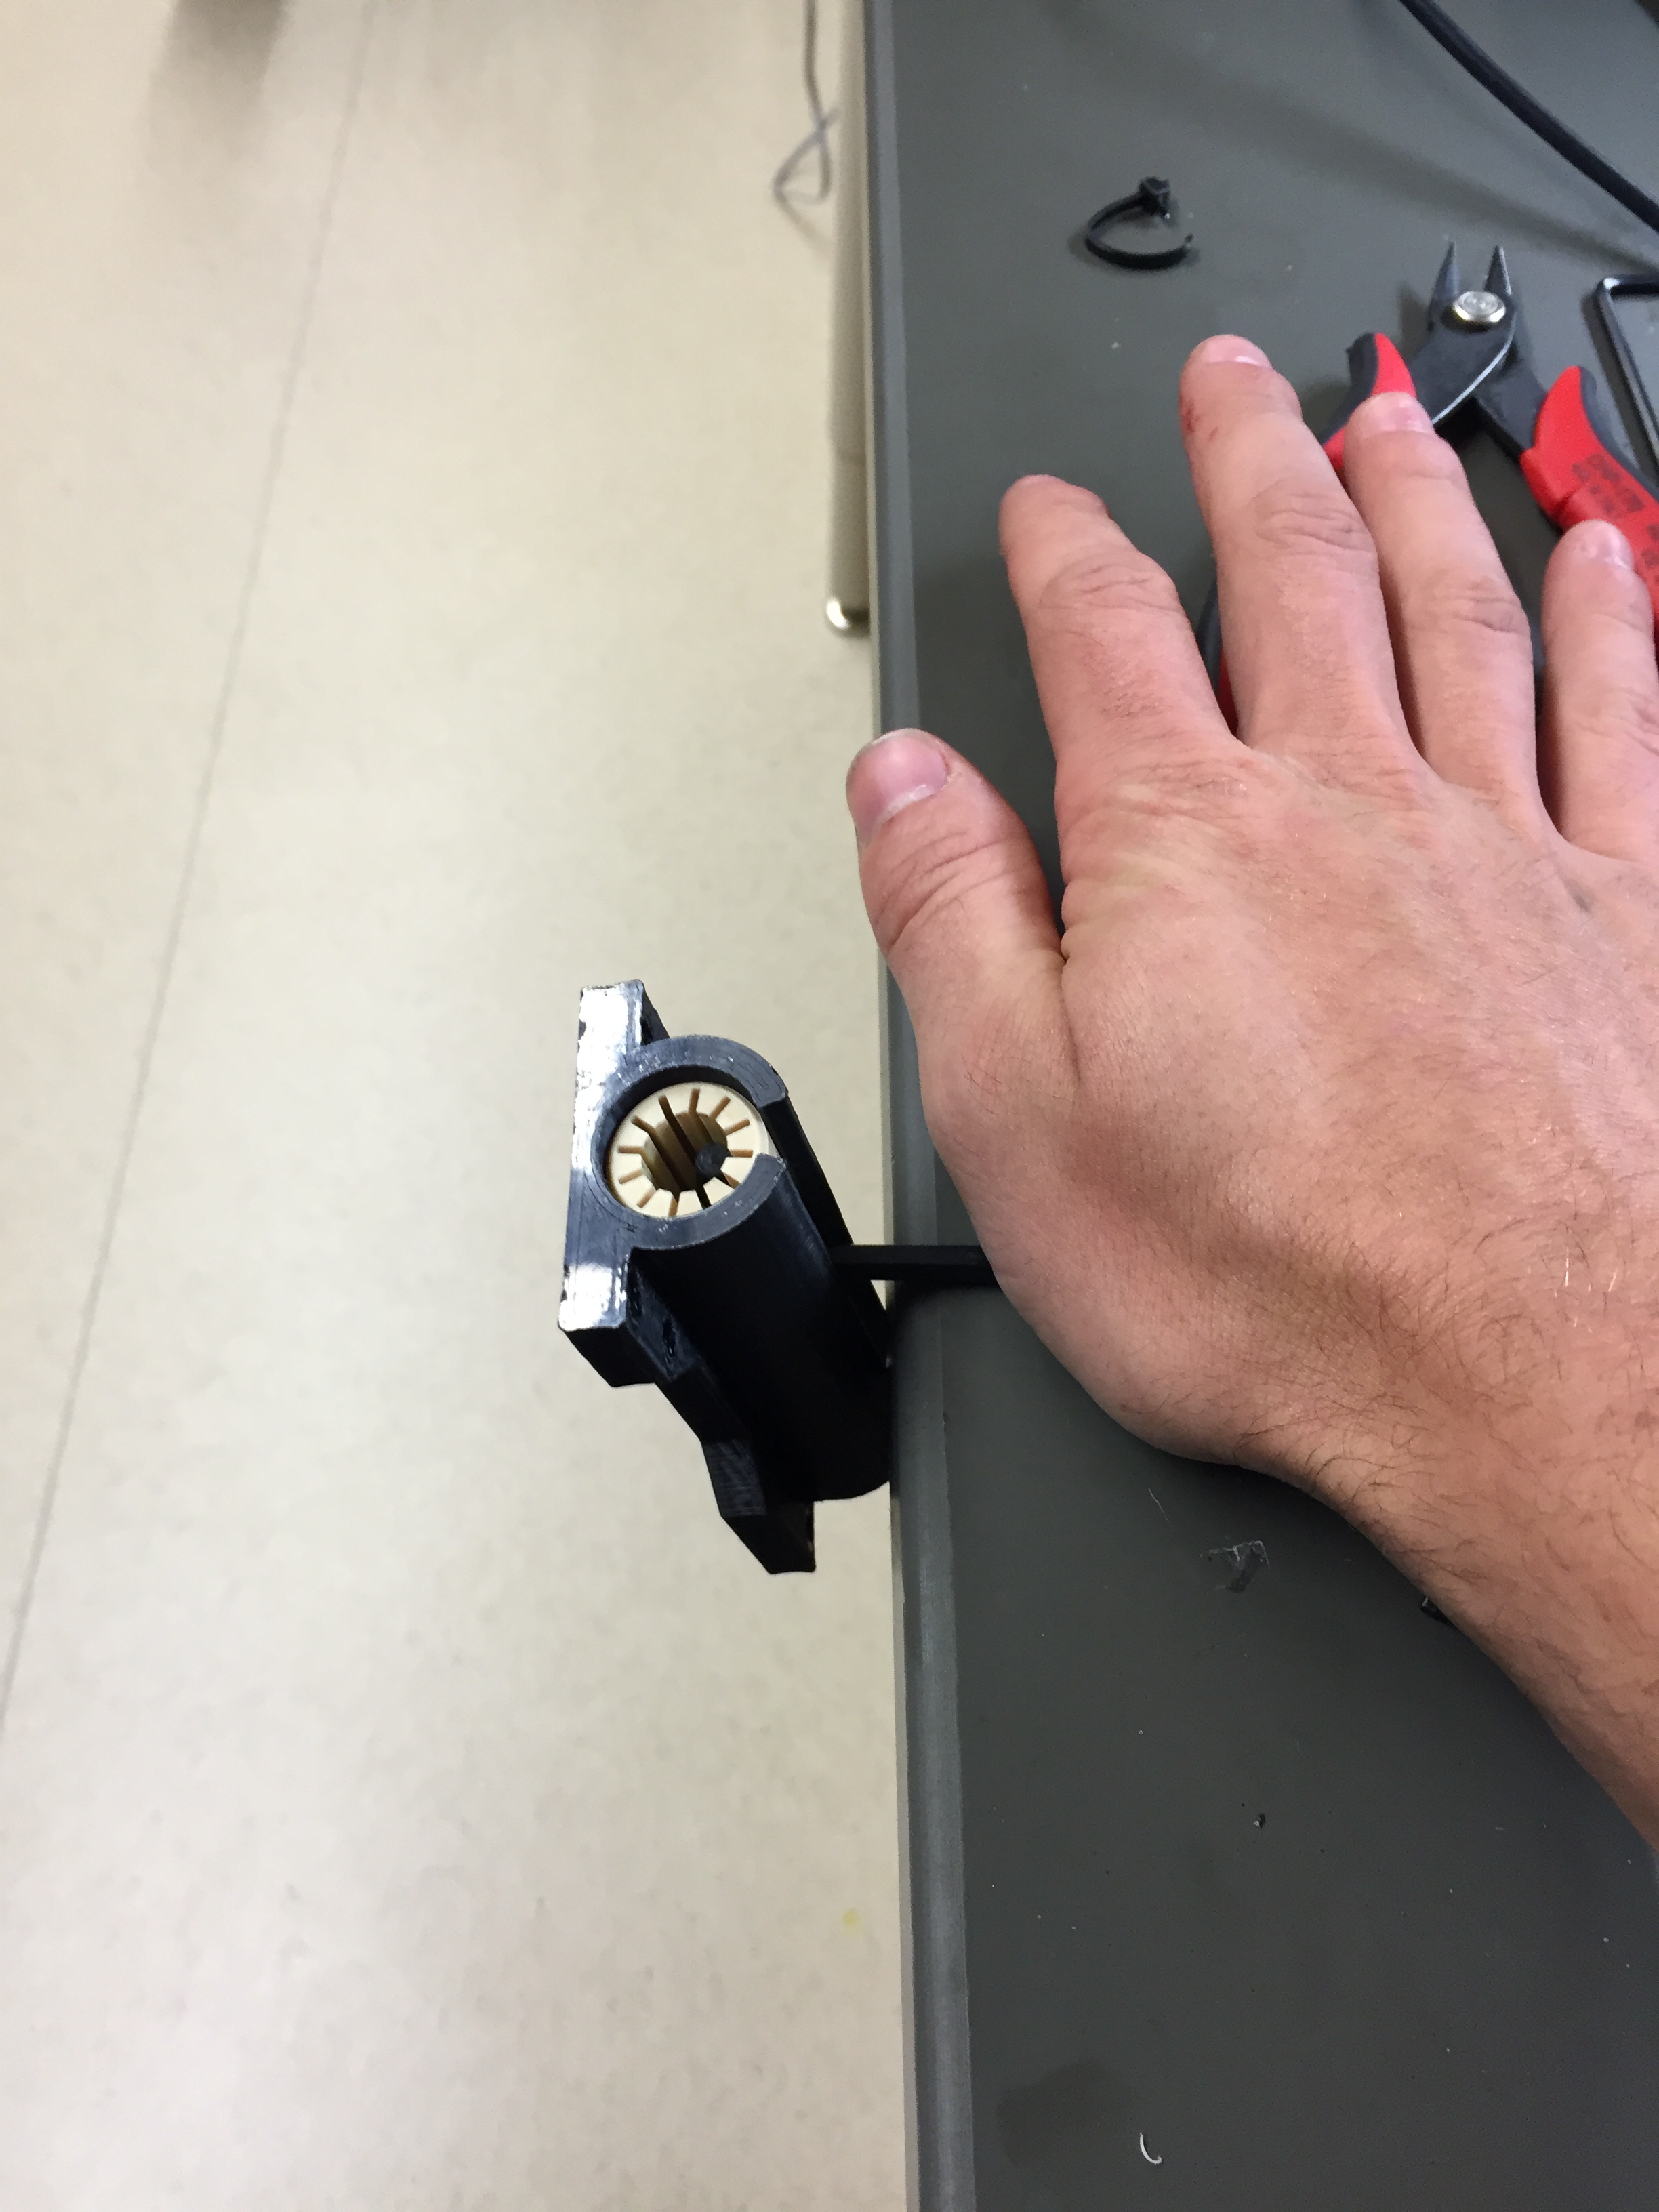
For the double bearing holder I hooked the 4mm allen key into the old bushing and then held the allen key on the table with one hand and, with the bearing holder hanging off the end of the table just pulled down on it till it slid off the bushing. To instal the new bearings I would start the bearing in on a slight angle to get it in on the side opposite the expansion slot.Then I could just put my fingers into the slot and make a fist to pry the slot open enough so the entire face of the bearing could slip into the holder. Then I could just push the bearing the rest of the way in with my hands. (see pics at bottom)
The 4 tools I needed to do the swap are 1.5mm for the set screws, 2.5mm for all the bolts, 4mm to pop the top X-rail bushings, and something to push on the other bearings–lineman pliers.
One tip, if I could make, is to start with the Y-axis, bed. Disassemble it and instal the new bearings. Leave it off to the side and completely swap the X-axis start to finish. Then assemble the Y-axis. This is so that if you drop the extruder or a bearing or shaft it doesn’t fall onto a glass plate.
Put the bushings on the rails in the respective places and tighten ALL the set screws one after another so you don’t forget one. I used 1/6th turn after contact as a torque measurement with no Threadloc.
Putting the bed back together can be a bit tricky. This is what worked for me–just be patient and try a few different techniques before you get frustrated and just strip out the brass thread inserts. Put in all bolts on one side. Then get your hand–any small strong hand–or pliers on the wings of a bushing holder. Try and squeeze it as hard as you can and the bolt holes should line up with the holes in the bed plate. Before you tighten anything down move the plate back and fourth on the rails a few times to make sure that there is no binding. Tighten screws until they make solid contact. Move the bed back and fourth all the way to get the bearing to line up then slowly give them 1/6th of a turn to fully torque them down. Sorry I don’t have any pictures of this part, I was using both hands the whole time.
It is almost incomparable as to how much better it is at printing. Unlike erv I replaced all 4 of the Y-axis bushings, I wasn’t getting any binding issues so I went with it. Initially the Y-axis bearings made some tic-tac sounds as they were probably not super lubed up. I did not add any lube to any of them yet as the shafts came fairly coated already. After a few prints the bearings have become completely silent. I cannot stress how worth it this upgrade was. Total time was 1&1/2 hours, and I spent a bunch of time trying to take photos. There is no backlash in the X&Y directions due to bearings anymore. I upped the Accel to 1000 and could probably get it much higher–1500+. Does anyone know if there is an accel limit for any of the plastics in regards to printing ability or is max accel set by machine physics?
Cheers

great tutorial, thank you for posting this, very informative and great testimonial too !
I ended up re-aligning the Y mounts and replaced all 4 bearings, I was too worried about the click noise of the bearing, but just like you, it’s silent now, after a some prints.
My upgrade ended up as $75 (ish) for 20 bearings and the rods. I went for ebay instead of misumi as for some reason, they wanted a very long account creation process. The validation email (sent manually) went like 4 days later and everything was double cost there, so I searche the same thing on ebay and found the right parts easily.
Free shipping, and no import duty this time, happy dance. I didn’t ask for special chamfers on the rods and expected ugly ends but I got them nicely sanded. Excellent deal.
If you are worried about droop, why didn’t you go to bigger diameter?
thanks a lot, that motivates me to go down the same route on my taz4
the account creation process on misumi actually never returned a confirm. email for my account, and my emails to tech. Support never got me a Response either (which is why I have not done the upgrade yet, could not get the order going )
will get it done via ebay as well then
Anyone know if I can try just replacing the stock x-axis rods w/ the PSFU10-500 hardened rods w/ out also replacing the bushings? Will the PSFU10-500 rods play nice w/ the stock IGUS bushings?
I tried the IGUS bushings on the new hardened rods and it didn’t change anything. It’s all in the bushings. The only reason the shafts are replaced is because linear bearings have to be hard if they are going to be tight and smooth. Therefore, the shafts have to be hard as well to hold up to the pressure.
No lubrication issue with the stock components. I wanted to see if the harder shafts would eliminate the dip in the center of the x-axis while still using the IGUS bushings.
Are you saying that the hotend assembly is heavy enough and the stock rails are soft enough that you are getting noticeable flex in the rails!? Could this dip be from the glass bed expanding and bowing up in the middle where it is hottest and furthest from a clamp point–I notice this happens to my bed but I’ve measured it at less than .1mm. I hope it is actually from the latter issue.
Anyone know if there is any backlash issues with the GT2 belts? Erv how do the belts seem to be holding up with the higher acceleration? I haven’t noticed anything yet but I only have the accel up to 1500 and I’ve been running it like that for about 30 hours now.
The stock shafts flex under the weight of the tool head. On my machine, the nozzle runs about 0.01 inches closer to the bed in the center that it does at the edges. That change in gap is virtually eliminated when I remove the tool head and measure with a dial indicator mounted directly to the x carriage.
On my machine, the nozzle runs about 0.01 inches closer to the bed in the center that it does at the edges.
Woa! So in non-American units 0.254mm, basically a hefty layer thickness. Did you check it with the bed at room temp or was it hot? That seems substantial enough to be a serious problem. Maybe something Lulzbot might want to look into. I don’t like to talk negatively about Lulzbot so I will say that they are shipping me the hexagon hotend since I bought my TAZ4 right before they released the TAZ5. Super great company.

It doesn’t seem to matter if the bed is hot or cold. The glass is flat both ways. The variances seem to work themselves out over the first two or three layers. I set my nozzle gap to 0.005 inches with the system at operating temps and print away!
I would like to have stiffer x axis hardware but I think most of the trouble I am having now is caused by inconsistent z axis movements and homing. I have all the parts to upgrade to the Taz 4 style z hardware. I just need to take the printer down and get it done!
I have all the parts to upgrade to the Taz 4 style z hardware. I just need to take the printer down and get it done!
The hardened linear shafts are only $18.69 each, if you’re strapped for cash you could just get the two for the X-axis and do it up while you have your machine already torn apart. I think it would take >2 minutes to do the replacement.
Either way this is a prime example of why open source is great and Lulzbot upgrade ideology is perfectly matched.
I haven’t heard anything about the hardened shafts being stiffer… I do want to get bearings and share for x but I’m worried about noise. I set next to the printer while I use my pc for design work so, excessive noise is a problem.
I haven’t heard anything about the hardened shafts being stiffer
This is true but I did a little bit of looking around in some of my metallurgy and welding books and it seems that most steels and steel alloys have the same young’s modulus 190-210 GPa–which is almost 2 million times the force of the atmosphere. Maybe using hollow tubes will help make the shafts stiffer even though it won’t change the materials rigidity. I know tungsten bushings are a possibility but I don’t think you would be able to find shafts (lots of semantics, sorry).
I do want to get bearings and share for x but I’m worried about noise.
I replaced all 7 bearings that make up the X&Y axes and they are completely silent. There is no comparison to the amount of noise the stepper motors make. Considering that I was getting a bit of chatter from the IGUS bushings I have to say that the bearings make my TAZ4 quieter.
Ok. Parts for the x axis are ordered. My y is still nice and tight after doing the Lulzbot suggested bearing holder twist. The x is a sloppy hot mess, however, and I have not been able to tighten it up by moving the bearing holders together or apart…
Thanks for the guide Brew4You, I’m really tempted to change X/Y on my printer now. My only worry is that I’d not be super confident in doing the changes (even though it seems relatively straight forward) and my printer is relatively new so ideally I’d like to not break it 
Anyone in the EU have experience with misumi? I looked at their website but it seems really geared for companies not individuals (they have mandatory Company name/VAT-ID fields when registering) and I couldn’t find the parts elsewhere (like on ebay).
I’m in EU and had the experience your describe, though I have a company and VAT #. I skipped misumi and went for ebay and payed half the price.
Any chance you could please link the items you went for? I had a look for them earlier but couldn’t find anything. Also a worry at the back of my mind is that if I order from ebay the quality wouldn’t be as good as from a respected company like misumi, is that not true?
I emailed them last night and got a reply, the key part of their reply was: ‘Unfortunately, it is not possible to buy as a private person, we provide our products only to business customers.’
I just went with the references and part # provided in that thread and searched ebay.
http://m.ebay.com/itm/181479844918?nav=SEARCH
I found these on eBay after a quick search. 500mm=19.6inches so the 19" shafts should be long enough.
I tried to use Misumi Europe and had no luck. It works fine in the USA. Lots of places sell linear shafts just make sure that they say the daft will work with lm10u bearings.
Thanks for the replies and help.
erv - you’ve had the upgrade for a few months now, I assume you’ve had no major issues with and would recommend it?
I’ve found this auction (in the UK) and if it looks right could you please let me know and I’ll order it soon. http://www.ebay.co.uk/itm/280967730766