I can’t speak for erv but I can tell you that now, for production parts like brackets and some battery holders, I’m printing ABS with the parameters below and parts come out just fine. Before the upgrade I was printing at half the speed and for parts with lots of head movement, i.e. lots of acceleration ramping, it would be pretty slow going–relative to now.
105=print speed
53=inner/outer shell
20%=infill
200=travel speed
1500=acceleration
The only issue I could see happening is having to make bigger corner brackets for the frame to reduce frame flexing–easy enough to print. Some amount of flex is going to happen somewhere with a bigger print head and higher accelerations it doesn’t effect me or my prints so far. The frame flexing may be an issue when the head is higher off the build plate, maybe like halfway up. I’m not going much higher than 40mm I have no problems. Hope this helps
[edit: 15/2/23]
After getting a feel for my machine and installing the hexagon tool head I now print at these parameters:
175=print speed
80/60=inner/outer shell
125=bottom layer
150=top/bottom layers
35%=infill
200=travel speed
2000=acceleration
I can confidently say that I am printing 4X faster and at a much higher quality than when I started. I have noticed that there is a small amount of flexing in the TAZ frame due to the high acceleration changes but nothing I am worried about yet–not even to replace the Z-axis IGUS bushings or the corner braces.
My two upgrades are; all linear bearings and hardened shafts for X&Y axes, fangtooth/hexagon nozzle. Best–should be your first–TAZ4 upgrades to make.
Here is the difference in prints from when I started to now, printing with the same ABS and the same slicer settings.
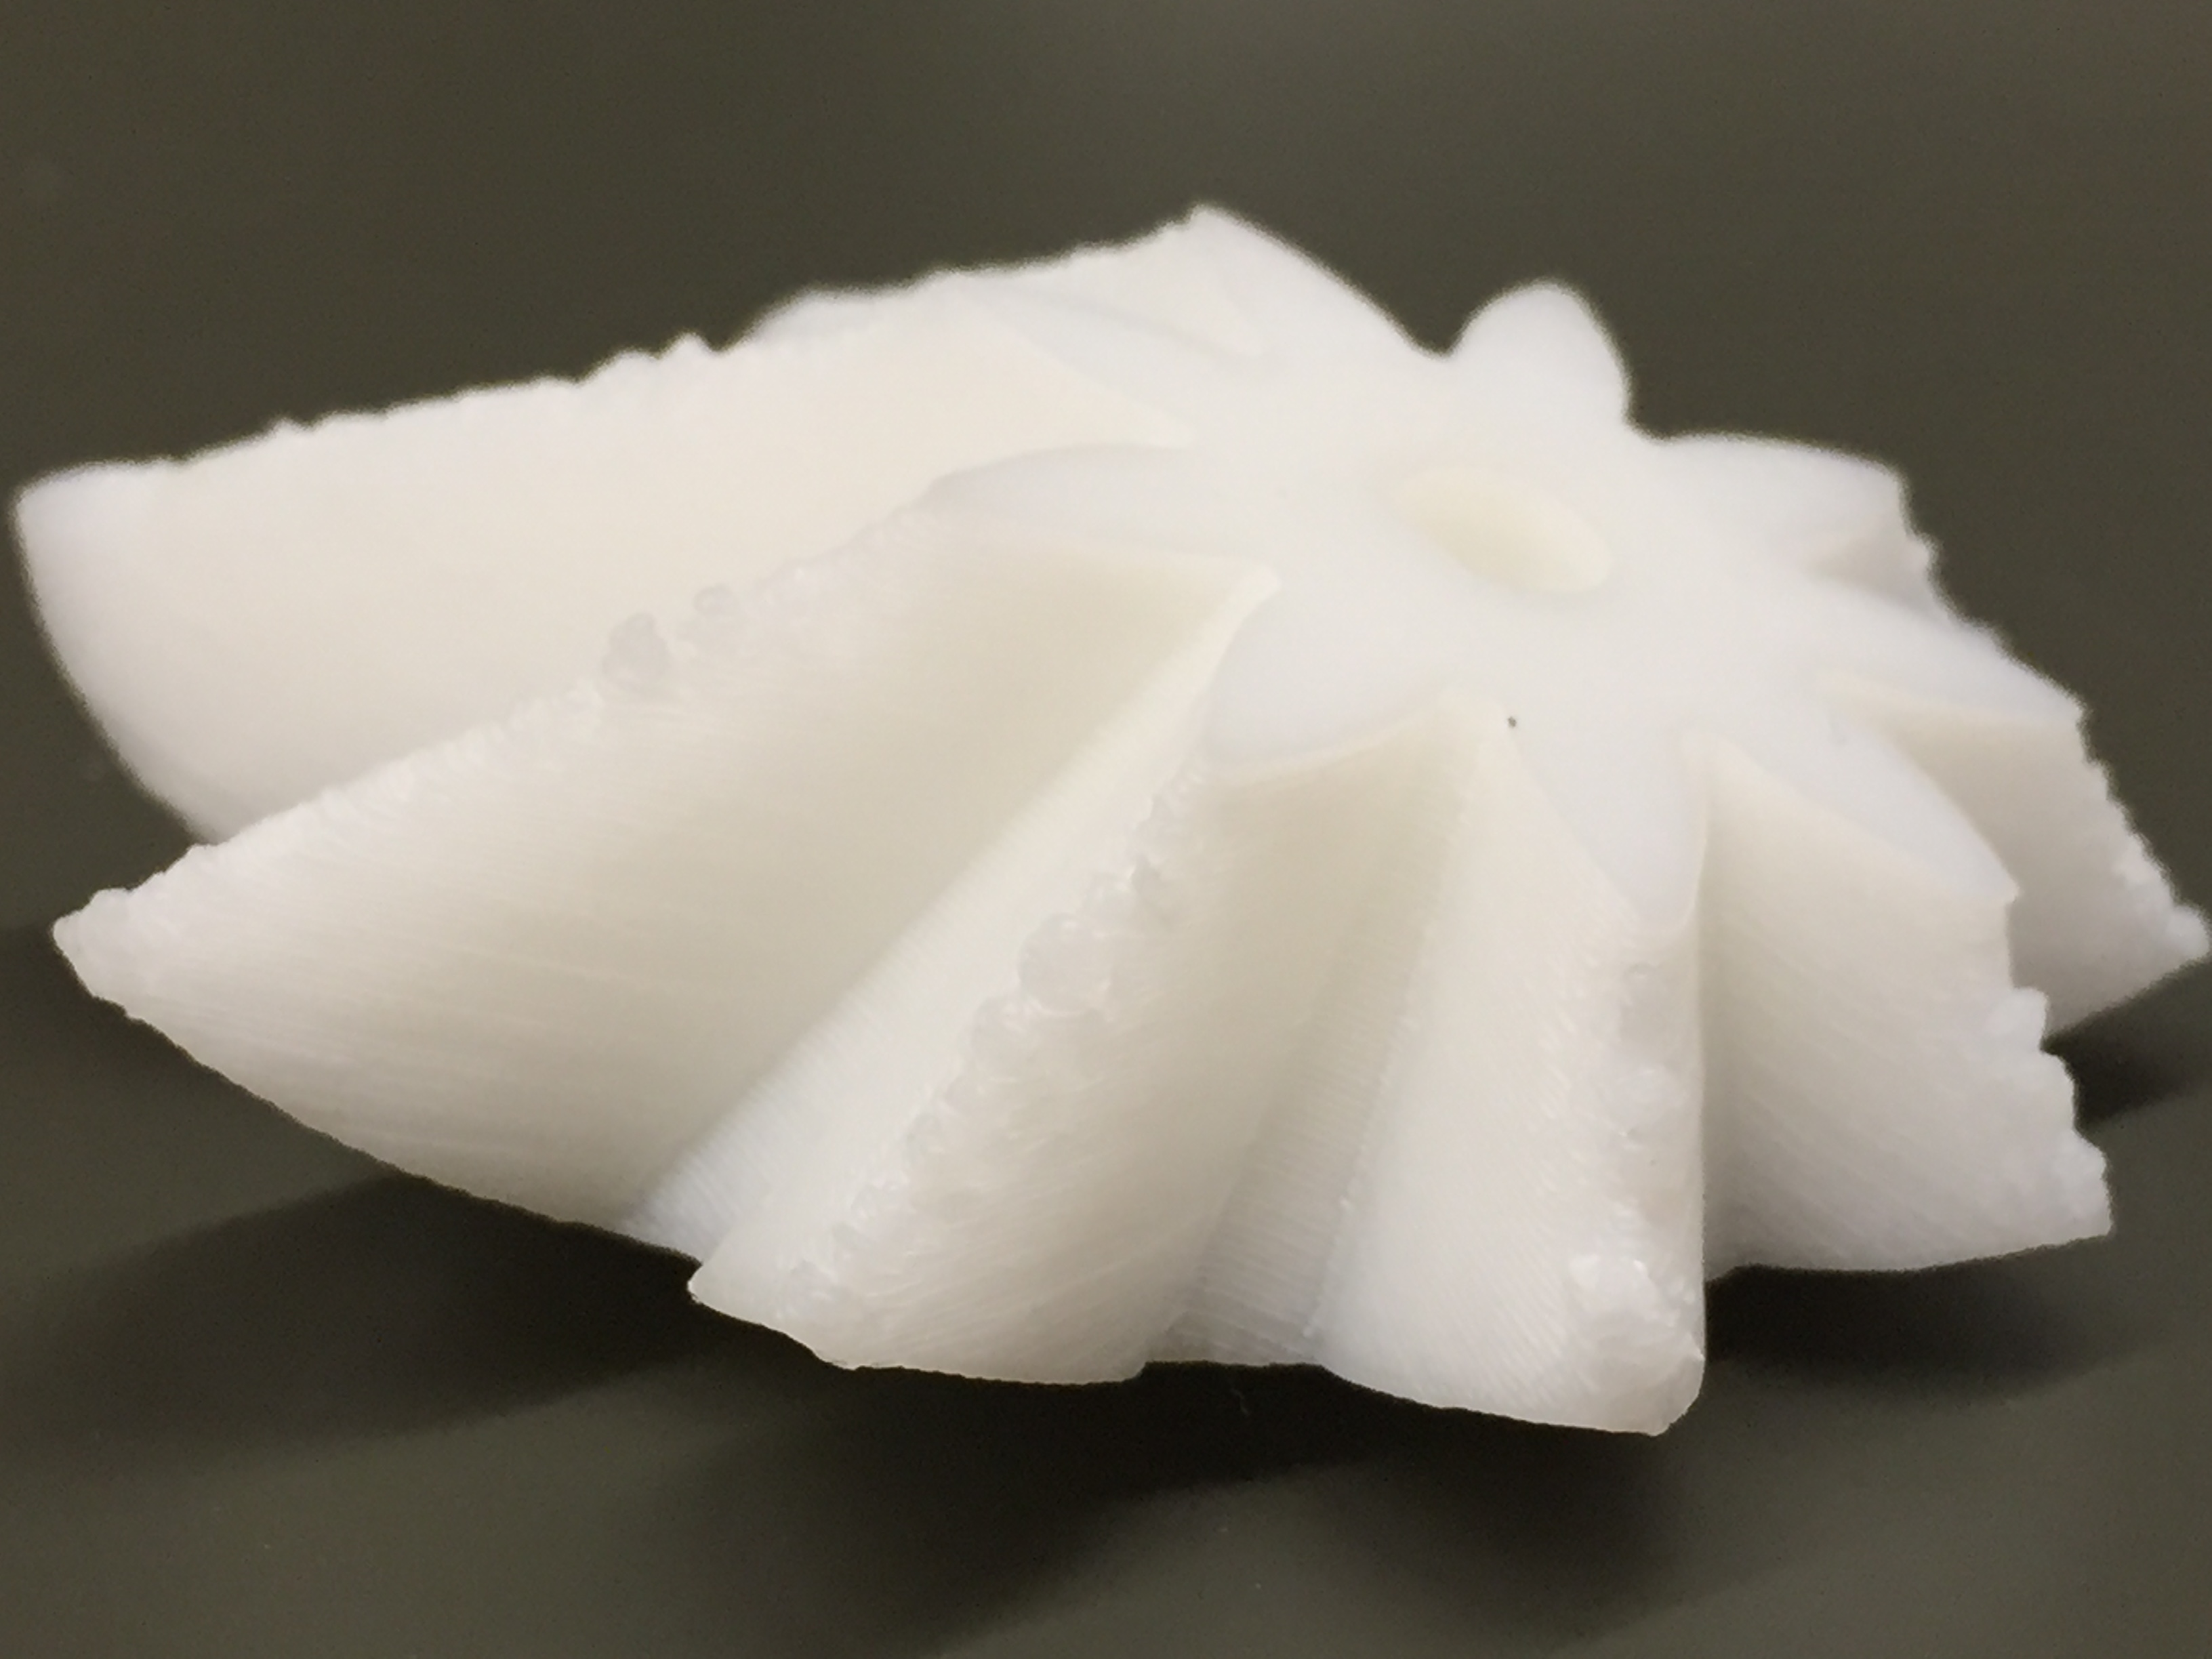
The bushing replacement really helped speed up printing and the fangtooth took speed and quality to a new level.
