I picked up a new-to-me Mini1 not too long ago. It otherwise prints beautifully, PETg is my main filament, and compared to other priners I’ve used this has been an absolute dream.
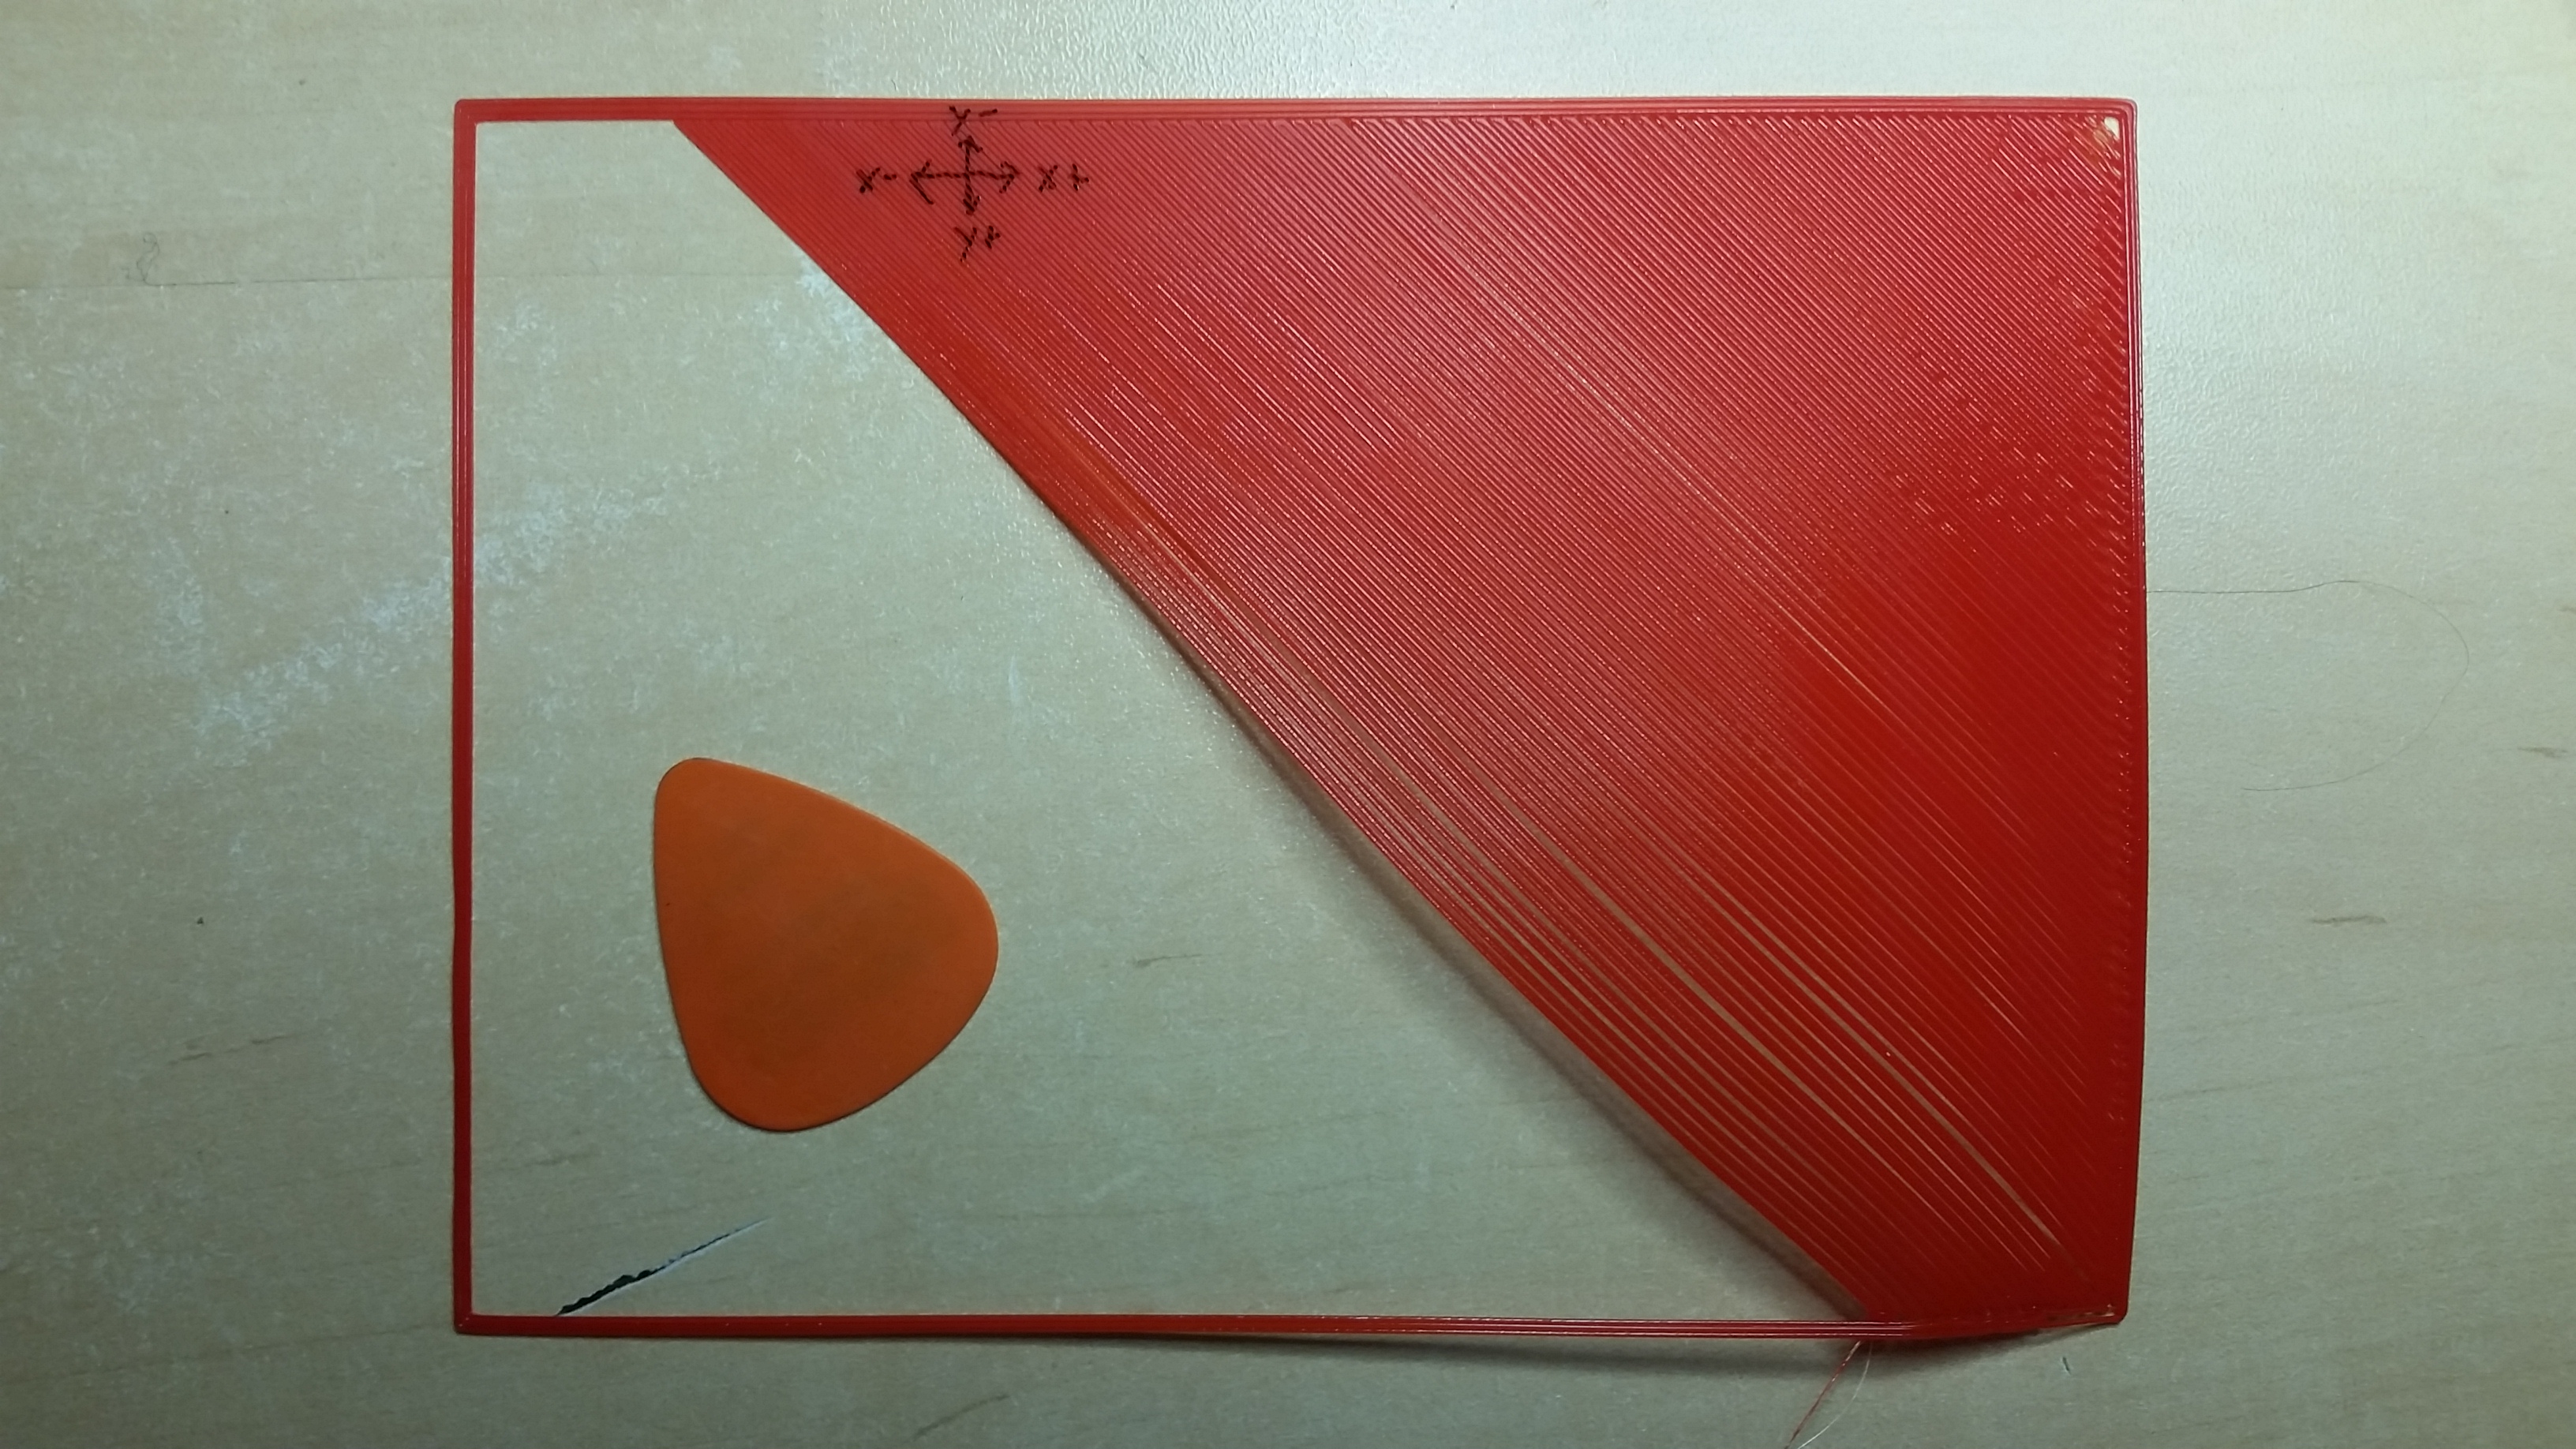
I do however, seem to have some strange first layer problems. Namely, even though autocalibration succeeds, I see some areas of the bed with great adhesion and others with less great. See photo for an example of this with a really large flat part. I’ve pretty much seen this on all parts to varying degrees, both with PLA and PETg, both using the stock Cura profiles for them. It was never an issue until now, where I’m printing really large base parts and the lack of adhesion is causing curling with PETg.
Observations:
Since I’m new to this printer but the printer is not new, I’m not sure which of these is normal. Everything is “stock” as far as I can tell that lines up with late model Mini1’s. I’m using Cura Lulzbot, with the “experimental” Chroma Strand INOVA-2008 PETg. I have an added LCD interface as well.
Uneven first layer width (see photo). To the point that some strands are squished really heavily, while others are not touching their neighbors.
Curling of really just one specific corner.
Zprobe offset is set to -1.55 mm, which seems like it should be outside of spec. If I move closer to the stock -1.35 mm then nearly none of the strands connect. In fact, at -1.50 mm this starts to happen (see photo of partial print).
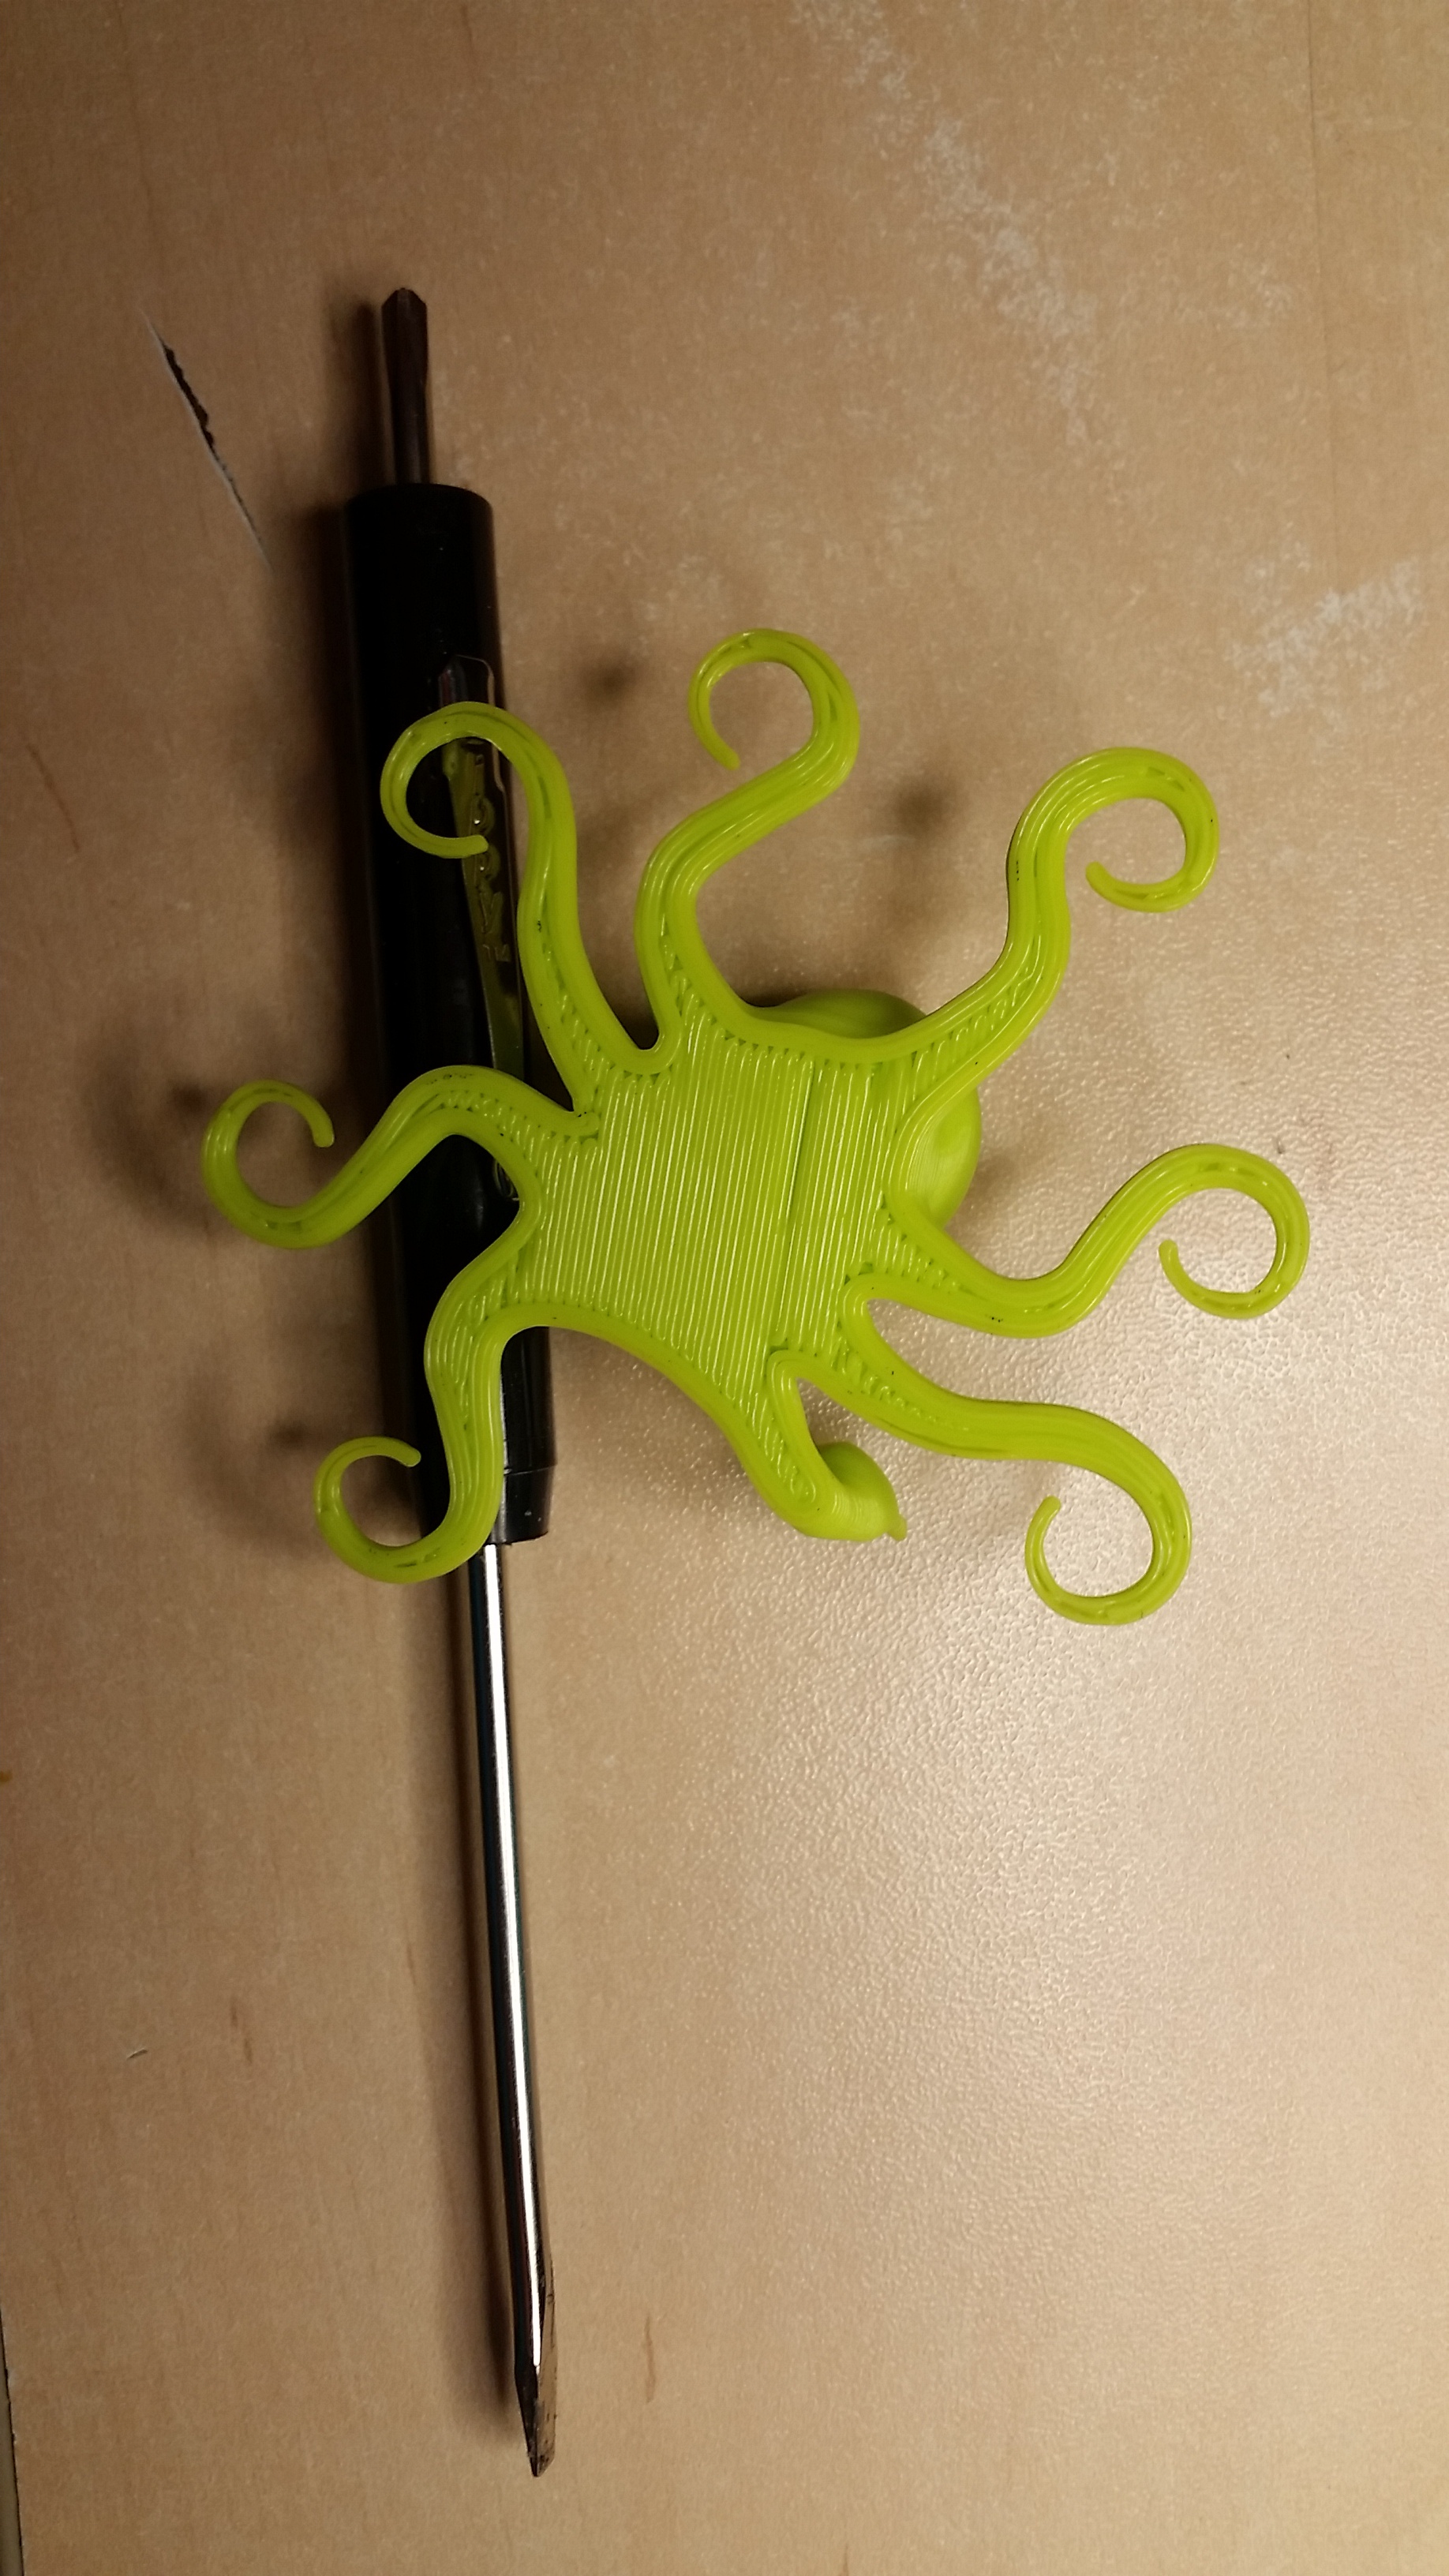
Even when using some bits of PLA, I had similar first layer issues (see rocktopus photo).
As the bed moves forward and back across the Y rails, the edges have a bit of a wobble when I touch them which this changes as the bed moves up and down the Y. For example, at the Y+ position (bed forward) I can push down on the Y+ leveling washers and the bed will rattle up and down quite easily. At the Y0 bed position, the bed rocks on the X+ leveling washers when I push down. And at the Y- position (bed rear), I can lift up on the Y+ leveling washers to have the same rattle. All of these are not just material flex, there is an actual mechanical rattle of the bushings breaking and making contact with the slide rails. I would think this is accounted for in calibration, but I’m not sure if it would be tightened up if any of those were replaced.
I don’t see the same kind of rattle on the X slides anywhere along the path.
During calibration, the nozzle seems to be off in the location of the Y- washers. For the Y+ washers, the nozzle touches off about 3/4 radius of the washer. On the Y- washers however it seems to touch off very close to the full radius of the washer. From what I can see, it looks like it is making solid contact with the Y- wahsers and the end of the nozzle.
Nozzle is a little grimey, but its cleaned up as best as it can be. I see no bed distortion when it is calibrating.
The rest of the layers are fine. The top layer finish on this thing is the best I’ve ever seen from a 3D printer. It has a slight ripple so may a little overextrusion, but definitely not under.
I’m able to take more photos or provide any other details. It would be nice to resolve this. Thanks for any help!
[Guitar pick in photos to help camera focus better.]
Try making sure that the screws holding your Y-Axis bed frame to the printers frame are on nice and snug and that the X-axis is aligned.
First please raise your tool head off of the bed. If it already off of the bed, go to the next step. If the Z motors are bound up and will not allow you to move the Z axis up, then please turn off the printer and manually turn the silver couplers (that attach the Z axis motors to the threaded rods), until the head is high enough off of the heat bed to do a measurement.
Then measure from the top metal frame to the top of the X carriage guide rails. If either side you measure is higher than the other disable your stepper motors from the LCD display, or through the “motors off” in Cura. Then adjust the side that is higher to be equal to the other side. You can do this by turning the silver couplers that attach the motors to the threaded rods, you’ll find them inside the green housings at the bottom of each threaded rod.
There is also 3 screws on the Z carriage idler and the Z carriage motor, that will need adjustment. Please follow the guide rails that the tool head is mounted on, to the assemblies that holds them in place. You will find 3 4mm Allen head screws that hold the assemblies to the threaded rods. Please loosen these 3 Allen head screws on the left and the right.
After this you will need to auto home the printer.
Then move the Z axis to close to the top of the printer using CURA (245mm from home). Then auto home the printer again. Please do this two times bottom to top and back. Then please move the Z axis to the middle of the printer. Once you have the X carriage in the middle of the printer, re-tighten the 3 Allen head screws connected to the Z nut mounts on each side.
Please do not over tighten the Allen head screws. Once this is completed, please run another print and see if the Z binding is decreased.
Hello! Apologies for the delay in responding. Thank you for the help, I’ve performed your steps (and more, see below) and am still seeing the same results.
Note that, for anyone else reading this, the following number should be 145 mm on a Mini 1!
So far I’ve:
Uninstalled and installed the latest version of Cura
Did a firmware update through Cura
Ran through the calibration above. I did find that one side of the X cross slide was at a different height than the other. After this calibration I’ve found that movement along the X axis no longer steps the Z axis up and down to any visible degree.
I’ve done camera verification to find that the X+/Y- calibration washer definitely does not get hit by the end of the nozzle. All other washers seem to be fine. I’ve shimmed the Y home limit switch to cause the bed to shift up and now it makes reliable end contact with the washer. Before shimming I attempted a number of adjustments to try to eliminate any problems that could be caused by assembly tolerance or just mechanical wear/shifting.
Tuned and verified extruder steps/mm
Tuned the Z probe distance (still ends up -1.55 mm)
I still see the same outcome when printing a 1 layer very large print. Bottom right and top left corners have less than ideal first layer adhesion; while top right to bottom left has a lot of squish to it.
I spoke with a friend who verified that the Y bushings should not be rattling like they are. Going to try to replace those next and see where that gets me.
If there are any other ideas in the mean time, I’m all ears.