This is rather impressive! Hope I didn’t overlook it, but what are you using to create your models?
Hi Orias,
Thanks, its been a long dream of mine to be able to build the Yazi. Did a starship manually in 2011 and it just didnt have the detail I wanted.
With your machine it is exactly how I wanted it to be! lol
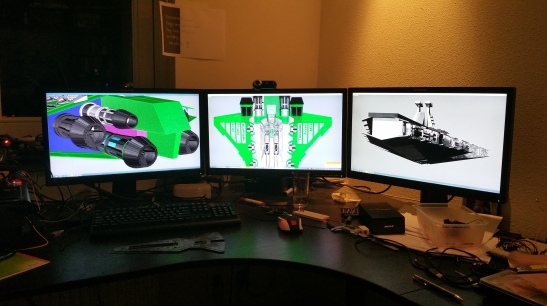
I am using a student license of Rhinocerus. Been using that for all my CNC and laser projects and now the 3D Printing ones.
The ability to copy, twist, rotate, mirror as easily with rhino is practically impossible with other CAD/CAM solutions.
In my opinion it allows for a more intuitive approach towards design instead of the strict rules of submm design in other software.
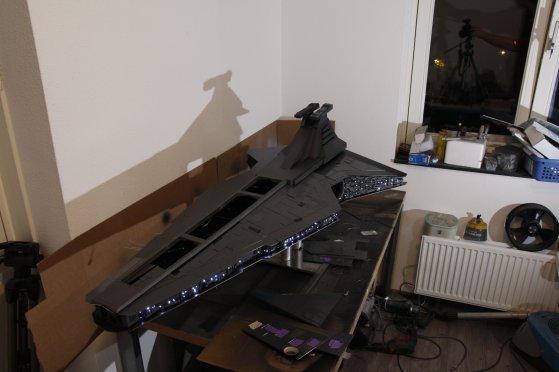
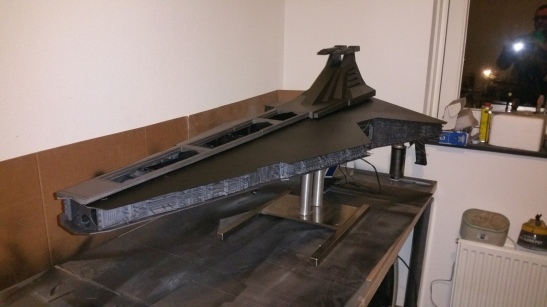
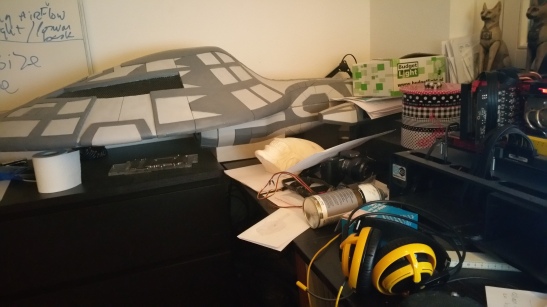
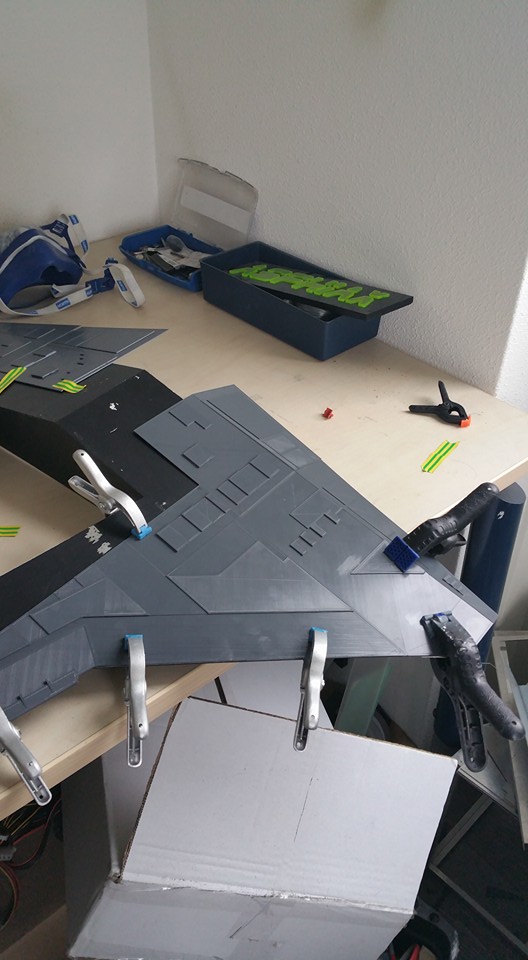
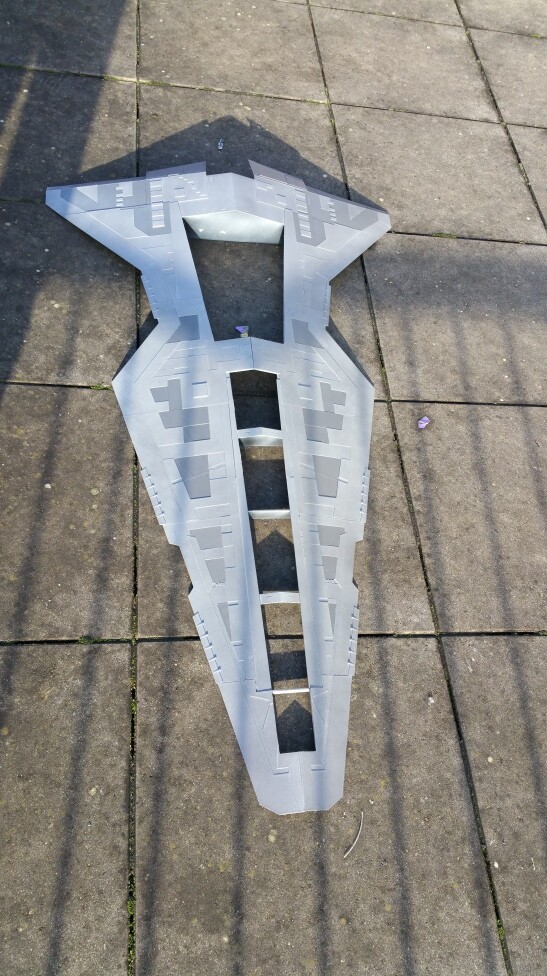
Final result of the second greeble session, session 3 is already in its 16th hour of printing … Only a few more !
Greeble session no 003

Whats next ???
I would love to see one of these parts printed in ABS and smoothed with a acetone vapor finish
Yeah will be 3xperimenting with other filaments once i get some rest of this crazy schedule for the yazi.
I got this other project that I want to do next
Its the Cylon resurrection ship from the newly envisioned Battlestar Galactica.
This will be a NAS system, just need to find me a sponsor that will sponsor me 12 SSD’s lol
Think of the insides printed in HD glass with SSD’s .
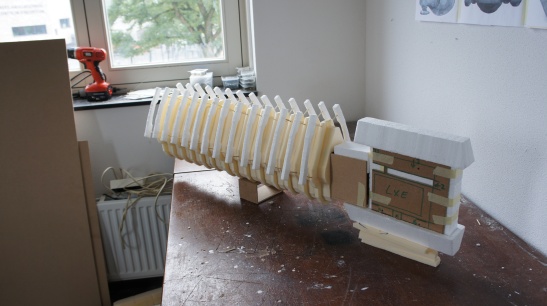
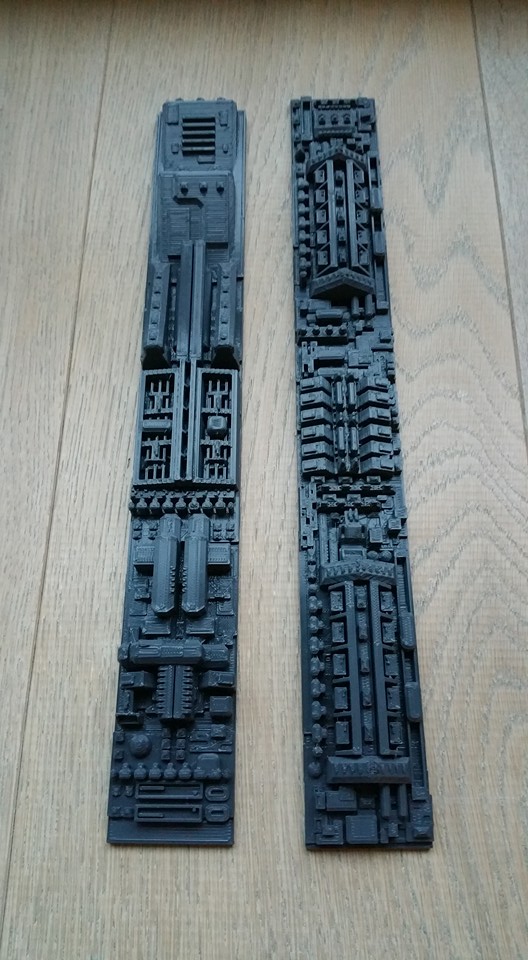
I was so stressed for this print. At 3/4 into the print (16 hours) i started to notice the amount of filament on the spool was growing thin .
With the filament already in the guiding tube of the printer, it was finished at 20 hours with about 70cm of filament left … Pfew …
This will be the last picture update for a little while.
Need to slow down a bit and enjoy the music more.
Appears to have turned out with stunning quality ASPHIAX! Well done. How does it feel going through your first spool?
Thanks man!
I am about halfway through the top box 

First time I did my math wrong lol
Stress …
At least you have yourself some room to re-order before completely running out!
Yeah it will probably turn out to that lol
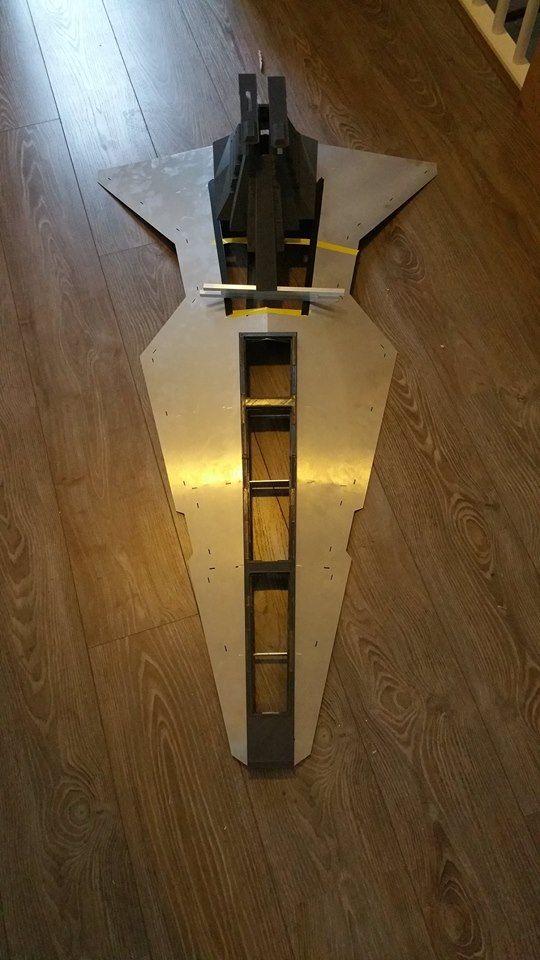
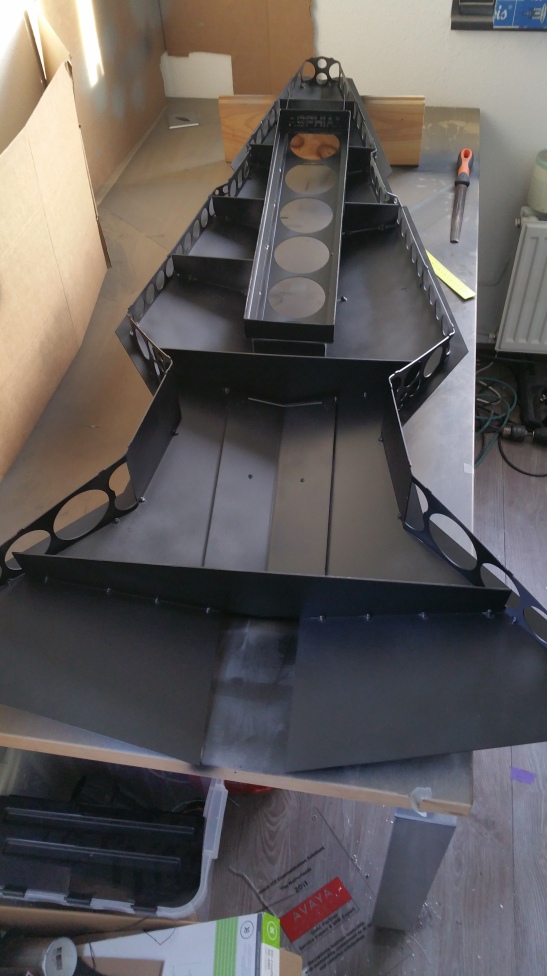
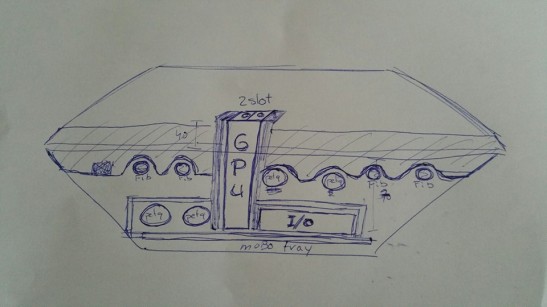
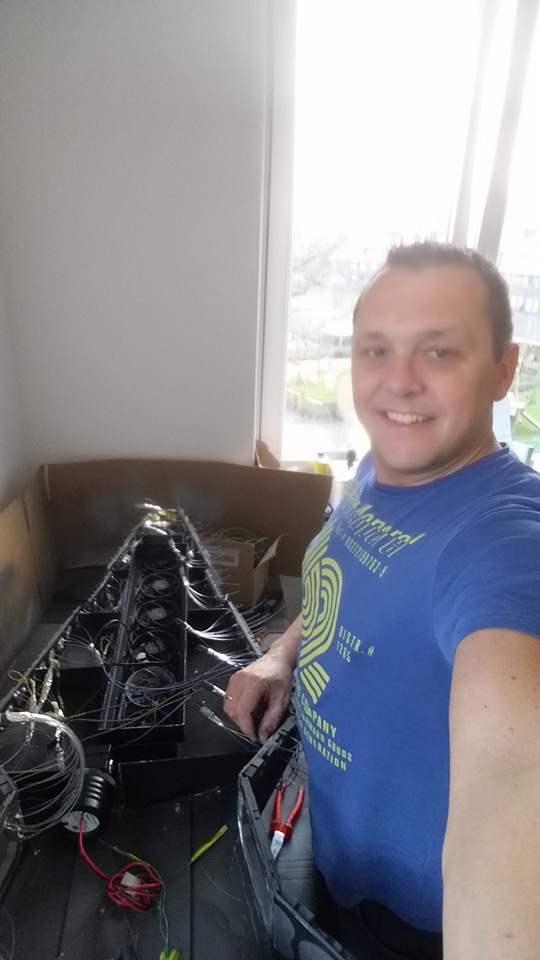
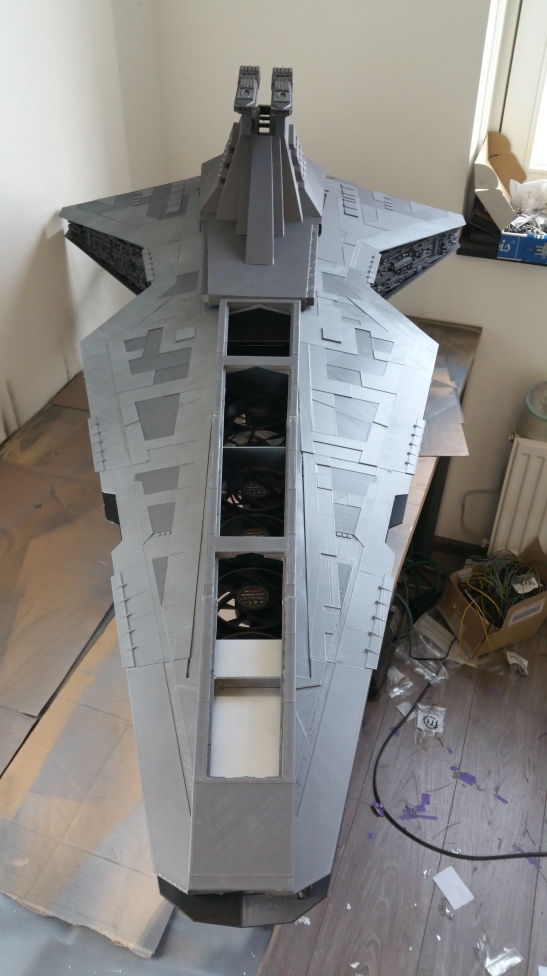
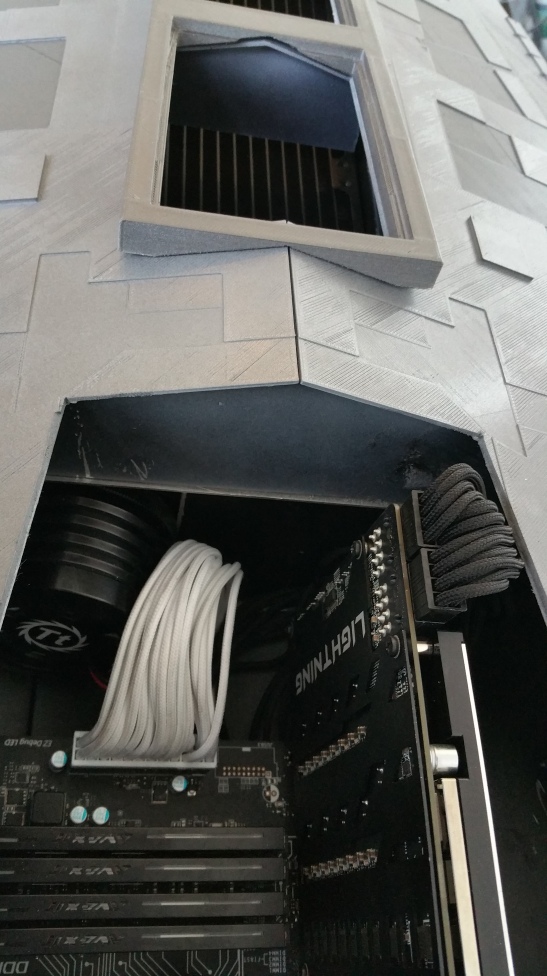
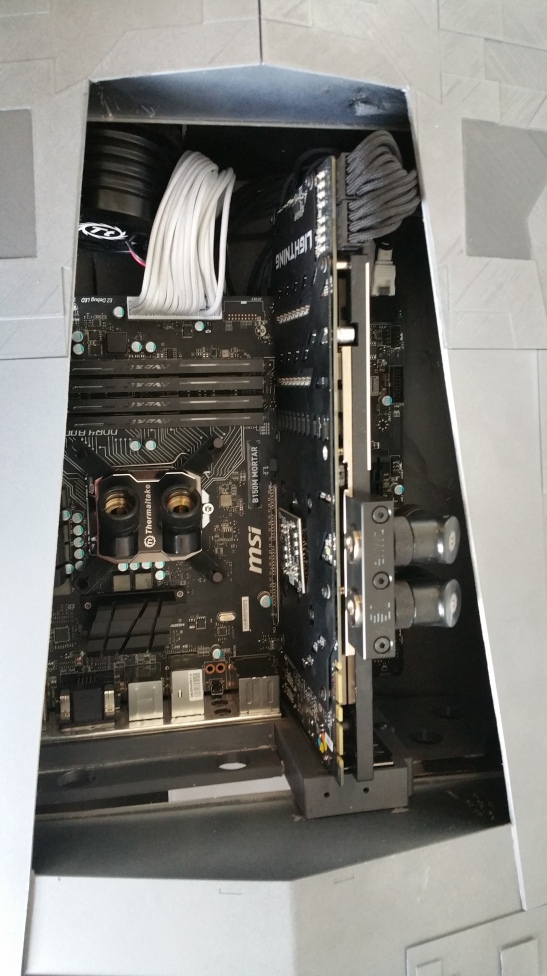
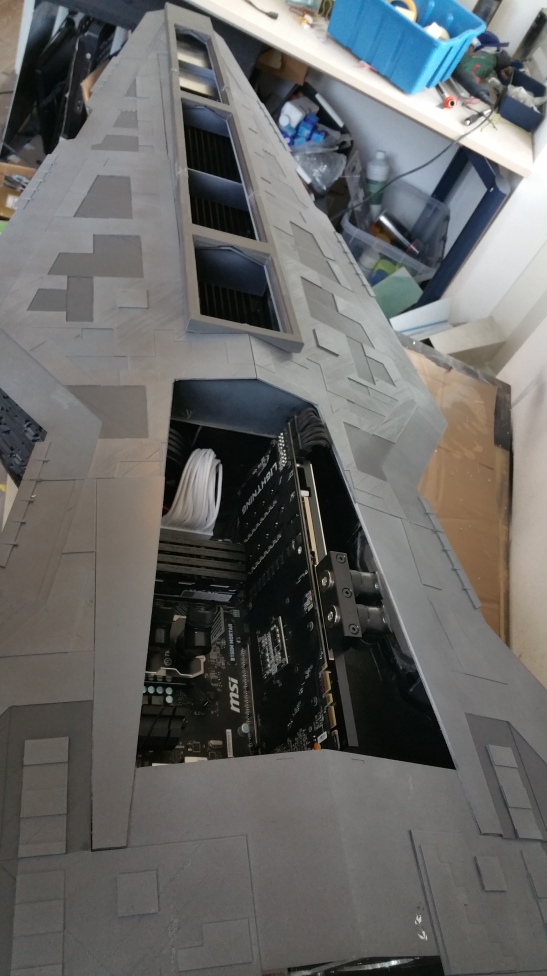
Doing motherboard and I/O tray now.
Will start on the hull soon, rather large surface
In the meantime …
The final loop has been found!
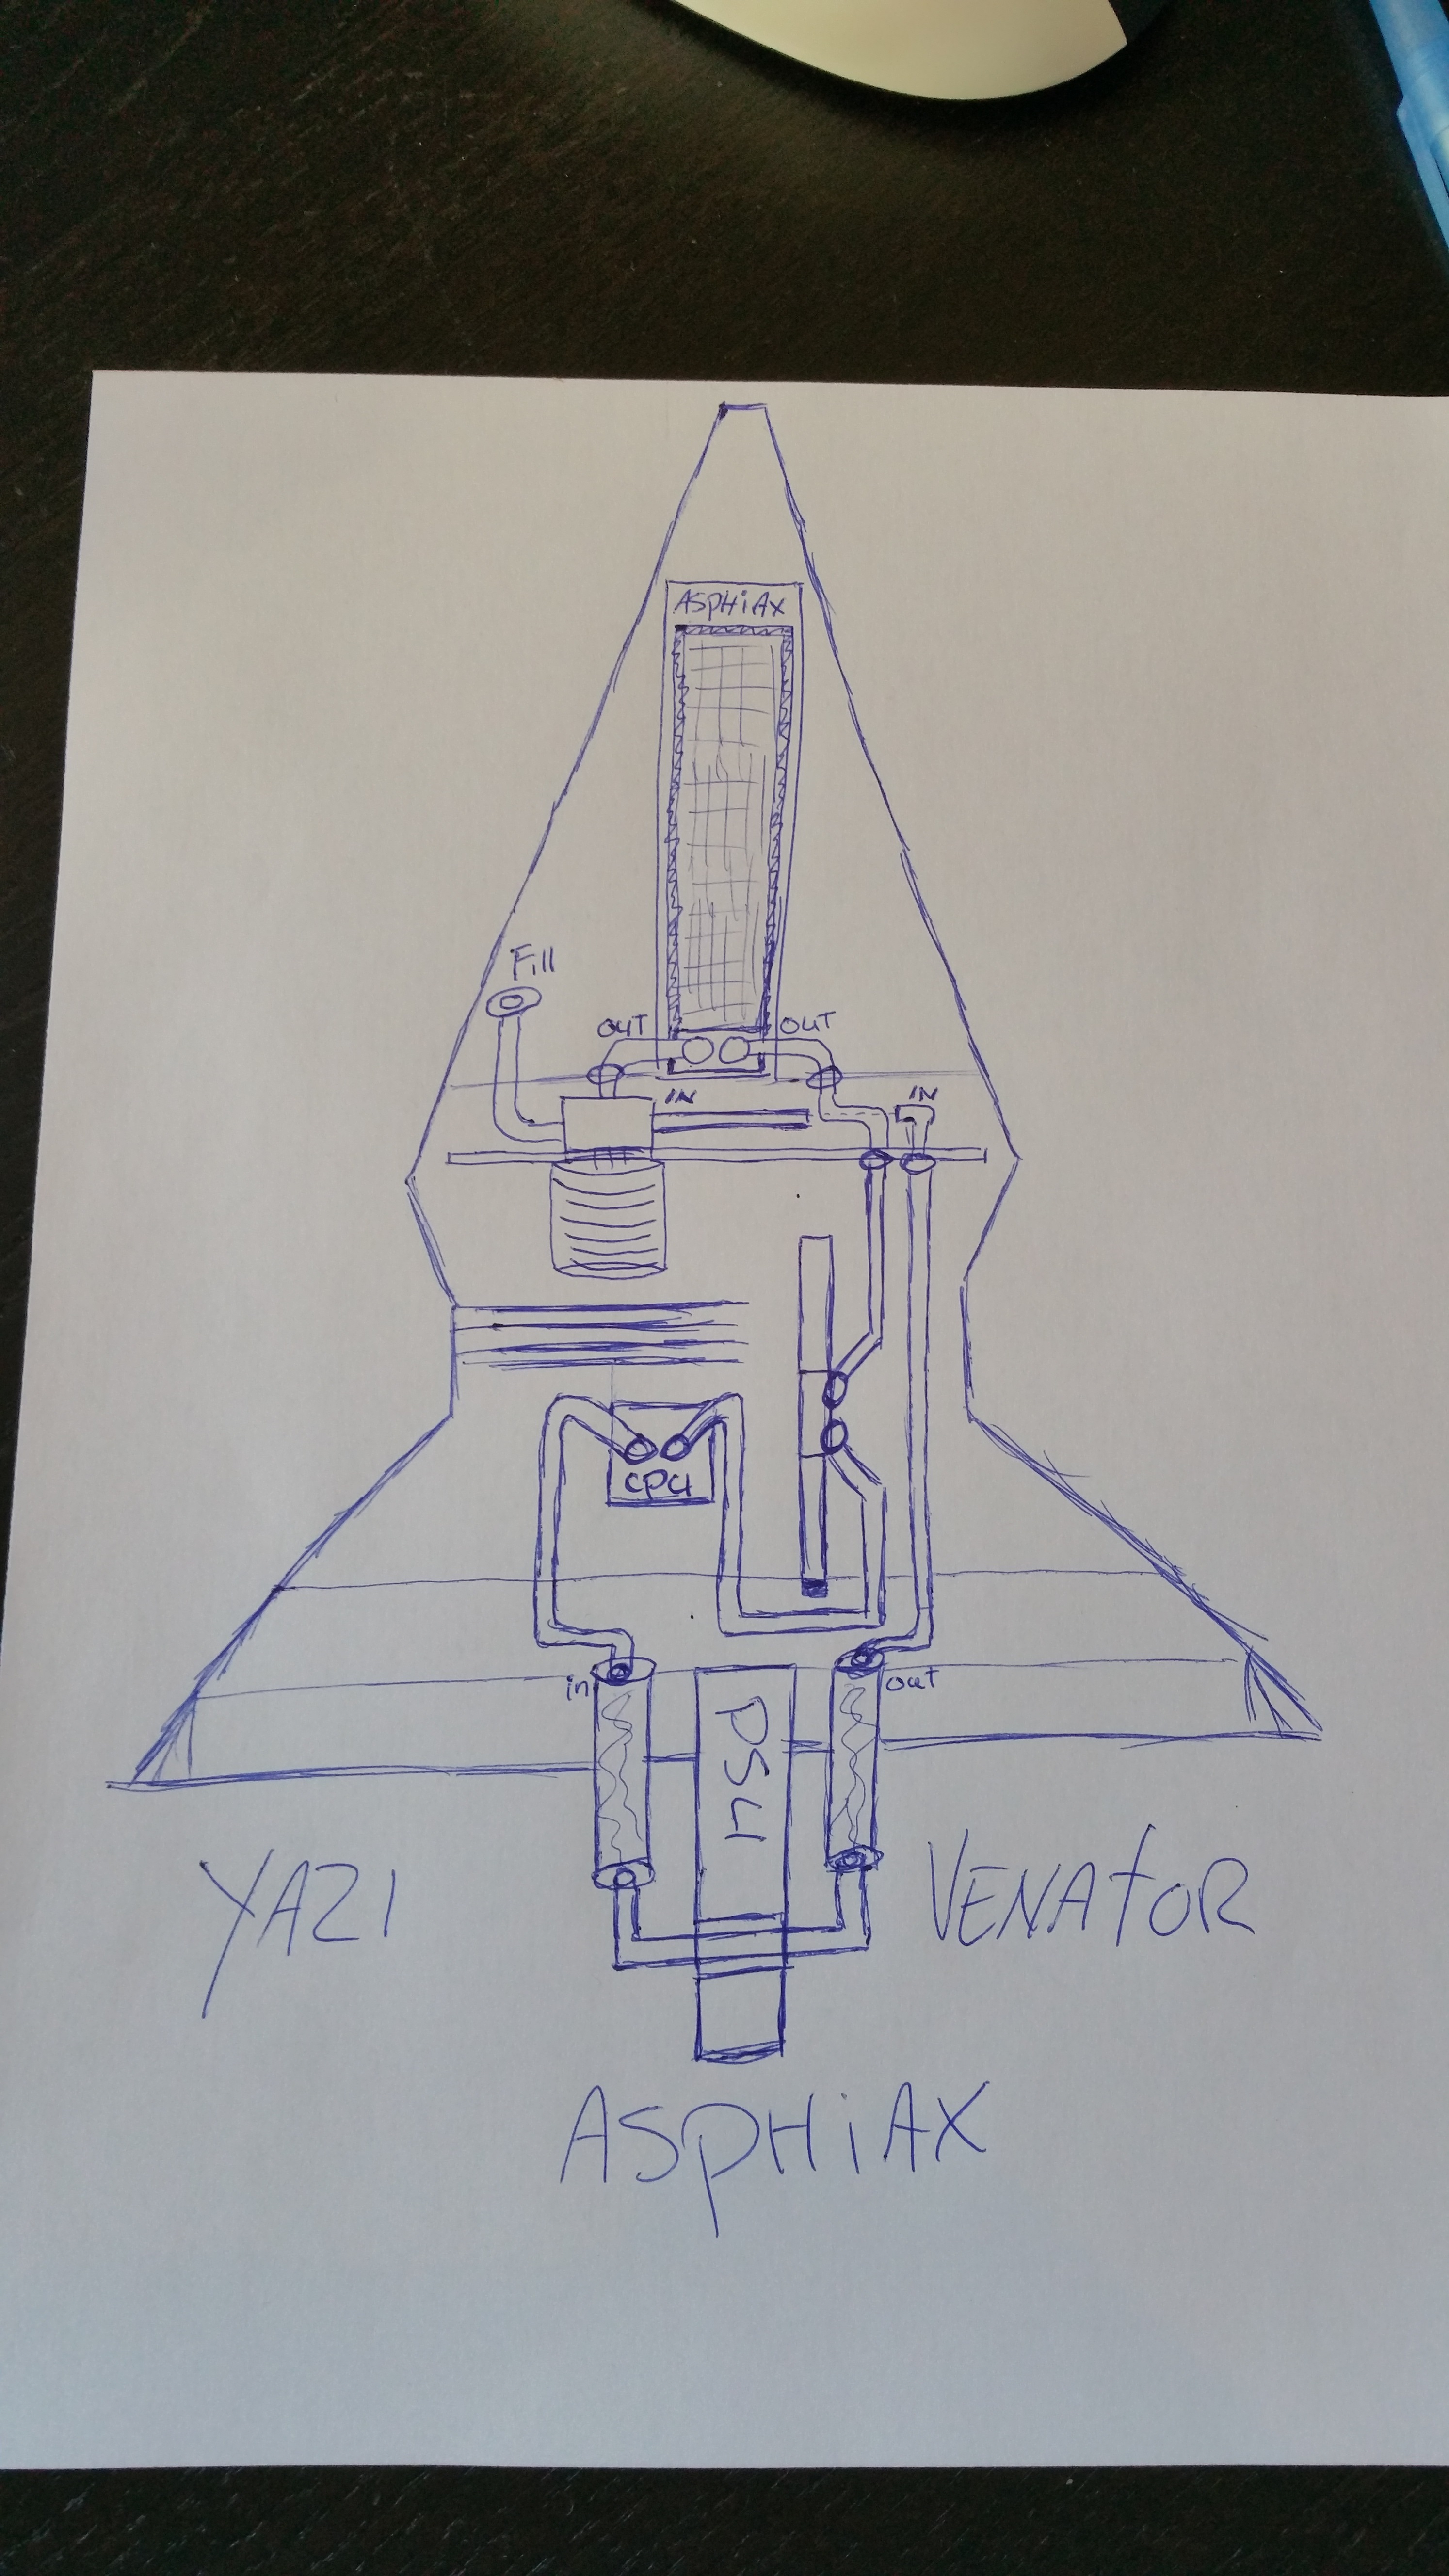
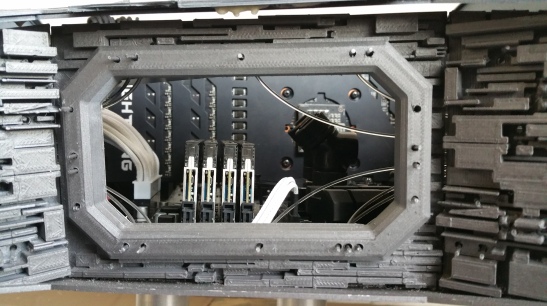
Inside the case I will be mounting several 3d printed PETG coolant tube guiders and supports, VGA and I/O space and some decoration.
You know when you have spent to much time in 3D when you start sketching it only also.

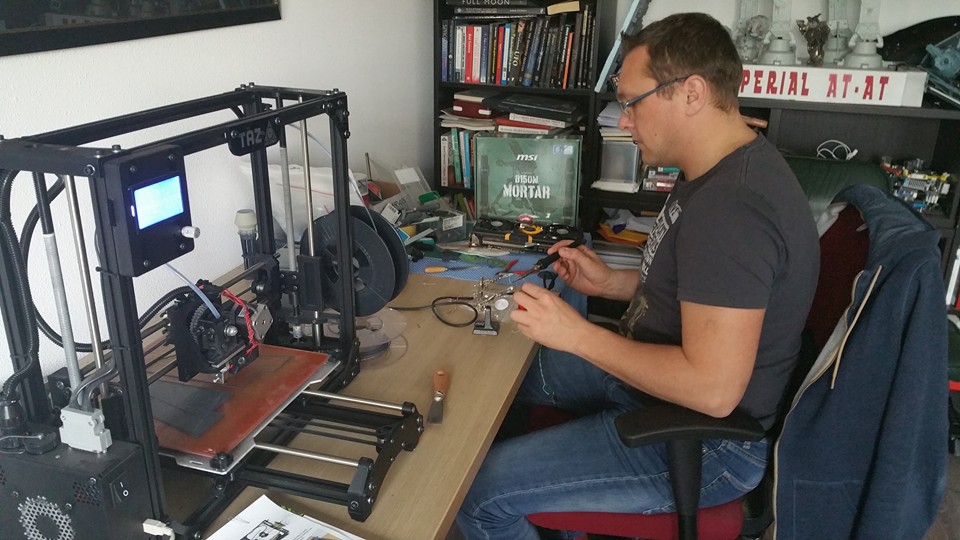
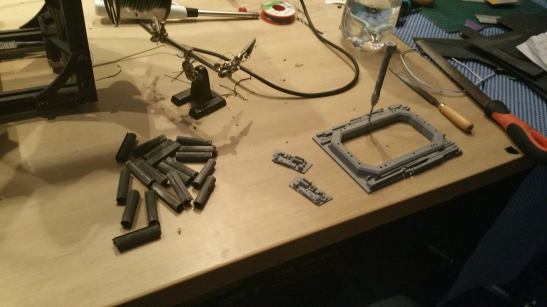
Only 300 left to solder Sander … Pfew …
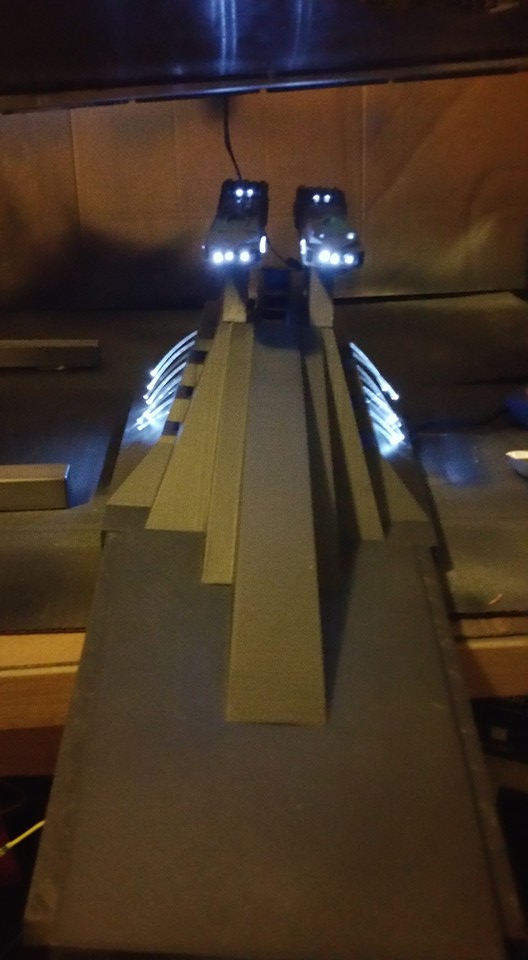
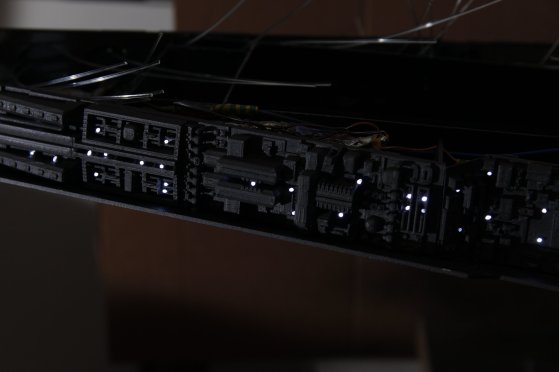
First light …
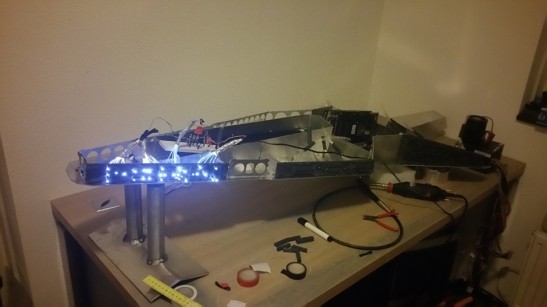
Lightning !

I am sorry for the lack of updates from my side
There has been so much work done in the last few days but I need every minute I can get …
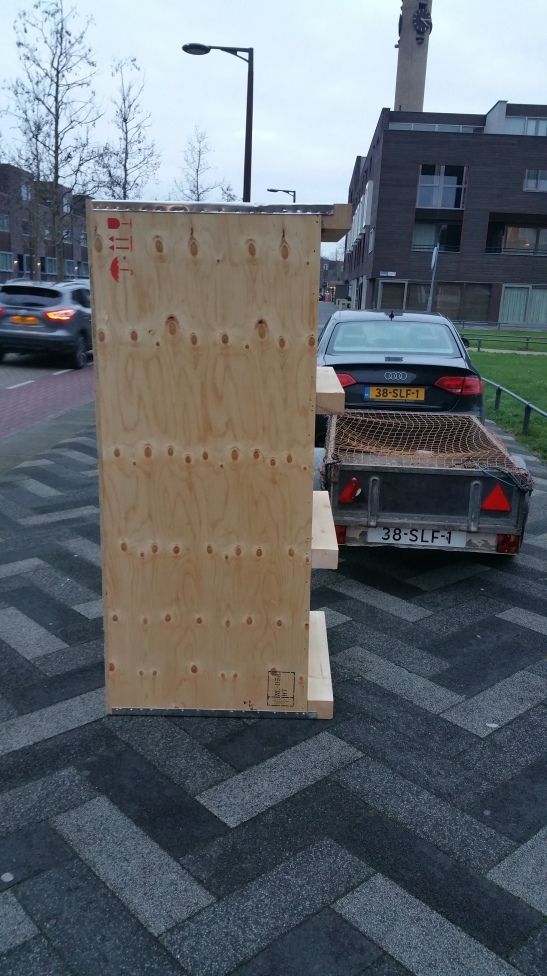
Because the YAZI will be at the International CES 2016 in Las Vegas.
Here is the transport box for it …
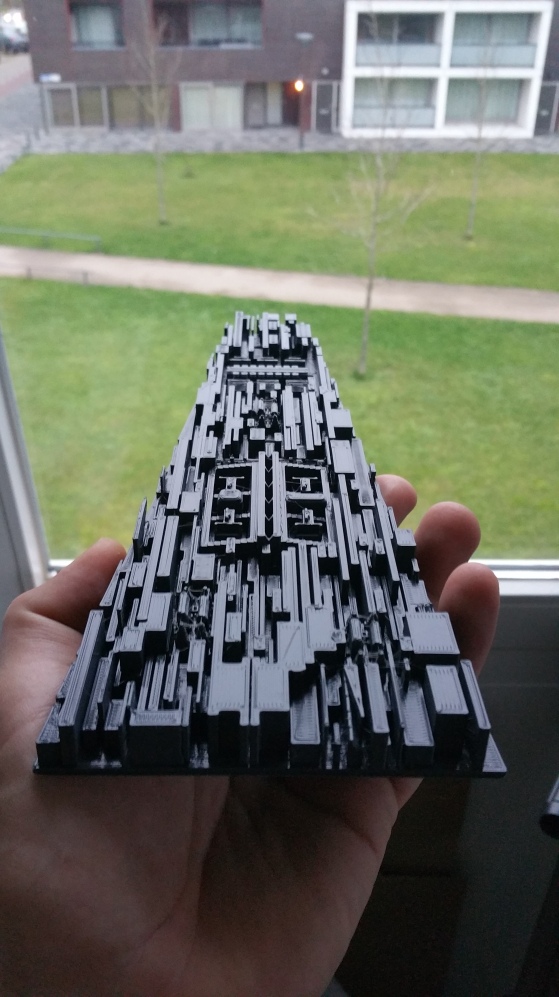
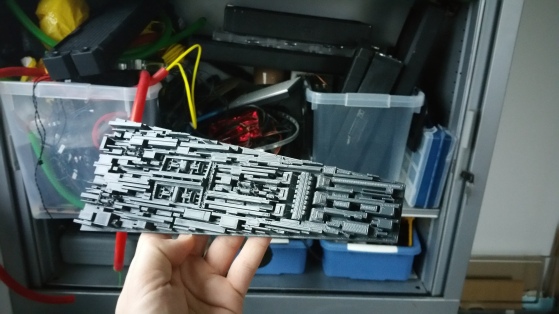
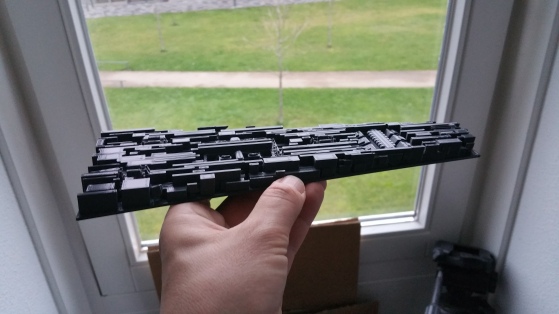
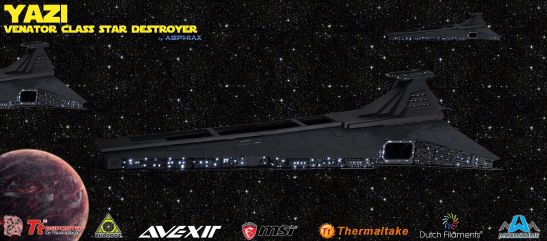
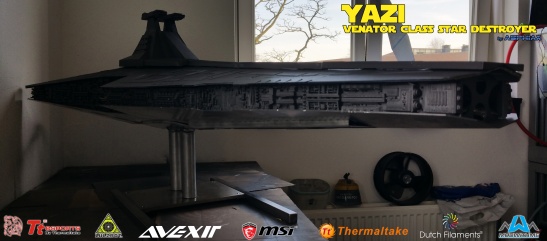
“YAZI” - Venator Class Star Destroyer The BIG finale part 1
Ok so here is the big finale (wel part 1 of it at least)
Due to the fact that MSI asked if they could showcase the YAZI at the International CES 2016 in Las Vegas the whole time table changed.
I am very strict op planning, its the only way to get stuff done fast, but this was ridiculous. The call came in about a week before the cutting of the aluminum, hence the reason why Pascal and I worked untill 3 am to get it sorted.
I proved not to be the last day I was up untill late !
Here we go:
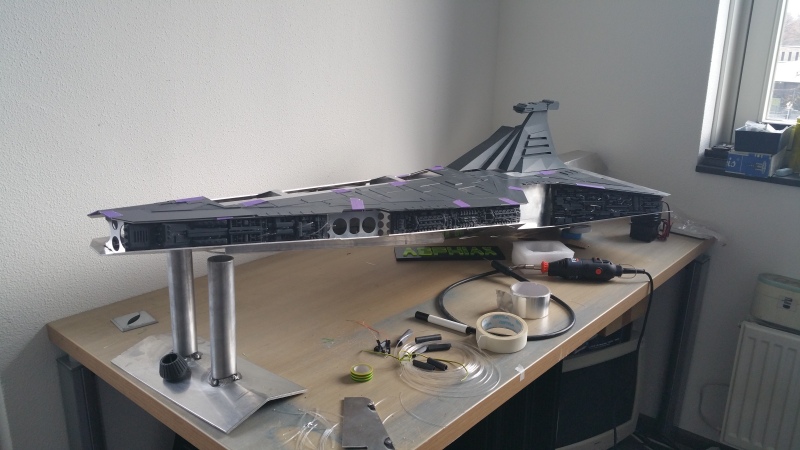
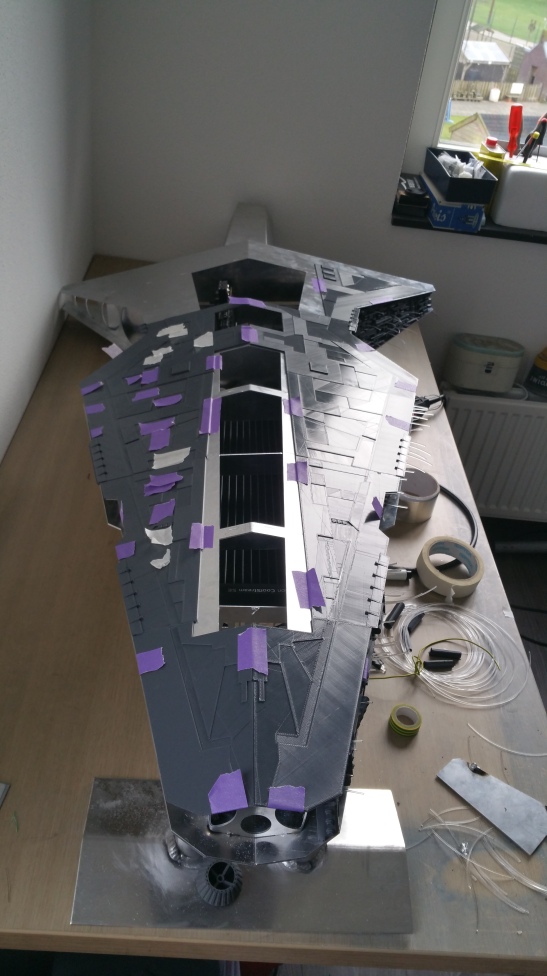
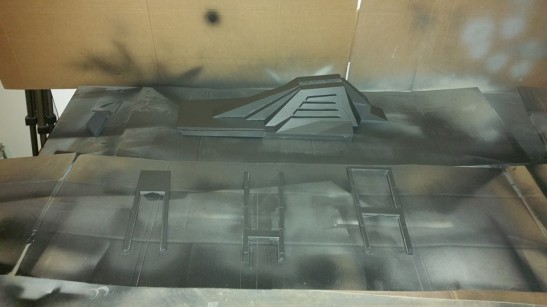
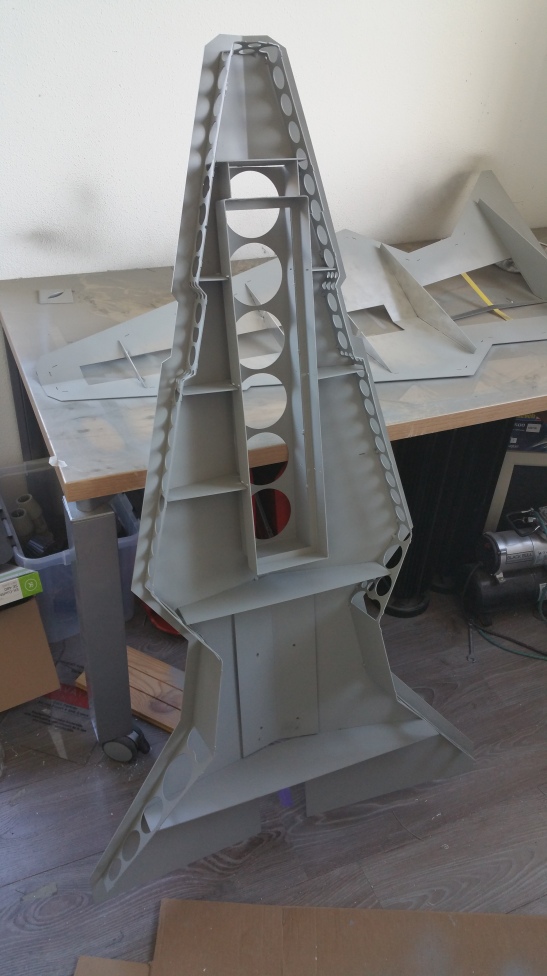
Started with the always nice smelling epoxy work on the tower
Then it was off to the dirty room for paint, got a nice anthracit paint. The pictures dont do it justice, its darker and less brown.
Quick test fitting
And finally the last of the about 300 holes!
With the holes done, it was time for the greeble basecoat.
The detail just popps out with this coat.
And a quick test fitting, sure looks good in aluminum

But thats not the plan. So gave it a healthy coat
And then a good black matte paintjob
With the black coat on I could finally start to epoxy the greebles onto the side hull
Meanwhile : That was the first box of 8 kg PLA, onto the next one!

Decision time, should i paint the greebles also in the anthracit coat?
So happy with the anthracit, it really has excellent licht action properties
I love doing test sessions lol
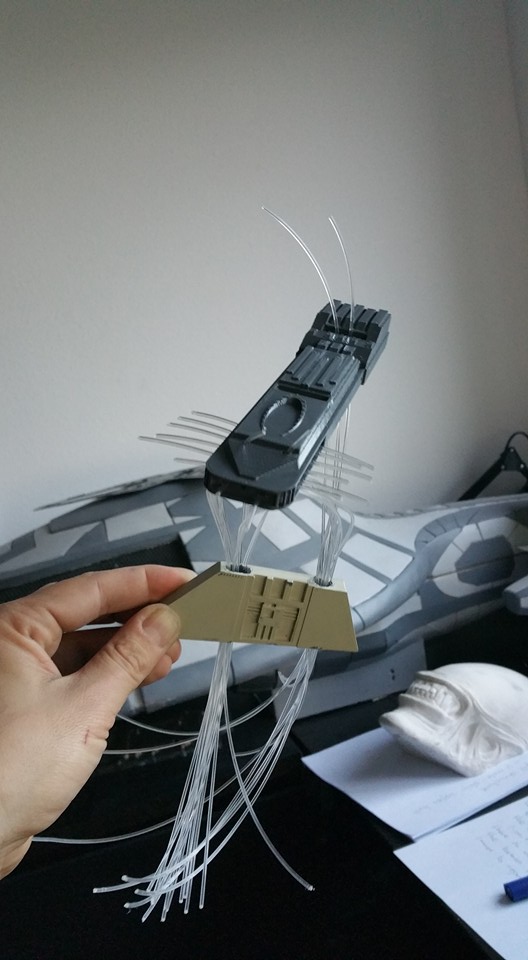
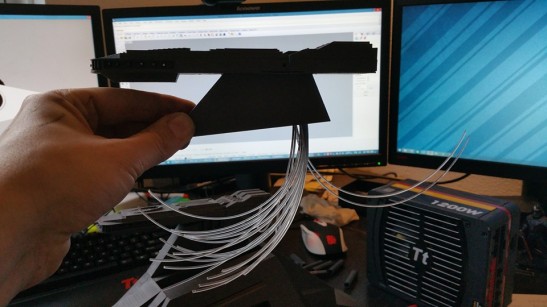
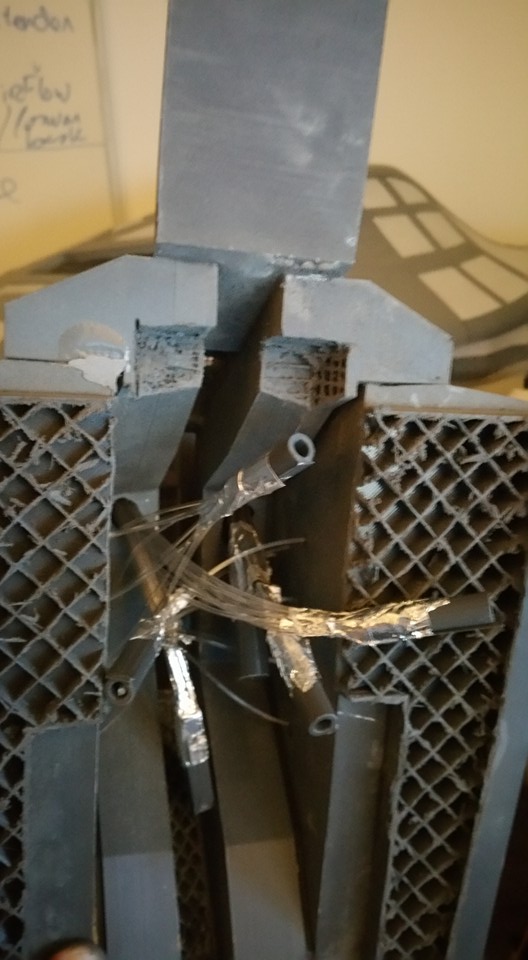
Houston we have a problem! That was the last of the 50 meters of fiberoptic cabling …
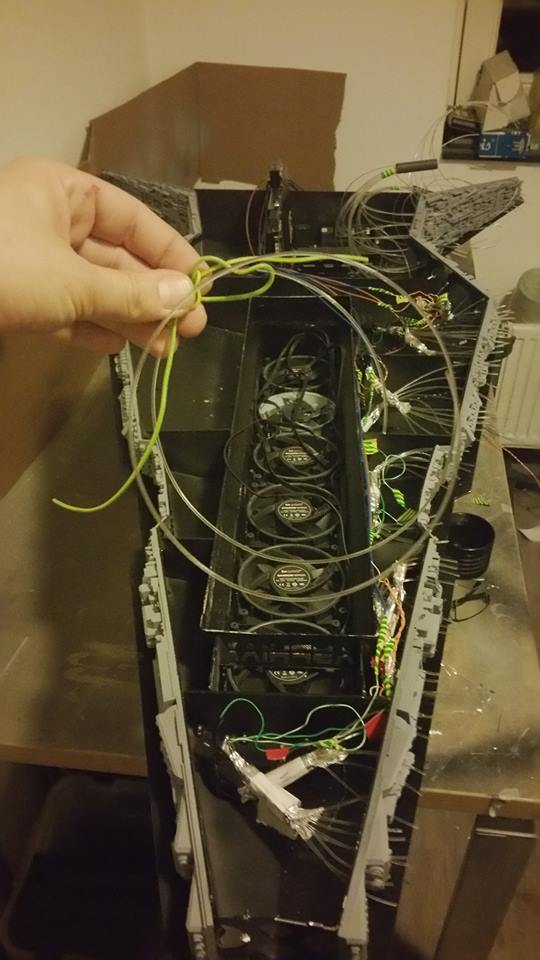
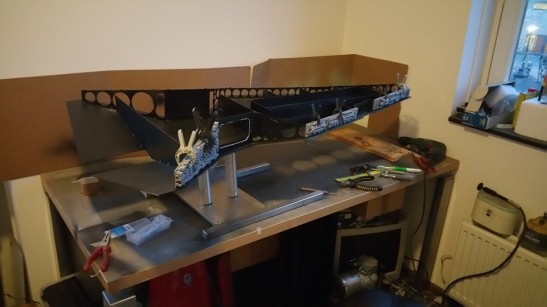
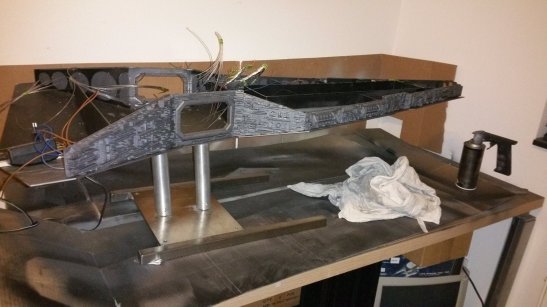
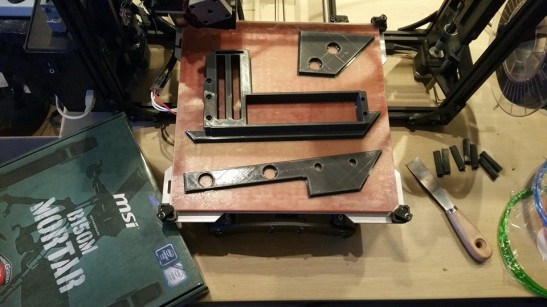
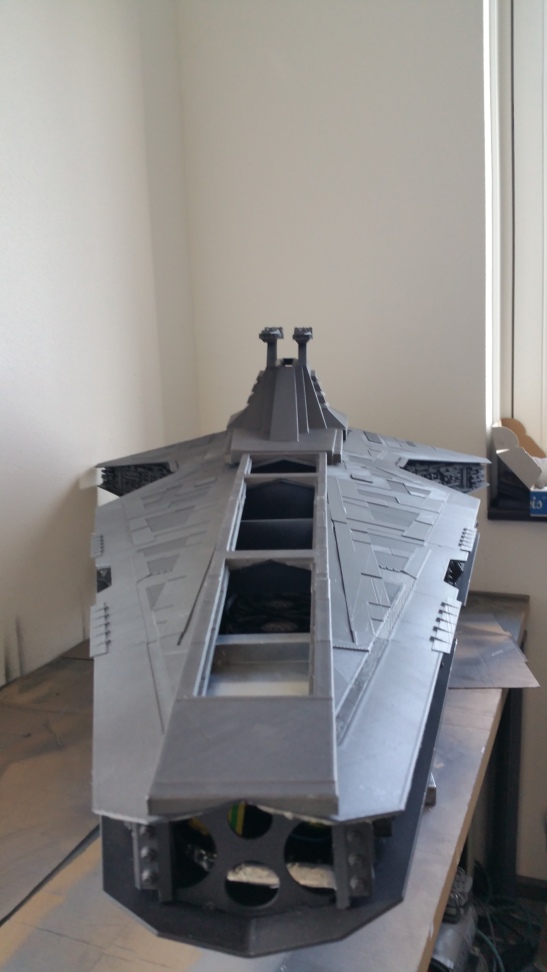
Waiting for the fiber, I put myself to the next design challenge the motherboard tray and I/O backwall.
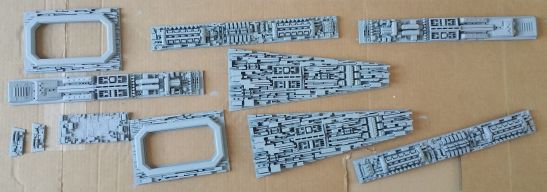
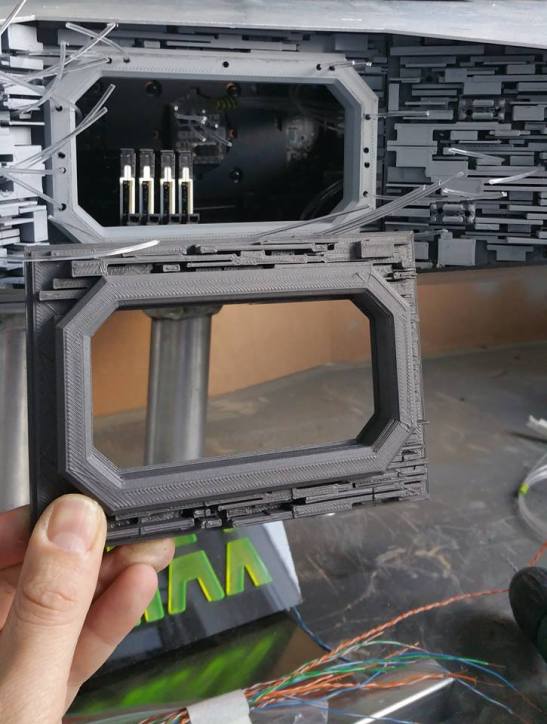
I just love waking up to fresh new custom parts
Ahh the joys of fiberoptic cabling. It wants to go in any way but the way you want it …
But … the force is strong …
Poor mans glue clamp, well actually you can buy a lot of clamps for this grand 1200 watt powerhouse by Thermaltake!
Also installed the rest of the lighting for the tower.
Someone asked my what happened to my old build the USS EURISKO.
Well its standing next to my work pc acting as a side table lol
This looks just too cool not to share
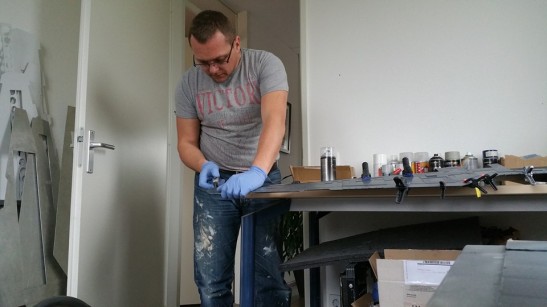
Working 12 to 16 hours a day takes it toll …

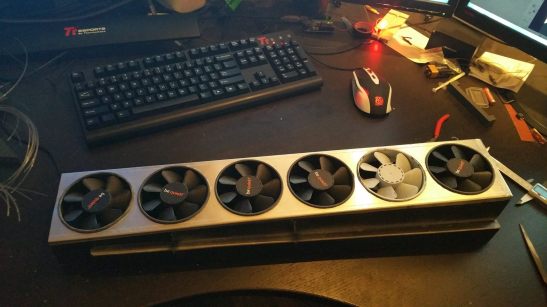
Installed the fans back into their housing. These are the original fans for the build 2 years ago. Try finding a decent 92mm fan these days …
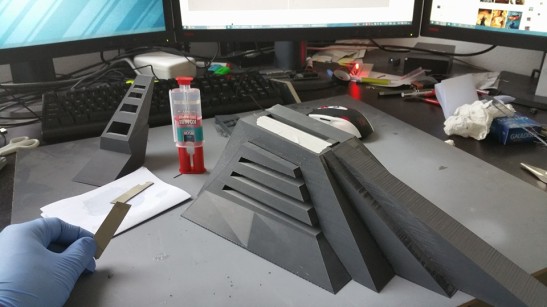
I discovered a neat trick while glueing the 3D printed PLA. You can cut into just one or 2 of the layers and bend it precisely
Me working the very last of the fibers, will be glad when this part is over …
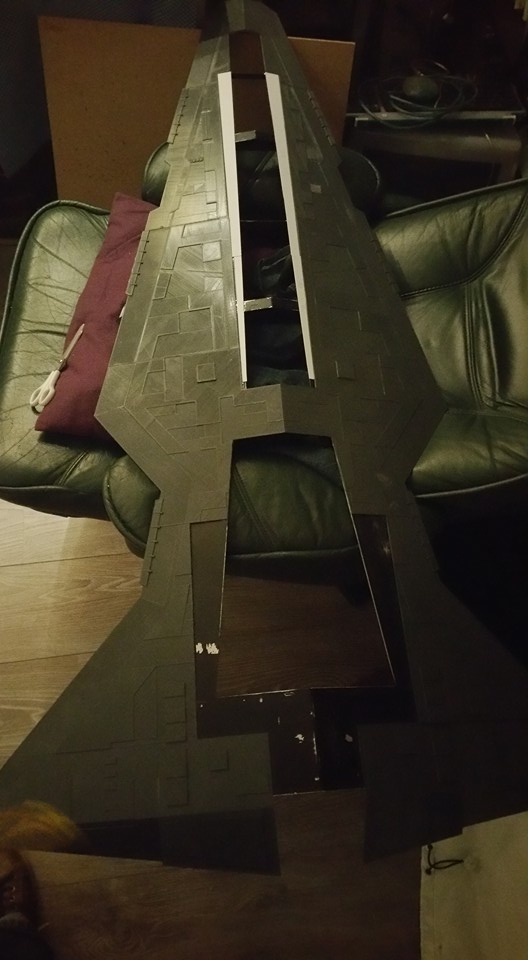
The hull needed a little old fashioned styrene love
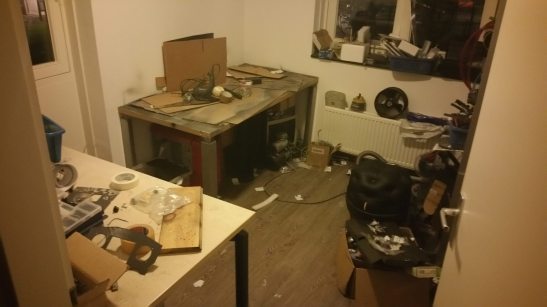
I wish I still had my workshop, space runs out quick with my builds!
Me working the epoxy …
Darth practising his one-liners …
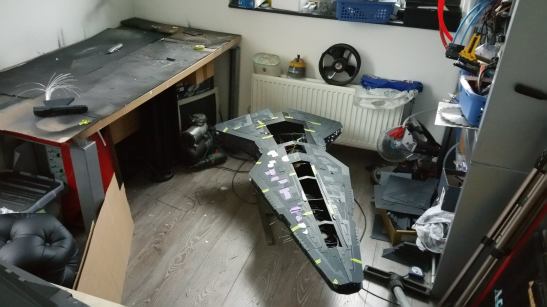
And there you have it, the result of the small ModMarathon …
Post Project Carnage …
And that was it for part 1 , stay tuned for part 2 and 3!
Have a good one!
That thing is coming along nicely!
Thanks man! Here is the last update from the build!
So here is part II
I managed to get the hull painted two hours before the scheduled pickup for the CES.

Quick dry before the next layer. The weather was helping a lot!


Got something very special planned for the radgrills.
3D printed red HDGlass radgrills!
The front in this picture is missing due to change in plans at the last minute.

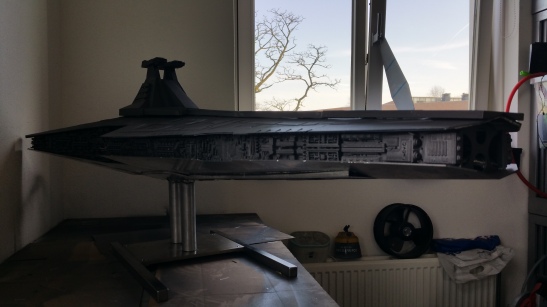
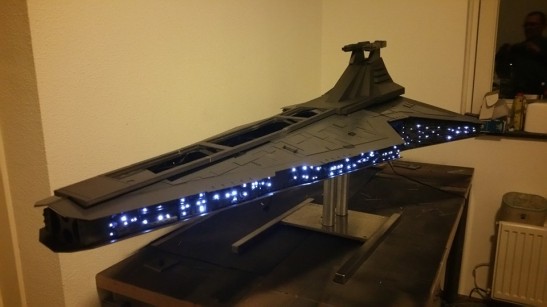
Love this picture, she looks so dark and grimey here !
I could not build the loop due to possible issues at customs.

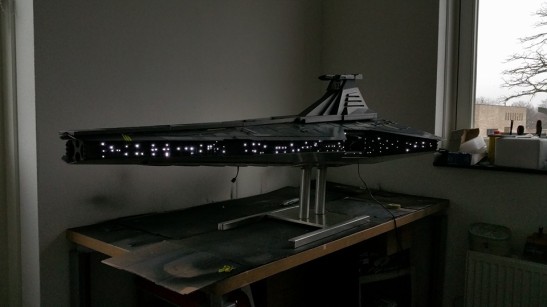
This must be one of my favorite views. Will look sweet with the loop installed.
And finally with the lights on !!

Had to dismantle all the hardware inside so again no issues at customs.
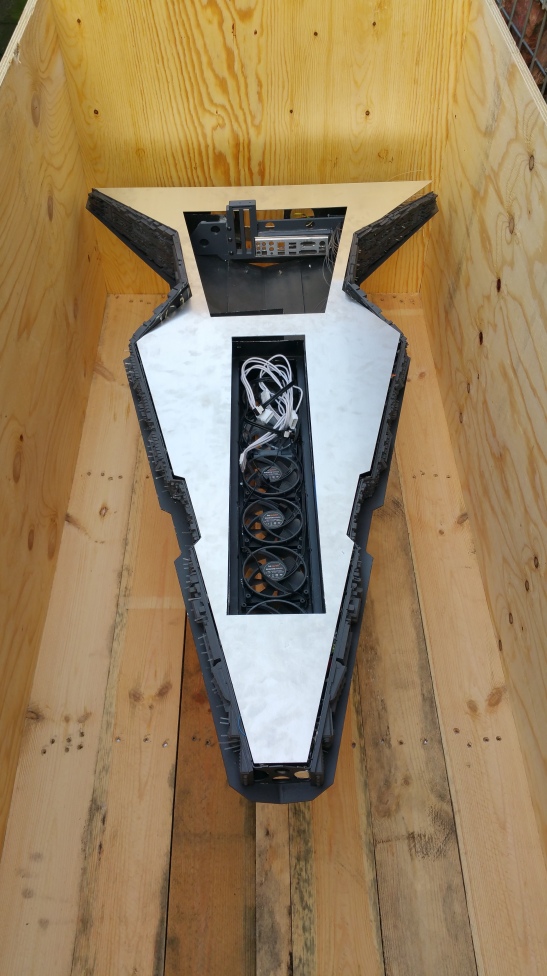
Made sure that it was very well strapped down and covered up …
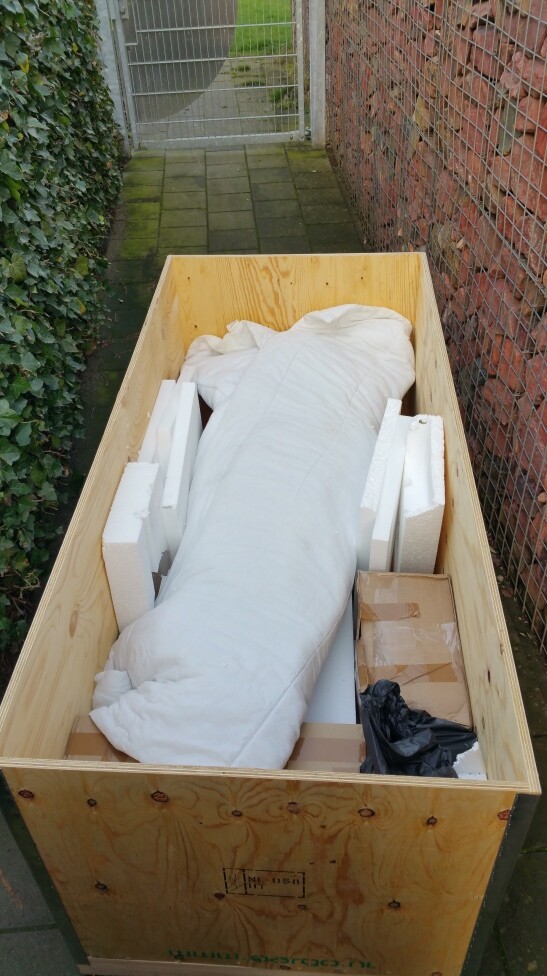
Bye bye baby!

And there you have it. From cradle to grave a complete log of how I built this first version!
Hope you enjoyed watching as much as I enjoyed building her!
On to the next one!
Regards
Sander aka ASPHIAX
A build like this is never truly done.
Knowing this fact, all the detailing parts have been designed to be easily replaced.
The Yazi frame is rock solid but the choice of glues has been per specific requirements.
This enables me to keep modding (with the owner) a build or project from a distance.
Upgrades, new Cannons, new SKINS, entire new Towers can be manufactured by me and sent off to replace an existing version.
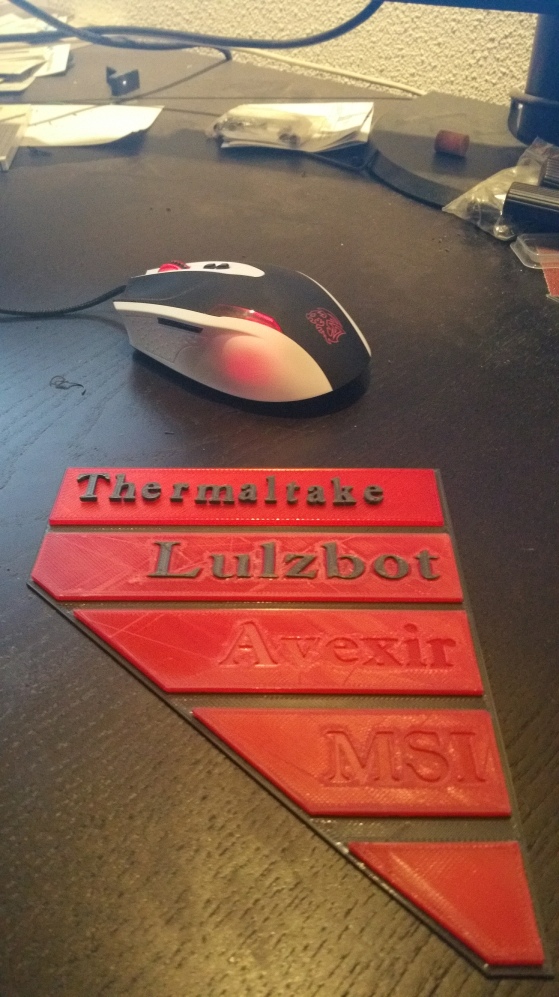
To that point, I have started with some enhancements for the YAZI.
The First one: Sponsor Plates or Commemoration Space
While I was so busy with getting stuff done on the YAZI some pictures were made by Mortum

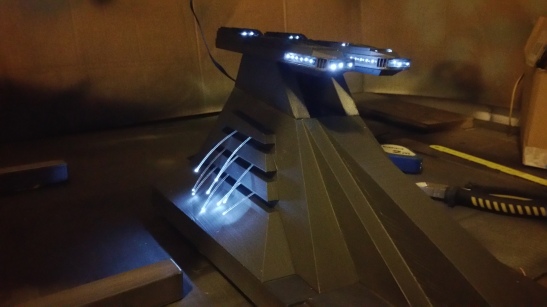
AWESOME Greeble shot!
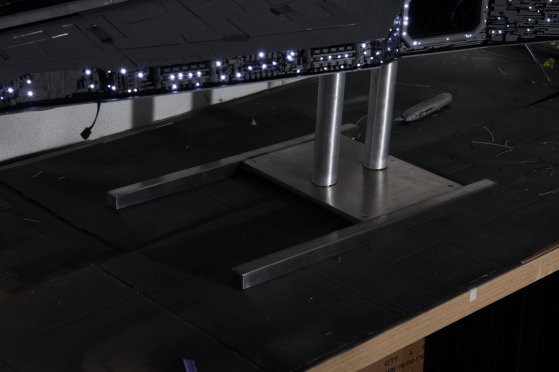
Nice shot of the Aluminum Alloy / RVS stand …
Its easy to forget how big she is lol …