It’s been over 10 years since I bought my TAZ 5 and it was at the same time PierceT was creating the OpenRailz system. I was very interested in the project but I wasn’t gutting a new printer especially since you need a printer to build it and I only had one. Well I have a TAZ Pro now and all these years later the TAZ 5 isn’t so solid anymore, well it wasn’t but now it is solid again and even more so now than ever ![]()
This was a very enduring project, blood was shed too and all axis have been christened but precision requires time and effort plus sacrifice ![]() I’ll cover more of the details later but I’ll start with the initial results which are incredibly impressive <3 Overall everything went together as it should although some hardware availability has changed, mostly in the modder’s/builder’s favor
I’ll cover more of the details later but I’ll start with the initial results which are incredibly impressive <3 Overall everything went together as it should although some hardware availability has changed, mostly in the modder’s/builder’s favor ![]()
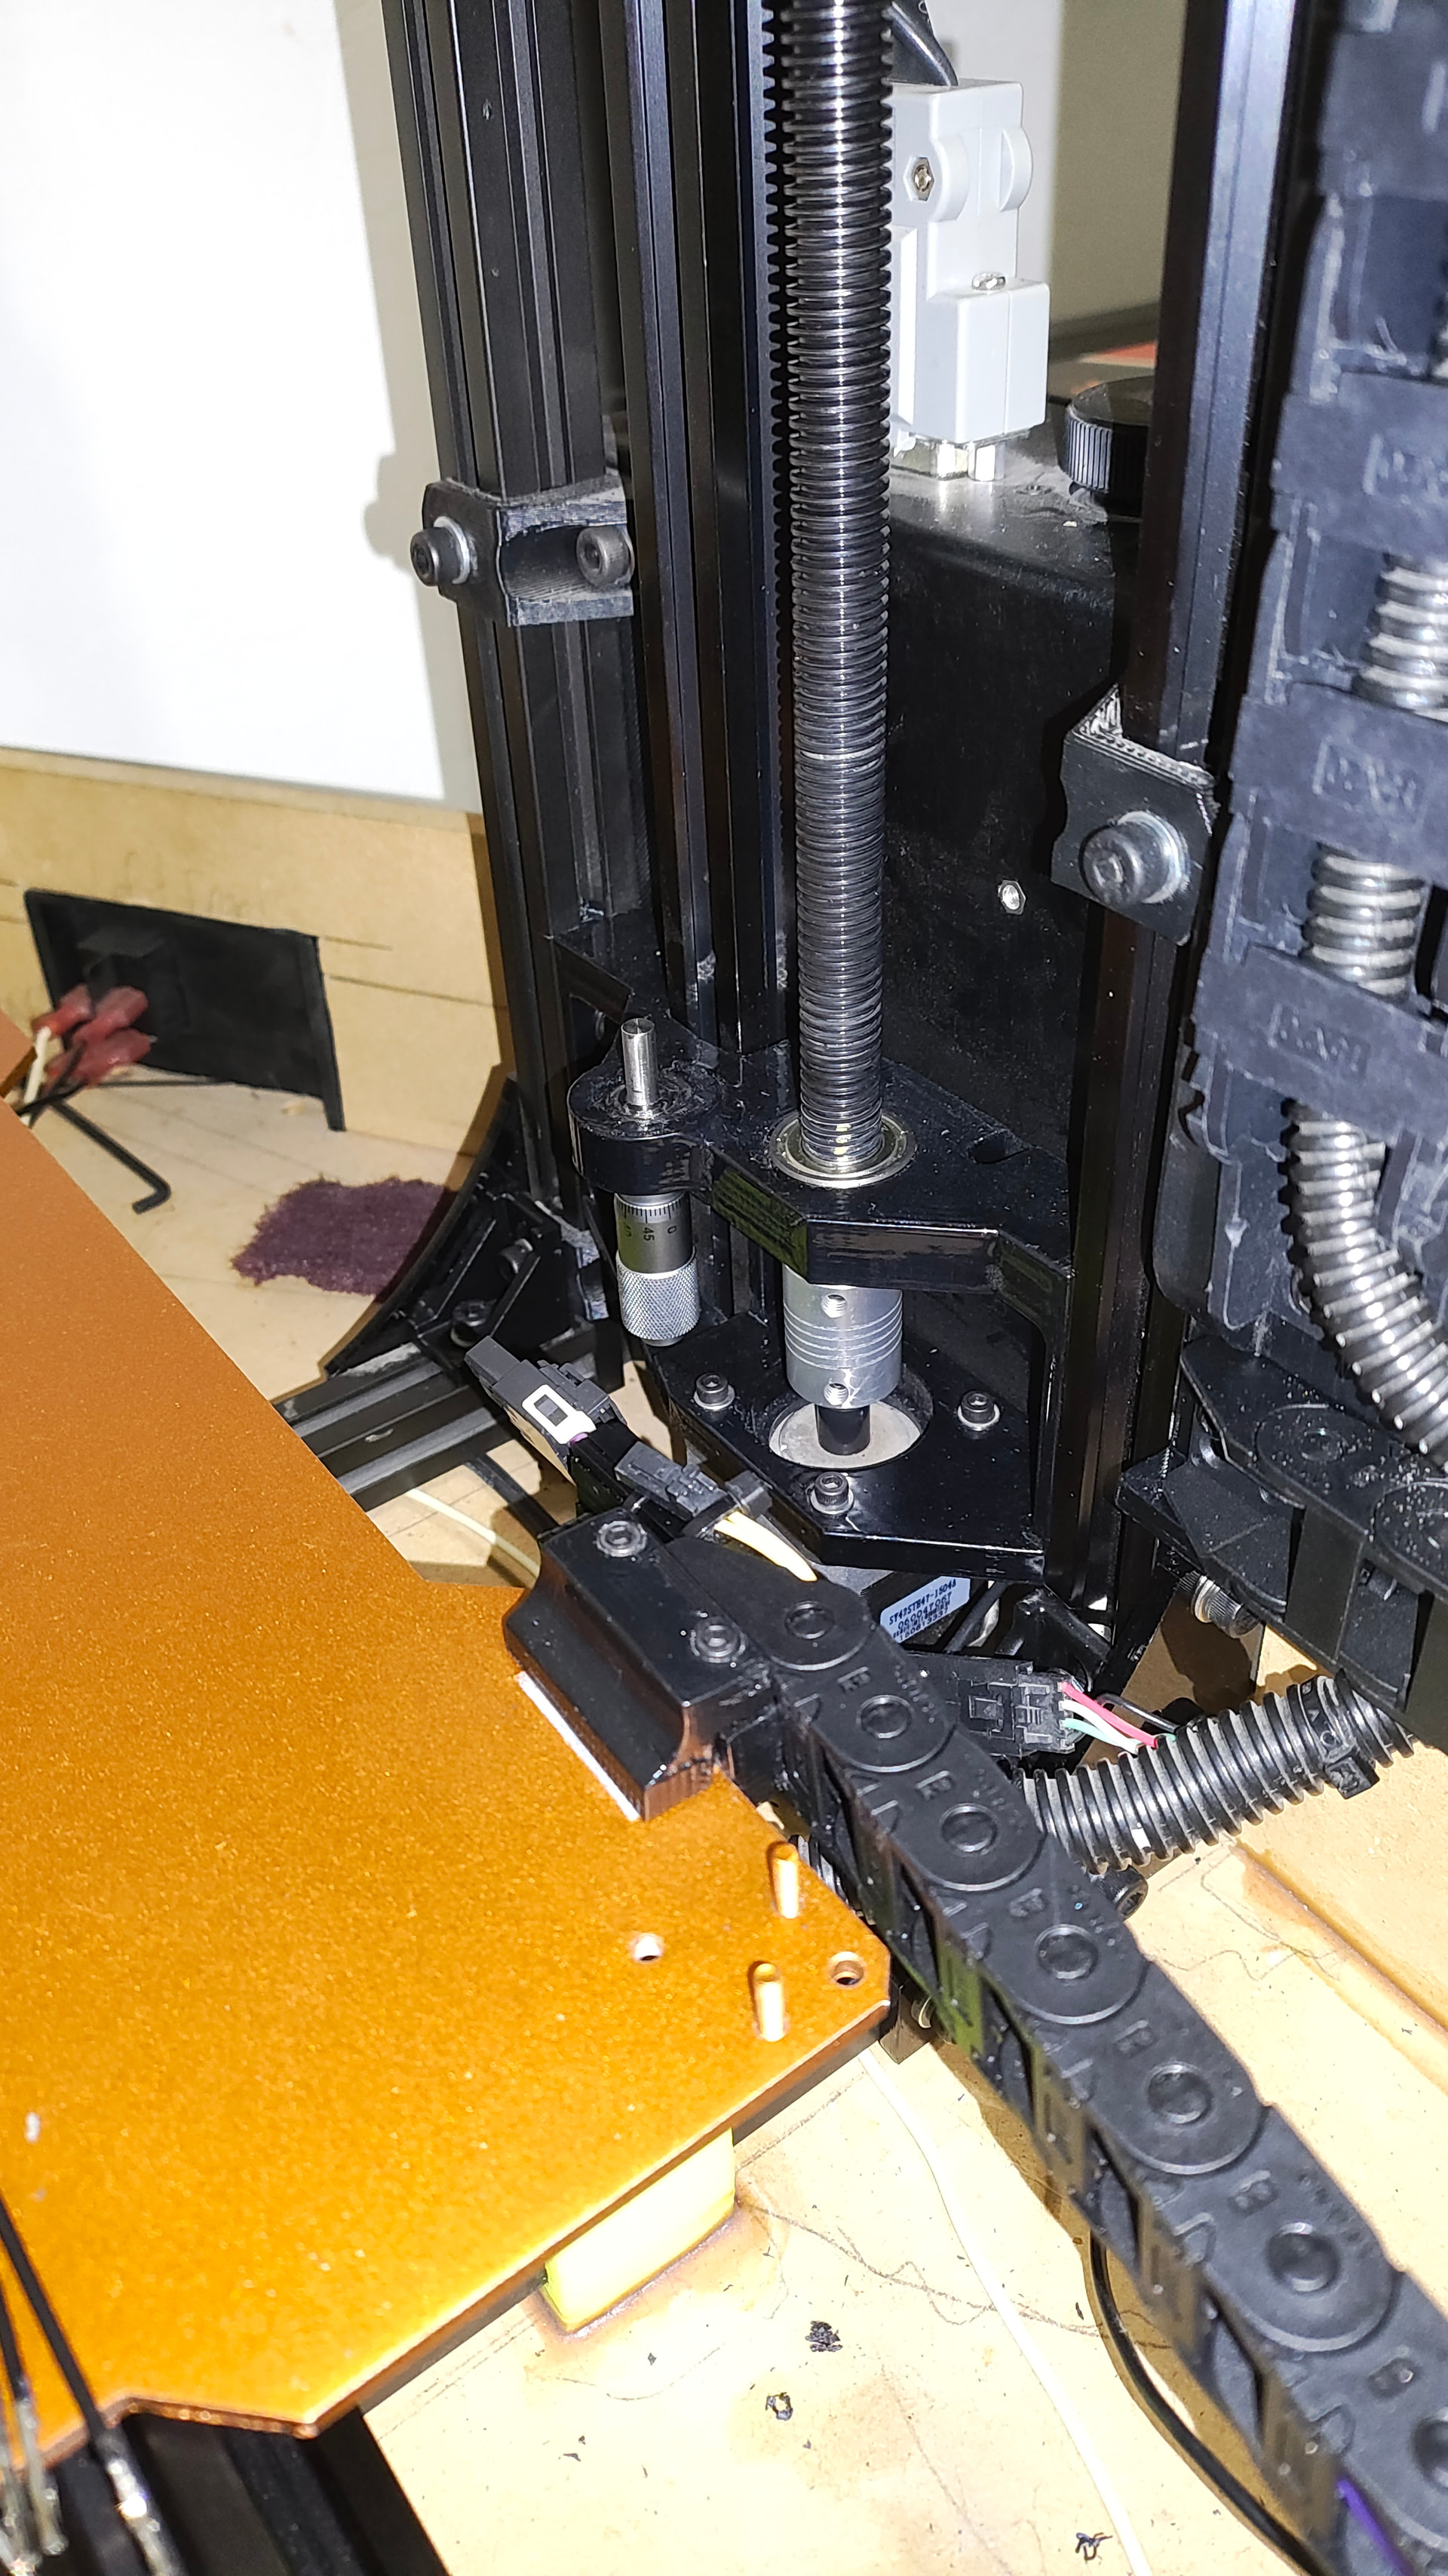
The most important thing I will call out off the cuff is the set screws for the motors and couplers at some point in the production lifecycle (I have a mid-production TAZ 5 before the Hexagon was released and standardized on the TAZ 5) were filled completely with loctite as I hear but it appears to be a brown resin, not so much loctite. Regardless you will not be removing those ever as far as I can tell without destroying something since the set screws are about 1mm deep and they are full with a bit extra on top. I had to cut the couplers with a Dremel and split the couplers to remove them off the shafts. You will not be doing any adjustments to the motor gear alignment either but that wasn’t too much an issue. The couplers tho, you’re gonna accordion them the moment you remove the frame with the bearings. Replacing the couplers after this was simple and now serviceable. One coupler I think was kinda tweaked as is so I’d conclude necessary for my TAZ 5 even if I didn’t do the OpenRailz. IF you can accept this, then you should have no other concerns doin this OpenRailz too ![]()
There’s quite a collection of parts to print for the whole X Y & Z with Anti-Wobble shebang but very worth the time and effort ![]() The space required for all the parts and disassembly it a lot, half a room/floor in my case
The space required for all the parts and disassembly it a lot, half a room/floor in my case ![]() Below are some highlight pix and 3 videos; 1 overview and 2 test prints using basically default settings minus adjusting the print speeds. I’m goin over the printer now to see how things have held up, add some graphite lube to the anti-wobble nylon spacers, and just make sure it’s still solid
Below are some highlight pix and 3 videos; 1 overview and 2 test prints using basically default settings minus adjusting the print speeds. I’m goin over the printer now to see how things have held up, add some graphite lube to the anti-wobble nylon spacers, and just make sure it’s still solid ![]()
I also accept my old fairly modified Hexagon extruder poses some limitations here too but if you knew the full story of the last couple months, you’d understand why that tool head is gonna stick around a lil longer ![]() Minus precision/quality improvements say the Meteor would get me, the Hexagon is still an awesome toolhead especially for basic parts that aren’t for the showroom such as the screw jack which is to level a very heavy gate
Minus precision/quality improvements say the Meteor would get me, the Hexagon is still an awesome toolhead especially for basic parts that aren’t for the showroom such as the screw jack which is to level a very heavy gate ![]()
As said I’ll provide more details in another post but figured I’d start here.
Piercet’s probably gettin tired of it but THANK YOU SO MUCH AGAIN! I’m just speechless ![]()
![]() as to the results of this project and this has unlocked so much more potential for me <3
as to the results of this project and this has unlocked so much more potential for me <3


Lulzbot TAZ 5 OpenRails X Y & Z Axis and More Build - The Whole Shebang - Part 1

OpenRails X Y & Z on Lulzbot TAZ 5 - 1st Print Test - WOW! AWESOMESAUCE!!! - Part 2

OpenRails X Y Z plus Z Anti-Wobble designed by Piercet on a Lulzbot TAZ 5 - Print Test 3 - Screw Cap
