I teach at a University and we run a couple TAZ6 units for prototypes.
I have one with a dual extruder V3 and in recent weeks it has printed fine. However, last week and again to start this week, I have a student project that repeatedly fails (its striking me now that it could be JUST this one project - I should try something ELSE) - but anyway… As you face the machine the far right hand corner of the bed was like not printing -it was getting squished out bottoming out the print head.
I check Z offset Better but still not good.
Checked Horizontal runout on that arm and turned the Stepper a bit until the run was level.
And I’m wondering if my nozzle is open enough or what - the filament curls on the way out a bit.
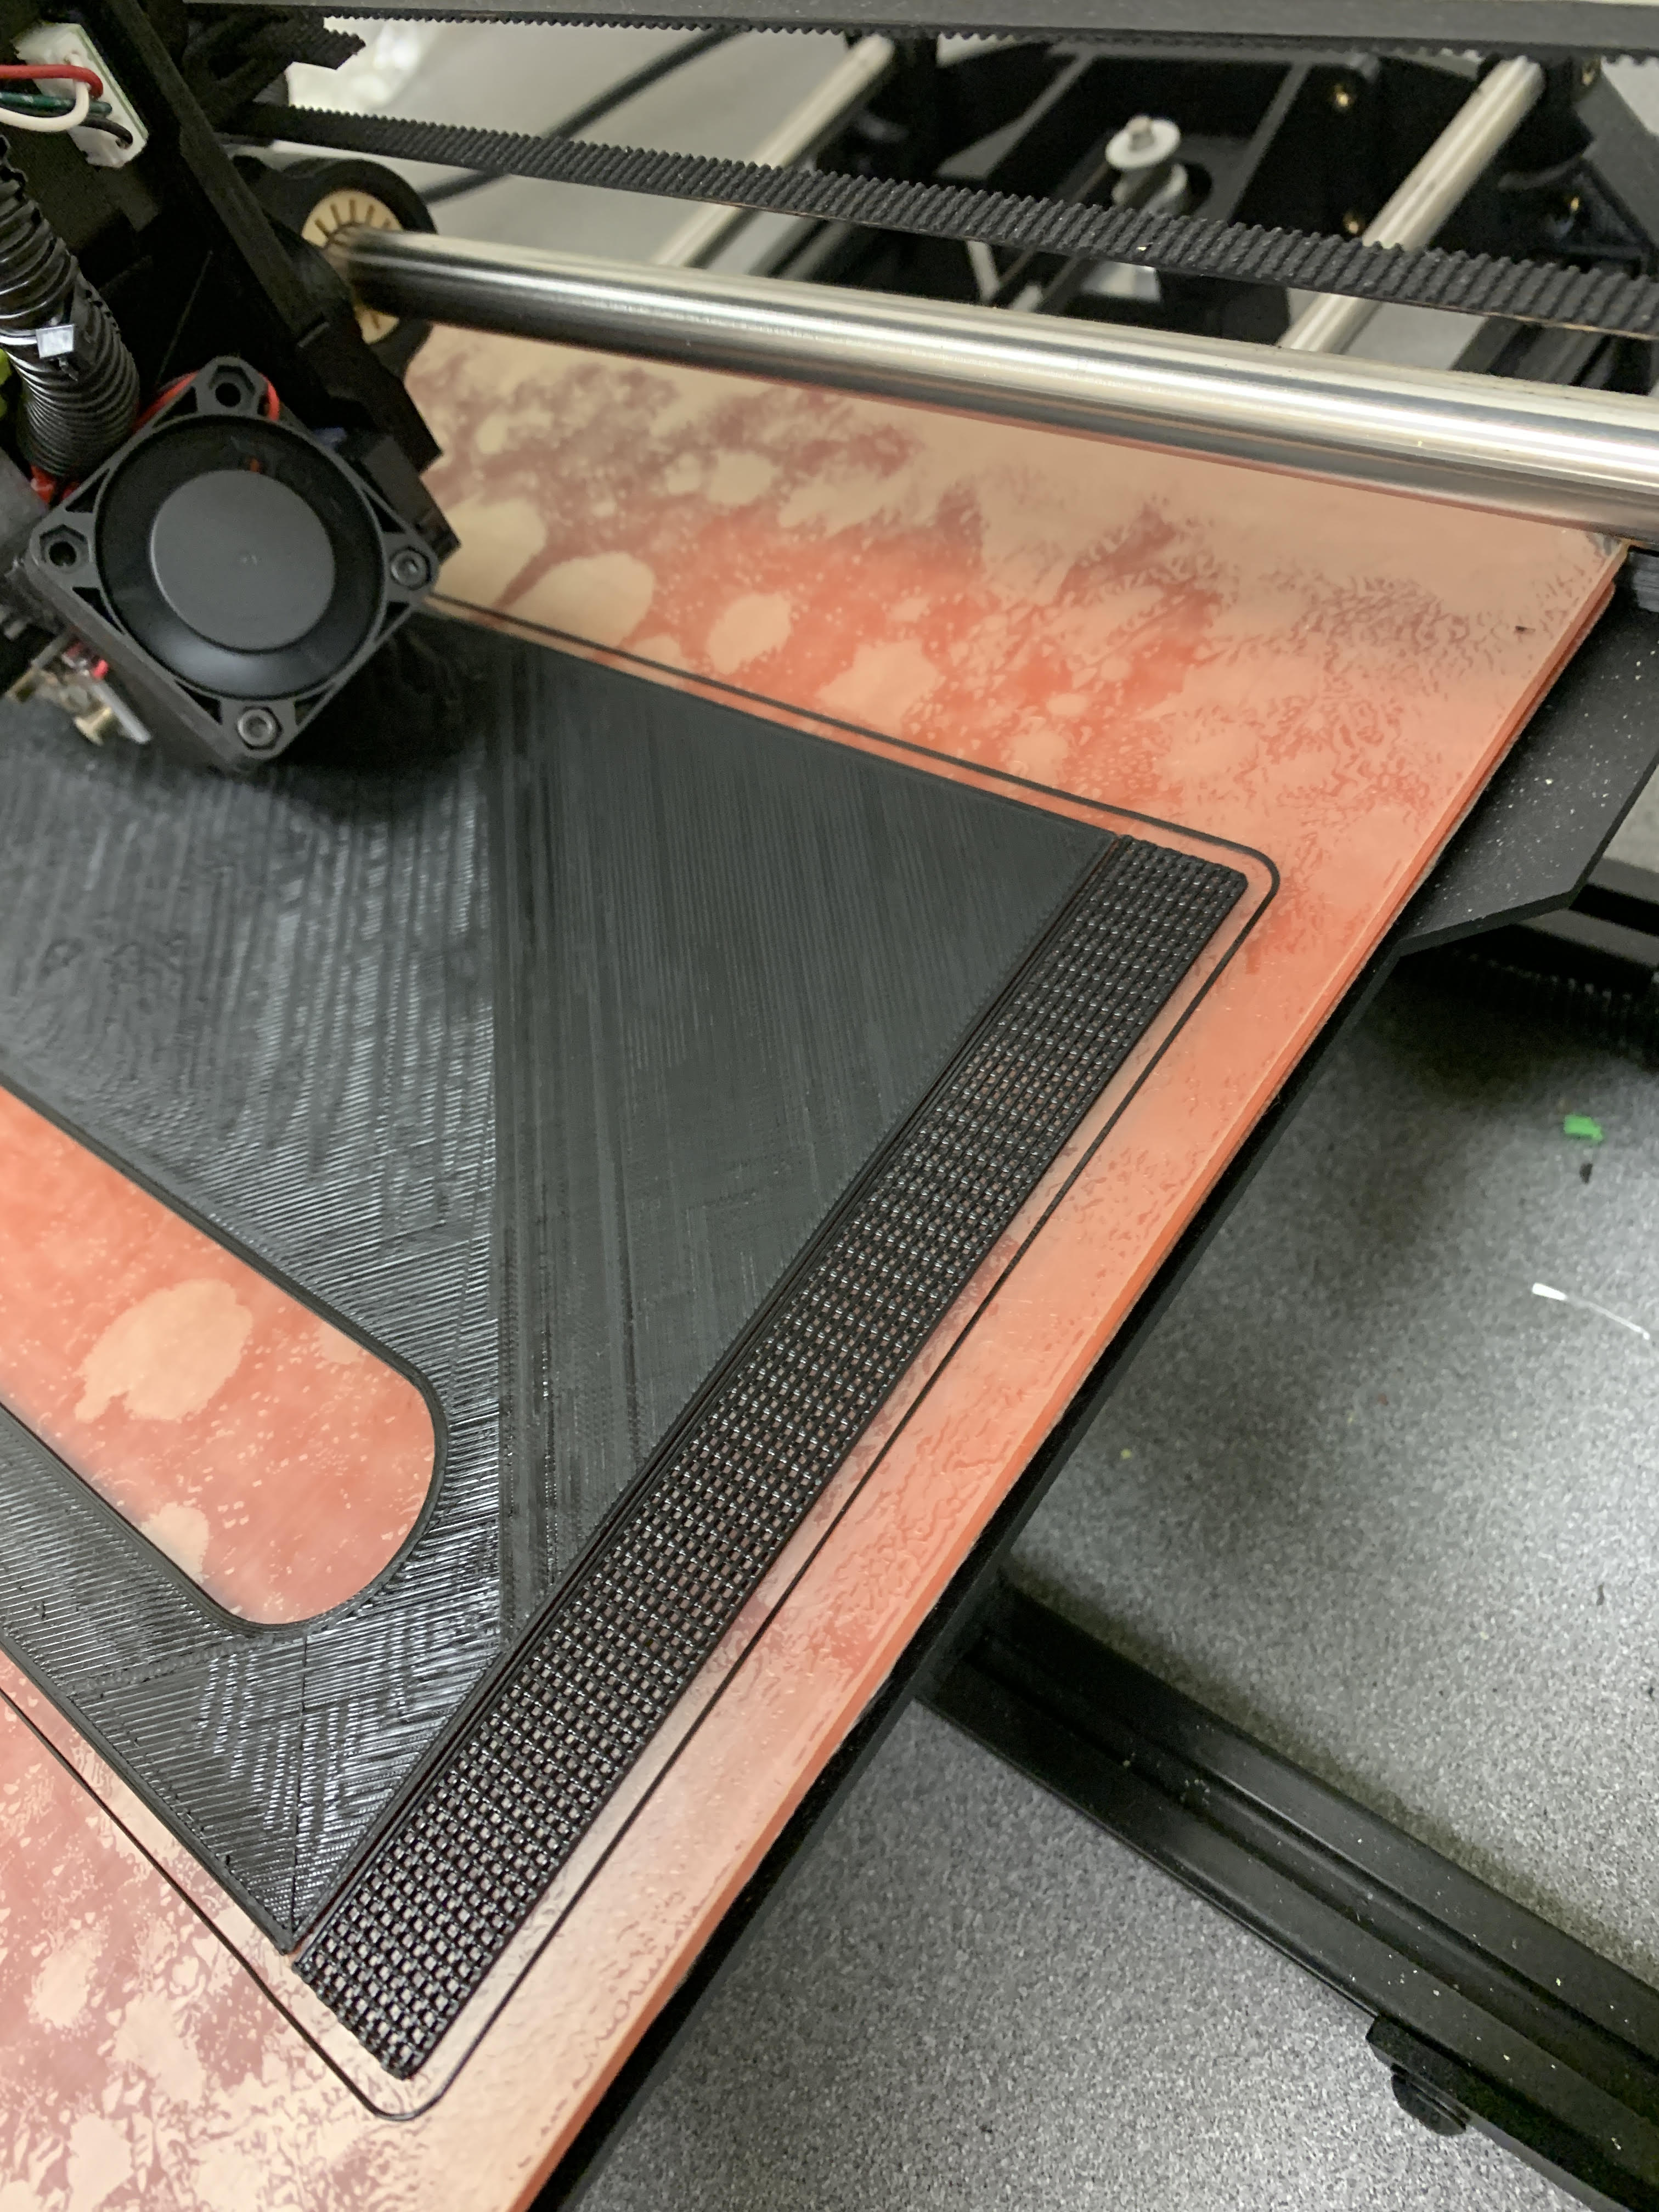
Better - but NOW when the machine goes to move from the base layer to the next step - it sounds like its dragging again and eventually fails. I took some pics because you can see the surface finish on the base layer looks like it drags across - its all dull.
Thoughts? Do I need to look at the G Code on this?
I think for sure I need to try SOMETHING ELSE on that same machine and rule out that its not that student’s model.
I open to other input.!
Do you have the original Dual Extruder V3 or the V3.1 upgrade? That was supposed to mitigate the heat creep that was common with the Dual Extruder V3.
On the V3, the shared heatsink had, IMO, poorly engineered cooling flow. The solution that worked for me is https://www.thingiverse.com/thing:3213878 . I was able to get the stock fan to attach with some careful rerouting of the existing wiring. There are also higher CFM 40mm fans that can be used if necessary.
You might also invest in some eSun cleaning filament. Doing some cold pulls with that filament should clear up your filament curling issues.
Thanks. I do have the V3. I haven’t made any changes to it yet -but I appreciate the input there. I was currently running it with the Hot Ends listed as 1. So really only running Extruder 1. I’m in education and unless the part requires the soluble support material, I save it. Its “cheap” on my part, but when I do that, I change the printer to only have one hot end and it does both the part and the support. Its always worked fine for me. Today, after two more failed attempts. I checked the horizontal bars to the bed and adjusted that (again) and then reset Z offsets. When the initial probe goes around and checks for bed level, I watch the Z numbers on the corners. My front left corner (by the wiper) is 12.48, front right corner is 11.86, and my rear right corner is 12.34, and my rear left corner by the plunger is 11.64.
BUT the printer acts like the back right corner is WAY high. She drags the nozzle all across the print and eventually the nozzle quits putting out material because its scraping.
Z for first layer is .4 and for second layer is .68 - but its dragging, You can see it in the attached photo.
Is my bed that far out of level? Do I need to adjust Z in a different way? I’m so frustrated here.
See the drag marks in the rear right corner - its all matte finish where the nozzles rub.
The auto level firmware for the Dual Extruder V3 uses the left nozzle on the left side and the right nozzle on the right side. The assumption is that both nozzles are at the same height.
Check that the assumption is correct by using the LCD console to auto home and then move the nozzle to X=140, Y=140 (the center of the bed or pick a location that allows easy measurement). Now lower Z carefully while using a feeler gauge (or some card stock or paper) on both nozzles until one of them is dragging. Both nozzles should provide the same resistance / measurement.
If the nozzles are not level, check the mount for the tool head. It can be wiggled a little bit side to side when the connecting screw is loosened. The slot is vertically oblong so the foot of the tool head can sometimes not be seated completely and the screw can still be inserted.
I had to lightly file / sand the corners on the bottom of some of my tool heads to insure that they all seated completely.
At this point, if the nozzles are still not level, I believe they can be adjusted (which would probably void the warranty). See https://ohai.lulzbot.com/project/dual-extruder-v3/hot-end-tool-head-assembly/.
Old thread I know. I’ve tried adding dual fans blowing on that heatsink, to no avail (i was using pla pro and dissolvable filament, they both extrude well around 215C). Heat creep clogged my pla+ nozzle after the first dissolvable layer on a larger print (so lots of time on that dissolvable first layer).
I do have this other solution printed, so i can try again (don’t hold much hope though).
Did someone tried using a different heat sink that’s split between the nozzles? I don’t have a problem cutting the stock heat sink in two and have one fan for each heat sink. Or use two heatsinks with taller fins, each with the same surface area as the original heat sink. Would that work mechanically though?
Alin
I’m not sure I understand what you have tried so it’s hard to recommend or comment on any (proposed) changes.
Ideally, there should be three temperatures, nozzle 1, nozzle 2, and the cold side. There should not be two different cold side temperatures so there should be no need for two separate cold sides or two separate fans (because these fans are not adjustable speed).
If heat-creep is occuring, more cooling is needed. This can be accomplished with more CFM or better airflow for the existing CFM. I agree that another option would be separate heat sinks with separate fans but that is difficult given the current design.
Steps I took to decrease the likelihood of heat creep:
- Original Dual Extruder V3
- Dual Extruder V3.1 (I skipped this one)
- Dual Extruder with Thingiverse adapter and original fan
- Dual Extruder with Thingiverse adapter and higher CFM fan (I haven’t needed this yet)
- I believe there is also an adapter for a larger (80mm?) fan but obviously, I haven’t tried it
I recently completed an 8 hour print with PLA and SnapSupport from 3D Fuel (which is no longer available. Search for Breakaway Support Material 3D450 from NatureWork). The beginning layers were 95+% support so the PLA was idle most of the time. I believe I was using temperatures around 205.
Can you provide a better description of what you have tried so far and what your next step(s) will be?