Good afternoon all!
I’ve been reading (and reading, and reading…) LOTS of threads about random clogging, failed prints, and just plain old weirdness when printing with the TAZ 5 / Hexagon hotend. As I’ve had to work through these same issues with my own TAZ 5, I’d like to share my solution.
2 things to note before I begin the enormous “wall of text”… First, I want to thank Ray at Lulzbot tech support for an extremely long support call to help me understand the specifics of how the extrusion process works, and why each component is there (the manufacturers’ design). Second, I’d like to apologize for the length of this post - it will be a long read, but hopefully a worthwhile one!
— The Problem —
Very much like all of the other posts regarding the TAZ 5 / Hexagon hotend / PLA issues, I’ve had a LOT of failed prints due to “heat creep”. I’ve been through the joys of pulling the nozzle up to 4 times in one day to clean it out. I’ve tried scraping, polishing, using precision sized drills / reamers followed up with acetone washes and more polishing. Basically, what it all came down to was a repeated “I got it this time!”, and then after 1-4 hours of printing, it would clog, or just stop printing again. I say ‘it would stop printing again’, because I finally got tired of cleaning out clogs, so I cranked the hotend up to 270°c, and extruded 100mm of filament. Yes, 270°c. I know, I know, but I was frustrated! I had so many prints that looked like this:

After this particular print, I did a 140° cold pull. This is what it looked like:

When I saw this cold pull, I picked up the phone and had that awesome conversation with Ray from Taz Tech Support.
 We both agreed that I was the victim of heat creep, which really should have been avoidable. But from what I’m reading on these forums, I’d bet that there are a good many of you falling victim to the same issue. Personally, I’m a ‘little’ stubborn sometimes, and I have a need to make things work. So here I am thinking - “I have a heat issue. I’m gonna fix this ONCE, and be done.” What did I do? I took an 80mm fan from one of my computers, along with the power supply, I cut an old cd in half, and I literally double sticky taped the thing on the front of my extruder assembly. I used the pieces of the cd to direct the fan air flow to the cooling fins of the extruder, while isolating the hotend itself. Here’s 2 pictures from my hacker “Wall of shame”:

It wasn’t pretty. I had a lot of zip ties holding things out of the way. And I had a pc power supply hanging from the back of my Taz frame… But IT WORKED. I was able to dial in my first layer to be within .01mm every time, with what I felt was near perfect results (fill, overlap, etc…)

— The Solution —
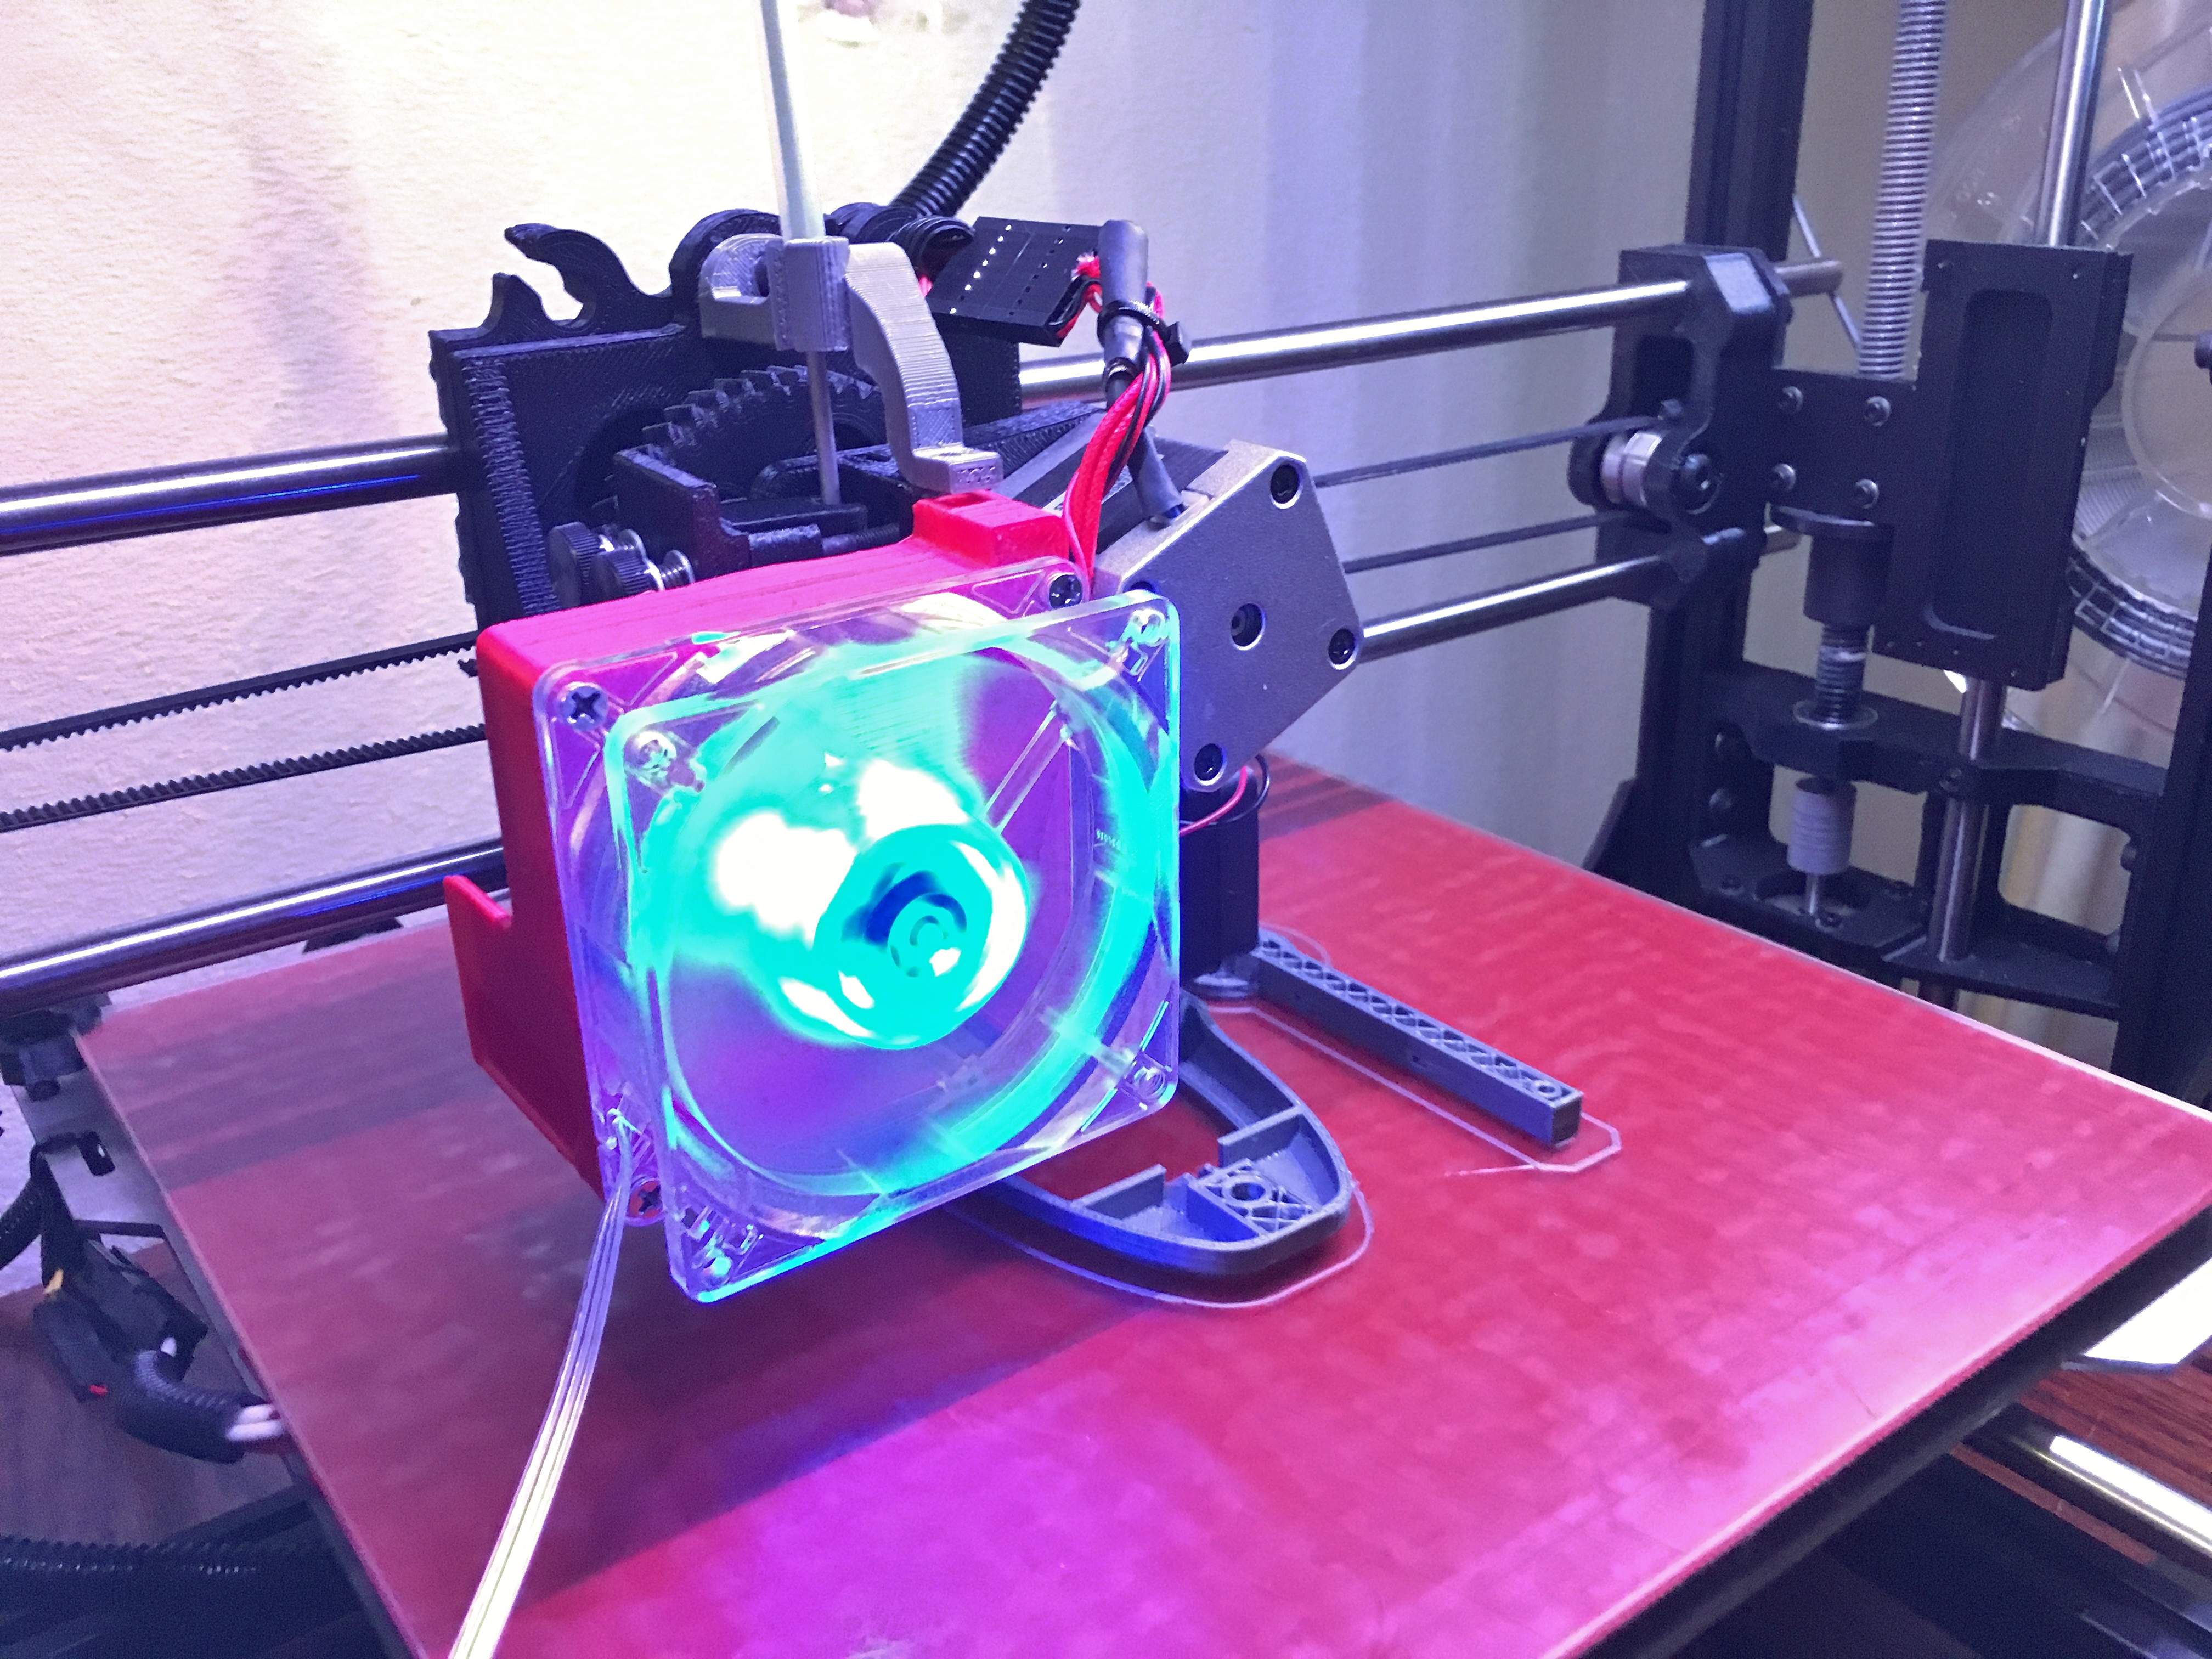
After printing various parts - keeping my printer running for 4 days straight, I felt it was time to put a real fix in place. I used the cad files supplied to us with our TAZ 5 to design a fan shroud and filament tube retainer that will provide an excellent amount of cooling for not only the hotend cooling fins, but also the entire filament feed assembly. The filament tube retainer provides some additional support for the feed tube, but also helps to line up the filament as it heads into the hobbed bolt. The feed tube holder is a modified version of http://www.thingiverse.com/thing:766614 created by Wolfie. The fan shroud is my original creation. I don’t have a Thingiverse account set up yet, but I’m more than happy to share the file(s) if anyone wants them. Here’s the thread with details on the fan shroud - TAZ 5 80mm Fan Shroud
Here’s a picture of it:

(Additional pictures in a following post)
Figuring this out took a lot. Anyone that has struggled with it understands how frustrating it can be. I’ve done 2 12+ hour PLA prints, with no problems at all now, and I’m using Z hop as well as retract excessively to push the limits on my testing (using Cura).
Hopefully this will help you out if you’re having PLA issues with your TAZ 5.