Hello, I have a Taz 6 that is new’ish to me, with the Aerostruder tool head. I have run multiple prints of PLA thru it without issue, but I ran two different prints using ABS and part way thru the prints it faulted with a thermal runaway error. Is it normal for the Aerostruder heads to not like the higher temps of ABS?
Also, two questions:
a) If I wanted to get a new tool head, what is the easiest, best replacement tool head to get?
b) If I wanted to switch to a magnetic bed, instead of the stock bed, what parts do I need to order? Do they come with instructions to set bed height?
Is it overheating or underheating to cause the thermal runaway? It is not normal for them to have issues with ABS. You could try just re-doing the PID autotune with the Aerostruder installed and setting the target temperature to 255 instead of PLA temperatures.
a) Any easy replacement (a lulzbot-produced one) that is superior to the Aerostruder-based units is the M175v2, which is more expensive than an entire machine that would print faster and better than the Taz6. The tradeoff, of course, is that the replacement would not be as repairable or (likely) as long-lived as the Taz6. Any other easy option depends on your definition of easy. There are a lot of extruder designs that will fit on the Taz6 with varying degrees of complexity.
b) If you do the lulzbot octograb print bed, there’s instructions. If you do the WhamBam magnetic bed system, or similar magnetic sticker + coasted spring steel sheet combos, measure the thickness of the sheet + magnet together (before installation is easiest), then go into the printer probe offset menu and ADD that amount to the previous probe offset. Typical probe offset for a taz6 is -1.25mm, so if your magnetic sheet and removable print surface are 1.5mm thick combined, your new probe offset would be +0.25mm.
The temp seemed to overheat briefly, then briefly underheat, before the shut down.
Sorry to sound like a newbie, but where do I find step by step instructions and/or video to run the PID autotune? I’ve never done it.
Also, I had damage a wire on the thermistor and replaced it (purchased from Lulzbot), should I have run the PID autotune after replacing the thermistor?
Regarding the WhamBam magnetic bed, I reviewed their instruction and it mentions the first three layer on the cooler temp range for the material printed, and “PLA requires the first layer to be squished to half the nozzle size or more and very flat topped”. I have only used Lulzbot’s Cura for slicing/printing, are these setting able to be done in Cura? Thank you.
To run the PID autotune, you can use the terminal in CuraLE to send the M303 command.
I would have the nozzle about 5 mm above the bed, with the part cooling fan on 50% to try and get a good average.
So:
Home all three axes:
G28 XYZ
Move to center of bed, 5mm above it.
G0 X150Y150Z5
Wait for the bed to heat up a bit:
M190 S50
Turn on the fan to 50%:
M206 S125
Run PID autotune one primary extruder, cycling eight times around 250c, and use the result.
M303 E0 C8 S250 U1
Save the new PID config to EEPROM:
M500
Cooldown all
M109 S0
M104 S0
Turn off fan:
M206 S0
Using the same model of thermistor shouldn’t affect the PID, but it doesn’t hurt. If you installed it though, if the temperature isn’t stable, there’s a chance the thermistor isn’t fully in contact with the heater block and vibrations of the toolhead can cause it to report a lower temperature, and then it contacts the metal and sees it’s too hot. Easily can lead to thermal runaway situation.
I haven’t used whambam’s material, I use the FYSTEC one, but the FYSTEC does require cutting the corners off, or changing out your washers on the bed.
1 Like
I should paste in my video on how I installed my Wham Bam bed on my Taz 6.
Mine had the corners clipped so no mods required
I did do a bed mesh (visual) via Octoprint and found I had one side consistently low. I think you offered an STL for the corner pieces and I just scaled them in Cura to raise the low spots.
Thank you Wrathernaut for the instructions, I greatly appreciate it. I ran the PID autotune as instructed and it went flawless.
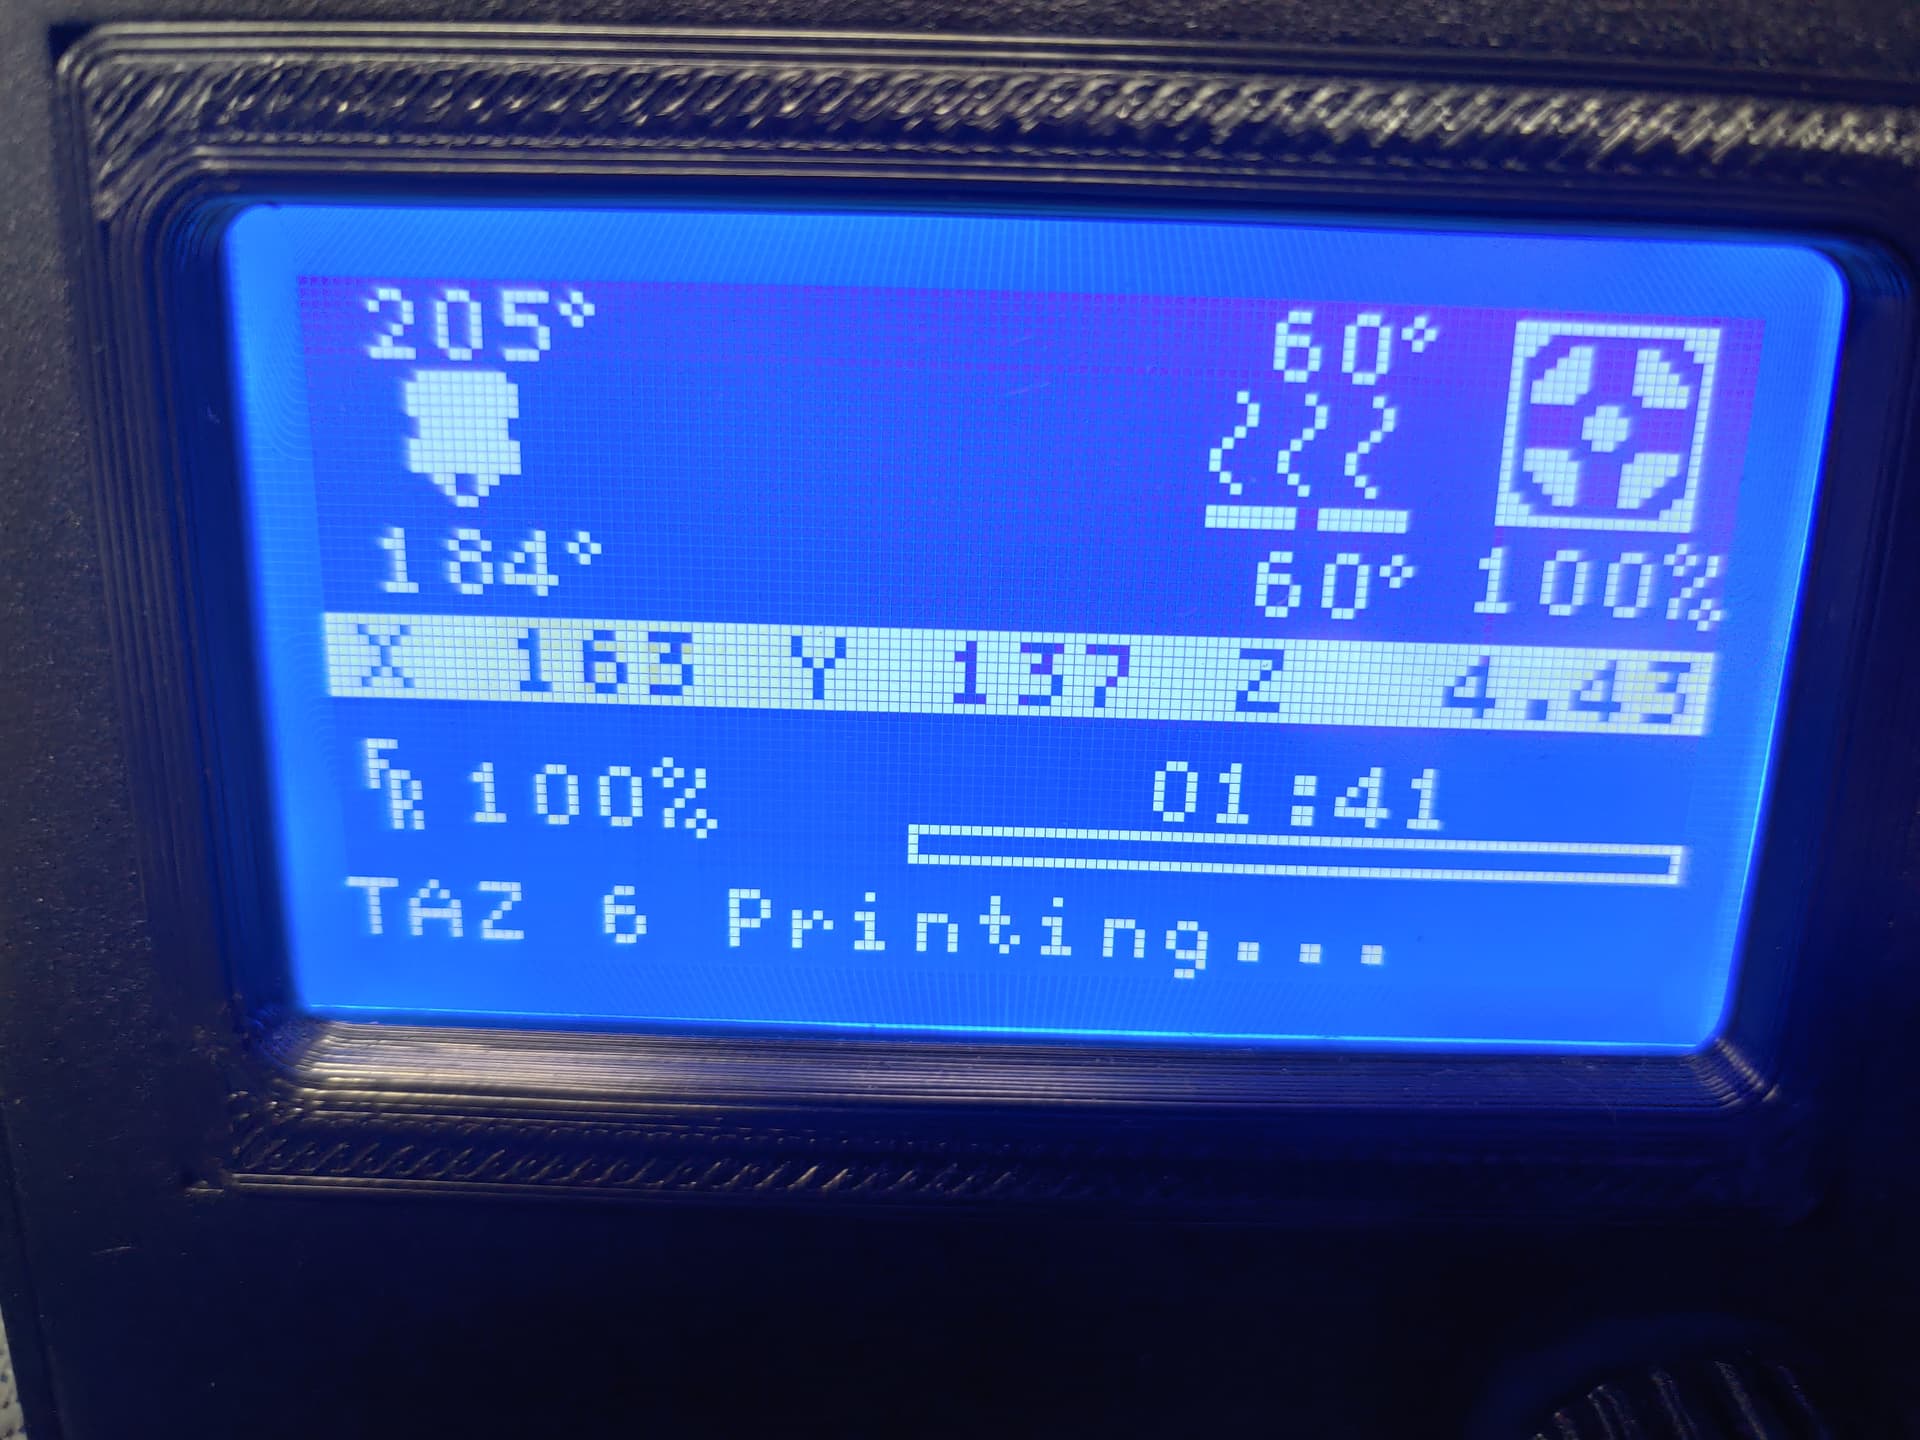
I haven’t tried to print ABS yet, but started with re-printing a PLA part. The part printed without an error and completed. But I noticed around 1 hour into a 2 hour print that the tool head temp dropped off from the target temp. The target temp was 205°, but the tool head temp fluxuated between 183-187°. The print completed and looks fine.
What would cause the tool head to drop off from the target temp?
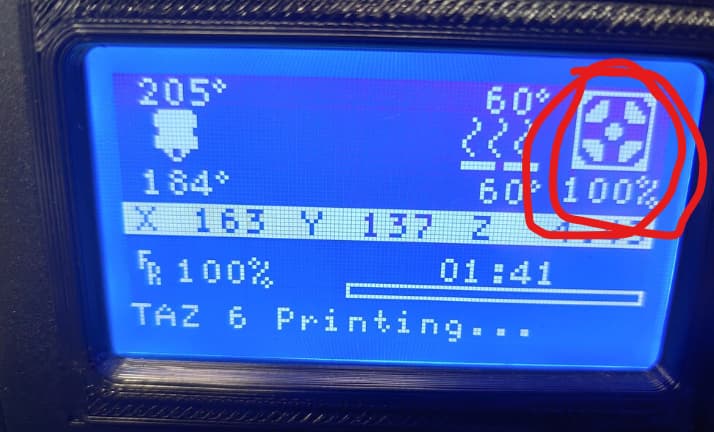
Part cooling fan at 100% is overpowering the nozzle heater. It’s not uncommon with the Aerostruder.
I think I set my fans to max at 80% with the aerostruder head, before I build up a different toolhead based on the ITworks-3d design that had better part cooling ducts.
Unfortunately, I was just using the Cura default setting. I wondered about the fan speed when I saw that too. I’m just not experienced enough (yet). Thank you for the input!
Regarding ITworks-3d, are they close down? There website isn’t working. Any way to get a model of the cooling ducts?
Thank you very much! Your help is always appreciated.
I tried to print ABS again yesterday, then after an hour or so, it shut down due to thermal run away event. Today, I’m printing the same part, but re-sliced it for PLA. I set the fan speed to 70-80% and it’s printing without a failure. Any time I checked on the print, the temps looked really good, but then I noticed dips in the print head temp and also noticed the fan is again running at 100%. What is overriding my 70-80% fan speed setting?
I’m assuming this is related to my ABS shut downs??
Bridging and overhangs can have max fan speed overrides, so that’s worth checking.
The part I was printing had a bunch of tree support structure activated. Is that part of the “Bridging and overhang” your talking about?
The part is basically an upside down cup, so I went with the tree support instead of normal support. Would a normal support setting use less bridging/overhang?
About the same for overhangs.
If you open up the profile to include the experimental stuff and search for “fan”, you should see the bridge settings at the bottom.
I know it’s been a while, but I tried to print a ABS part (twice), but again after about an hour I get a thermal runaway and the fan is at a 100%. I’ve unchecked the “Enable Print Cooling” on this part, so why does the fan go to 100%. I don’t sit and watch the print, so I don’t know exactly what’s happening. But the one time I was watching it, the fan kicks on and the print head can’t keep up, so the print temp slowly drops off before the print cancels.
Why does the fan turn on when told not too?
Can I disconnect the wires to the fan as a test or when I need to print ABS?
It would be a bizarre hardware / firmware failure if the fan were to go to 100% without a gcode command.
Using a text editor, search the gcode file for M106 commands. You should find an M106 S100 command which is the culprit.
Instead of messing with the fan wires, use the text editor and change all occurances of M106 S100 to M106 S0.
IMO, a better option would be to find the setting in CuraLE that is causing it to output the M106 S100 and change it. You can then create a new profile in CuraLE for printing ABS.
Under the Settings menu, select Configure setting visability... and at the top of that window, click Check all. Now in Filter, type fan. These are all the settings that could be causing the issue. You can go back to the Profile on the main window and change any settings that set the fan speed to 100%.
If you would like our help, please zip and upload the stl and gcode files. Tell us which version of CuraLE you are using and what firmware is loaded in the printer.
1 Like
I’m running a Taz 6 w/ Aerostruder print head, firmware: v1.1.9.34, Cura LE 4.13.17
I searched two of my ABS gcode files for M106 and found the following
;TYPE:SKIN
;BRIDGE
M106 S255
OMG, 255!! Why would Cura write a gcode of 255, and not 100? This is a screen shot of the Cura settings for Bridge.
I assume I change the “Bridge Fan Speed” from 100% to 0%, re-slice it, then verify the gcode to make sure it made the change?
My bad  .
.
From [Set Fan Speed | Marlin Firmware] Set Fan Speed | Marlin Firmware)
[S<speed>]
Speed, from 0 to 255. S255 provides 100% duty cycle; S128 produces 50%.
Yes, that is exactly what you should do.
Thank you for you help!!! It’s greatly appreciated.