I was home so I had alot of time. What better way then to print parts endlessly. I went a whole different route. I had a post of my previous setup but never liked how it looked. I added a bed mounted camera. I redid my 2020 rear. I moved the filament holder to the top. Never liked it in the back. I moved and added lights to my usb and fan hubs. I added a camera to my filament holder. I also added lights and a humidity sensor. I got my tablets working correctly. There both 10.1 in now. They now turn on and off with the printer and load there corresponding programs. I made new tool holders. I redid my rambo and ps covers. I added a new screen for raspberry pi. I cleaned up my wires. I added alot of storage. I obviously have a theme going on now. Everything is keyed and can be removed easily. Example raspberry screen moves up then you can remove the filament holder. The rear storage is removable to get to wires ect.
!


That’s amazing!
Well done.
Whoaaa, that’s pretty impressive. I especially like the hexagon bee like pattern. I made a similar pattern for some coasters and tool holder with my taz 5 as well.

very nice! are you going to post the files?
Sure if anyone is interested I have almost everything file wise. Unfortunately the box that holds the usb and fan hubs got corrupted. At least it happened with only 1 thing left to print. But it’s a simple design. Unfortunately I learned 123D and I’ve had recent issues. The only thing I have left to do is my stepper motor fan holders. I also have to finish the filament passthrough. I’m thinking of incorporating a run out sensor.


Finished my stepper fans. Red ABS prints orange oh well. Might have to redo my bed mounted camera. Seems to loosen up over time. It’s all friction fits. Then you get some pretty cool noises.


Finished my pass thru of my polybox. Well it looks like the upgrades are complete for now. I do really like the view the camera gives


Redid the bed camera loop. Added some nutsert and Allen’s plus some 3m double sided tape. Shouldn’t cause anymore noise. Now my problem is I have to come up with parts that arent for the printer.


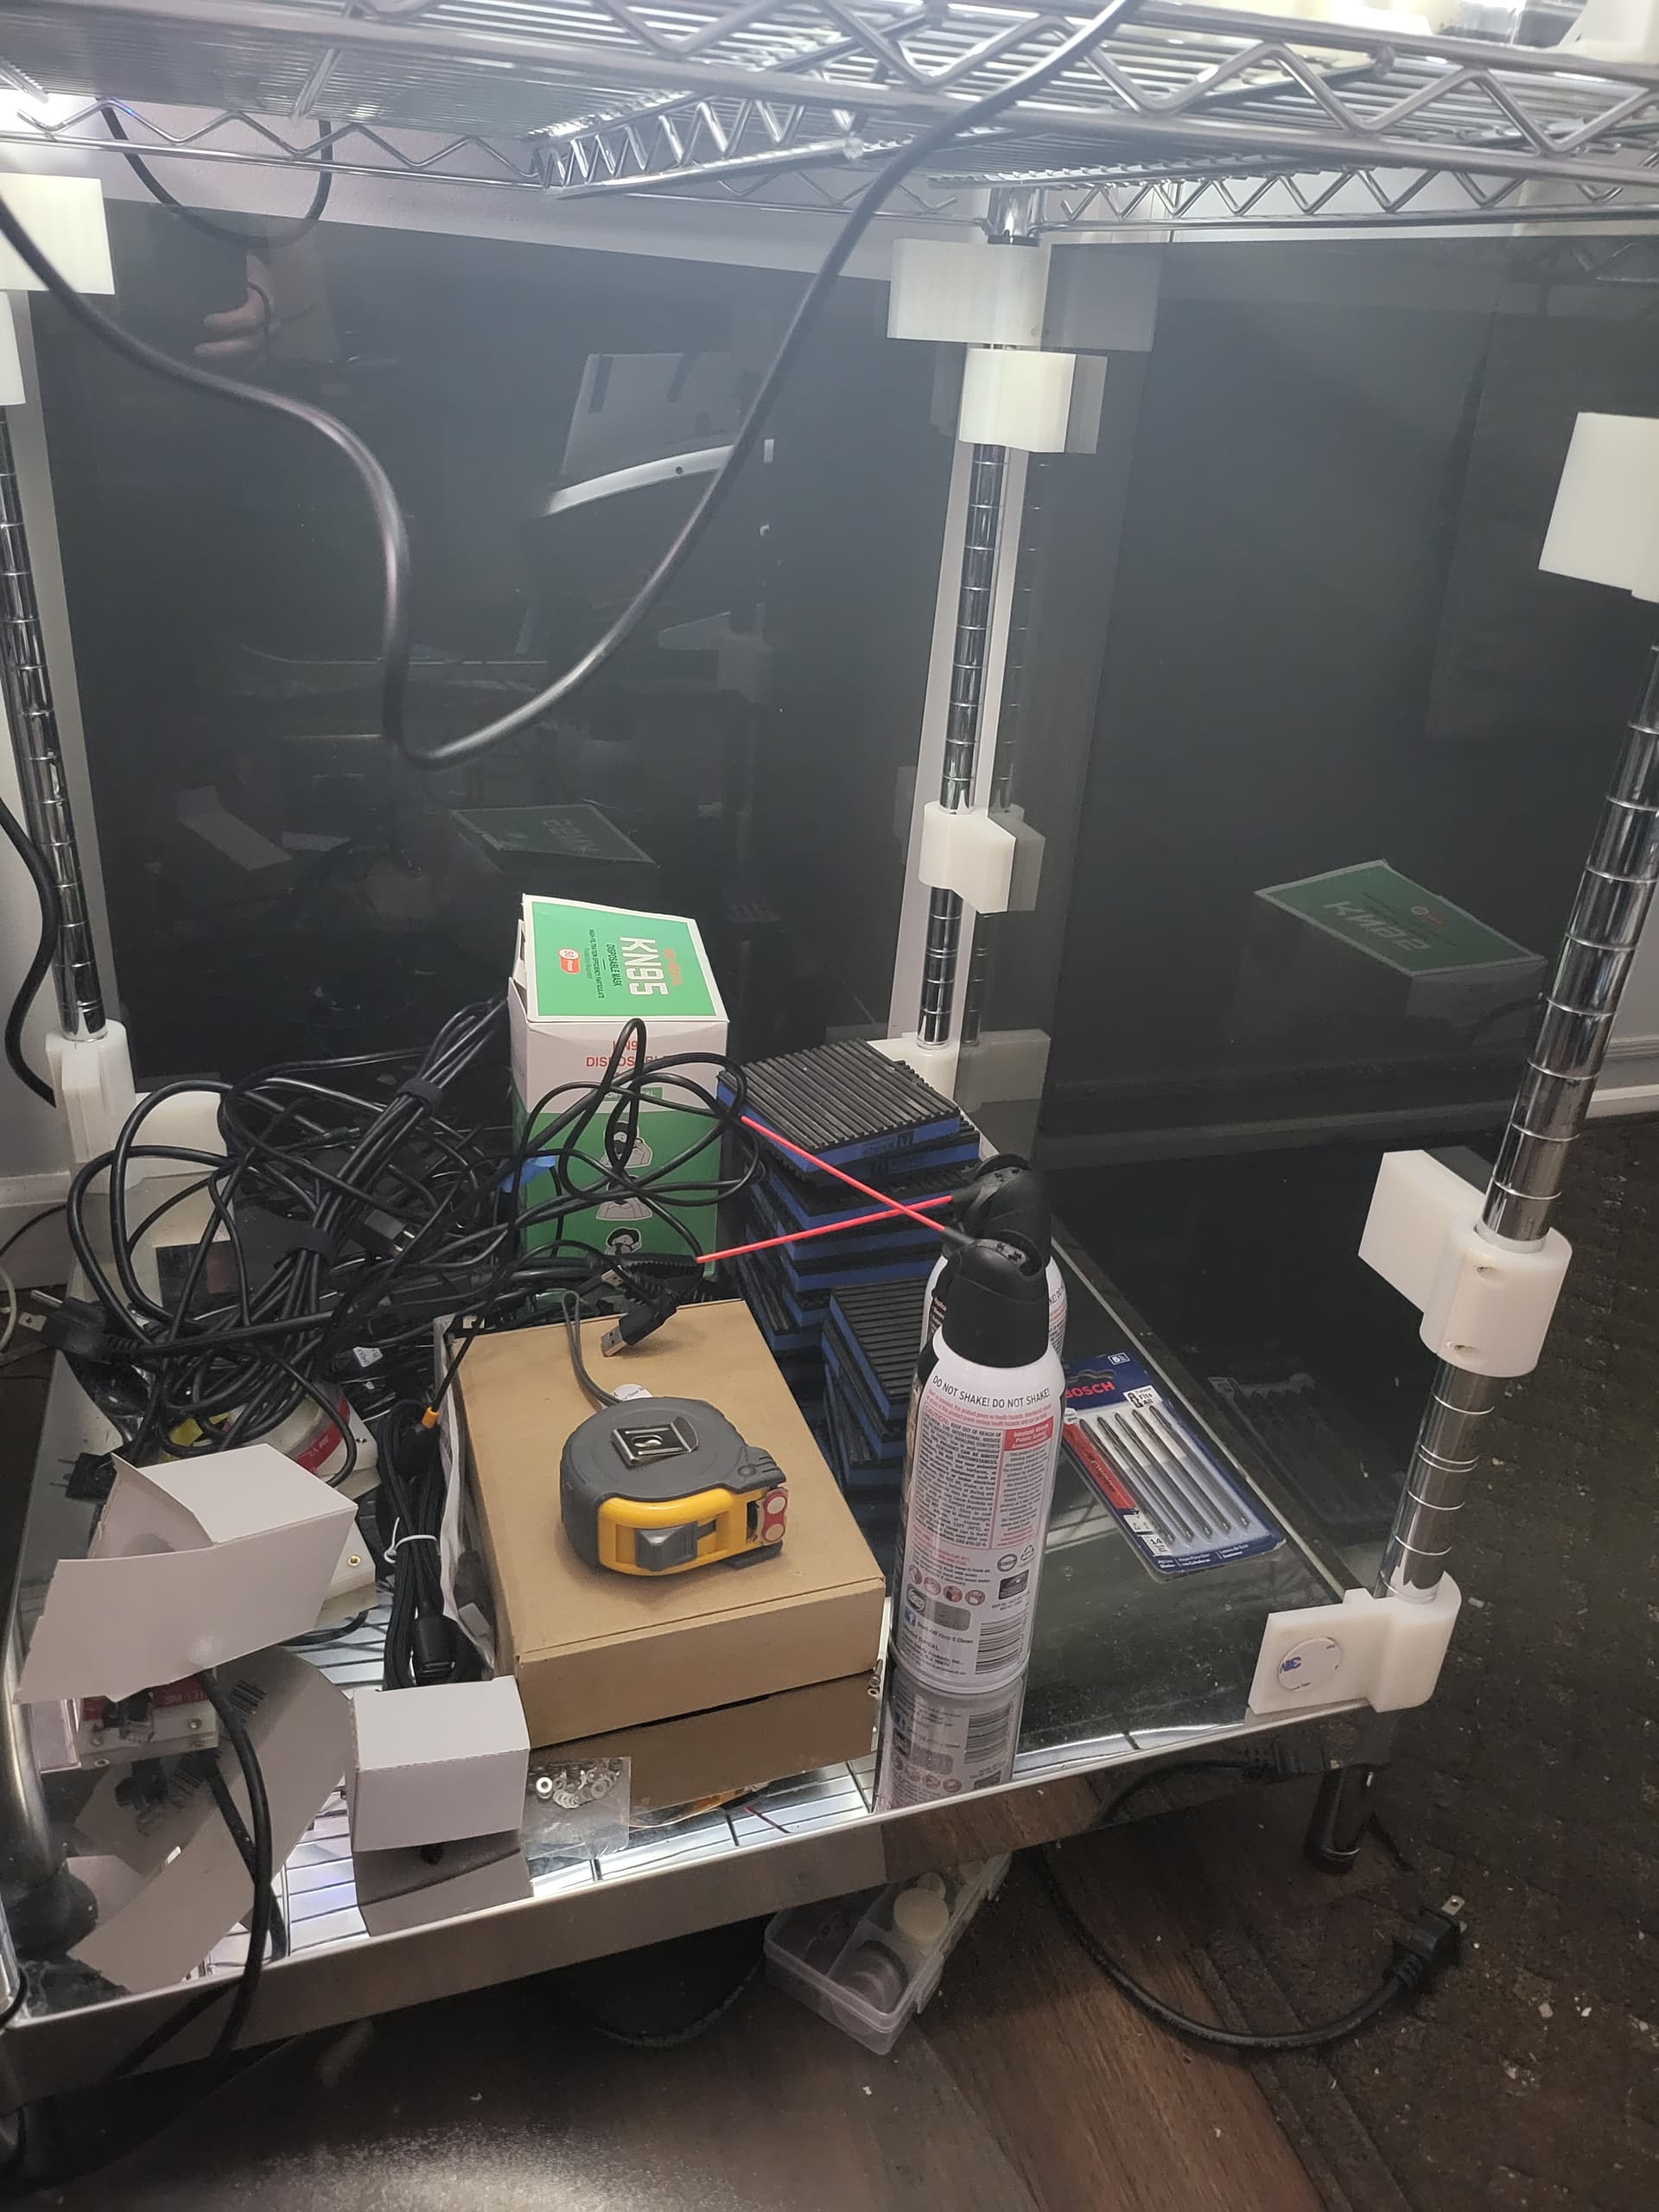
Ok well I decided I don’t like the look of my city printer anymore. It’s time to upgrade. Unfortunately my lulzbot finally broke to the point of needing to wait for a part in the mail. I don’t want this to happen again cause I need to print it doesnt matter what it just needs to be going. I bought another new to me printer. Here’s the plan. Make them both identical. Openbuilds rails and piercets great upgrades. A minimum of 4 cameras a printer. Acrylic panels. You can see my progress thus far in the pics. This is getting expensive quick though.


My original shelving was doing the jig. I had to pin it up against the ceiling now its solid. Most of my x and y axis parts are printed. I also designed a new case for the pi’s. It will hold 4 per printer even though I think I will end up just using 3. I wasn’t happy with repbox’s filament holders so I made my own. Still need to fill the other box. All the printed parts will be clear that aren’t on the printer. I designed my panel holders and they work. Its just going to expensive for the acrylic. I changed all my fans to noctua 24v. They are louder then my others but I don’t have to worry about them. There super strong too.
Ok well I’ve been just making a ton of brackets. Printing 24/7 for days. I’ve finished the repbox filament holders. I’ve finished 1 half of my acrylic sheet magnet holders. I’ve finished half of my toolhead holders. I started to at least mount my power supply switch and PIs. There’s still alot to do. I’m almost done with my openbuilds upgrades to the new to me printer. It’s looking snazzy. Unlike my old setup that just looked ridiculous this should be very easy. Just remove a side panel unhook 3 wires and you can pull out the whole printer. Absolutely nothing is attached this time


Getting closer still waiting in acrylic panels. Been working on my 4 pi holder that looks like the PS. It’s a slow go considering I didn’t even notice my combs were the wrong way. Oops
Still going and slowly making progress. I got some screens for octodash. Massive pain making everything fit should be fun to wire manage. Printers are pretty much done with piercets open build upgrades.


Got my panels just got to figure out how to make doors and cut the electronics side. Didn’t work out exactly as planned with placement of the brackets. Had to move them to be able to get the printer out.


Hinges will work. Adhesive for the magents is failing. I got some clear epoxy. I adhered one on a test piece it seems to hold fine. I need to get the hight of the doors correct. Then base the other panels off of that. I got most of my new cables. If I have time I’ll clean that all up. The only thing that will have to wait is the bottom printer PIs and cameras. Its just to much $$$


Finished my lights / camera out of the way brackets. Unlike before I want to undo 3 cables and be able to remove the printer for maintenance. The cameras give a good top down front/ back of build plate view. I also finished my housing for my octodash screens. I am using velcro right now to mount this stuff but that will be changed in the future.


Looks like switching from velcro to wireties worked. All my camera and light mounts are done. I’m making the other hole cutout cover now. Then it’s just some form of usb distribution and clean up those wires. The end is almost here.


