I have a loaner Taz Pro XT and I am really not loving the leveling system the longer I test this machine.
There seems to be a awful, repeating cycle using my M175 with a 0.8 Vanadium (Slice) nozzle.
Initially I got some really great prints with the bed leveling failing about 30% of the time. The problem, from what I can tell, is the wipe happening at 140C when the filament isn’t molten. So even if there is a tiny bit of material there, it doesn’t wipe away. If anything, it accumulates fuzzy material which makes the washer contact process worse. In many cases, I see the bed deflect down a great deal on the left side, not so much on the others and it will attempt to print. And fail. Or it will do the left front washer softly but mash the right side down hard and as before, eventually fail the print.
So perhaps that wipe temp should be adjustable based on material type?
(Rant)
I’m a little surprised in 2023 how this premium machine isn’t equipped with a BL Touch. (I see it is an accessory, but still…). The more I use this XT and compare it to my Taz 6, asides a touch screen and Z lead screws replaced with belts…I am struggling to understand the value.
(End Rant)
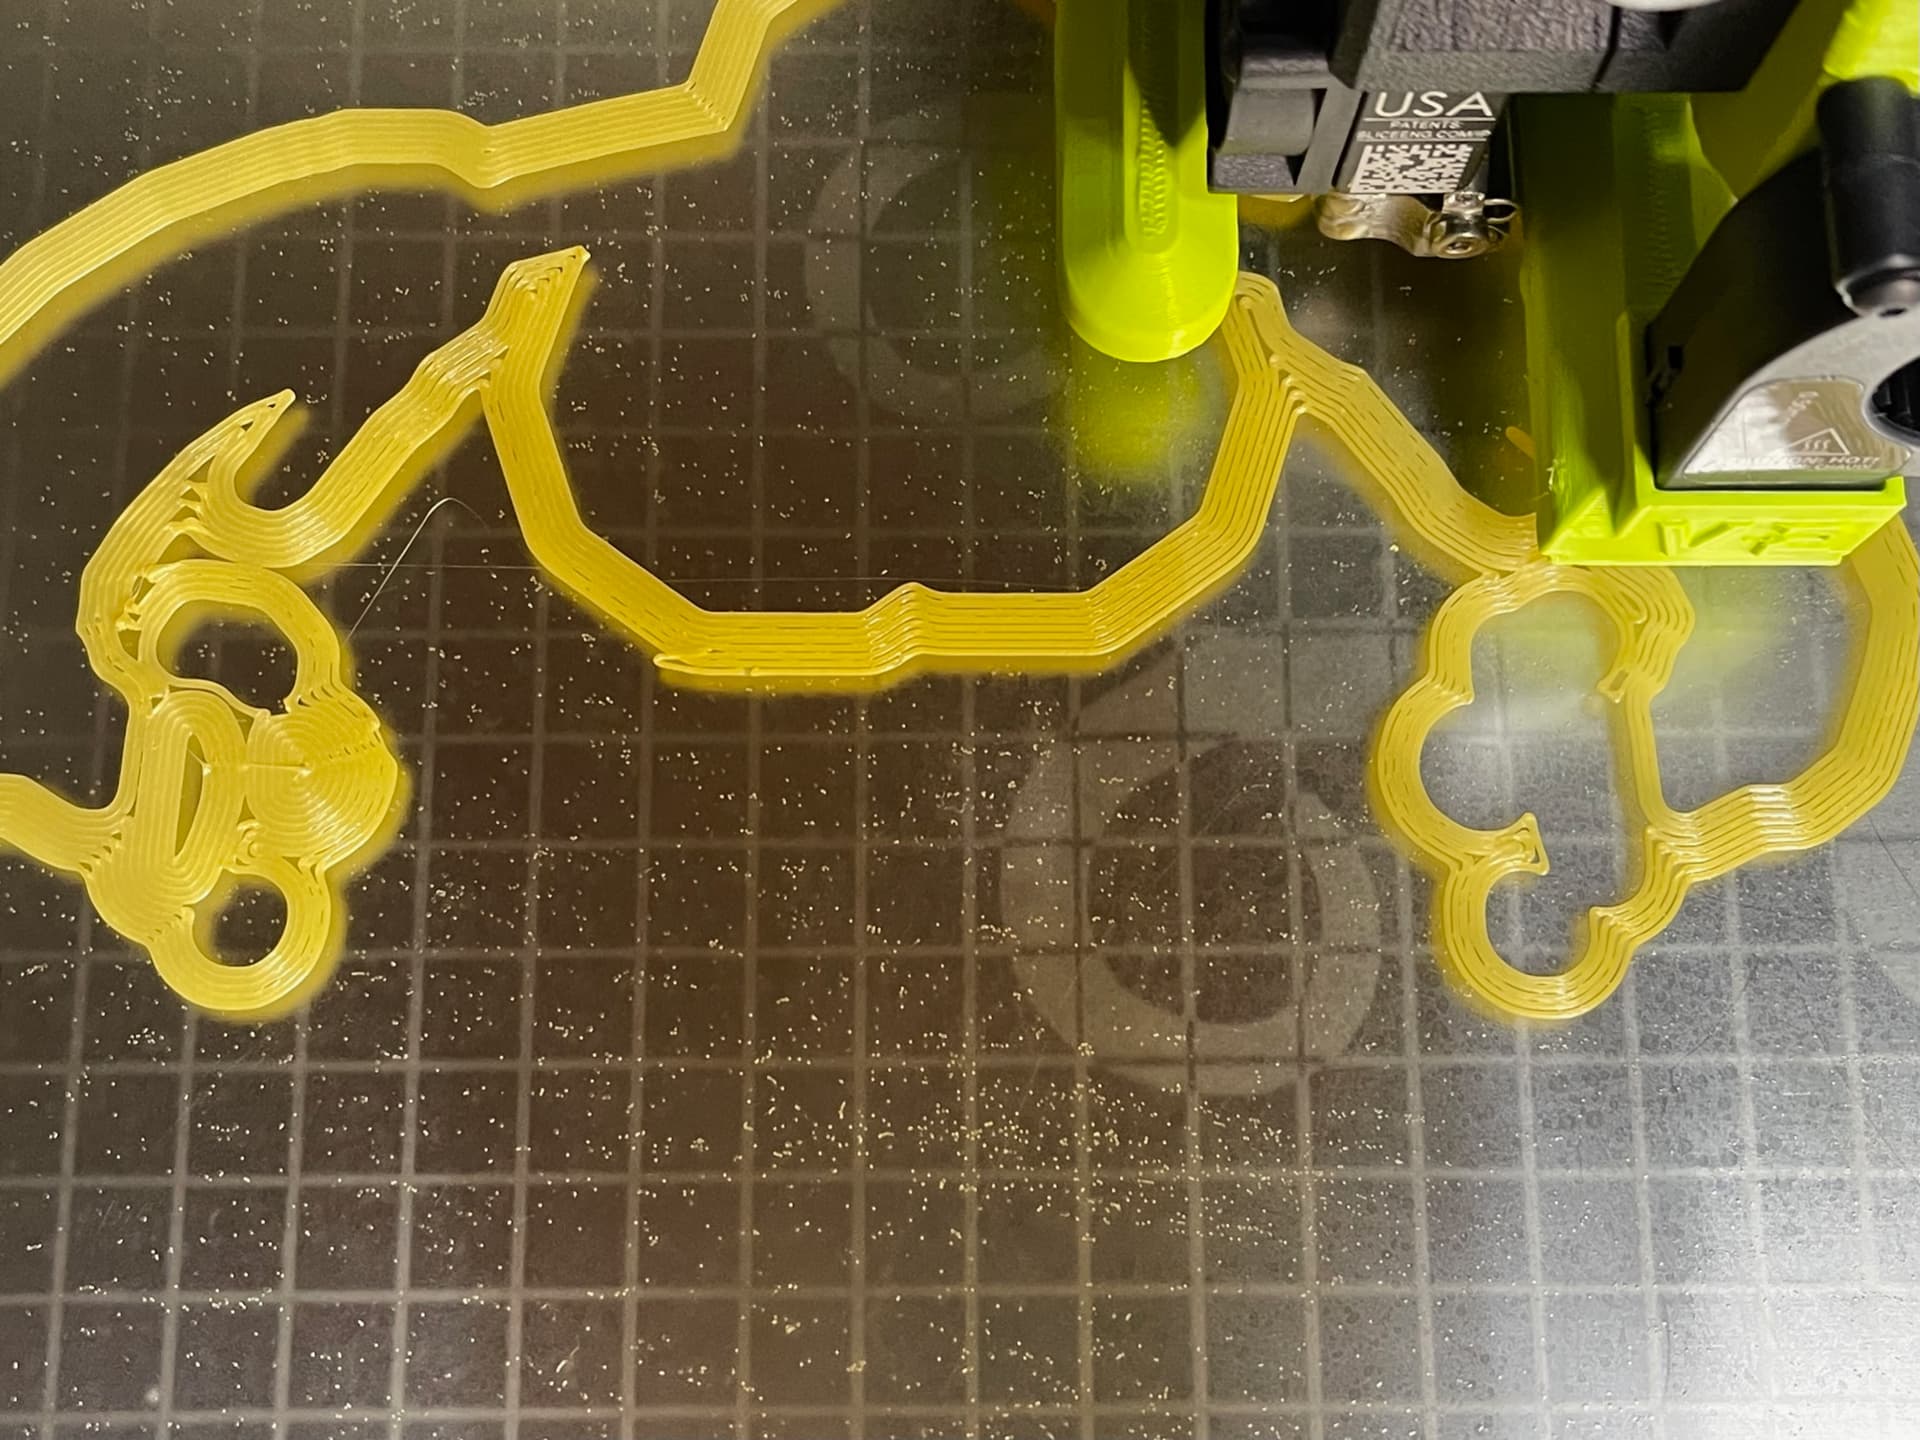
After several tries, a brass brush to clean the nozzle to make sure it is truly clean, I finally have a 25 hour print underway. It took some PVA (hairspray) to help keep the problem size adhered to the print surface.
Here you can see the left side looks good. The right side is a bit high as the gaps in the brim are further apart.
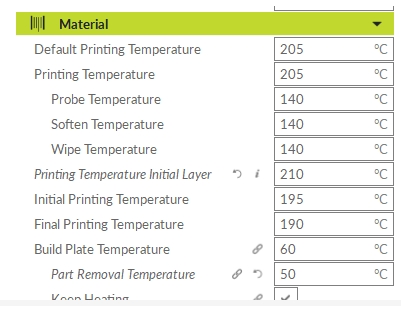
The Wipe temperature is one of the temperatures that can be adjusted in CuraLE.
I clean the washers on my TAZ 6 with Isopropyl Alcohol and sometimes with a light touch with very fine grit (1600+) sandpaper. I will clean the nozzle with a brass brush if necessary after heating to a little over the soften or wipe temperature and turning the printer off before brushing. If you brush with the printer on, you run the risk of shorting the heater or the thermistor wiring with disastrous consequences.
If you go through a manual leveling process (G28, G29 V4) you can check the output and see how much variance there is between the left and right sides. I own a TAZ 6, not a Pro XT so I’m not sure of the procedure to fine tune it if needed.
Each model in the entire TAZ line has been primarily an evolution of the previous model. I don’t believe that Fargo Additive Manufacturing Equipment 3D, LLC has the staff or the expertise for revolutionary 3D printer design these days. The existing product line contains solid, reliable designs but are not “state of the art”.
Based on what they’re showing at the RepRap festival, they have been working on some good stuff. They’ve been working on some good designs (their internal print farm “Viking” for a while. If the Mini3 is anything to go by, they will have something that’s a proper solid design, even if it isn’t bleeding edge tech like lidar.
I’d still like to see it as a CoreXY after playing with my Voron, but bed slinging isn’t obsolete yet.
This still looks a little far on the Z offset to me.
But it was a premium machine years ago, not in 2023. I think they were a bit reluctant to put a lot of effort into engineering while they were changing owners over the years. With some stability in ownership now, they have shown some good potential in the Mini 3, and really, it looks like if they did the Viking with more Z height, they’d have something worth buying for a well-supported machine from the USA.
I had to search for the Wipe temp inthe Beta Cura (4.x )…I’ll see if 190 helps
Turning up the wipe temp too high will lead to oozing from the nozzle after the wipe, ruining the leveling accuracy.
You can tweak the wipe temp by just slowly increasing the temp on the nozzle a couple degrees at a time, then manually wiping it with a wipe pad. Once the plastic on the nozzle can be wiped with a little effort, that’s as hot as you want it. If you let it sit at the wipe temp, and anything oozes out, it’s too high. Having wipe as low as possible can also help so that the plastic gets wiped off on the pad, instead of being hot enough that it melts in and embeds.
Your X axis might be skewed or unleveled. I get this frequently on our taz pro at work. Depending on how much the x axis sags on one side more than the other while th machine is off, when it’s turned back on there’s no way for it to accurately drive the x axis up & have it come up parallel with any repeatability.
The only way around this that i’ve found is at least a very easy fix.
With the printer on, use the screen to go to move menu then press Home all
Once the homing is complete on all 3 axes, use the screen to move the x axis tooolhead to the middle o the X axis travel then press the “Motors Off” button on the screen to release the motors & allow free movement of the axes.
At this point, place your thumb on the bottom of the the top silver X axis bar on the left side of the axis travel & tthe other4 fingers on your left hand you place them on the TOP of the leftmost section of the horizontal aluminum extrusion in the back…
Then place your right thumb on the BOTTOM of the silver x axis bar on the right side of the axis travel & your other 4 fingers on your right hand go to the TOP of the rightmost section of the horizontal aluminum extrusion in the back top of the printer frame.
Then squeeze both hands to drive the x axis up tight against both endstops on both sides, so the endstop switches are depressed then maintain that tension while slowly sliding your right hand over to the middle area of the x axis travel, as close as you can get to the middle while still holding tension & keeping the x axis pushed up snug against the upper endstops, keep tension on it so neither side drops off the endstop & once you have the x axis snug as high as it will go on both sides and are only holding it with one hand, at this point in the middle of the x axis (your thumb will be right next to the toolhead pretty much), use your left hand to go back to the LCD screen & press the home Z button & as soon as you feel the motors take up the slack & you hear any kind of activity from the motors release your grip with right hand & the x axis will home from a leveled and parallel position & will hold that position as long as the motors stay energized unless you lsoe steps at some point.
Works 100% of the time on our printer. Can uplaod picture if this is a confusing explanation, hopefully not too much so.