So tonight I cracked my 5th glass bed. I am so sick of this thin glass. I need a better option. Has anyone switched to an aluminum or stainless steel bed? I just can’t stomach ordering another sheet of glass. Has anyone tried just a thicker sheet of glass; maybe 50% thicker? Maybe tempered glass? Since the glass is permanately fixed to the heating element it has cost me a ton of money. The last couple breaks I just gave up on replacing the entire glass and heater combo. I just put the new sheet of glass over the old broken one. I now keep a spare sheet with PET ready to go, but now my spare is being used. I need a better replacement before this current and final bed cracks.
I am trying an Aluminum sheet with a PEI plastic piece attached to it on my AO-10x, but it’s only a 12 volt heater. That being said, it works great in that configuration. The aluminum sheet is 5mm thick aircraft grade. If I were going to do it again I’d probably try a 7mm thick sheet for a larger bed like the TAZ.
I can’t imagine how you are possibly breaking that much glass though. Borosilicate is tough stuff.
I agree with piercet. I have been pretty aggressive with the part removal process a few times, to the extent that I could see the glass bow, and it has not failed yet.
Your parts should not be sticking so hard that the glass breaks during part removal. Are you prying against the glass with a hard instrument? Glass does not like point force. That is why a center punch will take out a car window so effectively. Are you letting the bed cool out before trying to remove the parts? If you are using abs/acetone slurry, try using a lower concentration of abs… It is just strange that you would have that much bed breakage…
I have also found, on larger parts, thumping the side of the part, near the bed, with the handle of a rubber handled screwdriver will cause them to pop loose when no amount of pulling, twisting and prying would budge them. I don’t think the shear strength of the part bond to the bed is very high.
I hope you find a solution. Those beds are pricey!
HOw have you been removing the parts?
My issue is that I am making a part that is a 21 hour print. When I use a more diluted acetone abs slurry the part wants to pull up around hour 15. When I use a higher concentrate the lifting seems to go away which keeps the cracking to a minimum. A little acetone bath and all the minor cracks are gone. After a couple hundred prints I got the slurry down to a rather exact point that I could keep the print on the platform for just long enough to complete the 20 hour print. In regards to removal; I have tried a LOT. At first I was using the little blue “butter” knife that came with the machine and gently slidding it under the part to pry it off. That broke a sheet of glass rather quick. I then started using a metal panters spatula that was about 2" across. That worked better but again it eventually cracked the glass. I then went to a wider putty knife, but again I broke the glass. I then tried a plastic putty knife. I didn’t crack the glass, but I was often unsuccessful at getting the part off. I also always wait until the platform has fully cooled before any removal. I then tried heating the bed back up to remove the parts but I again got a crack. I then started removing the entire bed completely and would gently use a rubber mallet on the part (not the glass) to bust it loose. I never broke the glass doing that, but I had little success removing the part. I even tried pooring pure acetone on the glass in hopes that it would eat away the bottom layer and allow me to remove the part. The was an epic fail. It bonded the part onto the platform horribly. I have ordered the PEI surface in hopes that this will fix all my issues. That should get delivered today. At this point I’m done buying more glass sheets. They simply need to be thicker. I can’t see any reason why they don’t come from the factory thicker. I have two plates stacked and the machine works fine. My old cracked one with heater is still there and I just set a new glass plate on top. It works great since I can now remove the platform and not have to deal with any wires. that has helped me get stuck parts off a little easier, but I am still getting the occasional busted plate.
I use one of these knives to free the parts.

They are thin and flexible.
http://www.leevalley.com/US/wood/page.aspx?cat=1,110,42967&p=60274
I gave up on buying another sheet of glass from Lulzbot. I just couldn’t stomach the thought of breaking another. I decided to go with some 3/16" tempered glass. The company cut me a sheet for $20 and told me it would be significantly stronger then the glass bed the machine came with. I will let you guys know how it turns out. If it’s an epic fail I’m only out $20 which is a little easier to accept.
Give this stuff a try: http://www.buildtak.com/
Parts pop off really easy with just hand pressure when you take the time to calibrate the Z height according to their instructions. It has the added benefit of being a top layer adhesive sheet that is pretty durable and that should help strengthen the glass a bit. I use this stuff on my Mini Kossel and can go several hundred prints with a sheet.
The trick is to test the z height. To close and the prints sticks really hard, to far and it curls. But when you get that sweet spot it works repeatably and really really well.
OK my bed cracked after I tried another full sized print (50x done so far). I’m gonna go with Stainless steel due to the prying needed to dislodge large prints, Stainless steel is used on cookware and survives repeated heating and light scraping for-eva.
Glass works just fine with smaller prints but to dislodge larger ones 11.75" x 11.75" you really have to pry on them. That said, I will go with SS or maybe some aircraft grade nickel to get that copper aluminum content as well. Either way- glass go breaky breaky when I pried like I did 50x before and it didn’t shatter, the center of the print held fast and the glass gave with a disheartening crack.
The TAZ 4 should have come with something better than a thin glass build plate… like something that doesn’t break, IMO
old issue needs to be addressed.
BTW the dimensions I got were: 11 13/16" (11.8125") square
http://www.onlinemetals.com/merchant.cfm?pid=21516&step=4&showunits=inches&id=233&top_cat=1
$41.86 seems ok for a build plate that won’t break and will be scratch resistant
I wonder what it will weigh?
Btw- the glass bed is .142" thick but I will maybe go with the .135" plate offered if not too heavy, if it is I will get a thinner plate. What does the current boro-glass weigh?
Thoughts, or comments welcome.
After thinking about it, I could go with .06" thick plate at half the thickness and I’m sure it would hold rigid across 12" square when held at all four corners this would reduce the weight and cost of the plate and allow for more thermal transfer by way of less mass for the heater to heat. If only the build plate screw mounts supported a true 12" square, the plate would only cost $12.79 which beats boro glass I think for all the properties involved.
I’m not trying to write Specs for the TAZ 5… but then again…
I am not so sure SS sheet is going to be stiff enough if its too thin. I have some scrap 0.1" and I can easily get it to deflect by more than a few mm while glass would not.
As long as it stays rigid during the print, it can flex on part removal, which would make removing the part easier.
After some experimentation, I went with .09 Inches thick Stainless steel for prying durability, lower weight and thermal properties of a stainless steel pan.
New Stainless Steel 12" x 12" corner trimmed .09 INCH thick build plate installed- first prints commencing.
And you must be thinking .1mm stainless steel because .09 INCHES is an incredibly strong plate.
Here we go!
I am curious to see how flat the metal plate is. Are you going to run the bed level g-code to tune it in?
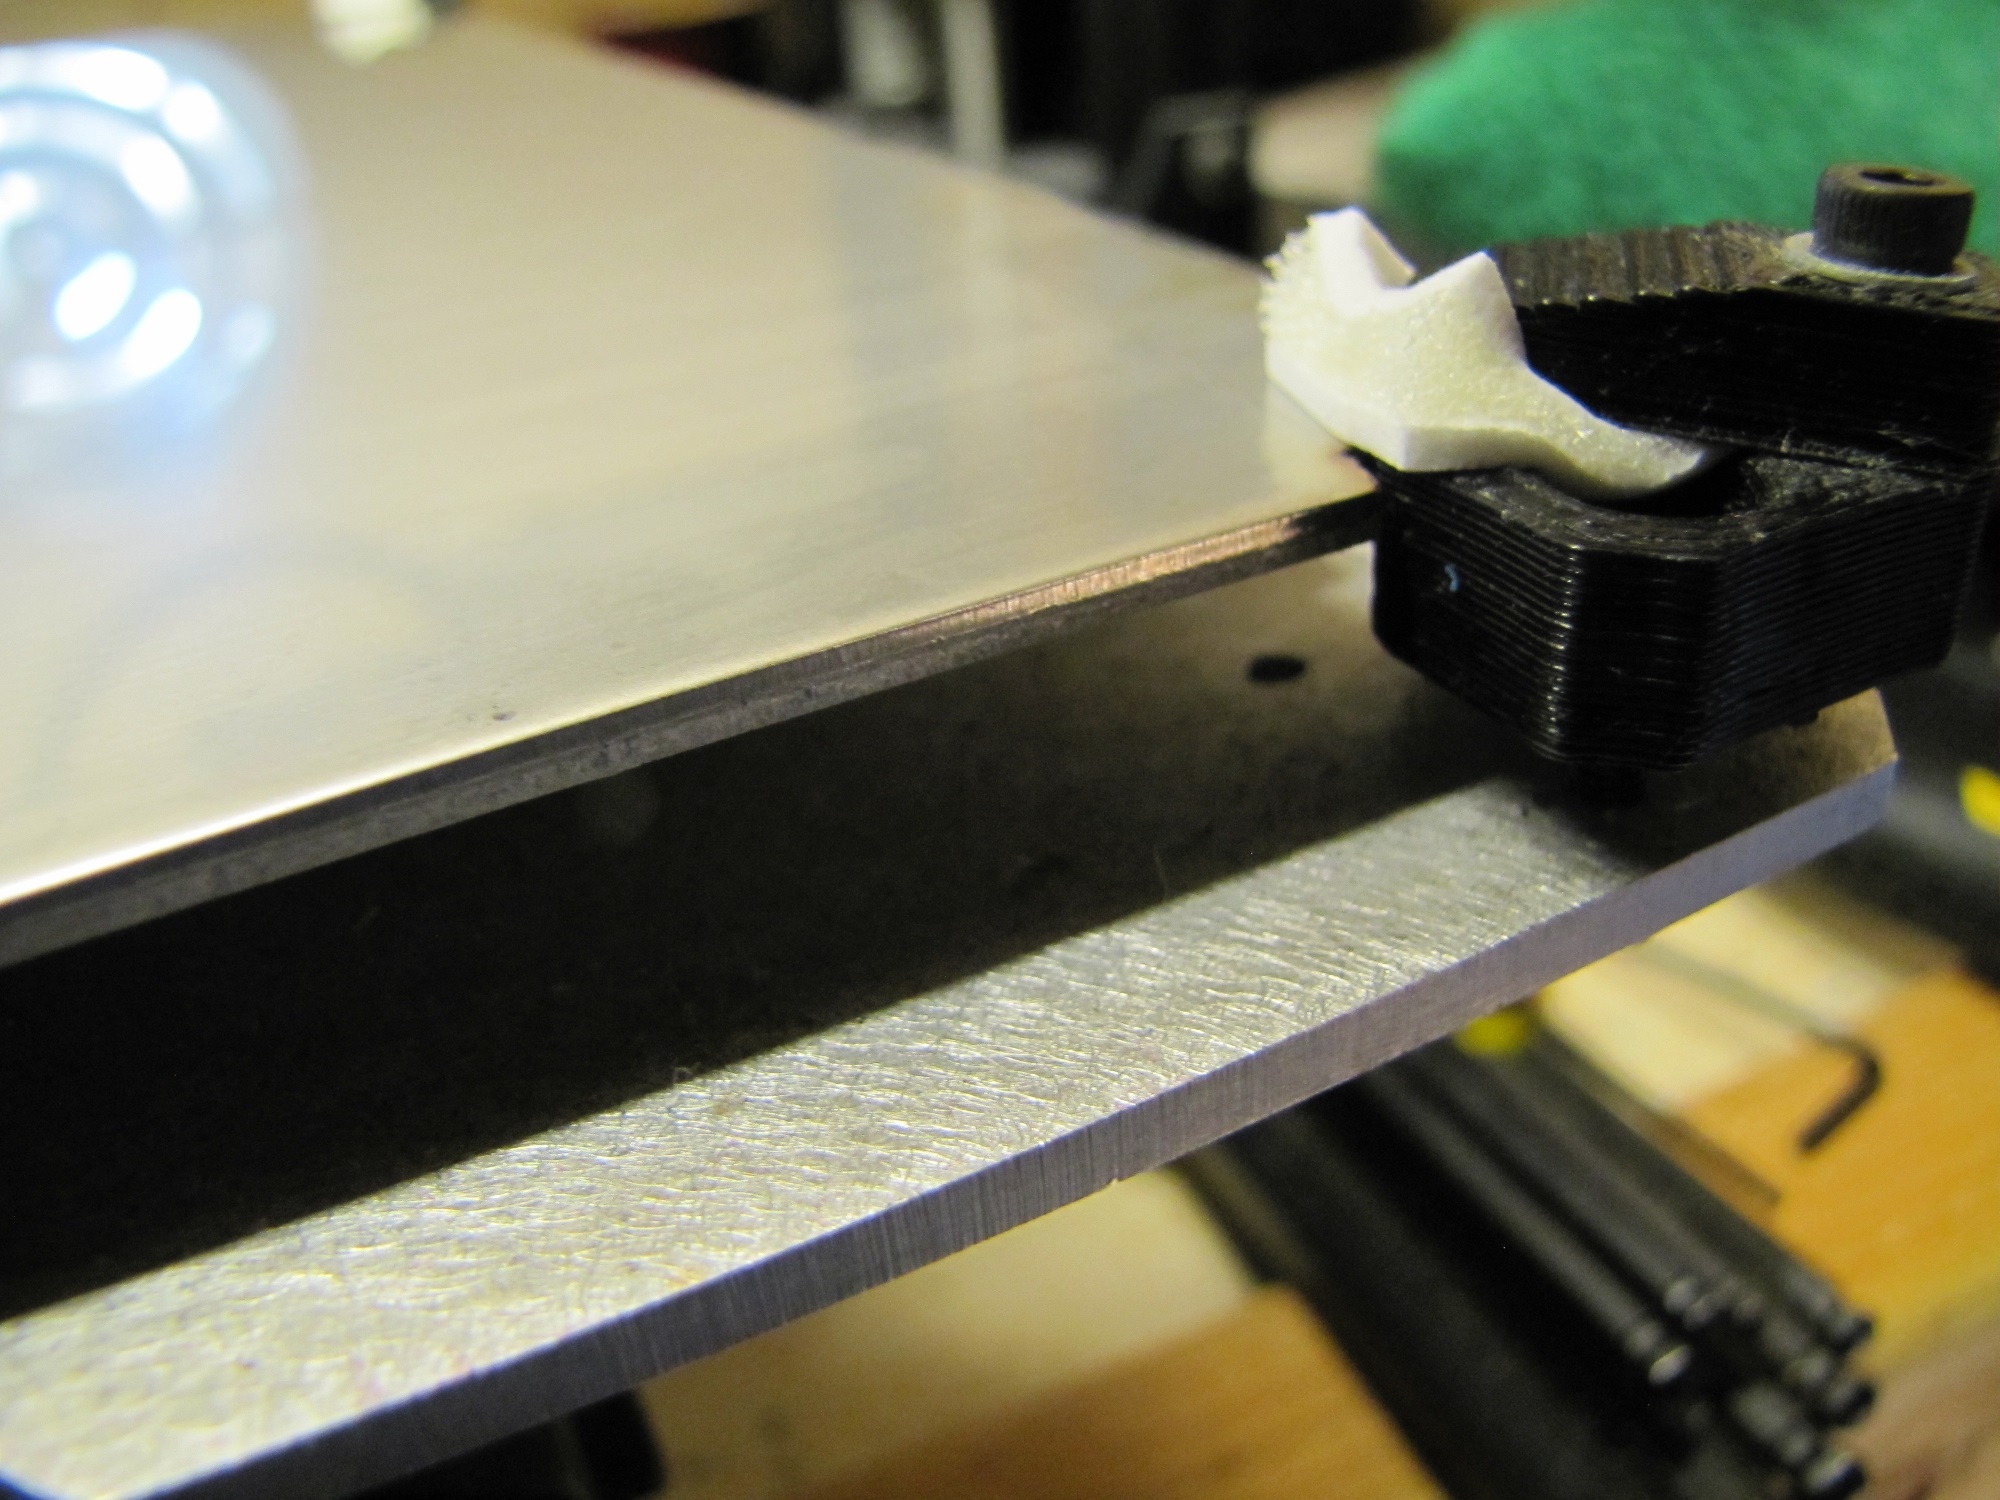
Looks to be flat like glass after removing the protective plastic liner I took this picture, look at the reflections, very flat.

After spending a few hours leveling the new plate it did have a tiny warp down one edge, likely from the cutting process, but I’m only going to be printing in PLA, no heat needed with painter’s tape, so a few coils of dense foam under the sag edge were ample. I will state that due to weight concerns and the ability to level the plate thinner SS was a good idea, if it had been much thicker I could not have adjusted out the warp so easily.
I could have used springs for a more permanent fix, and I will add them if needed.
There are online services that offer LASER cut polished SS plates, it would be the next step If I have to take it. Minimum $65 one-time setup fee which in hindsight isn’t that bad, would have saved me a few hours of frustration on leveling the build plate.
Btw- the bed leveling mounts and screws & springs could use a rework to make the screws longer the tolerance is kinda tight due to the plastic frame being not precisely square. The screws and springs should be 2x as long IMO.
Here we go again!
Update: First print finished, had to slow down the speed to 66% via TAZ console in cura basic, I’m using some high grade PLA which runs at 217C (Form Futura) glossy black.
After slowing it down the print turned out great, I’d say due to the increased weight the machine needs to run a bit slower, there was initial over-lash on layer one then I slowed it down incrementally till the print looked like it was correct, I.E. melt, fill, layer bonding, etc.
In hindsight, I wish I had a digital scale so I could find out the exact weight in grams of the TAZ 4 plate with heater assembly and I would choose a plate thickness that matched it.
The plate did not flex during printing, and I know I could go thinner with it, I’d also opt for the LASER cut plates for exact fit and no warping.