Thanks. I’ll have to take a look at that and try it. That sounds like what i want.
Yes. They are gold ninjaflex. Ordered from 3D Hubs. I originally wanted yellow, then black. At the time no one close had yellow or black. I may have some new colors (including black) printed at some point, but these work fine for now.
Thanks John, that was exactly what i needed to fix the main issue with it either being too close (or too far away with my extra washers). Turns out mine was set to -1.43 which was way too close. I’m not sure if that came hard coded on my used mini rambo board or not. I even reflashed the firmware a few times, so that seems unlikely. According to the Lulzbot Mini user manual the default setting for the z offset says zero. I also find that hard to believe. Anyway, i think i settled on -0.5, which seems to work good. If i ever need to change it now i know how to do it.
Now to fix the other minor issues. I think my mini blower fan is running a little low which introduces a bit of heat creep. I’ve also heard PLA is more prone to heat creep. At the moment i’m using HIPS which is working okay. I picked up a new mini blower fan that should be good and i may adventure into replacing it with a larger square fan anyway. The other minor issue is my mini bed leveling with Lulzbot standard bed leveling washers barely touches the back edge of the front washers (almost misses them and would hit the PEI if it did). Not sure why it does that. As far as i know my stepper is not missing any steps, but i wouldn’t know how i would find out if it was. I’m thinking of putting a thin piece of tape where the y-axis limit switch is to move the bed forward ever so slightly.
The good news is the first layer on my mini is working reliably now that i have now printed my first octopus.
There is a post on here somewhere describing the instructions an Aleph Objects tech gave someone to tweak where the corners are on the auto-leveling probe. It’s a pain in the butt to search from my phone or I’d look for it now. Try searching yourself for it.
I’m really interested in building a mini myself. There is something philosophically rewarding about printing a younger sibling.
question - do you have a general idea of total cost of all the materials when all was said and done? nothing exact, just looking for a ballpark budget.
UPDATED - sorry. just noticed your earlier post that listed total price as 900-1000.
Let me try and track down my receipts and i will try to estimate the actual cost…
The build was mostly satisfying, but i’ll be honest in saying the electrical wiring was a nightmare. And i used be the head electrical guy for my high school robotics team, and no stranger to electronics, so thats saying something. Part of it was i only had a vague idea of what i was doing from the OHAI build instructions. Had i had an actual mini in front of me that i could have looked at it would have made it a much better experience. Still i’m starting to get mine to work now and it has given me insight into problems and how to fix them that i wouldn’t have gotten otherwise.
Well, it looks like my earlier estimate may have been a little in excess… from the receipts i can gather and the added cost from the ones i didn’t, but can remember it looks like the cost is in the 845.11 range. I was experimenting with a few things, so if i were to do it again i’m sure i could figure out ways to save more money.
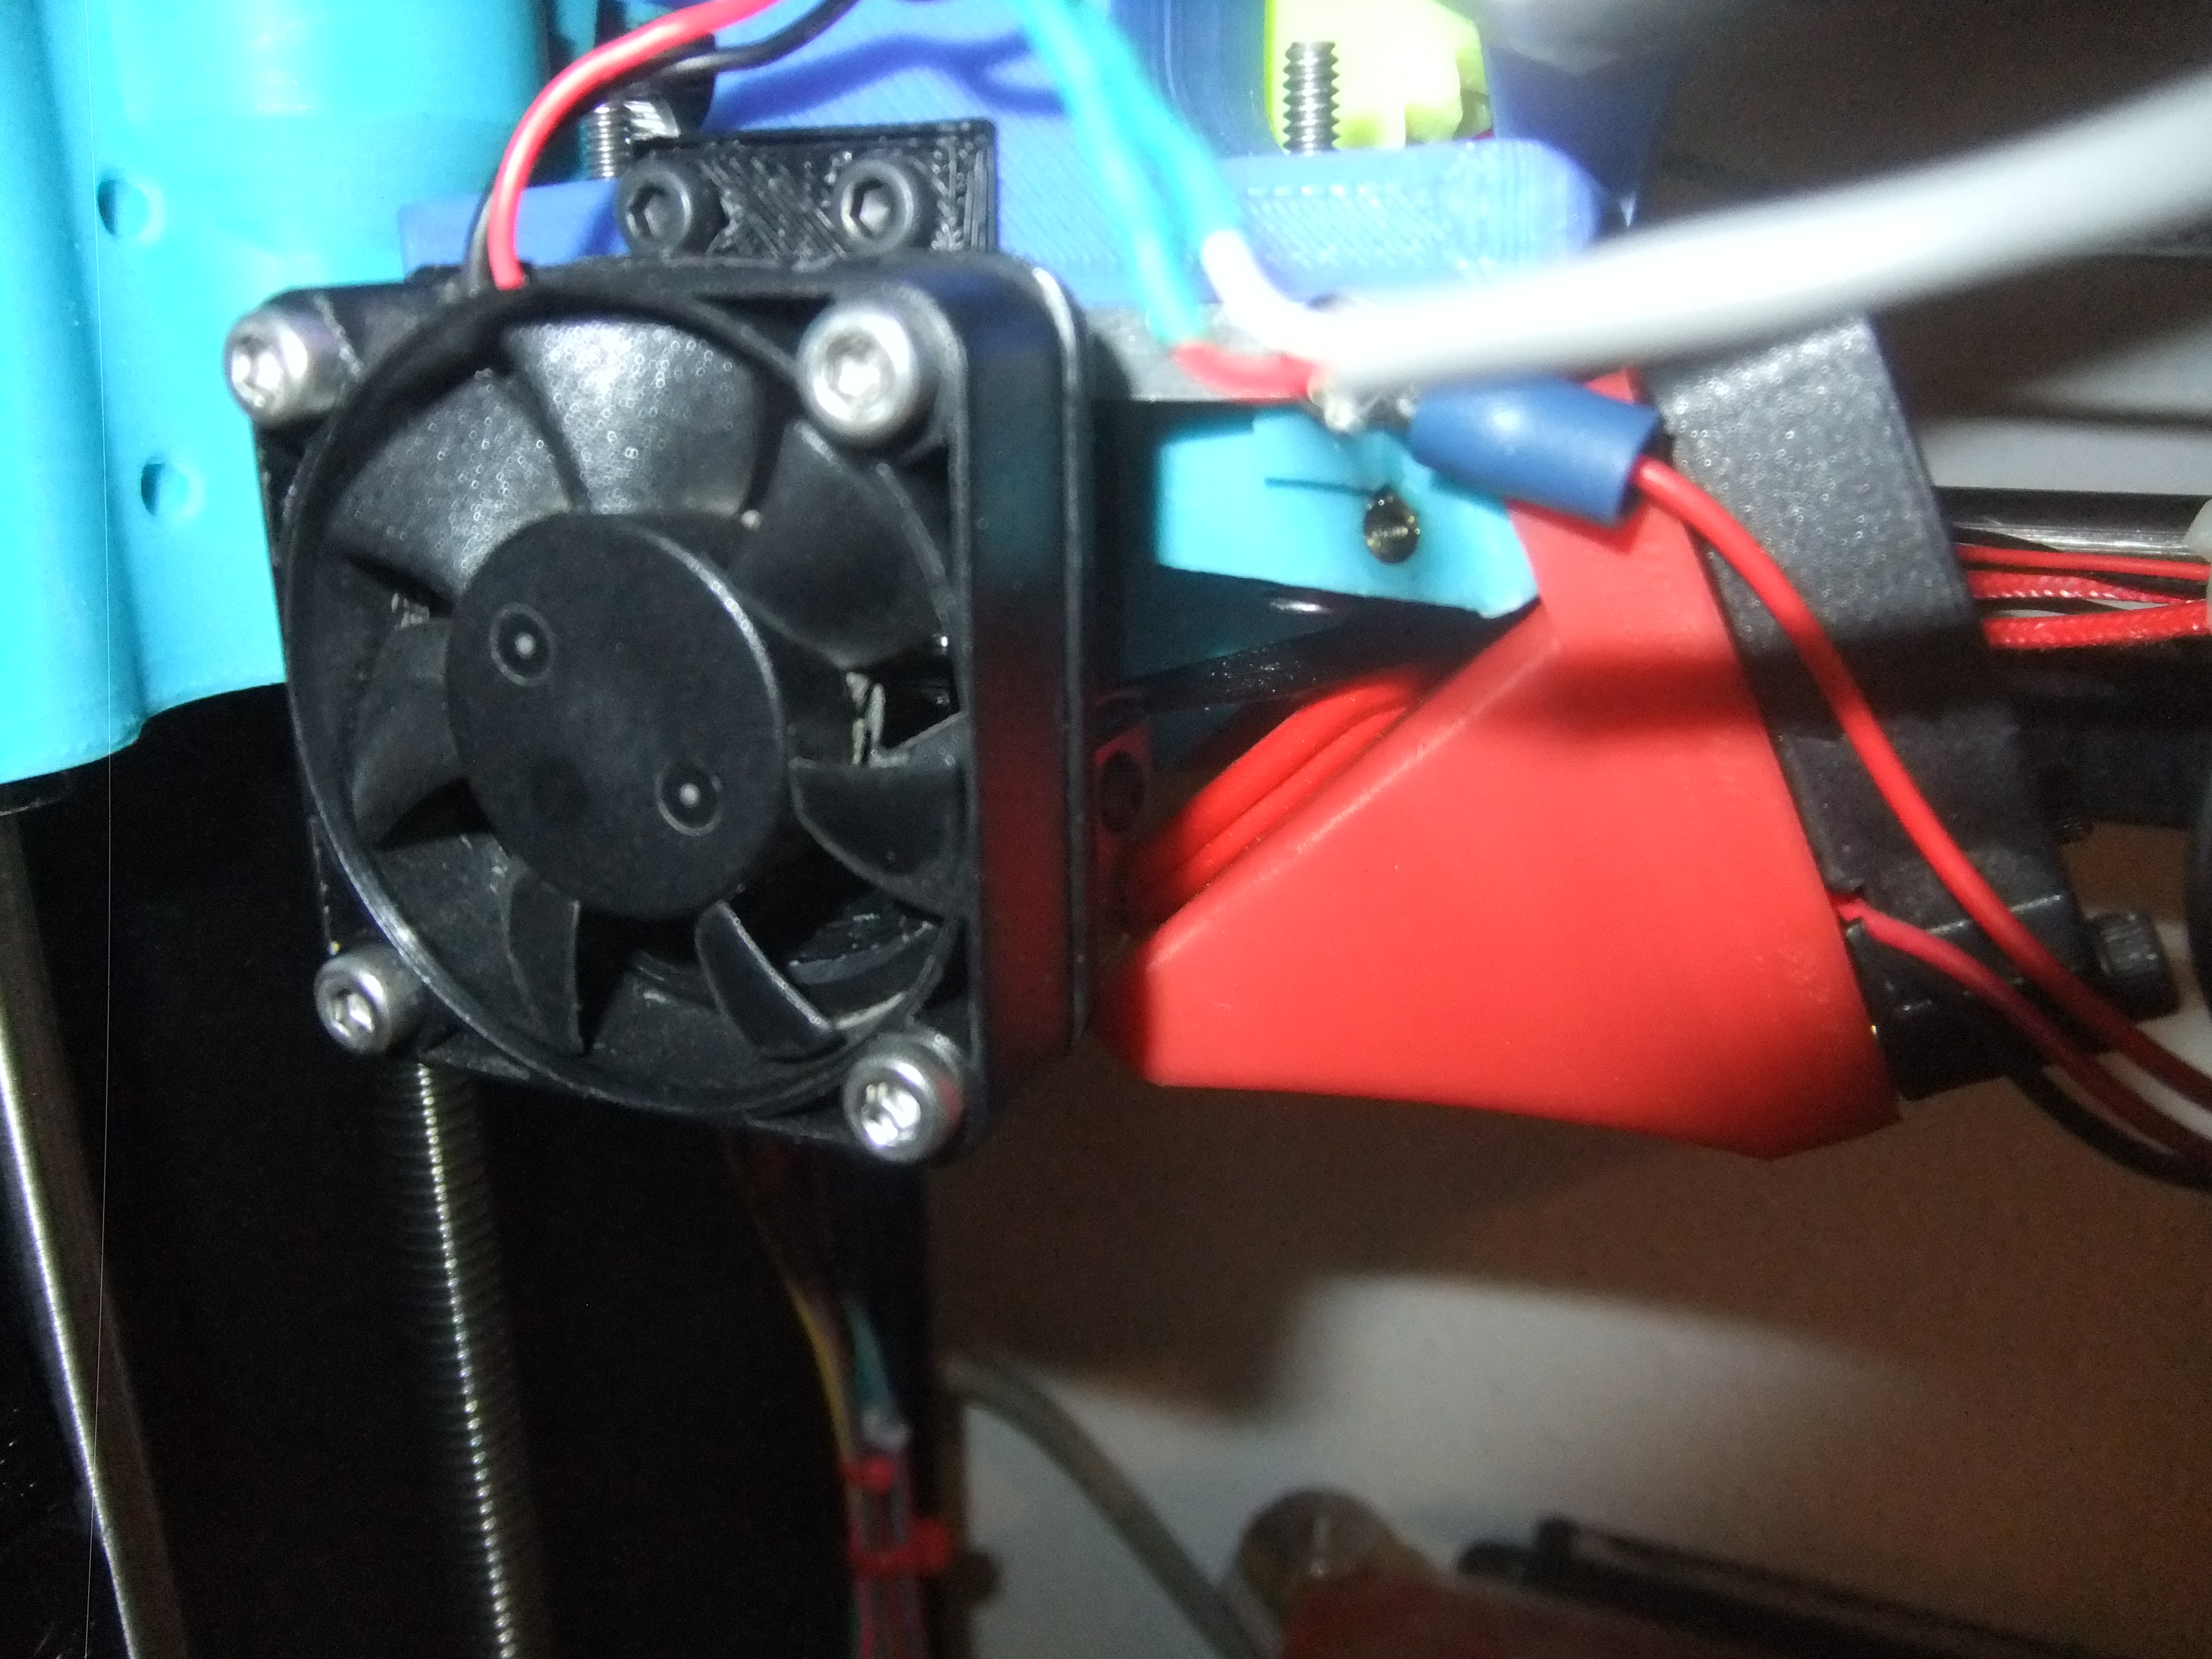
I just modded my mini to have a 40mm fan instead of the mini blower which just isn’t adequate for me as i’ve been having lots of heat creep issues both on PLA, but also on HIPS.
So far it seems to have eliminated the heat creep on my large HIPS prints. Haven’t tried it on PLA yet. I put it on Thingiverse for those who may want to do the same to their mini.
Just made 12 Iglide I180-PF Tribo linear bushings to replace the ball bearings on my mini. They seemed to come out great. In the process of replacing them all now and other parts on my mini.
I am very curious how those printed bushings will work out!
What layer height did you use? How much work did they require past printing to slide freely enough on the smooth rods?
I might have to try getting my hands on some of that filament. Depending on cost that could reduce the price of a home build and I’d imagine it would have other uses as well.
I used cura default settings. I used my Tribo-adjusted STL file i created (on thingiverse). What i didn’t know at the time is that most 3mm filament is about 2.75mm and that is the default cura settings (but i found out after the fact that the Iglide Tribo filament is something like 3.1mm). Since there is no Iglide-I180 PF filament option in cura i just used the advanced options to set my temperature range, I think 250 or 260 and 110. But i did not at the time know that my filament was 3.1mm or so thick and that’s why i created the tribo-adjusted STL file as it was massively over extruding.
I tried ordering 8mm stainless steel from McMaster Carr to replace mine as they got scruffed up with the ball bearings. I ordered 8mm at 1ft. It turns out these were too short so i need to get rods the appropriate length. But the rods from mcmaster carr has some nasty burrs still on the rods so i used the burs to sort of scrape out the middle of the bushings until they ran somewhat smoothly over the undeburred rods. Even after that with deburred rods they were not as free flowing as i would have liked so i tried a little 3-in-1 machine oil lubricant and they run very smooth.
Sorry to revive a super old thread! Has there been any more progress in collecting a build guide for a Mini? I’d love to build one of these for my next project.
The hardest part is getting the frame. At the time I built mine I was able to get frame parts from IT-Works 3D. As far as I know they no longer carry frame parts. So unless you can get those pieces manufactured yourself I would say it’s not worth the trouble.
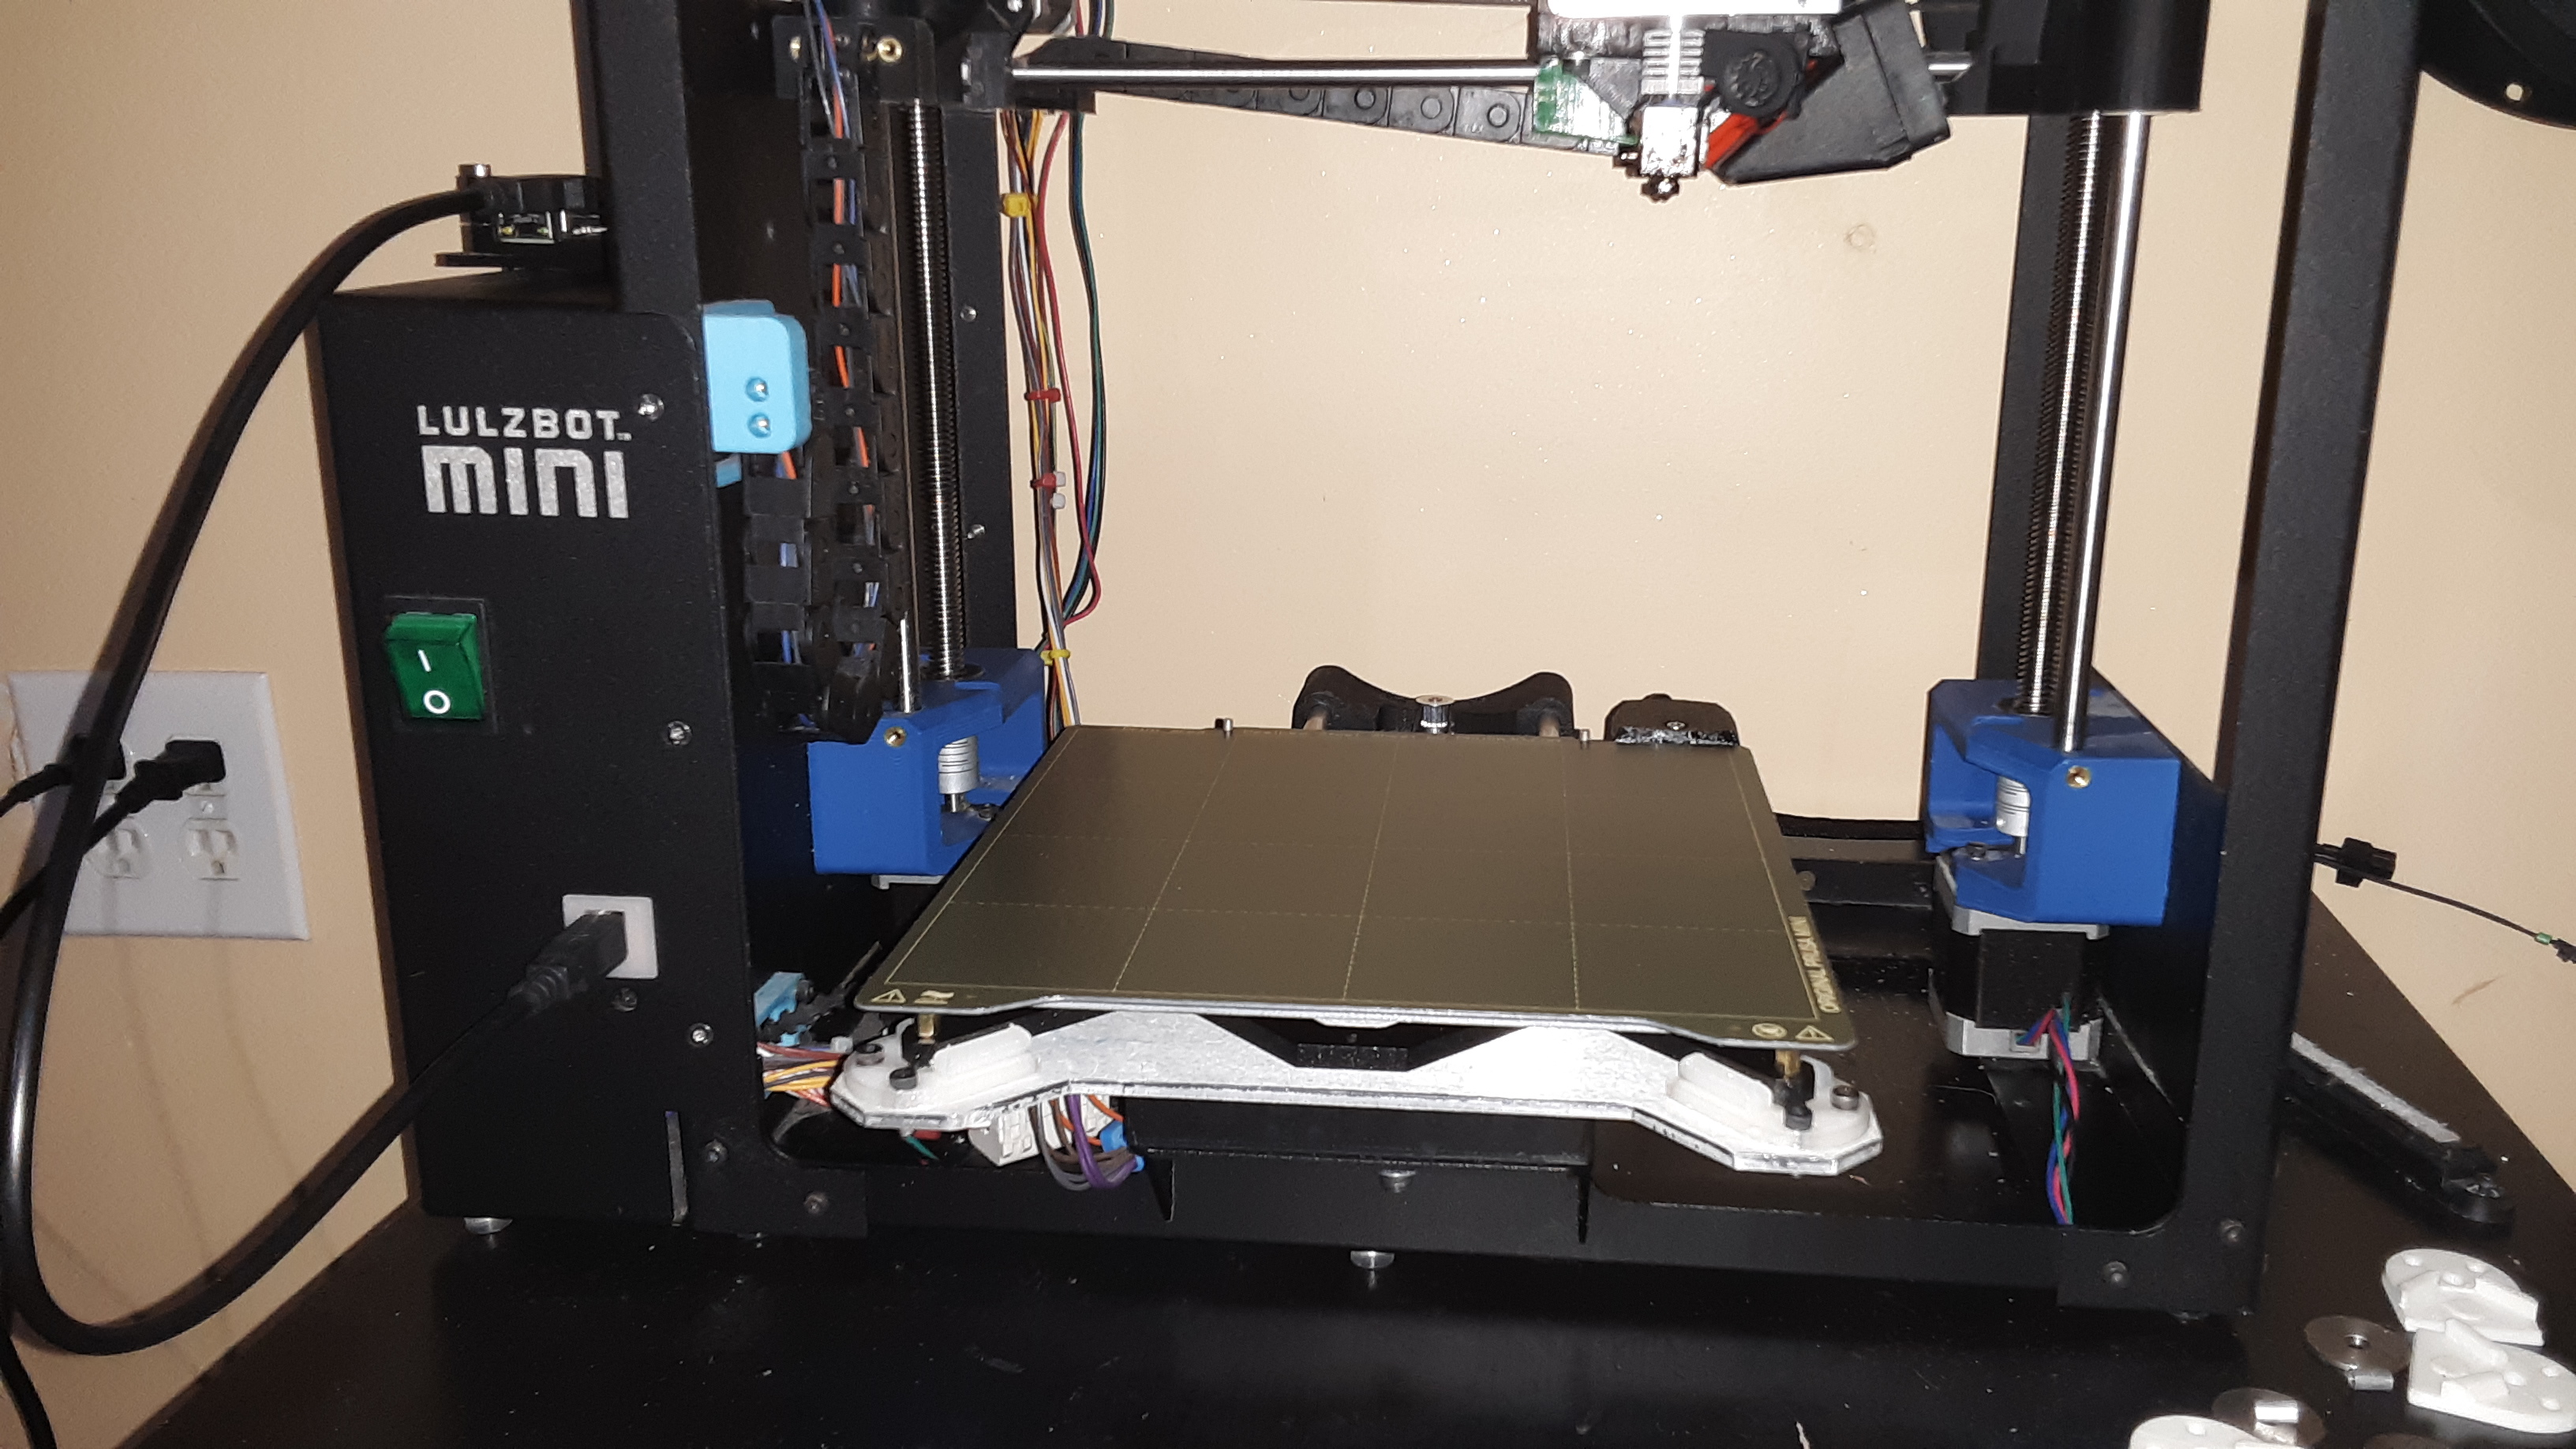
I am wanting to upgrade mine to a lulzbot 2. I’m seriously thinking I will upgrade my bed to a prusa mini bed since I’ve already pre ordered a prusa mini and can get spare parts now. Also I crunched the numbers, it’s actually cheaper for me to buy a prusa mini bed that is magnetic and flexible than getting a lulzbot 2 modular bed replacement. Since I have a cracked glass bed at the moment I think that would make a nice upgrade irrespective of any other changes.
Keep us posted on that! I’ve been working on a flex bed myself. Right now I bought a PEI powder coated spring steel bed that I cut, but it’s too think to mount with the glass.
Making some progress on this! Turns out it may be a really easy mod if you don’t care about automatic bed leveling. but I’m planning on upgrading my electronics and switching to a bed leveling probe eventually on mine. More details on my blog.
I am a retired instrumentation designer. If I was building my own mini I would mount the ‘Y’ limit switch to the frame rather on the bed which moves. The wire to the switch on mine has broken twice. It is wrong to mount switches on moving objects. The other wires need to be there of course to heat the bed etc.
All good points. If i was starting from scratch i probably would try to think about that more. There are many places where the lulzbot designs could improve a lot, and you make a good point about limit switches and mounting. I personally have never had my wires break from movement, but that may all be a matter of time.
You may not have noticed that this is a really old thread that has been revived to mention the mod of the metal flexible prusa bed plate over the old glass bed. Partially because Lulzbot refused to sell me a new aluminum bed plate for my Lulzbot mini 2 upgrade. Partially because metal bed plates are better, and it was actually way cheaper to buy prusa parts from Europe than it was to buy them from Lulzbot in the U.S. Imagine that.
what i didn’t mention before though (but is mentioned on my blog) is that i am also independently planning on upgrading my mini rambo board to a EINSY Rambo, which is the same as the Prusa i3 MK3S. The Lulzbot Mini 2 uses the Einsy Retro which is basically the same except for a few connector differences. The new trinamic stepper drivers on these boards may allow for the possibility of having no limit switches at all. I’ll have to check if the prusa machines are doing that by default now or not. But if not, it probably is an easy change in the marlin firmware.
I’m not a 3D technophobe. What is gained by replacing the control board? It may be something that I should look into. So far the mini has done everything that I have asked of it although until Covid I only made toys for kids really. Lately I have been running it 8 hours a day printing ‘ear savers’ for folk who have to wear masks.
The biggest for me is the trinamic stepper motor drivers that tune the motors much quieter. That would be worth the upgrade alone from what i hear.
The second advantage for me is the ability to add an LCD screen. My original rambo mini is pre 1.3 and as such does not have the correct pinout for an LCD screen.
But i am also interested in using a magnetic bed leveling probe. But that is a mute point.
Thanks for the reply.
I had no idea that the futuristic sounds coming from my mini were caused by the control board and to not hear that would be nice. I don’t feel that I need the LCD screen as I use Octopi and find it very convenient.
lol. Yeah, i haven’t tried them myself yet, but the trinamic drivers sound really nice. My new Prusa Mini is nearly silent. https://youtu.be/sPvTB3irCxQ
I also use Octopi, but i like the idea of an LCD for changing filament and other nice features. Not needed, but nice when you do.