Just sharing my LED light install. It’s a frills free job, but it was done with parts I had on hand at the time and I really didn’t want anything too permanent(drilling holes… etc)
I used the common LED strips that you can cut to length. I got a big roll of it from Amazon fairly cheap awhile back…But it can be bought from Radio Shack in 1 meter lengths, although a bit pricier.
http://www.radioshack.com/radioshack-led-waterproof-flexi-strip-60-led-1m-white/2760329.html#.VQNc647F98E
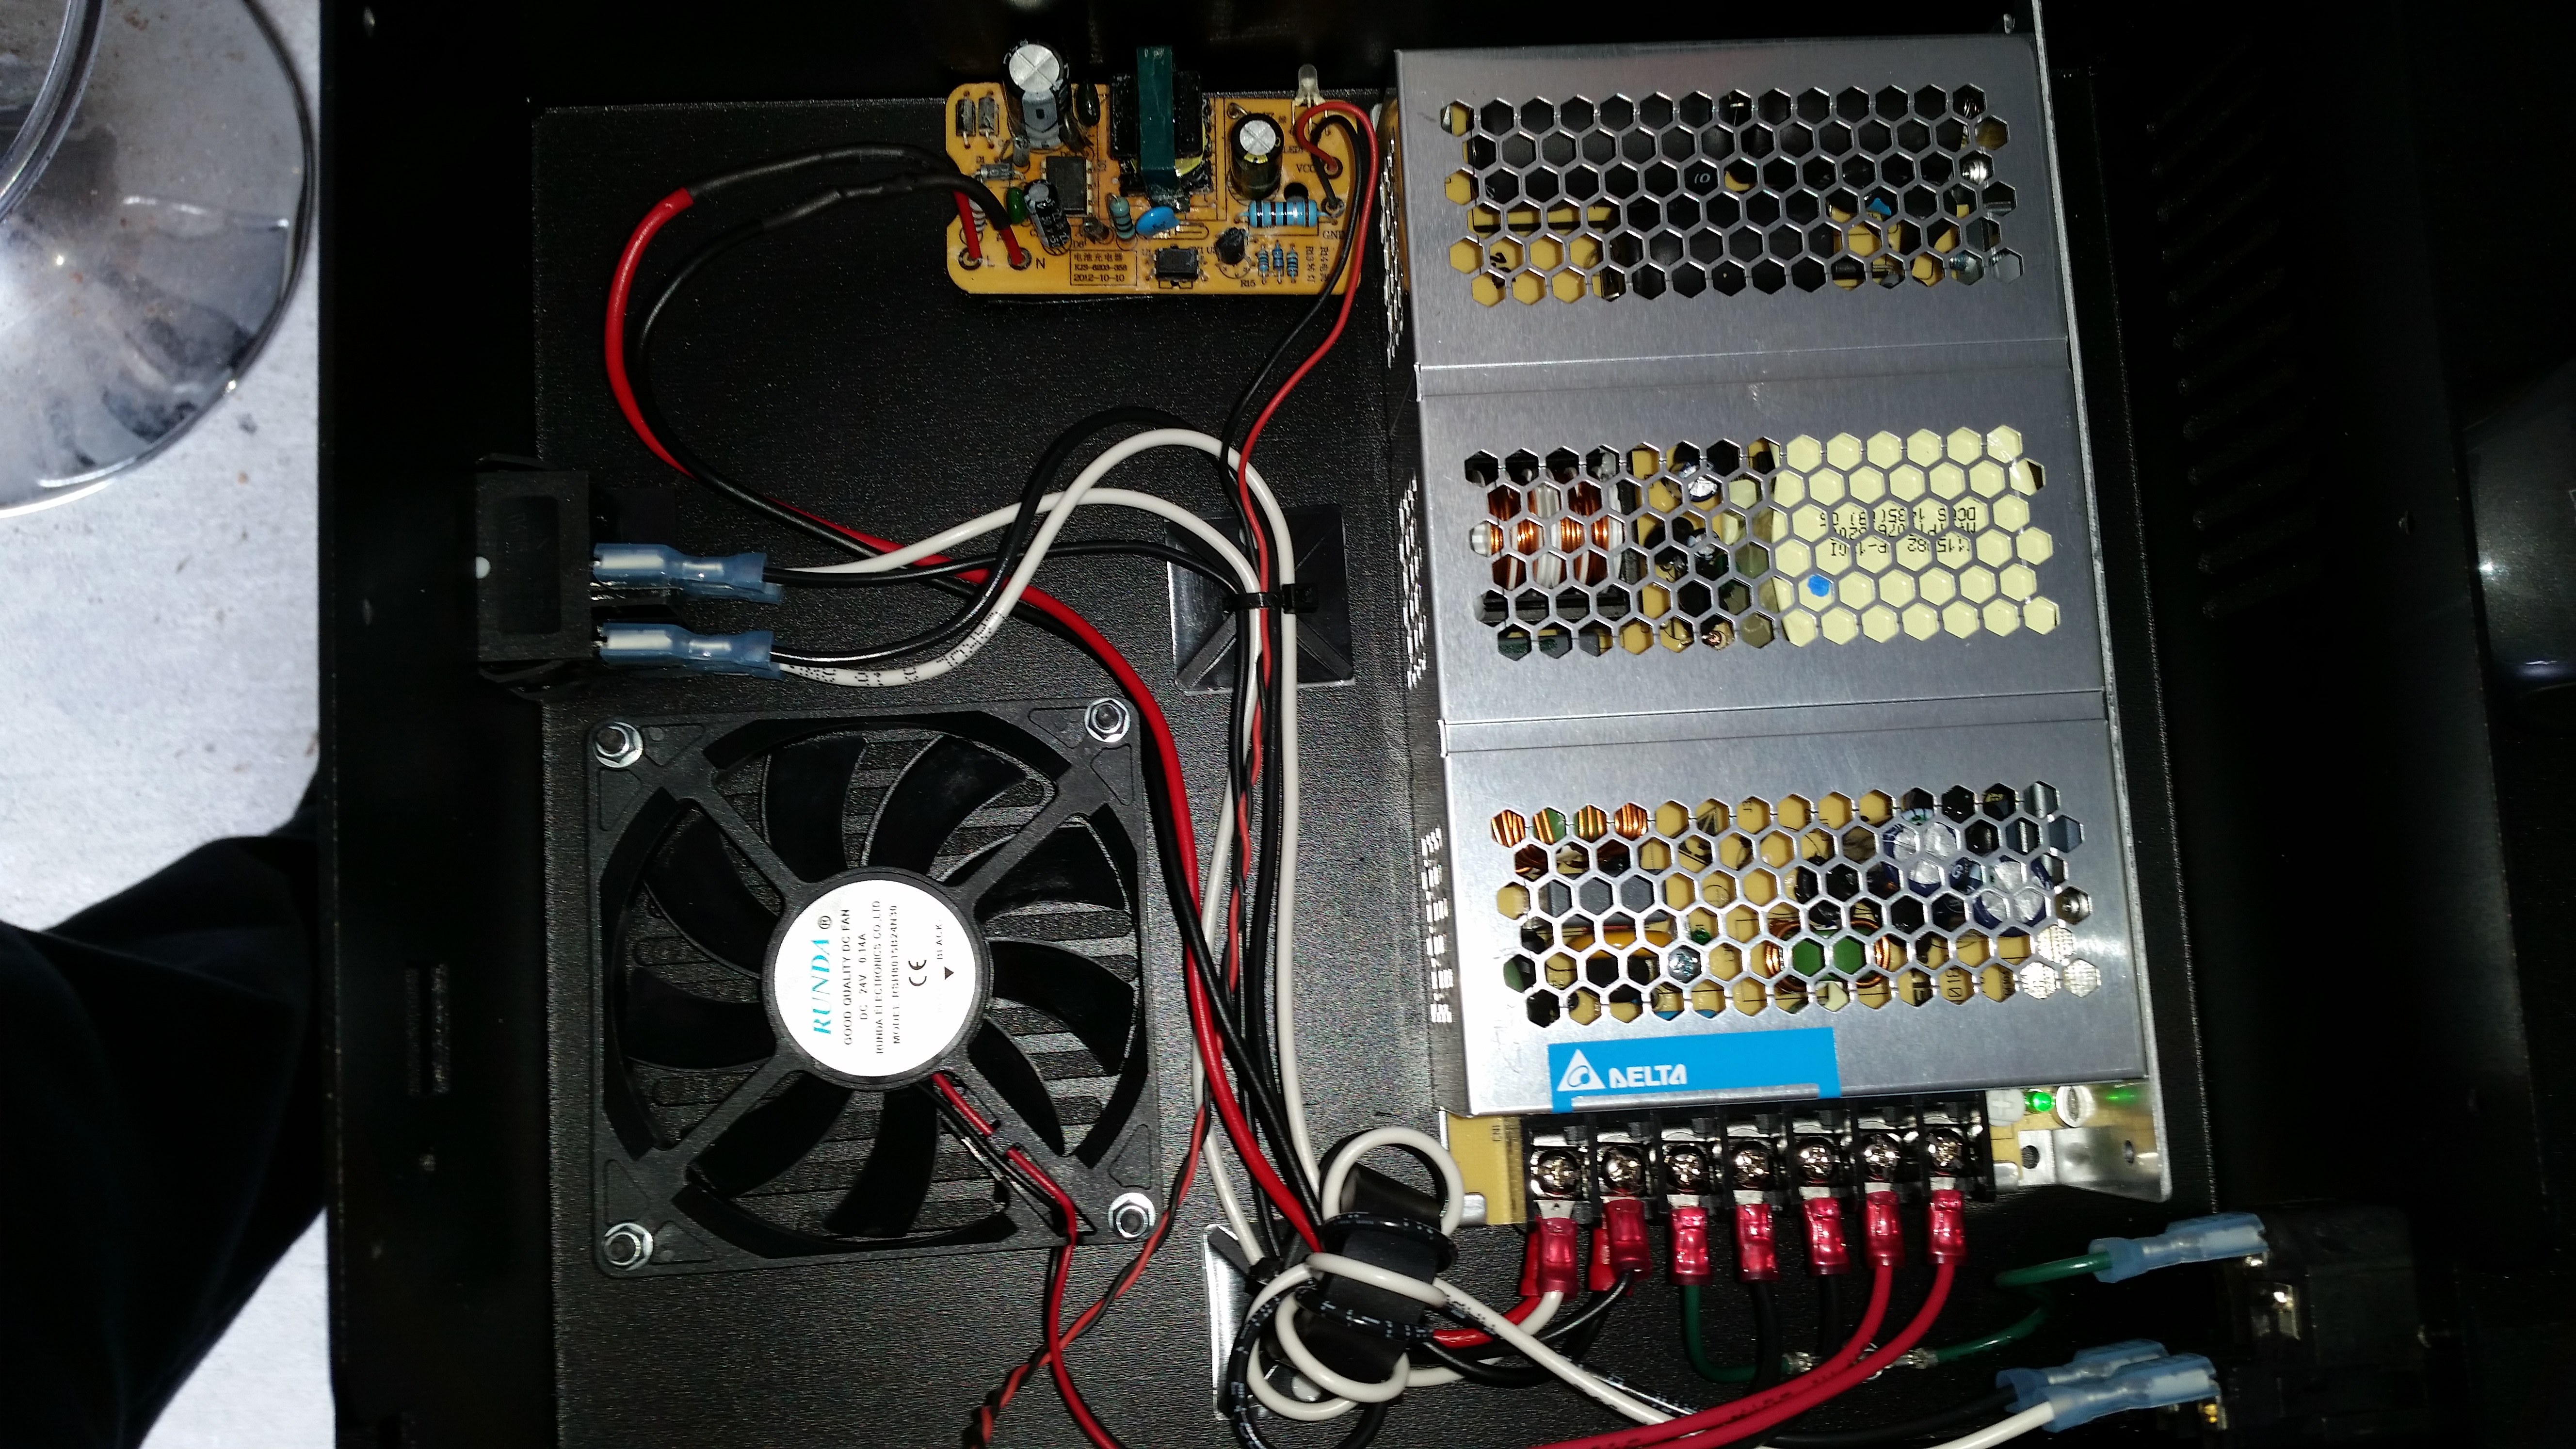
I cracked open an old wall wart 12 volt charger/power adapter I had laying around, and found a home for it inside the controller casing. I had full intentions of printing a case for it, but it didn’t make any sense to , really. This adapter was rated for 1 amp, and the 1 meter of LED’s call for 1.5 amp, which is probably less real life. Plus I’m only using two feet of it, 12" for the front and 12" for the rear. I stuck with just 2x 12" strips for two reasons. One, it’s plenty of light, and two, if you measure from the top two/inner allen screws on the top, it’s exactly 12". So it just made sense to line the lights up with those two screws(nice time to print a bracket). I just unsoldered the leads from the wall wart’s prongs and ran common and load to the switched side of the power supply. So when the printer was turned on, the lights would come on.
![20150313_165333[1].jpg](https://us1.discourse-cdn.com/flex020/uploads/lulzbot/original/2X/8/897fdcecc672af28c3d1c33873f1d457128a654c.jpeg)

I just used some industrial strength velcro to attach the adapter to the case.
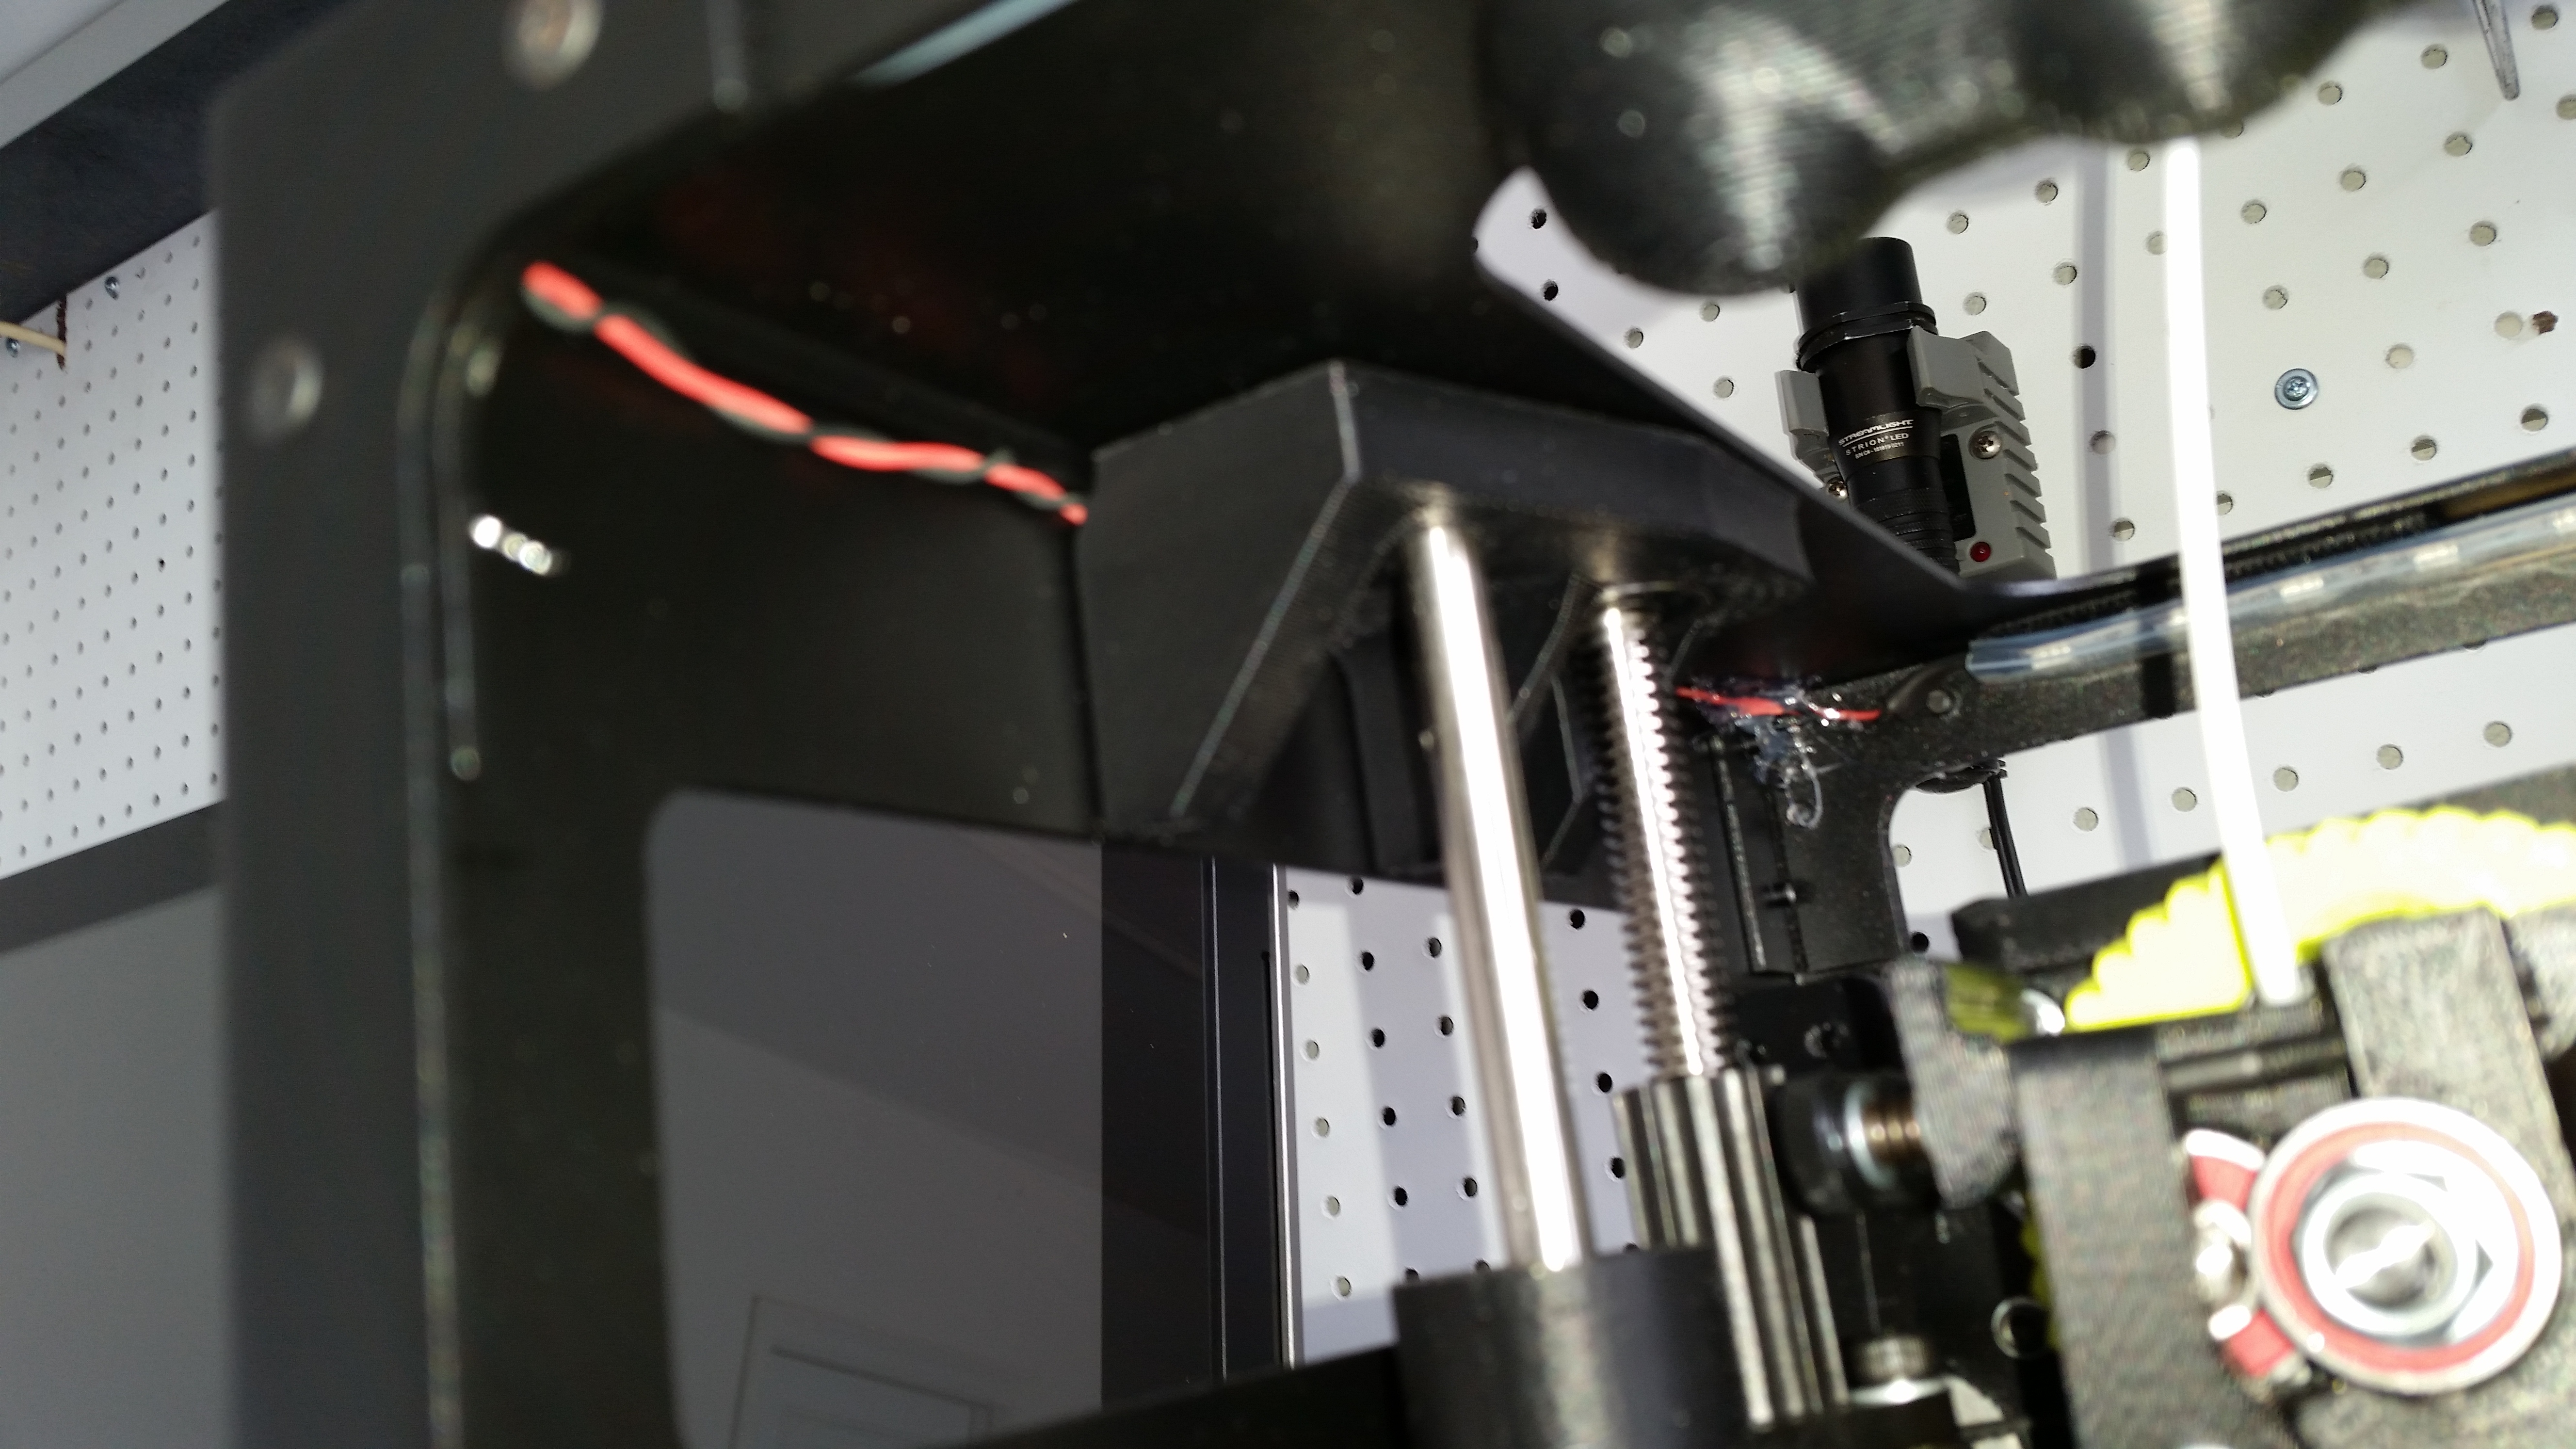
If your wires are thin enough, they’ll slide just behind the vertical bars’ support bracket, to run to the rear LEDs.
A little heat shrink helps hide my awesome soldering skills 
![20150313_171400[2].jpg](https://us1.discourse-cdn.com/flex020/uploads/lulzbot/original/2X/1/1789b58c7fc2ce1d9d41821ad7ddb1b0366baf5c.jpeg)
I used velcro to attach the LED’s as well… And used hot glue to secure the wires… It’s ugly, but isn’t permanent.

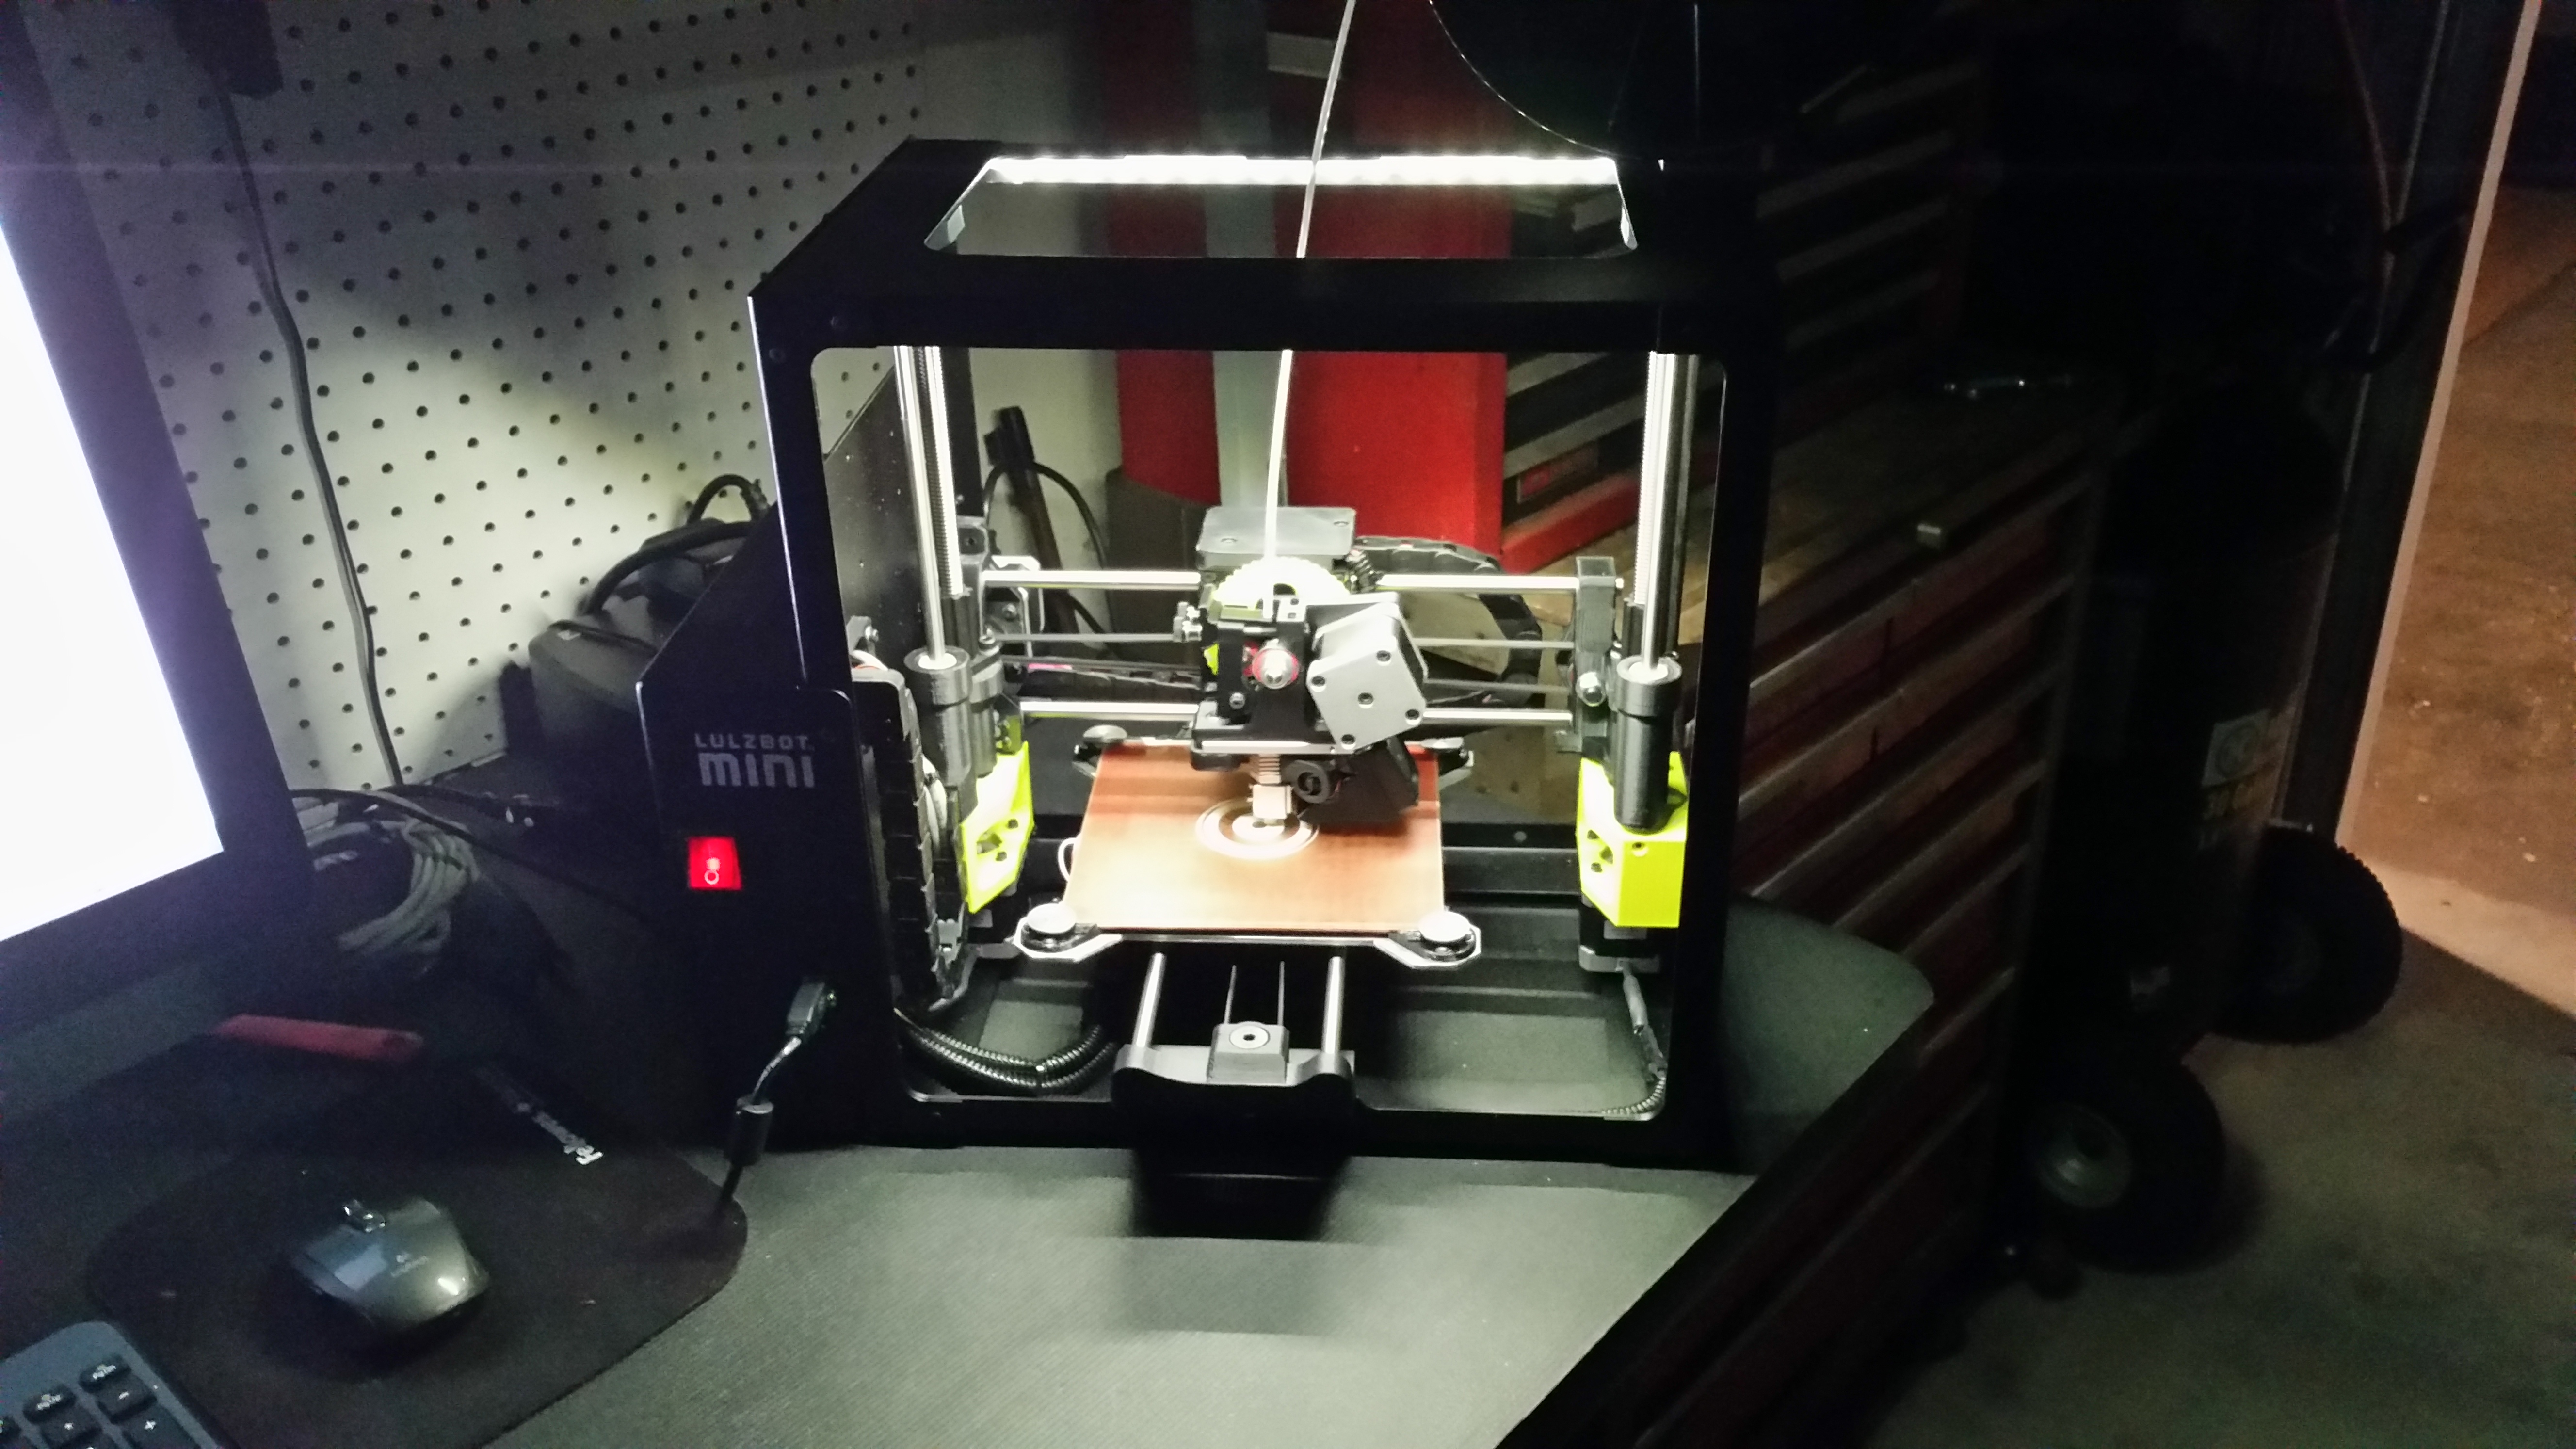
Results…
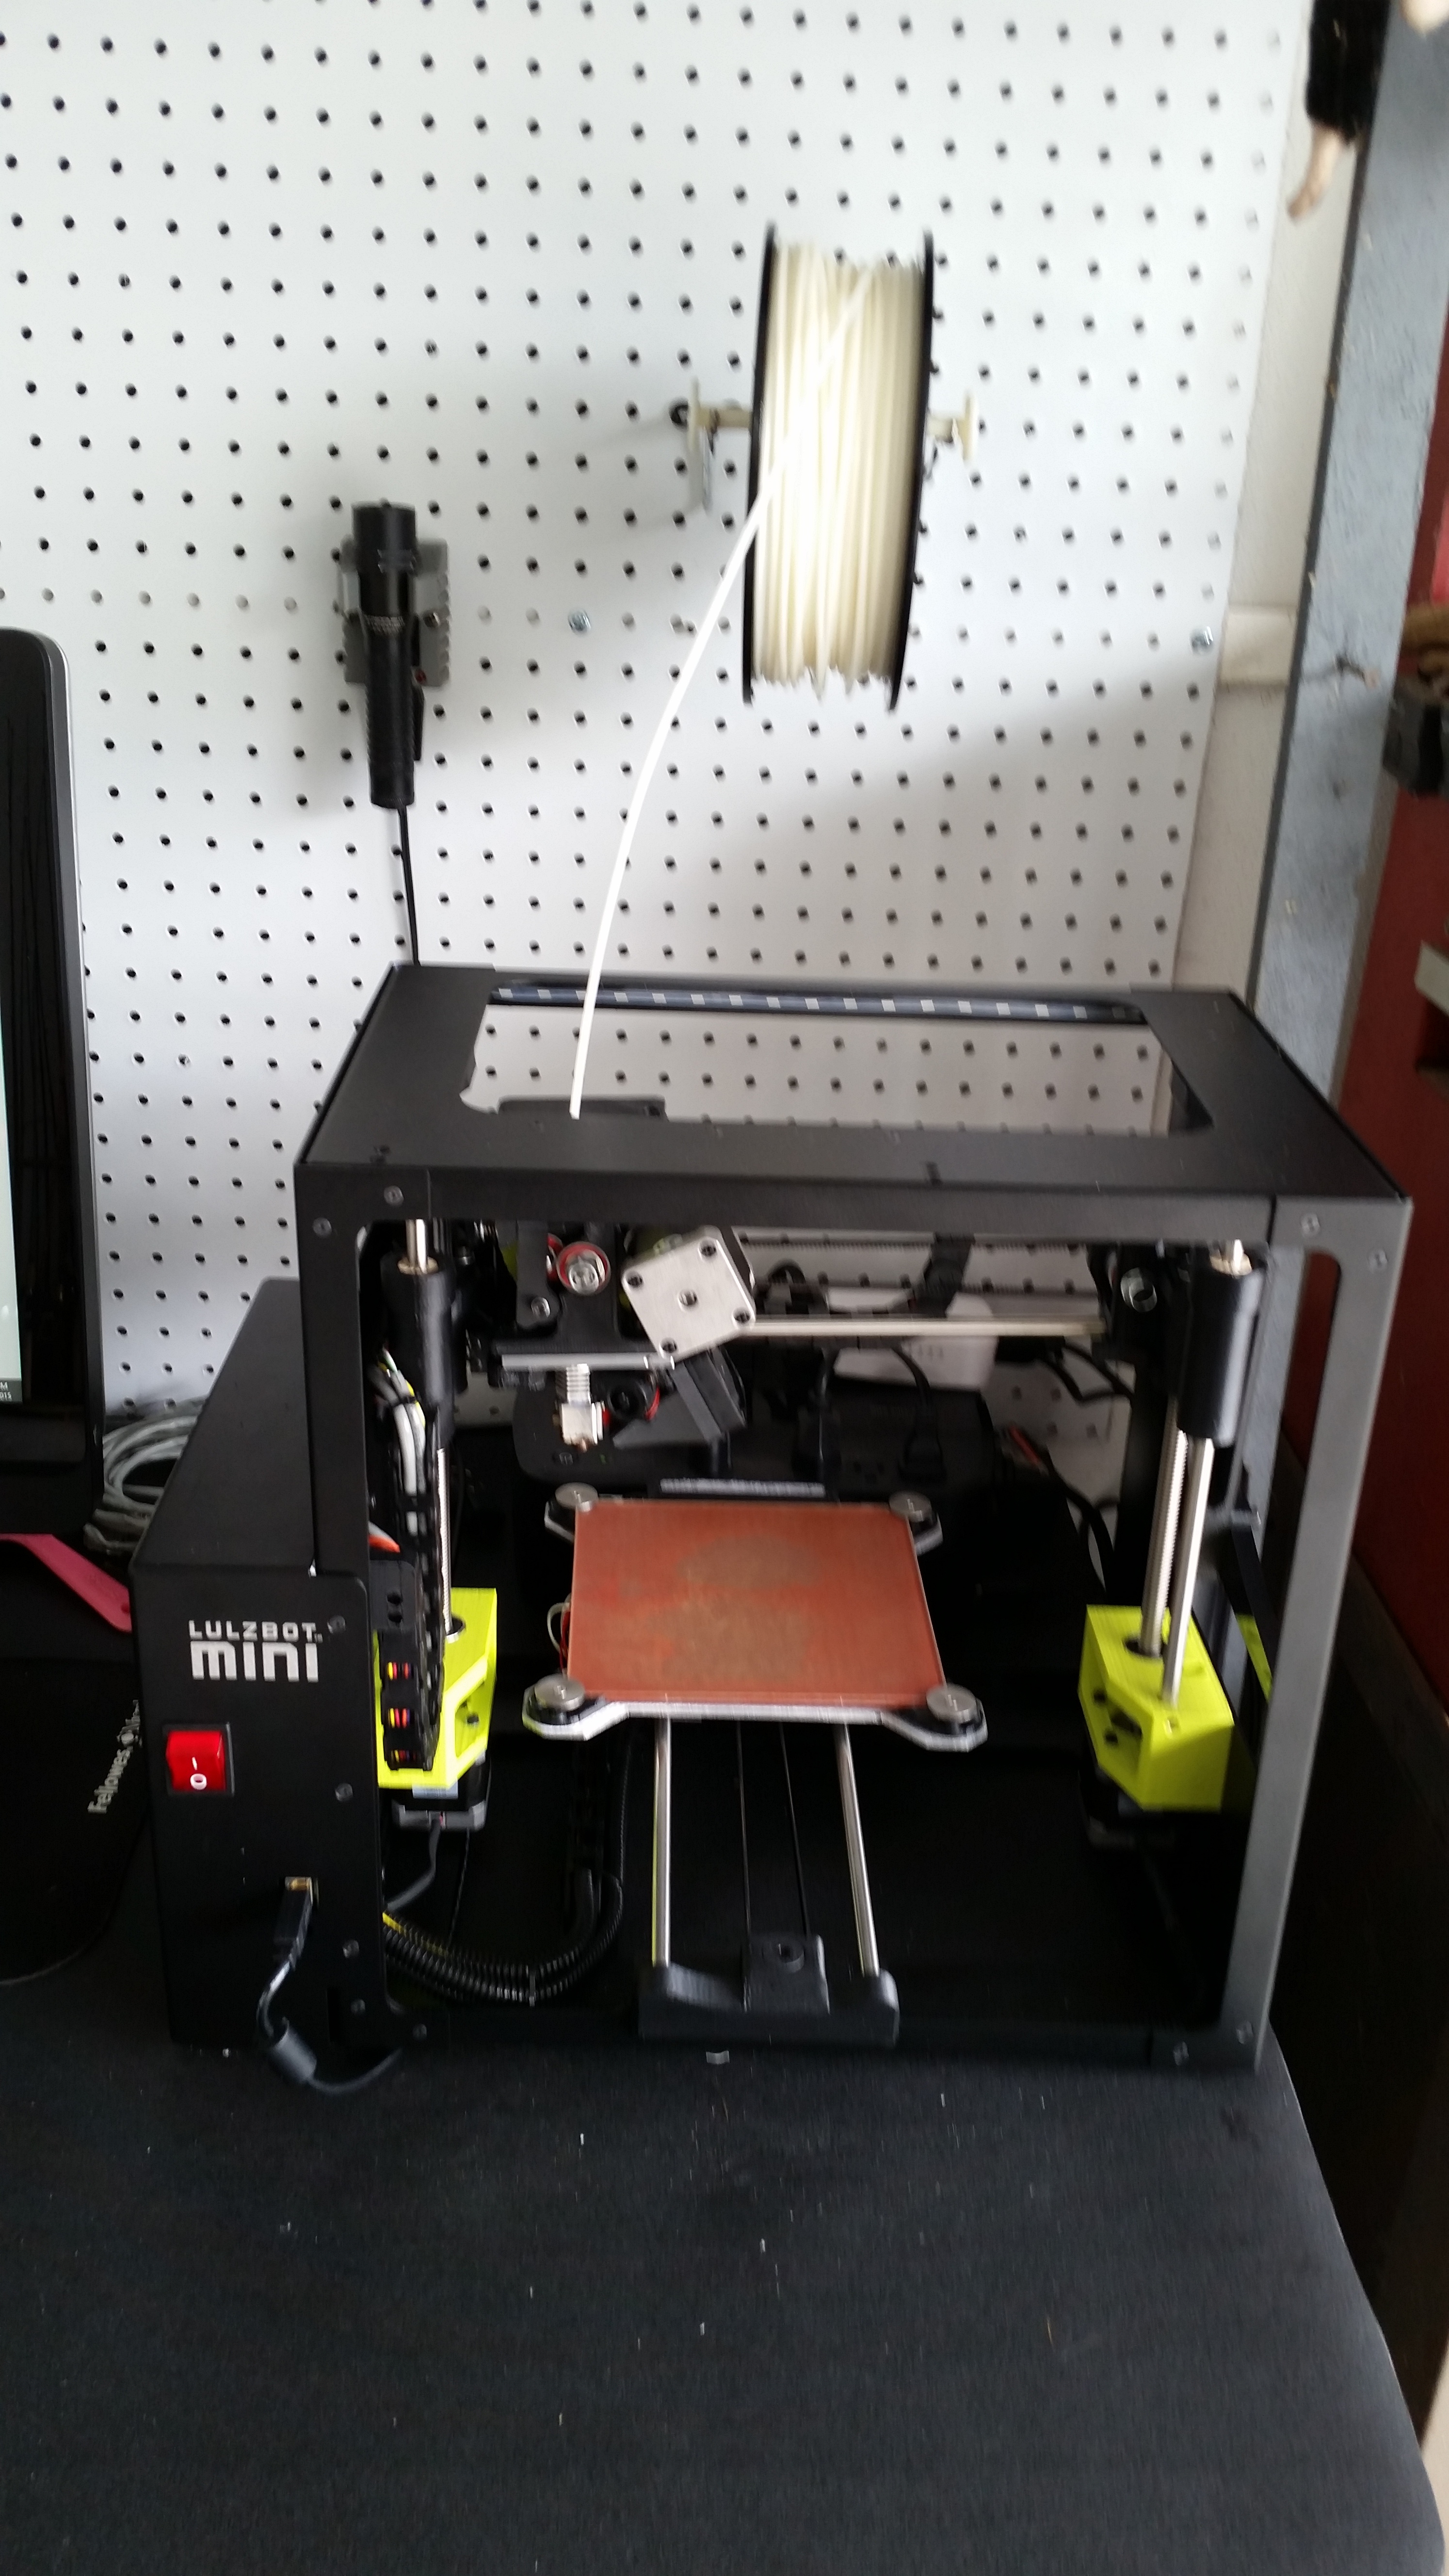
I noticed that the filament reel adds a bit of weight up top, and makes the printer shake more… So I decided to hang my reel off my peg board. Not sure if it helps prints at all, but why not.
Thanks jebba
I’m thinking that my next go around, I’ll just order some 24v LED strips.
If keeping it close to 1-1.5 amp, would it cause drama on the 24v side of the power supply?
Thanks again
I’ve ordered some White computer cold cathodes…low current, cheap ($12) and run on 12V. Should have them hooked up this week. I’ll post back my results 
Awesome!!!
I was actually considering CC lights, as I happened to also have two 12" light bars from some car audio components, laying around. But I was worried about their light output and draw. They have a “light show” controller on them to pulse with the music. For whatever reason, I never considered just cutting the controller off of them…DOH
I did end up returning my first Mini, as one of the X stepper motor’s coupler’s grub screw had backed off and spun on the motor shaft… I called support to figure out the best way to align the two motors, but they wanted it back to investigate… Which was hard for me to give up my new toy, but that says allot about their QC and support… Especially because it was a simple fix. More Kudos for LB!!
I removed my LED’s and returned it and got a new Mini a couple of days later…
I thought about going with 24v LEDs and do away with the converter, but was scared it would cause drama on the motors… So I ordered a new power supply and new LEDs… The LED’s turned up to be too blue, even though their description was “daytime white”, and appeared to be white in the pictures… So I went back to the original LED’s I used before.
I think you need to order “warm white” if you want something that is actual “white”… These were too blue for my taste, and just weren’t bright enough…
http://www.amazon.com/gp/product/B00JQV6U3U/ref=oh_aui_detailpage_o03_s00?ie=UTF8&psc=1
I’ve used the Recom PS’s before, and probably are better… But I couldn’t find it with Prime… So this was the next best thing I think… And they are definietly brighter than with my previous PS…
http://www.amazon.com/gp/product/B00J86DKJA/ref=oh_aui_detailpage_o06_s00?ie=UTF8&psc=1


Funny story. My flexible coupler on one of my Z axis threaded rods came loose the other day. One end of the extuder went to the bottom, while the other end went to the top after the print finished and the extruder head tried to retract to the top of the printer. Bound the whole thing up. I was able to manually turn the loose Z screw shaft and use a bubble level to level the whole extuder out and tighten down the screw on the flexible coupler again. Seems to be working fine again but boy I was close to cashing in that 1 year warranty. Glad I have it just in case
Moral of the story, get a allen wrench and check all of your coupler screws to make sure they’re snug from time to time as part of general maintenance. This area experiences a lot of movement and vibration and I have a feeling the screws can loosen up causing for a lot of stress and a long evening.
-Jim
1 Like
Good call Jim…
I was tempted to check the grubs on the new one, but I figured that if there is an issue, I’d let it surface and let LB sort it out…
Probably wouldn’t hurt to hit the grub threads up with a small drop of red thread loc… It may take a little heat to get back out, but it should stay… I usually can get by with just heating up the allen wrench up, let it sit in the grub for a minute so that the heat can transfer, then I can usually break red thread-loc…
Funny that mine also went nuts right after the print. It waited until the print was through
Nice lights, ignore my question of what lights you used in one of the other threads here.
From what I’ve seen… The Radio Shack LED’s work the best… They are much more expensive, but I think it’s worth it.
Now, I’m trying to figure out the best way to put a single LED at the hot end… So that my camera can see better under the hot end…
But, I’m working on an “auto-tensioner” design, so that you will no longer have to fiddle with the tensioner adjustments during filament changes… So, I’ll probably wait, and see if I cannot add that to the design 
I just designed a quick work light / bed light add-on for my mini. It uses a $10 Nebo Larry C LED flashlight and the previous existing LCD mounting holes in the top of my frame. (hopefully the newer Lulzbot Mini’s still have those mounting holes.)
Enjoy!
![20150311_205703[1].jpg](https://us1.discourse-cdn.com/flex020/uploads/lulzbot/original/2X/3/32eda84b41c7bb6cfcbd03d7eb82ad861c7ac2ad.jpeg)