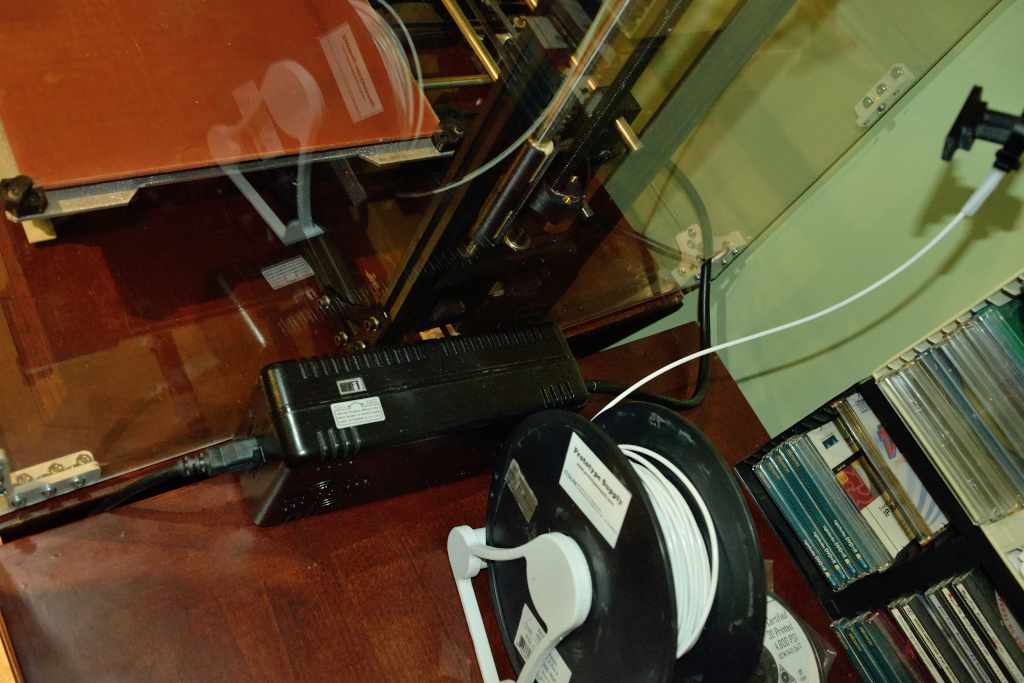
Outside of a handle and latch, I finally finished my minimal sized enclosure. The dimensions are 24 1/4" wide, 26 1/4" deep and 21" high. Making the enclosure this small meant that I had to cut a hole in the side for the electronics box. As a bonus, this works out as a solution to providing cool air to the box. It also allowed me to move the LCD controller outside the box on the front, with the cables being just long enough. I drilled a small hole on one side for the USB, and a hole in the rear on the other side for the power cord. I also cut a slit on the top for the feed tube. I got the link for the printed brackets http://www.thingiverse.com/thing:675652
If you want to use these brackets, I would recommend only using two screws per side on the 3 hole parts.
Scott


Nice! That’s what I’m wanting to build also.
How is the filament tube when the extruder gets to the top of the frame? Is that .25"?
You have to cut a slot on the top for the filament, but once done, there’s no problem. You want to make the slot fairly narrow so you loose less heat. This means the position of the slot is pretty important. I noticed that I could have move the slot perhaps 1/16" farther forward. As it is now, the tube slightly rubs along the front edge of the slot. not enough for me to make any further mods, but I wish I had gotten the position just a bit better. As for the plexi, I used 1 1/2 4sx8 sheets of 1/8" polycarb. I had the major pieces cut out by the supplier for a nominal cost, then cut the slot, door and holes and drilled all the screw holes myself. With 6 screws for the edge brackets, and 12 screws for the corner brackets, that turned out to be 156 screw holes, screws and nuts. I used 10-24 x 1/2" screws. My plastics supplier also had 12" acrylic hinges, so I used one for the door. It’s attached with VHB tape from Bron tapes Inc.
I was thinking of adding a sliding cover for the filament slot. If I print it, I’ll have to design one in two pieces because of it’s length. Might be easier to cut one out of some thin plastic stock.
Scott
Yep… my thoughts… almost exactly. A slot on top and some sort of “slide” to keep the heat in. I was also tossing the idea of feeding the filament through the side above the frame and use some guides to the middle above the x-carriage. The 3mm should be take the extra stress of pivoting in the middle… just worried of the small angles when the extruder reaches the top. That way I wouldn’t need a slot at the top.
I’ve got some .25" plastic cut to size… Need to cut out the opening for the control box. But otherwise ready for assembly.
Cool, I look forward to seeing your results. I printed out the two retainers for the strip a little earlier this evening. I’m waiting for the temps to come up to print the slide in two pieces. It’ll be a 3.5 hr print. I print at fairly low speeds and .2 layer height. I’m still pretty new at this. I haven’t even gotten through my first kg reel of abs.
Here are the files: The parts were done in solidworks 07
If you want to use them, you will need to adjust the guide to accommodate the .25 material you are using. I drilled 3/4" holes for the guide, and a slightly larger than 1/4" slot. The hole on the right side is about 2 1/4" to the left of the right Z rod, and the two holes are 13" on center.
Scott
13 inch Splice1.SLDPRT (68 KB)
13 inch Splice1.STL (11.8 KB)
guide.SLDPRT (219 KB)
guide.STL (38.6 KB)
I just tried out the slot cover. Three things. The cover needs to be thicker, and the guides modified to match. Second, if you are using screw brackets like the ones I used on the sides, offset them so the screw heads won’t interfere with the travel of the slot cover. Third, elongate the hole so the tube can come in at an angle.
I still have to work out where, and how to attach the other end of the tube.
Scott


