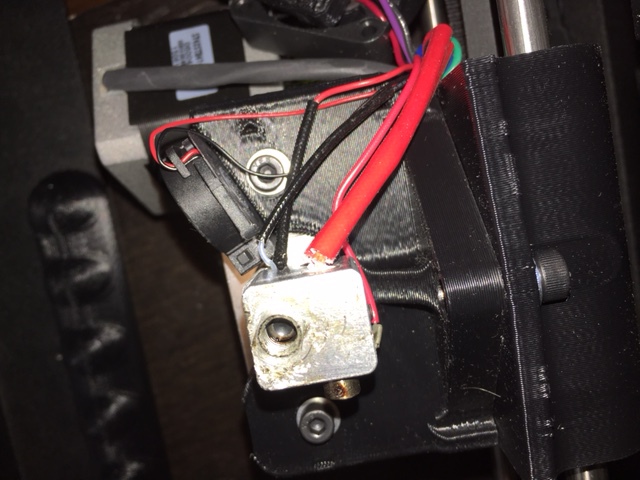
I had a problem with my Lulzbot mini where filament was leaking from between the heatsink and heater block. It was recommended that I tighten the heatsink. However I’m having trouble removing the heaterblock. However I’m not sure how to unscrew / remove the wires. Can someone explain how I remove the wires or uninstall the heaterblock. I’ve included a few pictures to show my current situation.
If you are going to attempt this, and for the record I reccommend against it because there is a 30% chance you will crack your heat block mount shaft, here is what you do.
To remove the heater core, there is a small setscrew on the back of the heater core heatsycn block. Loosen it. The heater core should slide out. If it doesn’t, it may be warped in which case you may have to force the fragile heater block assembly out. The thermistor should just be sitting in the hole in the side once you remove the side plate, it should slide right out. If it doesn’t, I would leave it in but disconnect the wires from any zip ties and be careful when removing it.
Next, you are going to want to have a bottle of resbond 907ts high temperature blue thread locker on hand. They only sell it in rediculously large bottles for $35. You will literally use 1/400ths of the bottle for this process, and it goes bad after a year or so.
Now, dismount the hexagon entirely from the printer extruder body. Find two Crescent wrenches that will fit the extruder block and the hexagon body itself, the longer the better. Now attempt to unscrew the heater block. it will either unscrew, or shatter. Some people reccommend trying this with the block warm, but then you risk damage to the heater core and thermistor and even the printer itself.
If you are successful in unscrewing it, apply a generaous amount of the thread locker to the threads, screw it back together. you should have a small mound of the blue threadlocker on top of the heat block around the threads if you put enough on. Then reassemble everything.
If you do break it, or find you don’t want to spend $35 on a bottle of blue liquid, try going to I-T-W.com and ordering a spare used extruder barrel. When you order it there is a comment field, make sure to mention your existing extruder hot end is leaking and you are looking for one that is well sealed around the block if they have one available.
The quick and dirty is to get a 17mm or 18mm wrench that fits around the heater block. Turn towards the back of the machine (CCW) to tighten the heater block to the heat break. Watch the heatsink and make sure it doesn’t rotate as you turn the wrench… if the heatsink turns, you’ve tightened enough… OR the hotend may need to be at 165C or above so that the heater block isn’t seized on the heat break…
The better way to do this would be to get a wrench that fits onto the heatbreak (I think its 3mm), 18mm wrench that fits around the heater block and a 8mm wrench for the nozzle. Heat the hotend to 245C. Use the appropriate wrenches and ensure the nozzle is tight against the heater block. Next, ensure the heater block is tight against the heat break… this is actually ensuring the nozzle is butted against the heat break inside the heater block (as suggested by Sebastian).