I want to be able to print sometimes with a single flexible filament only on the flexy head. I dont see even basic support in Cura 21.04 to accomplish this goal. A search thru the forums reveals this is a comman request of flexydually owners. My point is it’s not easy to print with just the flexy. It’s sold to advanced users, I get it. But shouldn’t printing single filaments on the flexydually be part of the Lulzbot edition of Cura? It’s not even in the new beta 2.4.
So I have searched the Lulzbot forums and this post from 2015 helped. But I’m not sure the instructions provided were intended for the Taz 6. Also read some other post’s that said use a single extruder profile for the material you want to print with. So I loaded a single extruder profile but that’s only half the battle. You need custom gcode to handle a few things thats not in the single profiles start gcode.
This is the start gcode I hacked together. Need some help fixing it, or some other suggestions to achieve goal above.
;This profile is designed specifically for LulzBot TAZ6 3D Printer
;Basic slice data:
;Sliced at: {day} {date} {time}
;Layer height: {layer_height}
;Walls: {wall_thickness}
;Fill: {fill_density}
;Estimated Print time: {print_time}
;Filament used: {filament_amount}m {filament_weight}g
;Filament cost: {filament_cost}
G26                          ; clear potential 'probe fail' condition
G21                          ; set units to Millimetres
M107                         ; disable fans
G90                          ; absolute positioning
M82                          ; set extruder to absolute mode
G92 E0                       ; set extruder position to 0
M140 S{print_bed_temperature}; get bed heating up
M104 S170 T0                ; soften filament
M104 S170 T1                ; soften filament
M907 E67                      ; set safe extruder torque
G28 XY                          ; home X and Y
G1 X-19 Y258 F1000        ; move to safe homing position
M109 R170                     ; soften filament for z homing
G28 Z                             ; home Z
M104 S170                      ; cool to probing temp during wipe
;T0;
;G1 E-5 F100                    ; suck up XXmm of filament
;T1;
G1 E-15 F100                    ; suck up XXmm of filament
G1 X-17 Y100 F3000          ; move above wiper pad
G1 Z1                               ; push nozzle into wiper
G1 X-19 Y95 F1000            ; slow wipe
G1 X-17 Y90 F1000            ; slow wipe
G1 X-19 Y85 F1000            ; slow wipe
G1 X-17 Y90 F1000            ; slow wipe
G1 X-19 Y80 F1000            ; slow wipe
G1 X-17 Y95 F1000            ; slow wipe
G1 X-19 Y75 F2000            ; fast wipe
G1 X-17 Y85 F2000            ; fast wipe
G1 X-19 Y80 F2000            ; fast wipe
G1 X-17 Y70 F2000            ; fast wipe
G1 X-19 Y75 F2000            ; fast wipe
G1 X-17 Y95 F1000            ; slow wipe
G1 X-19 Y90 F1000            ; slow wipe
G1 X-17 Y85 F1000            ; slow wipe
G1 X-19 Y90 F1000            ; slow wipe
G1 X-17 Y80 F1000            ; slow wipe
G1 X-19 Y95 F1000            ; slow wipe
G1 X-17 Y75 F2000            ; fast wipe
G1 X-19 Y85 F2000            ; fast wipe
G1 X-17 Y80 F2000            ; fast wipe
G1 X-19 Y90 F2000            ; fast wipe
G1 X-17 Y85 F2000            ; fast wipe
G1 Z10                             ; raise extruder
G1 X-9 Y-9                        ; move above probe
M204 S100                        ; set accel for probing
G29                                  ; probe sequence (for auto-leveling)
M204 S500                        ; set accel back to normal
G1 X0 Y0 Z15 F5000           ; get out the way
T0                                    ; switch 2 extruder 0
M104 S0                           ; hotend off turn off extruder 0
G1 Y50                             ; move Y to new offset position
G92 Y0                             ; set new Y offset
T1                                    ; activate E1
M400                                ; clear buffer
G4 S1                               ; pause
M117 Heating...                 ; LCD status message
M140 S{print_bed_temperature}; get bed heating up
M109 R{print_temperature}    ; set extruder temp and wait
M190 R{print_bed_temperature}; get bed temping up during first layer
G1 Z2 E13 F75                    ; extrude filament back into nozzle
G92 E0;
M117 TAZ Printing...            ; LCD status message
It solves a few problems:
Moves the wipe position up 2mm’s like the dual extruder’s start gcode so the flexydually hotend doesnt hit the wipe pad mount during wiping.
Heat’s up back extruder (T0) before wipe procedure so that filament can be cleaned off during the wiping, allowing a good bed calibration.
After bed autoleveling with T0, turn T0 off so any rigid filament doesn’t cook.
Then move the print head forward 50mm in Y axis and redefine that as your new Y=0 position
G1 Y50                       ; move Y to new offset position
G92 Y0                      ; set new Y offset
T1                           ; activate E1
Then Sets T1 as primary extruder
That basically gets me to where I need to be, printing with just the front flexy extruder. I was able to print the needed gasket alone in ninaflex.
Positioned horizontally in Cura:
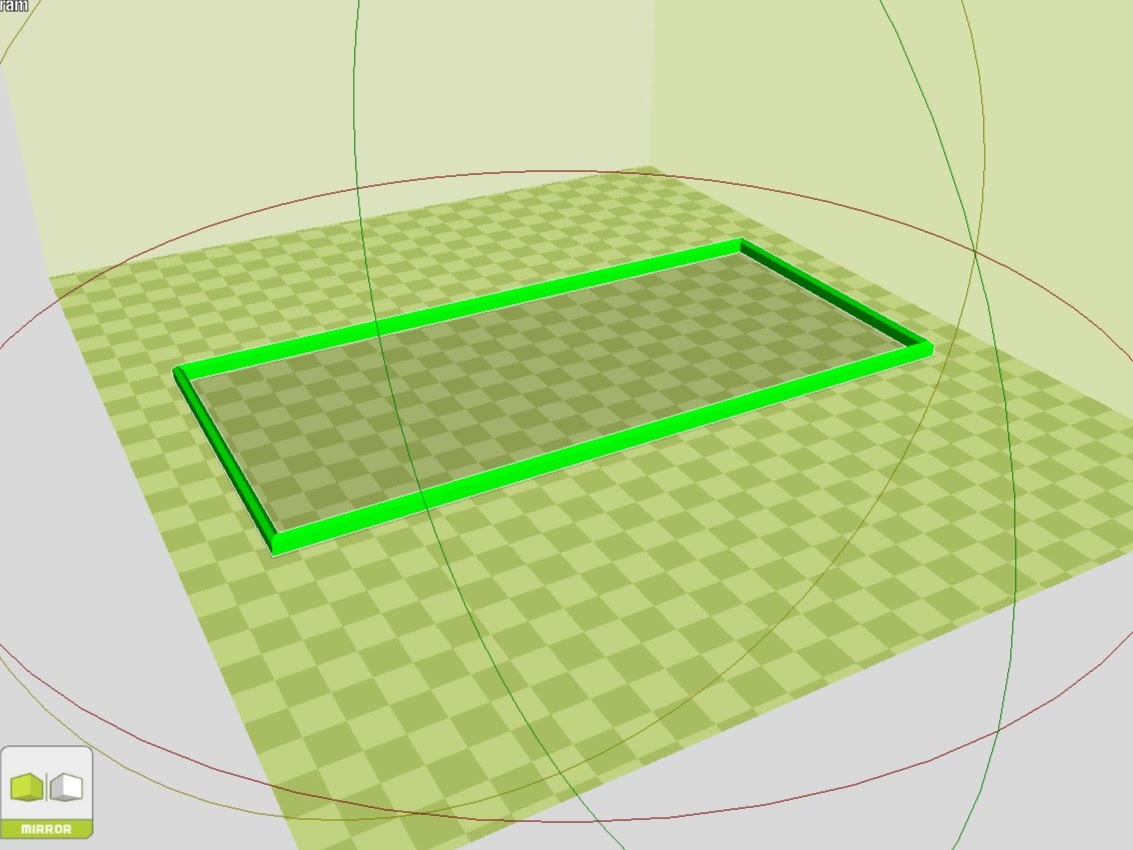
Comes out like this:

Already removed 3mm brim in photo but it printed ok, model centered along X however not along Y (ok in this case, but not for a bigger model)
Positioned Vertically in Cura:

Comes out like this:
Sorry long video…
2:20 for change to flexy as primary
3:20 print start
4:45 problems begin
Please help.