Remove the blower shroud.
Heat the hot end to 230c.
It should generally self-release after a few minutes. The bigger issue will be that the filament on the thermistor wires can cause them to break extremely easily if you put any force on them. I highly recommend keeping some spare thermistors for this reason.
It really looks challenging to remove and replace a thermistor. What’re the steps to replace one somewhat encased in plastic?
If you cannot heat the thing up, because, for instance the thermistor wire is broken, so your safety cut-off prevents it from heating up, then you will want to remove ALL plastic parts, including the cable channels and fans.
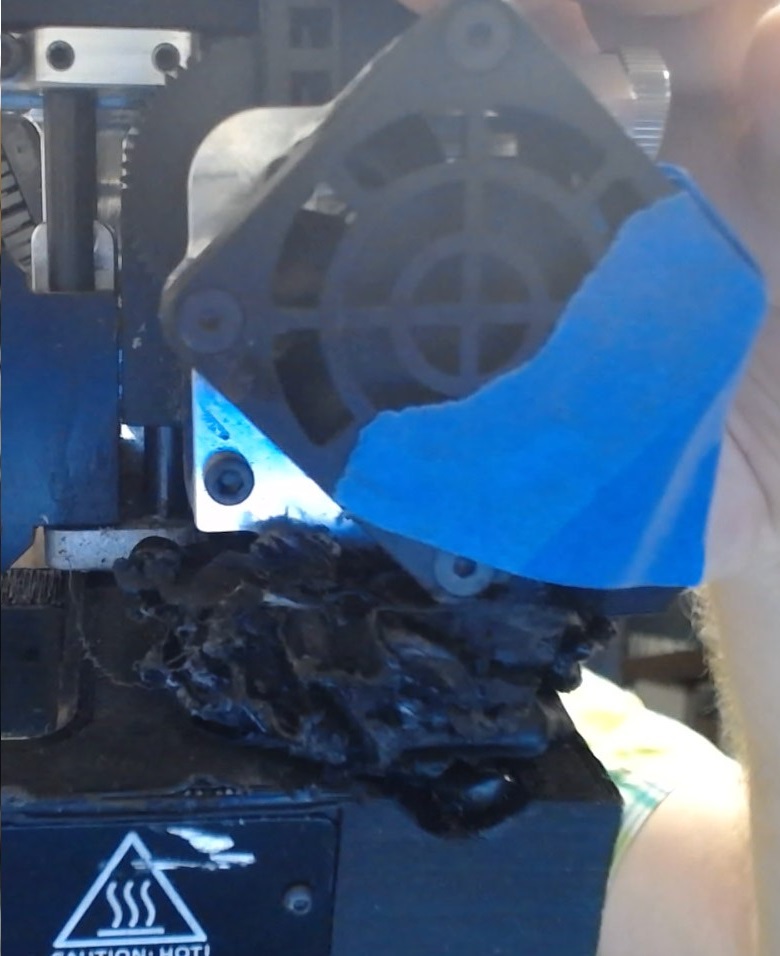
Turn off the printer, now, use tin foil to make a shield to prevent the heat from warping any wire insulation or other plastic in the area that you don’t want to remove. Cook the plastic off with a heat gun. I recommend using popsicle sticks or some disposable chipsticks to help motivate the plastic off. That should get all the big chunks, and leave you with a lot of residual plastic coating parts of the hot end.

Since the Pro doesn’t have a timeout for heat, you can set the printer to 230c and just let it slowly ooze off for a good 15minutes, giving occasional swipes with popsicle sticks, small dowels, and even wooden toothpicks. Never use anything metal around those wires!
I recovered from this, so you should be OK with what you have.
2 Likes
You didn’t mention what filament is involved. That could change the temperature you need to clean things up and if it is ABS, add Acetone to the equation.
2 Likes
Its PLA every time this happens.

![]()
@Wrathernaut
That’s for PLA I clean my lulzbot taz workhorse from pla at about 242•c & then use the lulzbot scrub brush It’s either from the premium tools or a new toolhead if not buildtak has a multi tool for that scrubbing
I’ll need to get one of those brushes! Didn’t come with our Pro-Dual tool kit. Just a scour pad and tweezers for cleaning.
![]()
1 Like
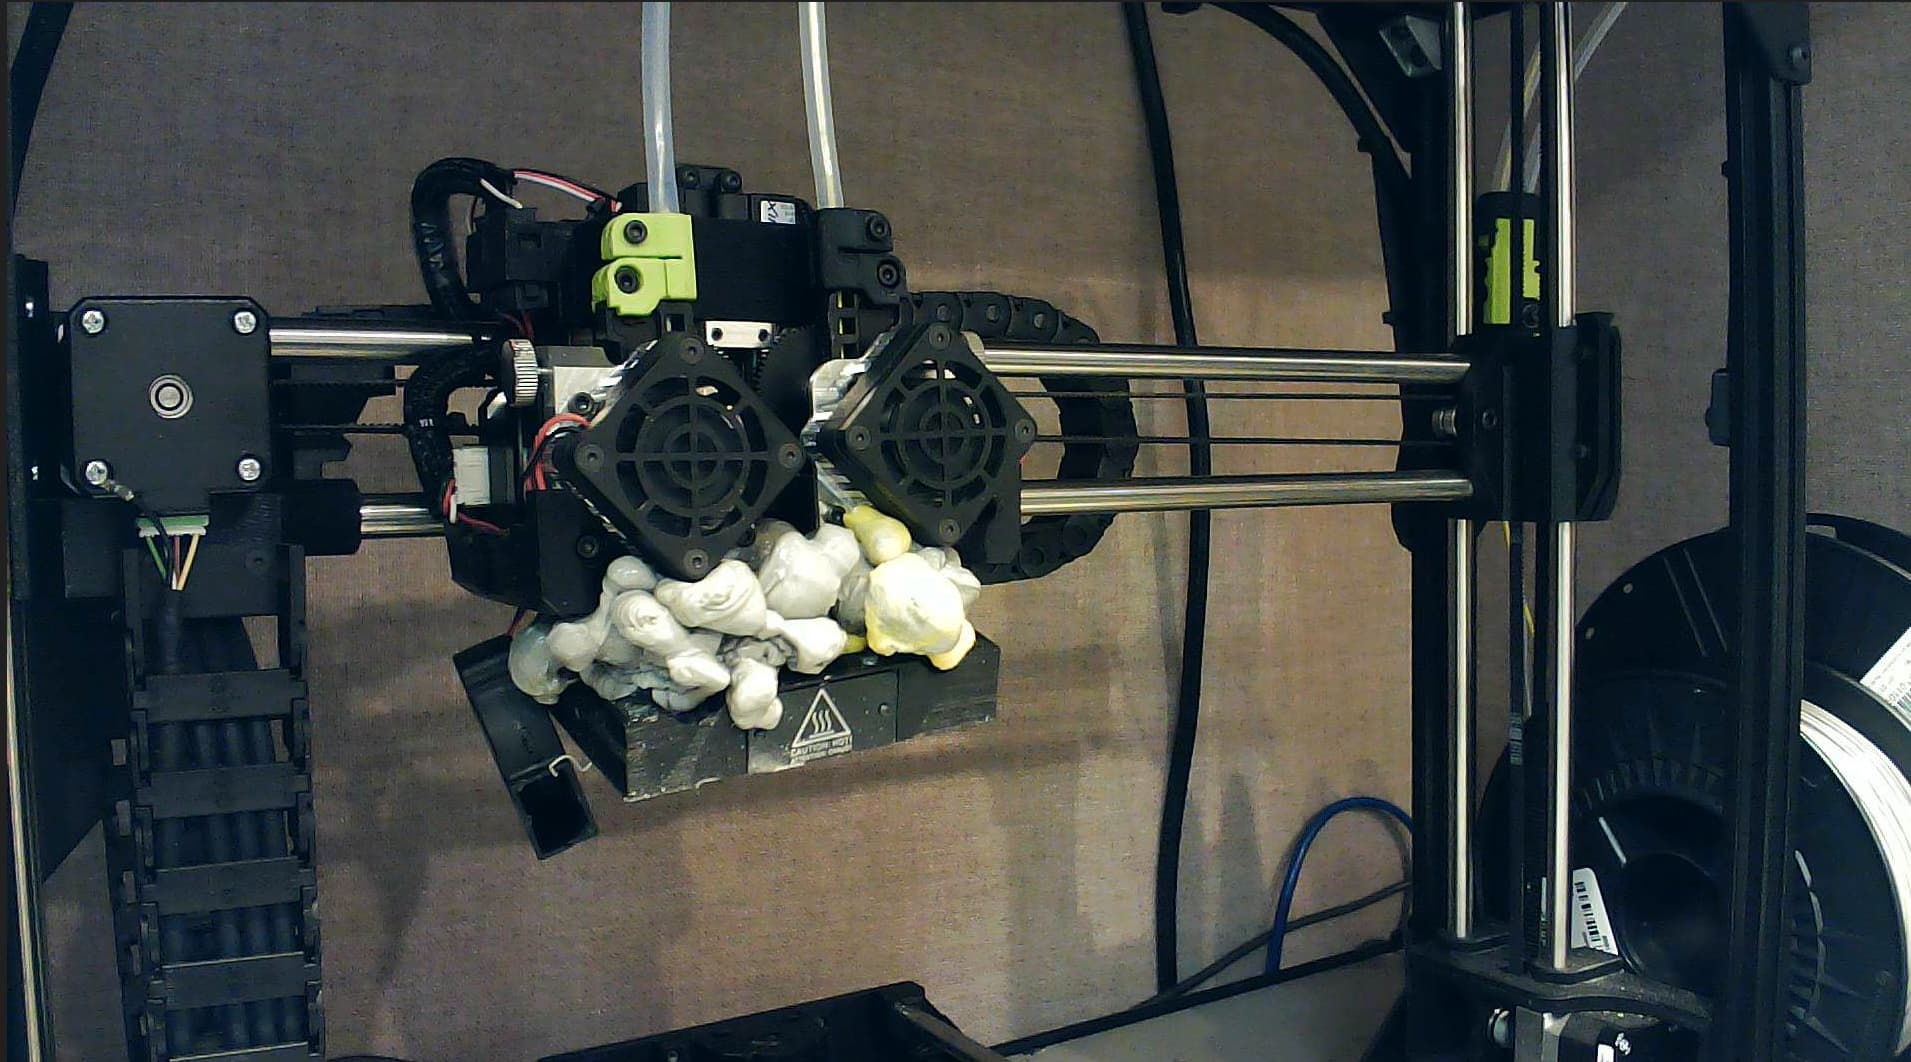
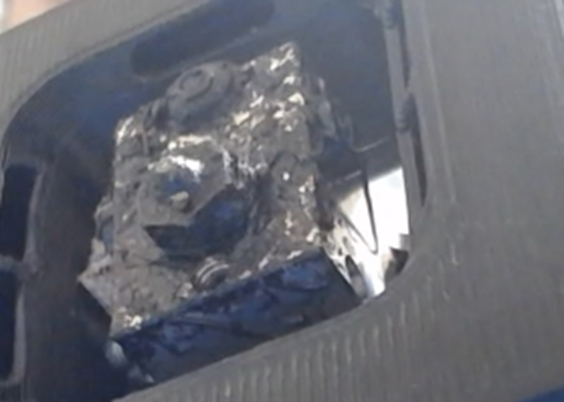
If you are constantly getting buildups of material around your nozzle, this is generally due to the parts becoming detached from the bed and sticking to the nozzle.
Please ensure that your z-offset is set curretly and not far away from the bed.
Also, ensure that your bed is clean and free of debris.
1 Like
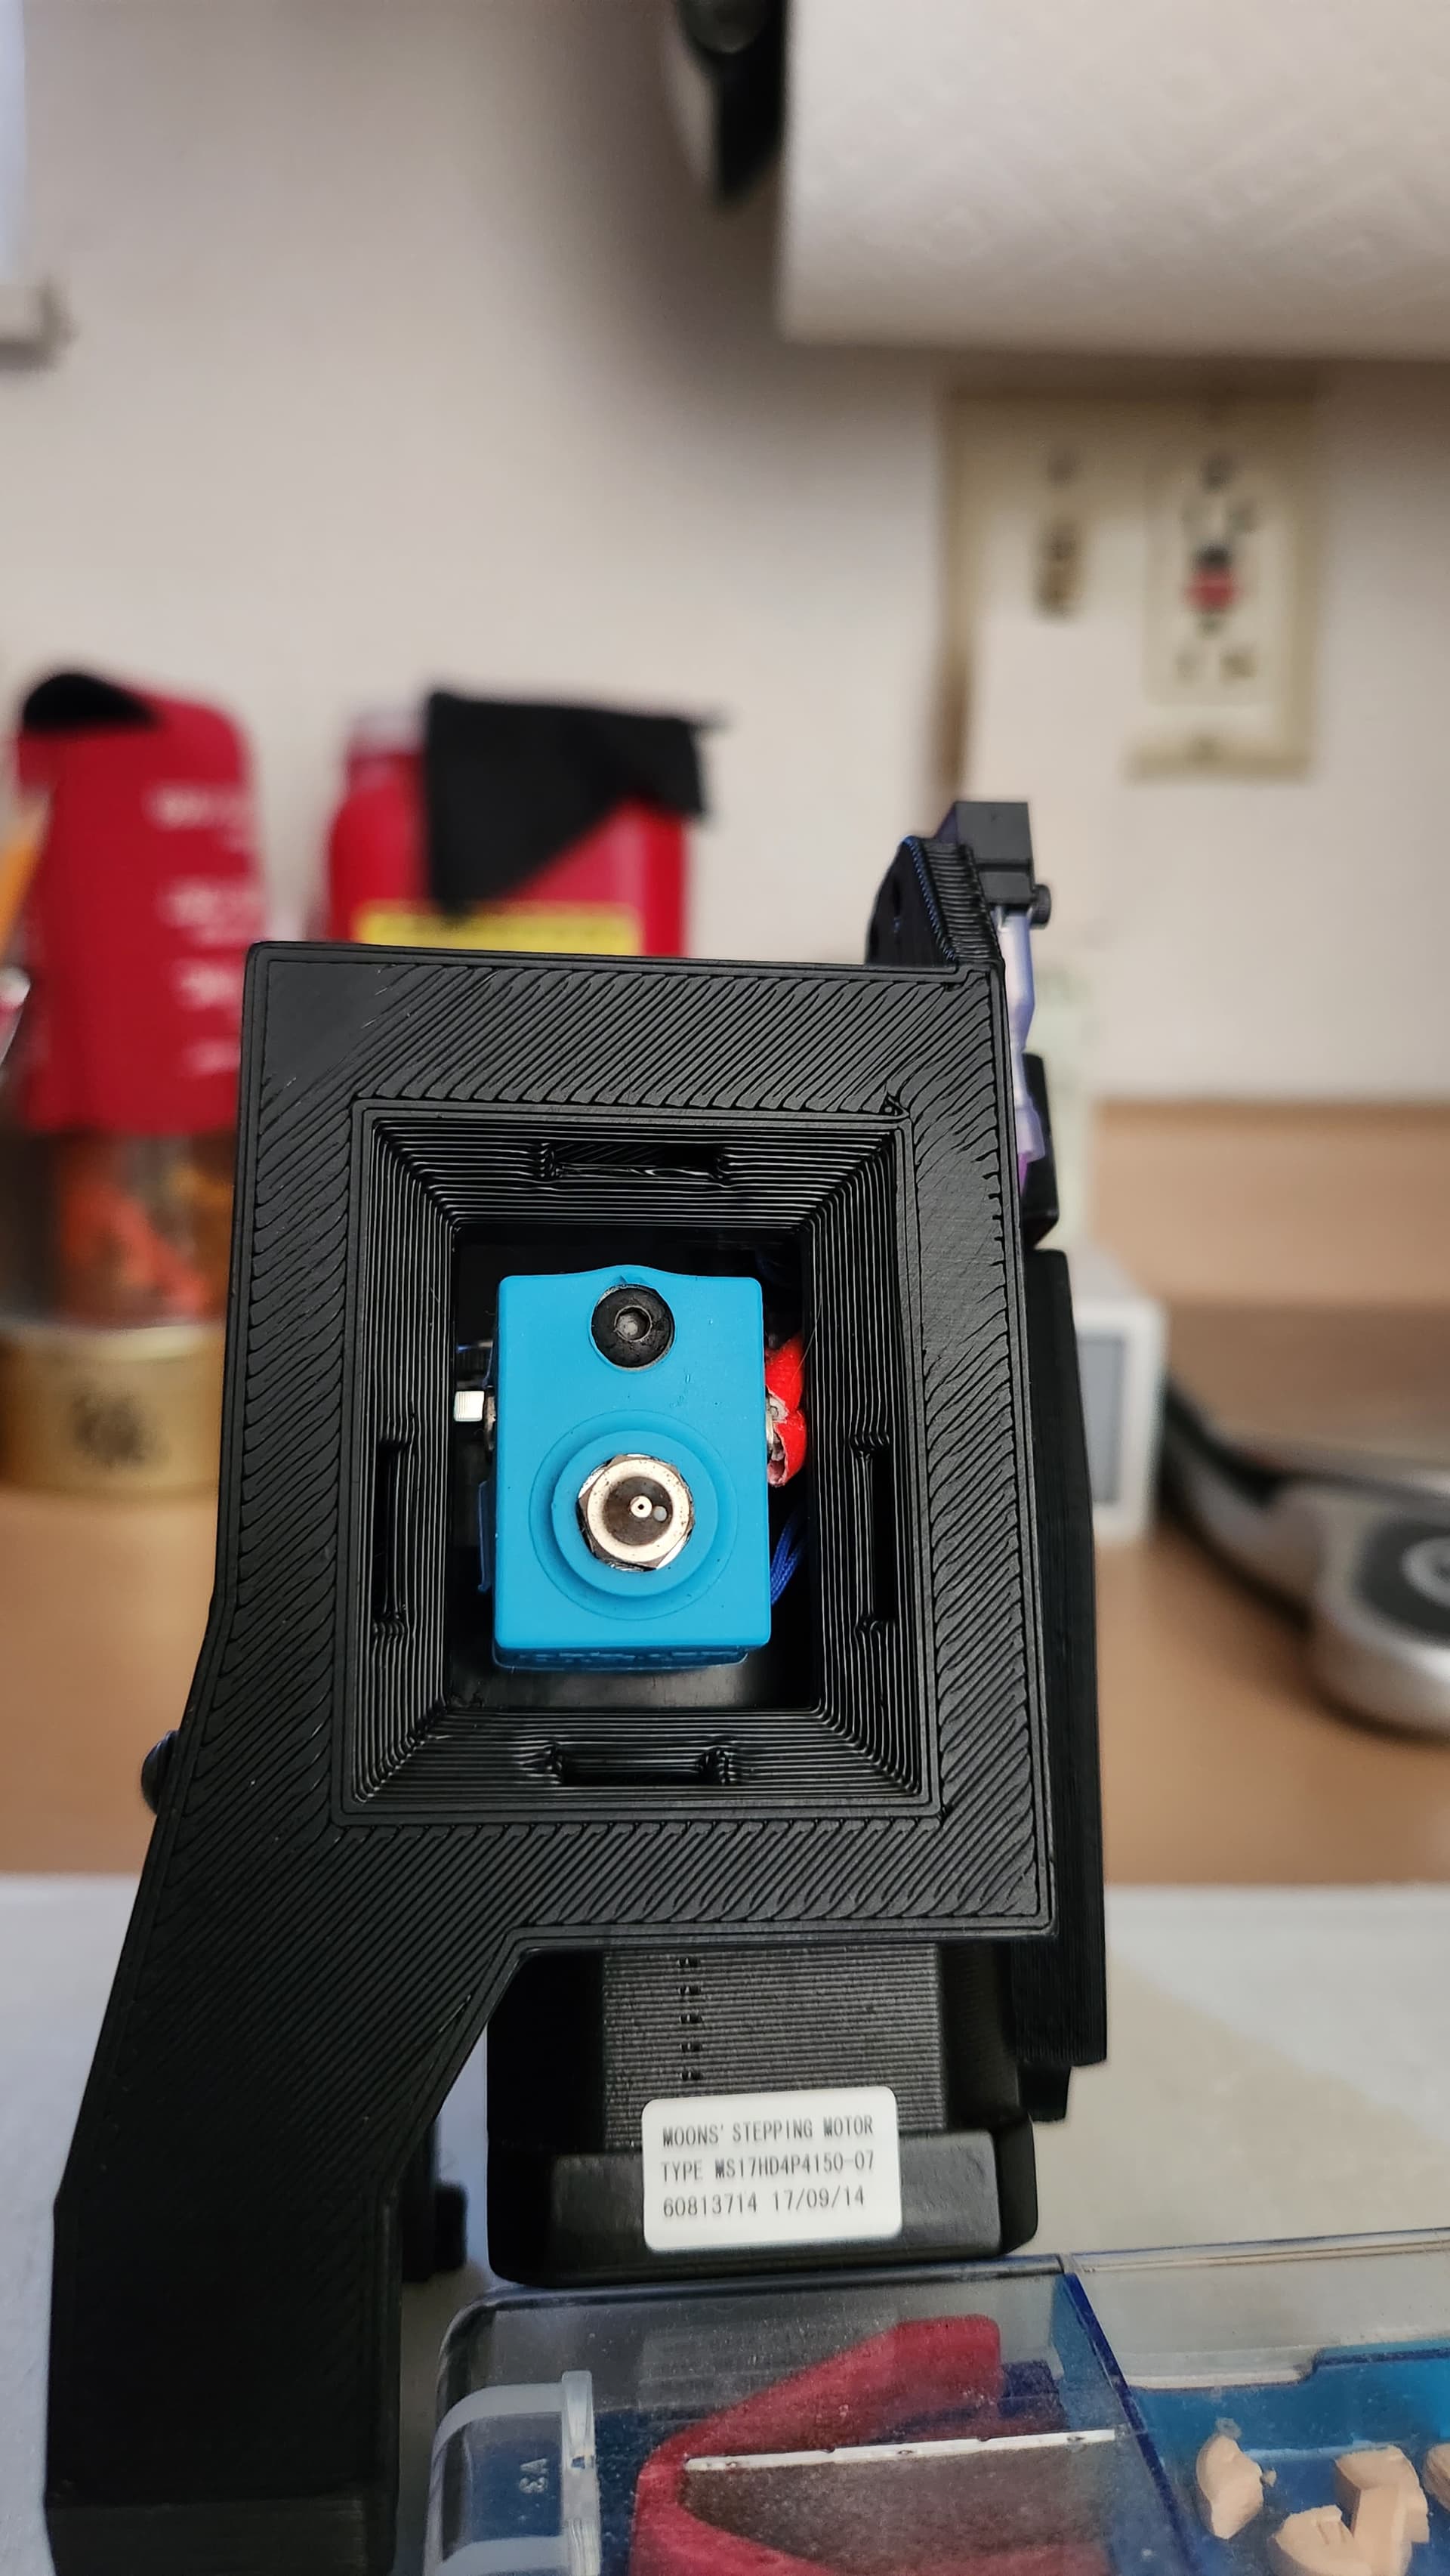
Are the heater blocks a E3D standard part? If so, is there a silicone sock available that will fit?

I believe those are E3D V6 Aluminum Heater Blocks and the V6 Silicone Sock should fit perfectly.
I have an Aerostruder for my TAZ 6 and it looks an awful lot like half of your TAZ Pro Dual Extruder.

1 Like
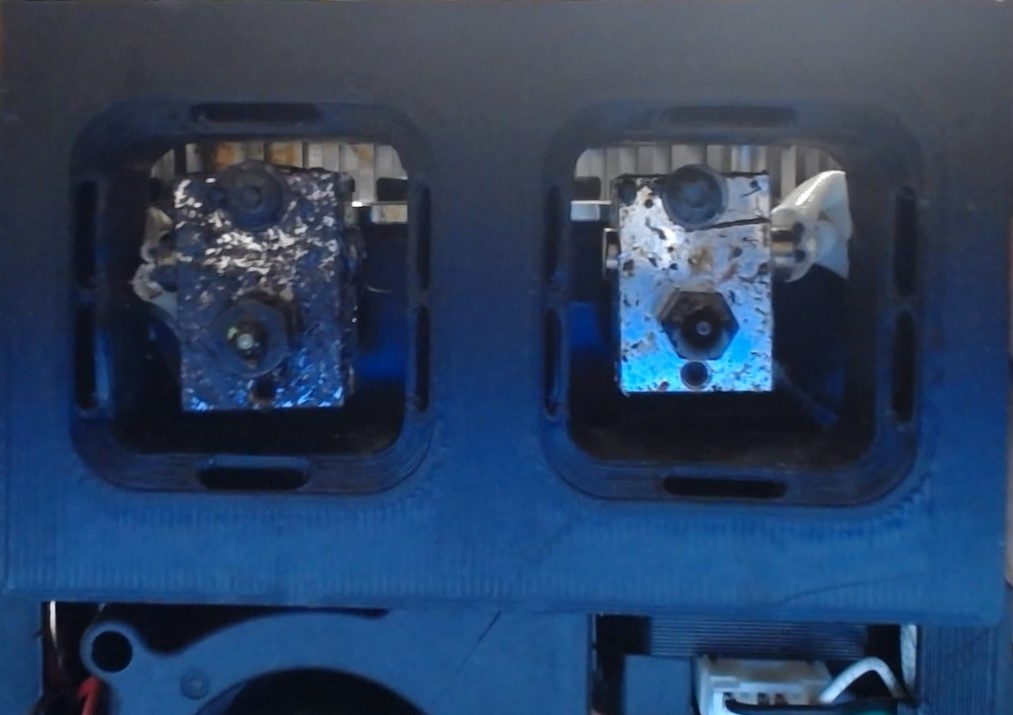
That should keep it clean and make it less likely for material to stick to it like in the blowout pictures above/before?
Yes, the pictures I posted are from my “used” tool head. I’d guess it has 50+ hours of print time on it.
I use the tweezers that come with the tool kit, then the scotchbright scrub pad.
I was able to remove the hot end from the assembly using a heat gun but melted the plastic extruder mounting in the process…Are those parts reprintable?
Not sure which part exactly, but if it’s printed, the parts can be reprinted, but the injection-molded parts can’t.
You can get a standard or mirrored Titan extruder and transfer the aero parts to it. The cheap Titan clones should be fine with your good gears and other parts transferred over.