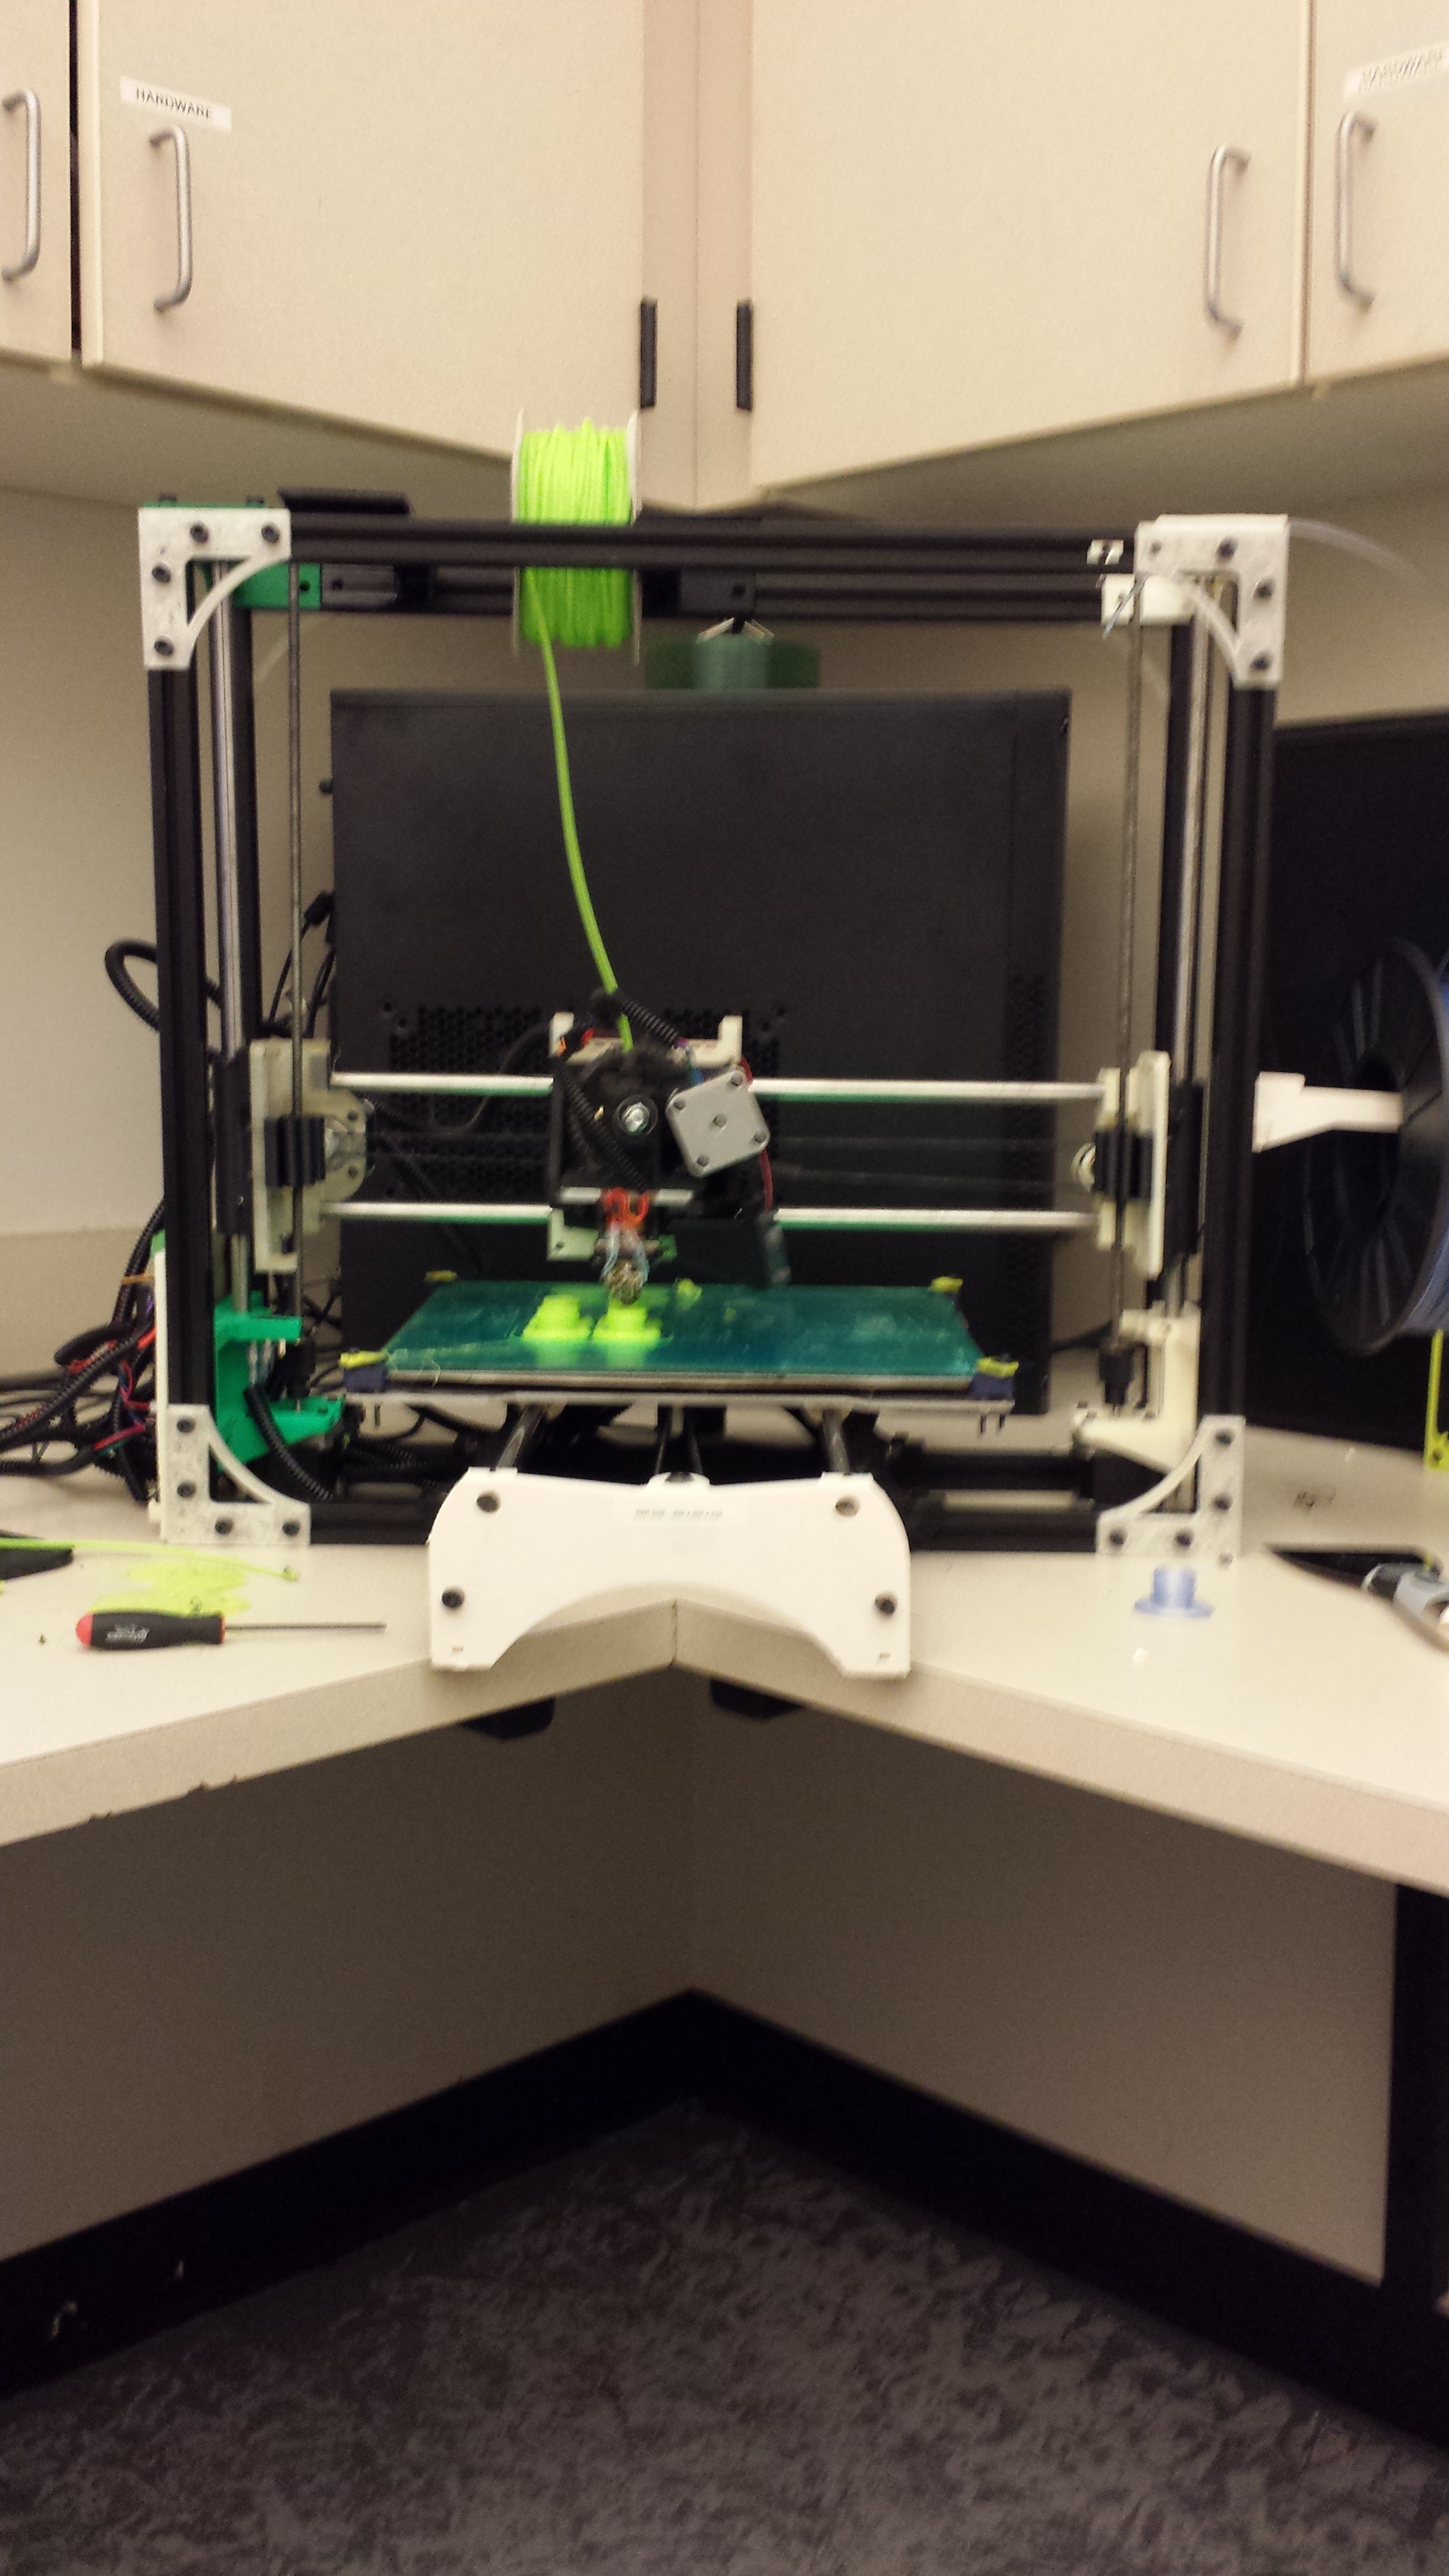
I just got our flexystruder up an running with some lime green FilaFlex. I was not impressed with the quality of the first batch of FilaFlex that I saw, but this stuff is much better, maybe they improved their extrusion process.
At first I was having difficulty getting consistent extrusion. It turns out that the filament was swelling outward under pressure from above and binding on the walls of the filament path, so I drilled the entire filament path all the way to the nozzle to 4mm and that solved the problem.
Thanks for designing this bam, it saved me a ton of time on this project:)
Printed some parts with Ninjaflex on my TAZ . That is some great filament. Made a RC tire just to test the new printer setup and the Filament. That tire came out perfect. Btw I used Cura.
What is fundamentally different about the flexystruder and that it requires a whole new extruder? Any chance an existing extruder could be easily modified to print ninjaflex?
The flexystruder constrains the filliament on all sides. A standard hobbed bolt idler extruder puts pressure on one side and supports half the filliament on the other side, which can allow for movement of the filliament which doesn’t really affect more rigid filliament for printing, but the support missing on the sides causes flexible filliament to tend to bind and not print as well. You can mitigate that with a grooved bearing if you can find one the right size with the right shaft. There is one person that I know of making them in Hungary. It took me 2 months to get one here, and when it arrived it was the wrong size. The flexystruder lining will apparently wear over time with more rigid filliaments, otherwise it is fine for normal filliament as well.
An existing extruder can be made to print, although it would most likely be easier to print the flexystruder body and assemble your own. Here’s the work that the Flexystruder is largely based off of, (Flexible filament - my testing and guide on how to print FilaFlex, NinjaFlex, and Flex-Polyester.). It involved drilling out a standard extruder to fit the PTFE lining, then trimming the top of the lining to press right up against the hobbed bolt and idler. This was pretty difficult to get right, and tended to fail as the ninjaflex bunched up and pressed the sides of the PTFE out.
If you’re interested in making your own, check out the Ohai-kit that Orias linked to:
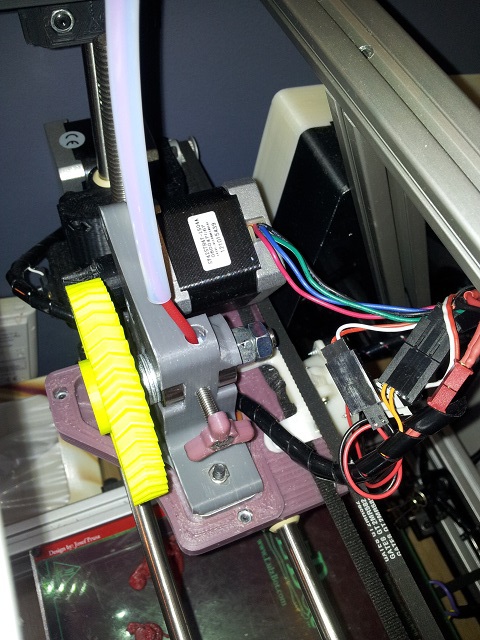
I’ve been getting a lot of questions about the thumbscrew on the side of the Flexystruder, and how to adjust it properly.
The Flexystruder can print Ninjaflex with very little tension on the thumbscrew, it’s just there to enable you to print any undersized or extra soft filaments (we ran into a few during testing).
If the Flexystruder starts slipping on the filament, simply back the thumb screw out, then slowly tighten it while turning the large gear on the extruder. You should fee it noticeably start to catch on the filament; give it another half turn from here for good measure. and you should be set to flexystrude all day.
Lulzobot - Flexystruder got a nice little blurb in Hackaday. Though now the world knows about the scanner in development too… people are going to get anxious.
As a side note, single layer sheets of ninjaflex are my new favorite thing. They’re mind mindbogglingly tough, and we’ve just found that they can be used as static window stickers! We’ll try to get a video up soon.
Any application ideas? We’re thinking custom window stickers, colorful privacy window treatment, even a small potted plant holder (although we’ll have to see how much weight one of these can support)
I’m loving my Flexystruder! I recommend taking the time to measure the OD of the PTFE tube, and adjusting the hole to match as my 12" length varied widely. This is rapidly becoming my favorite filament type!
Mine too! So many cool applications. Great point about the PTFE, it tends to be pretty inconsistent. You definitely want a snug fit, any sliding of the PTFE tube during printing is bad news
On playing with it this past weekend, after finding some extrusion issues, the ptfe tube stretched a bit, so the initially flush-cut edges of the PTFE tube, now had an extra 1/8"+ sticking out the base. On the next extruder I make for a buddy we’ll see if we can repeat that.