TAZ 6 Leadscrews noisy

Hi Everyone,

I am trying to go some maintenance on one of my TAZ 6 printers. When the toolhead is moving down it is making a noise that sounds somewhere between a bad squeak and grinding. The rods were extremely dirty, but cleaning isn’t helping. Does anyone have any ideas?

Some white lithium grease applied to the z rods. I typically apply then run the z axis fully up and down a few times to distribute the grease.

Also worth taking a look to ensure that the horizonal axis is parallel with the frame (measure from frame to rod on both left and right ends of the rod). If the measurements are not close, the tilt in the axis can put stress on the leadscrews, resulting in a “groaning” noise. Manually rotate one of the vertical leadscrews to adjust (with power off, of course).

Here’s a screen grab of page 66 from the TAZ6 manual regarding maintenance.

See my reply to Iguanaman. I meant to reply to you.

The “grinding” is from the Z-nuts on the Z-axis lead screws being out of alignment. There are two screws, one at the front and one at the back of each Z-nut that provide a very rudimentary way to align them. There is an OHAI for this somewhere but basically you tighten both back and front screws finger tight and then loosen them incrementally until the lead screw rotates easily by hand. The flexy washer is supposed to compensate for imperfect alignment by allowing the Z-nut to float a little. I then run the X-carriage up and down thew Z-axis and listen for the grinding. Small adjustments can be made to the screws while running up and down and eventually you will eliminate/reduce the grinding. It can be very frustrating.

After you get it as good as you can, apply a little white lithium grease to the lead screws.

The Z-axis grinding/binding can also cause the Z-axis stepper motors to skip steps, resulting in the X-axis being tipped with respect to the print bed. To make it easier to check the level of the X-axis, I bought a couple of cheap tape measures and mounted them on the top smooth shaft of the X-axis.


The white clips are 3D printed (Sorry but I lost the STL file due to a HDD crash). There are two holes through the end of the tape where the hook was attached. Use self tapping screws through these holes to attach the clip to the rule. Read the tape at the top of the frame. Very easy to take a reading before each print.

Good Stuff! I too get the grinding noise as the Z axis comes down from above. Seems to happen at around half height. Then a lot of times when it’s Z homing, after touchdown and on its way back up, it looks like the left motor doesn’t spin as the right motor does and throws into an instant bind. Sometimes it gets nasty and I have to power down and re-level the print head.

I made a gauge. It looks like its about 34mm from the bottom of the lead screw assembly and the motor after touchdown and rise to rest position after Z homing. (at least with the 1.75 mm print head, I’m not sure where the other print heads rest, I assume the same but don’t know for sure as I never checked).

Hopefully this can be useful for you. Quickest way to do a manual level.

Z axis Guage.STL (159.2 KB)

Everything I’ve seen says DO NOT use any kind of lubricant. The lithium won’t hurt the bushings?

You can add lubrication to the lead screws (the threaded rods on the left and right side of the printer that go up and down).

You are correct in that you do not want to use lubricants on the smooth rods.

Do you have a picture of what you’re referring to as the “front” and “back” screws. I have this same problem, but have never really been able to make it go away. Lubrication of the lead screws didn’t fix it.

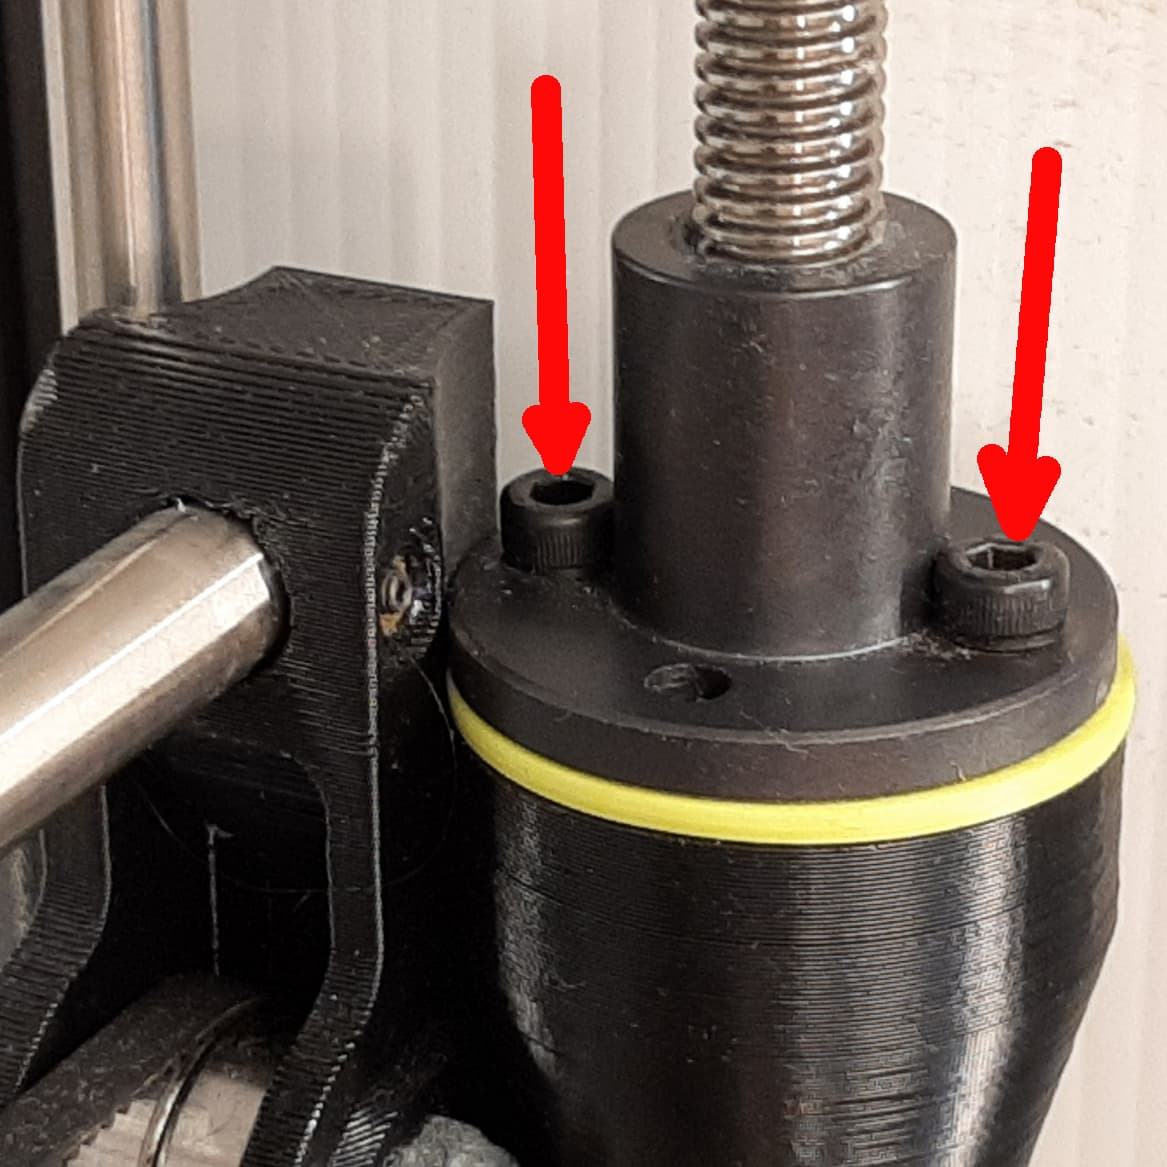
Here is an image with the screws for the right hand Z-nut indicated. The top smooth rod of the X-axis is on the left of the image and the flexy washer can be seen under the Z-nut.

I found the Lulzbot instructions for the final assembly of the TAZ 6.
https://ohai.lulzbot.com/project/taz-6-final-assembly/taz-6/
In Part 6 - Adjust Z-Axis, they describe how to adjust the screws holding the Z-nuts to the Z-carriage. Frankly, the description leaves a lot to the imagination but it is a good place to start.

Lulzbot uses the phrase “tight but not too tight” (TBNTT) when describing tightening the screws that fasten the Z-nut to the Z-carriage. If a Z lead screw is slightly bent, the Z-nut needs to be able to “wobble” a bit in order follow the bend and not bind. The flexy washer and the “not too tight” screws allow a bit of wobble to occur but getting to the “TBNTT” condition is tricky. I’ll describe how I go about it.

Safety First - Remove rings and jewellery, roll up your sleeves and keep long hair tied back. This will involve getting very close to the rotating Z lead screws, so keep your wits about you.

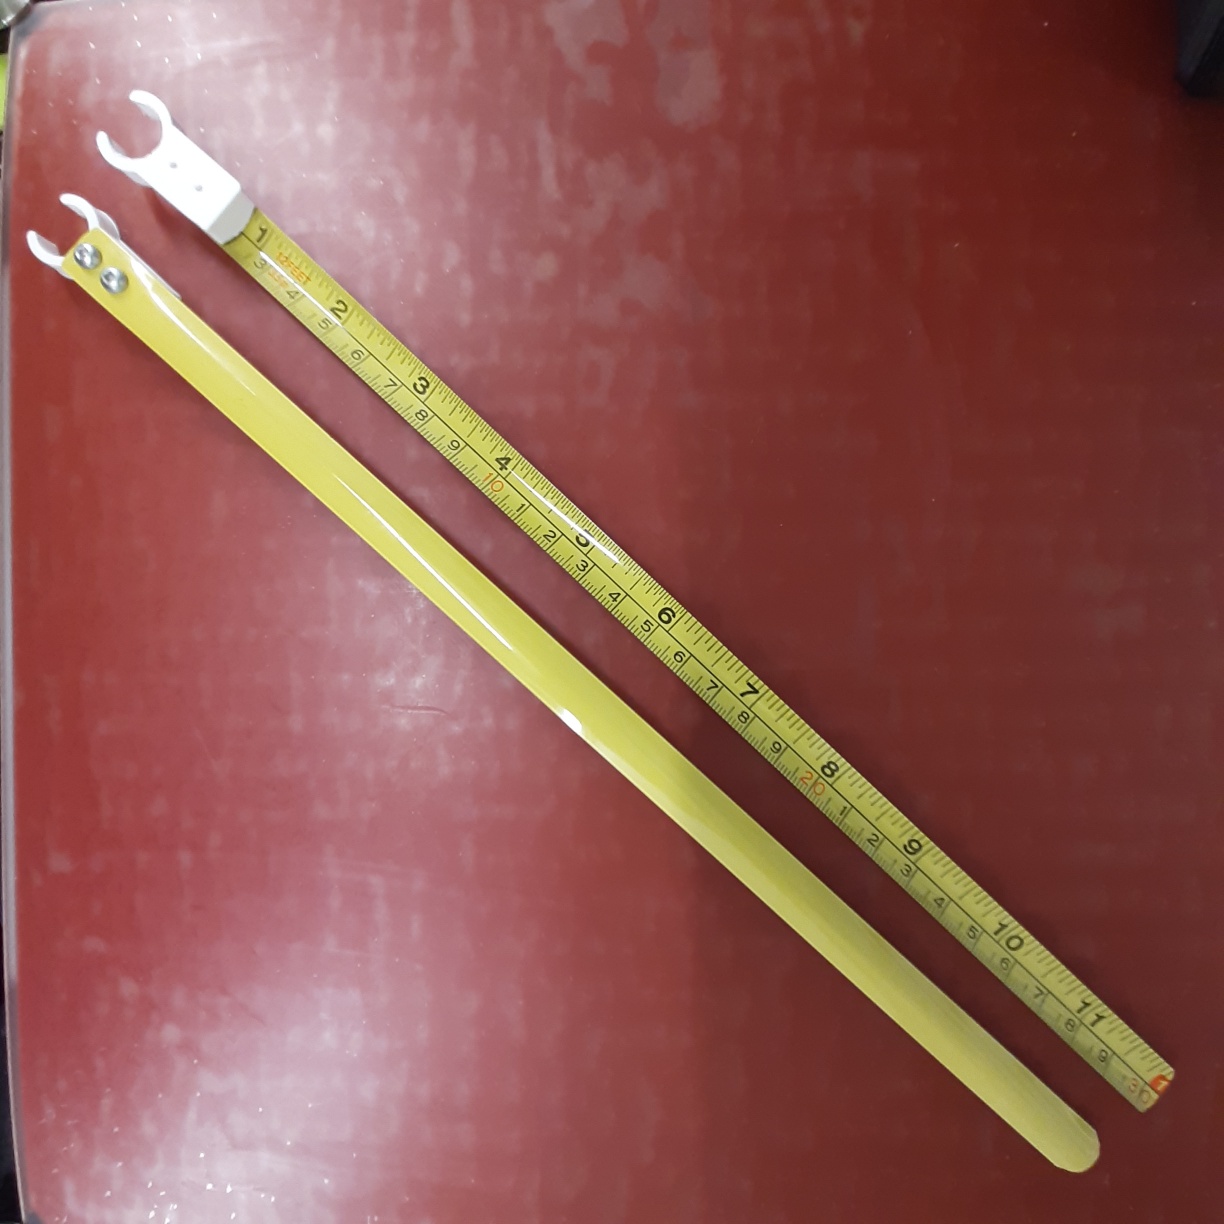
You’ll need a 4mm ball head hex wrench to adjust the M5 screws used to hold the Z-nuts to the Z-carriage.

Make sure your X-axis is level with the bed before starting.
https://ohai.lulzbot.com/project/leveling-x-axis/maintenance-repairs/

Use a tooth brush and paper towels to clean the lead screws and smooth rods. If you have already tried lithium grease, try to remove it. We want to get things as close to perfect as we can without lubrication.

Do an Auto Home, then move the print head to the middle of the X-axis. Tighten the M5 screws holding the Z-nuts until they are finger tight and then slowly loosen them until you can rotate the Z-axis lead screw easily by hand. Now run the print head up to the top of the Z-axis in 20mm increments. If you find a spot where there is grinding, go back and forth over it and adjust the Z-nut screws until the grinding goes away. Continue on up the Z-axis making adjustments as required.

I found that it was most effective if adjustments were made while the Z-axis was in motion. This gives you immediate feedback on whether you are turning the screws in the right direction and when you have turned them enough… You will need to leave the ball head of the hex wrench engaged with the screw while doing this, which is tricky near the top of the Z travel.

When you get to the top of the Z travel, repeat the process going back down. This process can take hours, so take breaks.

I also found that where the print head is positioned has an effect on making the adjustments, so check and see if it is true for your machine.

When you get it as good as you can, then try some lithium grease.

Good Luck

Wow…

Looks like quite a project. Hopefully it won’t be that difficult. Thanks for all the info!