Hi folks,
I’ve seen a handful of threads wherein people snapped a nozzle or otherwise damaged their hot end and secured replacements. My story is pretty similar and begins with some advanced leveling problems. Up to this point my Taz 6, with some pre-print prep, accurately measured the four corner disks. Without pre-print prep, the printer would MASH corners (not always the first one) down until it finally made contact or would give up and try to wipe itself again (despite being blisteringly clean).
Logically, I checked the continuity of the disks to the bed (A-OK!) and then the continuity between the nozzle and heating block (Meh?). It seemed that some old ABS was gumming up the threads so the nozzle and heating block didn’t always make great contact. I cleaned that up as best as I could with acetone and resumed printing. It didn’t seem to make a huge different besides the first or second run. I even soldered a 33AWG wire from the side of the nozzle to the edge of the heating block to ensure continuity. Same issue kept happening - the printer would MASH the nozzle into the disk as if contact wasn’t being made half of the time.
Fast forward to today: I get fed up with the behavior and I remove the SE extruder for servicing. I follow the (dis)assembly instructions on ohai and discover that some of the plastic parts have degraded over the years AND that the red thermistor wire to the heating block was floating! YIKES. I can fix that with a bit of solder I suspect.
So here I am, contemplating my options.
- Modify the stock SE Hot End with a 1.75mm hot end (~$100 and labor)
- Buy a tool head adapter and a new SE Tool head ($30+$295)
- Have Lulzbot figure this one out ($350+Shipping)
I am leaning towards shipping the whole printer to be serviced. Thoughts?
Best,
Ken
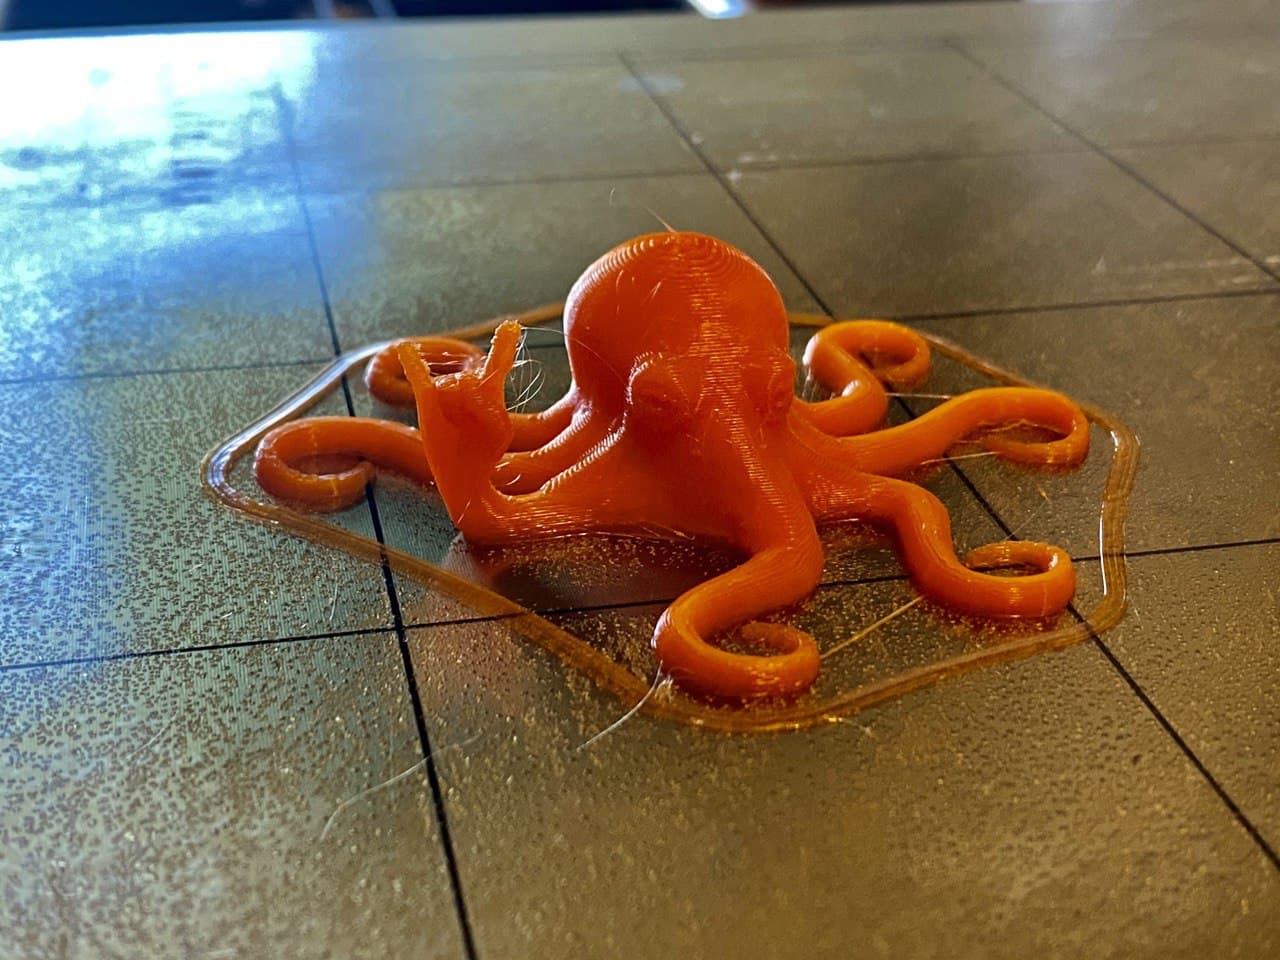
Q: Pictures?
A: Enjoy photos of “Scotty” and his exposed extruder 
Modifying the stock hot end might not be as easy as you think and you could end up spending more money and hours of frustration. I suggest you go with option 2 and move on. I haven’t used the stock tool head since I broke my nozzle and got the aerostruder print head. The stock print head is simply outdated.
If you want to go to 1.75 filament on your TAZ 6, LulzBot’s M175 hotend is an option. I like mine.
@JoeBowler300 , I’m also assembling a new, secondary printer now and I can definitely understand. I think I’ll but the tool holder and a new head.
@b-morgan , That’s good input - I am now considering the M175 and Slice Engineering Mosquito (or its numerous knockoffs)?
The M175 uses a Slice Engineering extruder.
I should have been more specific - I was referring to the magnum/higher flow rate model. It seems like it would produce better prints.
I may be wrong but it looked like you could upgrade the Mosquito to the Magnum.
Yeah - they disassemble pretty easily. I guess if I can get the part to convert to the Magnum, the M175 toolhead is still the easiest solution way.
I built an extruder for my taz 6 based off the m1.75 design but using a dragon hotend. (I like that it uses the e3d style block). It replaced an aerostruder, and was an immediate upgrade in terms of print quality and filament throughput. I also added a BLTouch to the M1.75 and that has both simplified and improved leveling for me.
Note that the mosquito (and dragon) can put out a lot of filament fast. The high flow versions have the same height, but start heating further up in the filament path. This can lead to clogs if not run at high extrusion throughput, as heat creep will conduct up the filament. Just know that there’s a trade off.
Well, I bought and installed the stock M175 print head and replaced the four TPU corner supports. I updated the firmware to 2.0.0.144.1 and, before printing the rocktopus in the latest Cura (3.6.23) checked the x-axis and bed level-ness.
X-Axis was raised to maximum Z. I measured the distance from the top of the frame (above the plastic Z caps) to the top of the smooth rods with my Mitutoyo 500-196 and turned the lead screws until they were 34.45±0.05mm on the left and right.
I homed the X,Y, and Z then sent the “G29 V4” command.
[13:20:15] G29 V4
< [13:20:17] G29 Auto Bed Leveling
< [13:20:33] Bed X: -10.000 Y: -9.000 Z: 0.430
< [13:20:47] Bed X: 288.000 Y: -9.000 Z: 1.081
< [13:20:59] Bed X: 288.000 Y: 289.000 Z: 1.230
< [13:21:13] Bed X: -10.000 Y: 289.000 Z: 0.809
< [13:21:13] 4th probe point, distance from plane: 0.23
< [13:21:13] Eqn coefficients: a: 0.00179824 b: 0.00088800 d: 0.51328697
< [13:21:13] Mean of sampled points: 0.88756237
< [13:21:13]
< [13:21:13] Bed Height Topography:
< [13:21:13] -0.07831 +0.34294
< [13:21:13] -0.45756 +0.19294
< [13:21:13]
< [13:21:13] Corrected Bed Height vs. Bed Topology:
< [13:21:13] +0.11463 +0.00000
< [13:21:13] +0.00000 +0.11463
< [13:21:13]
< [13:21:13] Bed Level Correction Matrix:
< [13:21:13] +0.999998 +0.000000 +0.001798
< [13:21:13] -0.000002 +1.000000 +0.000888
< [13:21:13] -0.001798 -0.000888 +0.999998
< [13:21:13] X:-9.99 Y:289.01 Z:6.20 E:0.00 Count X:-1005 Y:29045 Z:9993
< [13:21:13] echo:Unknown command: “”
I can put shims under the corners again, but I thought replacing the print head might also fix this issue in addition to the corner mashing. It is a really obnoxious problem. The bed correction has the highest efficacy when the corners are within ±0.25mm of the 0 point.
Any ideas? In the meanwhile, I’m going to apply layers of copper tape between the Y-axis and TPU corners (and the spacers).
This will do.
< [14:11:52] G29 Auto Bed Leveling
< [14:12:10] Bed X: -10.000 Y: -9.000 Z: 0.035
< [14:12:24] Bed X: 288.000 Y: -9.000 Z: 0.115
< [14:12:38] Bed X: 288.000 Y: 289.000 Z: 0.157
< [14:12:52] Bed X: -10.000 Y: 289.000 Z: 0.110
< [14:12:52] 4th probe point, distance from plane: 0.03
< [14:12:52] Eqn coefficients: a: 0.00021372 b: 0.00019568 d: 0.04705454
< [14:12:52] Mean of sampled points: 0.10415620
< [14:12:52]
< [14:12:52] Bed Height Topography:
< [14:12:52]    +--- BACK --+
< [14:12:52]    |           |
< [14:12:52]  L |    (+)    | R
< [14:12:52]  E |           | I
< [14:12:52]  F | (-) N (+) | G
< [14:12:52]  T |           | H
< [14:12:52]    |    (-)    | T
< [14:12:52]    |           |
< [14:12:52]    O-- FRONT --+
< [14:12:52]  (0,0)
< [14:12:52]  +0.00572 +0.05259
< [14:12:52]  -0.06941 +0.01109
< [14:12:52]
< [14:12:52]
< [14:12:52] Corrected Bed Height vs. Bed Topology:
< [14:12:52]  +0.01681 +0.00000
< [14:12:52]  +0.00000 +0.01681
< [14:12:52]
< [14:12:52]
< [14:12:52]
< [14:12:52] Bed Level Correction Matrix:
< [14:12:52] +1.000000 +0.000000 +0.000214
< [14:12:52] -0.000000 +1.000000 +0.000196
< [14:12:52] -0.000214 -0.000196 +1.000000
< [14:12:52] X:-10.00 Y:289.00 Z:6.20 E:0.00 Count X:-1005 Y:29045 Z:9936
< [14:12:52] echo:Unknown command: ""
Zero Tuning besides the Bed and X-Axis - I call this a success.
For folks having issues with their Original SE, buy the new M175.
This head will give new life into your printer.
I bought a clone MK3S for the same price to build and compare. The Taz is louder and older, but it is a reliable workhorse. The clone MK3S? PETG destroyed the nozzle after the first print and will need a lot of mods to get it to where the Taz was the day I got it.