I have seen the problems people have with heat creep since the TAZ printer started using the Hex hotend. It’s caused by that tiny fan not being able to keep it properly cooled for long prints.
So I decided I would tackle the issue by making my own mount. Now, I have a TAZ 4 with the Hexagon Hotend upgrade and that is what I designed this for. I am not 100% sure it will fit on the TAZ 5 but I think it will.
This did take 8 hours of design and around 5 prints to get it right. I don’t have my fan yet (should be here tomorrow) but I am fairly confident this will work properly.
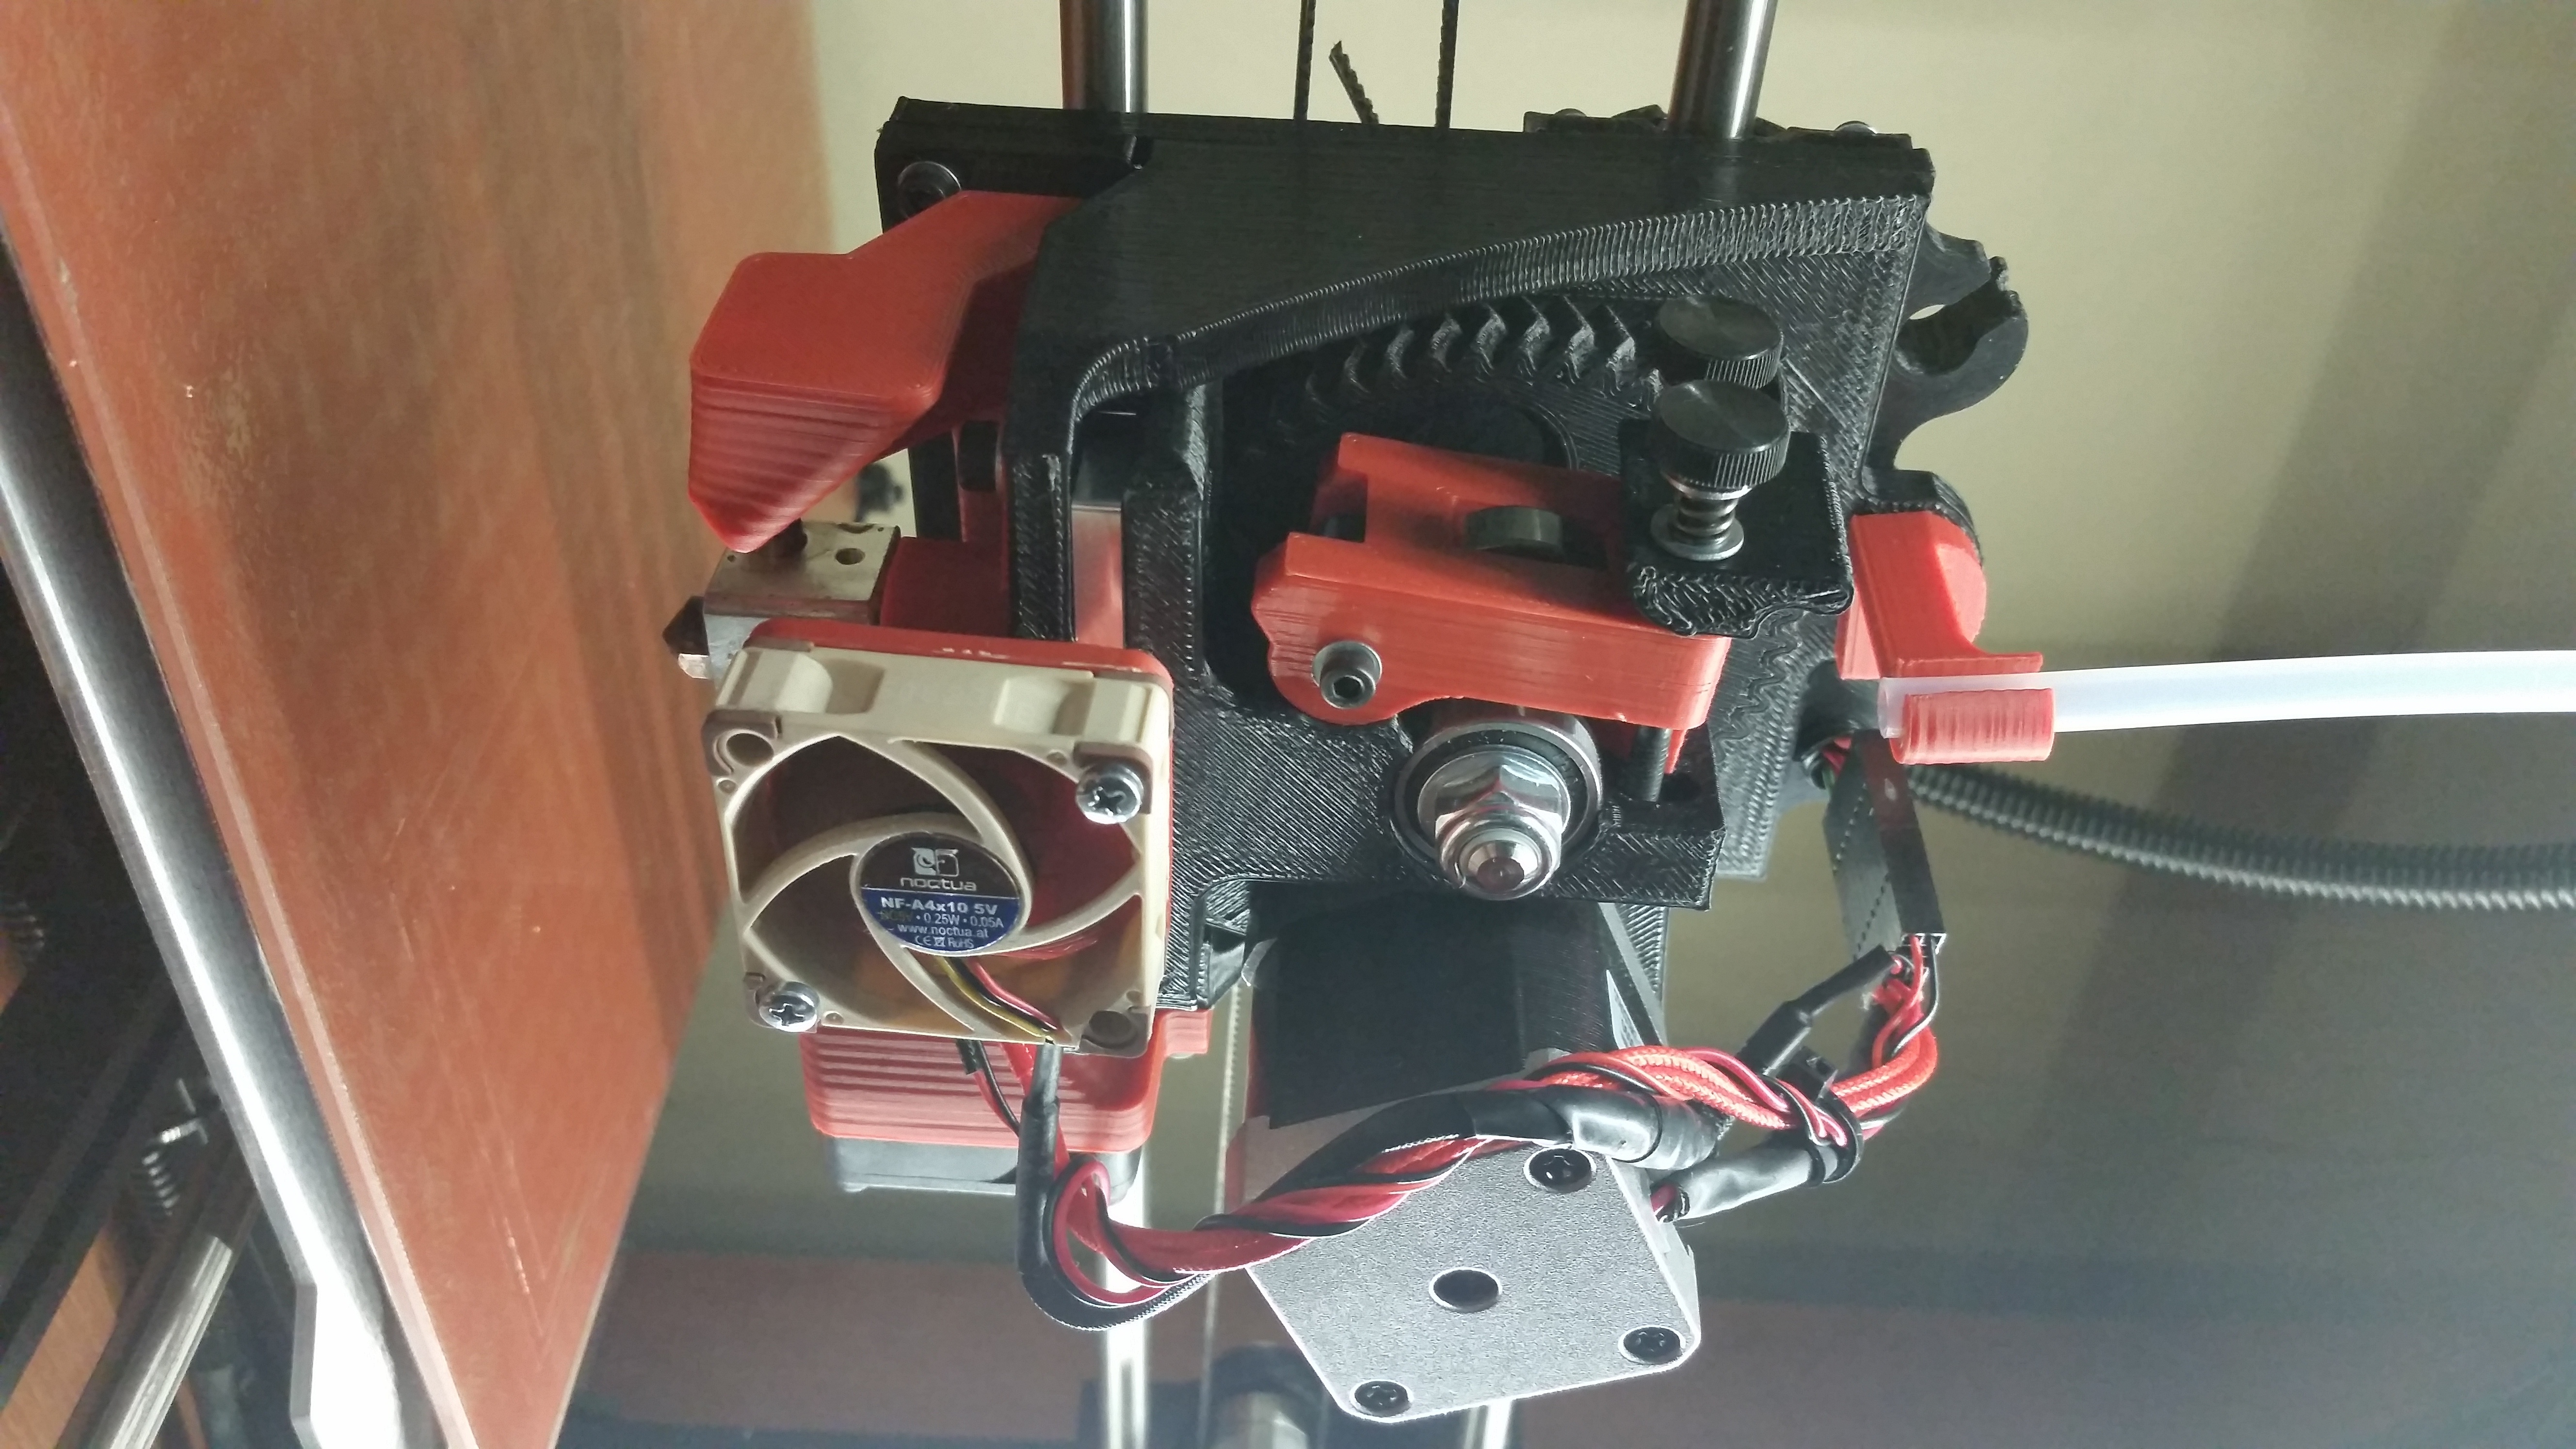
I wanted to stick with the 5v fan since the wiring is already there. I also wanted to find the best fan I could get that would not be noisy and would last a long time. I did a lot of searching and decided there was one great choice, a Noctua NF-A4x10 5v fan, this brand came highly recommended by some high end computer builders, they called it ugly since it’s brown and off white but that is the signature of Noctura and they are not from China but Austria I got my for $14.89 off Amazon.
The fan shroud fits around the cooling fins by friction but also has a single bolt mount using the existing hotend bolt.
Please let me know if this works on the TAZ 5 or TAZ Mini is you decide to use it.
Remember this is a work in progress, this might end up being the final design but I won’t know until I have fully tested it.
Been quite a few years since taking fluid dynamics… But the duct should gradually compress the air. The short duct is like putting a fan in front of a brick wall. I’m guessing the center of the box fan may not be generating a lot of air flow since that’s the axis or solid hub.
With that said, the 40x40 fan should increase airflow over the OEM blower. Give your current design a shot…
If interested in making the duct and fan more efficient, consider the following:
move the exhaust behind the heatsink so airflow wraps around the fins.
make the duct lower to capture the lowest part of the heatsink and possibly part of the heat break (transition zone).
make the exhaust wider than the fins to decrease backflow… Or vent the duct with additional slits.
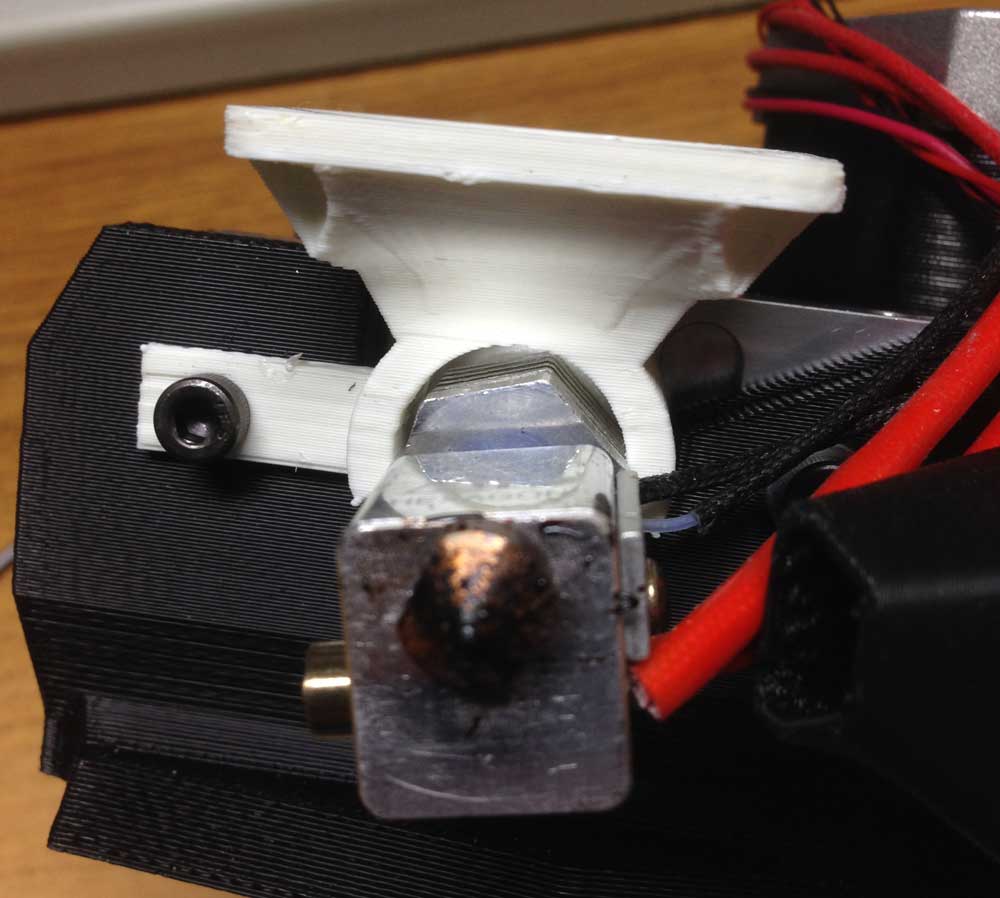
Personally, I think the design flaw is the OEM blower sits too high. The airflow should probably start lower than the heatsink and encompass the heat break. The heat may be creeping too far up the heat break, causing the filament to swell (as it starts to liquify) and ultimately jam. Keeping the filament solid and a consistent 3mm all the way to the heater block should reduce the jamming with PLA.
Anyway… Hope it works!
PS - for more information about what’s happening in the hotend, the Prometheus Hotend Campaign lists this description:
“Friction occurs most prominently in the “transition-zone” of the hot end where the plastic is changing from solid, to rubbery, to liquid. The plastic remains solid in the “cold-zone” until it is heated above its Glass Transition Temperature (Tg) in the “transition-zone” at which point it is “rubbery” until it is heated above its Melting Temperature ™ and turns to liquid in the “melt-zone”. In its “rubbery” state at temperatures between Tg and Tm, the plastic turns soft and expands to form a plug in the “transition-zone”. This plug of soft rubbery plastic is the most significant source of friction in the hot end and is the leading cause of hot end jams.”
Thank you for the input. I obviously know very little about fluid dynamics I just figured a larger fan would be better.
I am printing a version right now that is longer so it covers the bottom part of the cooling fins as you suggested. Even with it’s limitations (read poor design) I think it has to do better than the tiny little fan they used. Also I bought a very high quality fan because I also worried about the little dying on me and wrecking my hotend.
Got the fan (best fan I have ever seen), hooked it all up and I am printing now.
Just decided to look up the comparison in CFM between the included fan and the new one. Included fan is 0.57cfm and the new one is 4.83 that’s almost 8.5 X the volume of air. So even if my design is not perfect that should work better.
Not that it matters but that fan is dead silent. I hooked it to a small battery up near my ear in a quiet room and I really had to pay attention to hear anything.
I’ve had a lot of heat creep issues when working with PLA, so I was looking to swap in a better heat-sink fan that I could just bolt on without having to modify my entire carriage. This seems like the perfect fix! I’ve been trying to learn Autodesk Inventor, so I took the liberty of recreating this design with a little cleaner geometry for practice (attached). You can also get my remix here: http://www.thingiverse.com/thing:1387812
I’m still waiting on my fan so I haven’t been able to install this yet, but I’m very excited. If anyone has trouble with my model let me know and I’ll try to fix it.
Thanks tmorris9 for all the work you put into the original design, and for sharing! TAZ_40mmHexFanMount.stl (316 KB)
So I finally got my fan in. I’ve also picked up the 5v Noctua fan, and although I’m confident I could figure it out, I’m no electrical engineer and am not trying to re-invent the wheel. So I’m wondering if anyone has suggestions for how to actually wire the fan into the printer. Thanks!
The easiest would be to cut the original blower wires somewhere in the middle so you could revert your mod of necessary and solder the new 5V fan to the old wires.
I just cut the connector off my Noctua and installed pins for the stock Taz connector so I could attach it to the stock wiring harness. If you don’t want to do all that, just pick up a 5V wall wart and direct wire the fan.
I found that the higher CFM fans prevented me from printing Polycabonate, since it cools the cool end to much for the cartridge to get that high. But for all the other lower temp filaments it has worked fine for me using the bigger fans. YMMV.
The 5 volt noctua I have pushes much less air than the 12 volt fan I had on there before. Still a lot more than the small 5 volt squirrel cage, however. If you want the larger fan but not quite as much airflow, that might be an option for you.
Was able to get the fan connected last night. I’m going to try printing with the PLA I was having trouble with that led to doing this mod and see what kind of difference it makes.
It was designed by Sebastian_v650. I haven’t taken actual measurements, but it definitely makes a difference. There’s a wall in the main duct that forces air around to the other side. I’m sure the left side doesn’t output as much as the right, but it’s a lot more than the zero air flow the left side got before.
Well, color me perplexed. I installed the fan upgrade last night without a hitch. Loaded up a known simple file, and for the life of me, I couldn’t get a print out of the unit. Now, I print with PETG primarily, so there might be something there, but the effects were striking.
The head extruded (seemingly) fine with the head raised, but when sent a print job, I would get broken lines that looked like Morse code on the bed. I though maybe I messed up my head height because I gave the nozzle a slight turn to seat the blower against it. Well, 10 print attempts later, I would get nothing but the hint of a good print, only to see it blow up before completing the first layer.
So after a restless night of sleep, I woke with some ideas. After exhausting those quickly, I decided to revert back to the original fan. Well, wouldn’t you know it, everything is printing fine now
I have no idea what the effect is. Maybe I would have needed to raise my target temp to offset the LACK of heat creep? Dunno. My printer is pretty dialed in, so the thought of re-calibrating my temps didn’t excite me. So back to stock and all is well. I don’t print much PLA anyway
Anyone with insight, please feel free to educate, but there’s 6 hours of my life I’m not getting back
I would have taken pictures, but was too busy loosing sleep.
what kind of 40mm fan did you use? if you patched a 12v fan onto the 5v line you could be getting too much airflow and cooling the tip too much to keep up with the filliament. There are also different flow levels for fans. if you got a higher than normal flow fan, it could be over cooling.