Yes, always set the suck to prime the same unless you have good reason not too (I can’t think of any).
No, don’t make a thicker first layer. Keep that the same and let’s figure out what the real problem is!
Yes, always set the suck to prime the same unless you have good reason not too (I can’t think of any).
No, don’t make a thicker first layer. Keep that the same and let’s figure out what the real problem is!
OK, tried another today with the 1.5 Prime/Suck, but same result. 
So, I started thinking; what could this possibly be?
I took the entire extruder apart, and found problem #1; the hobbed bolt groves were completely clogged with filament. When I first got the TAZ I started to print with an extruder temp of 185, which I was told was too low, but I had already cut into the filament many times, so that must have filled the groves in the hobbed bolt.
I cleaned those out with an X-acto knife and put it all back together again.
Because I removed the extruder I needed to recheck the bed level, that’s when I found problem #2; the bed is bowed up (like a turtle shell) in the middle. Not really sure what I can do about this except home to the middle of the plate and let the edges fall off slightly.
Any other thoughts?
Thanks.
Ok, that’s progress!
On the bed - can you remove it from the printer and use a good straightedge check to see if it is flat? It might be that putting it in the corner clamps is pushing the corners in and bowing the center. How much bow is in it?
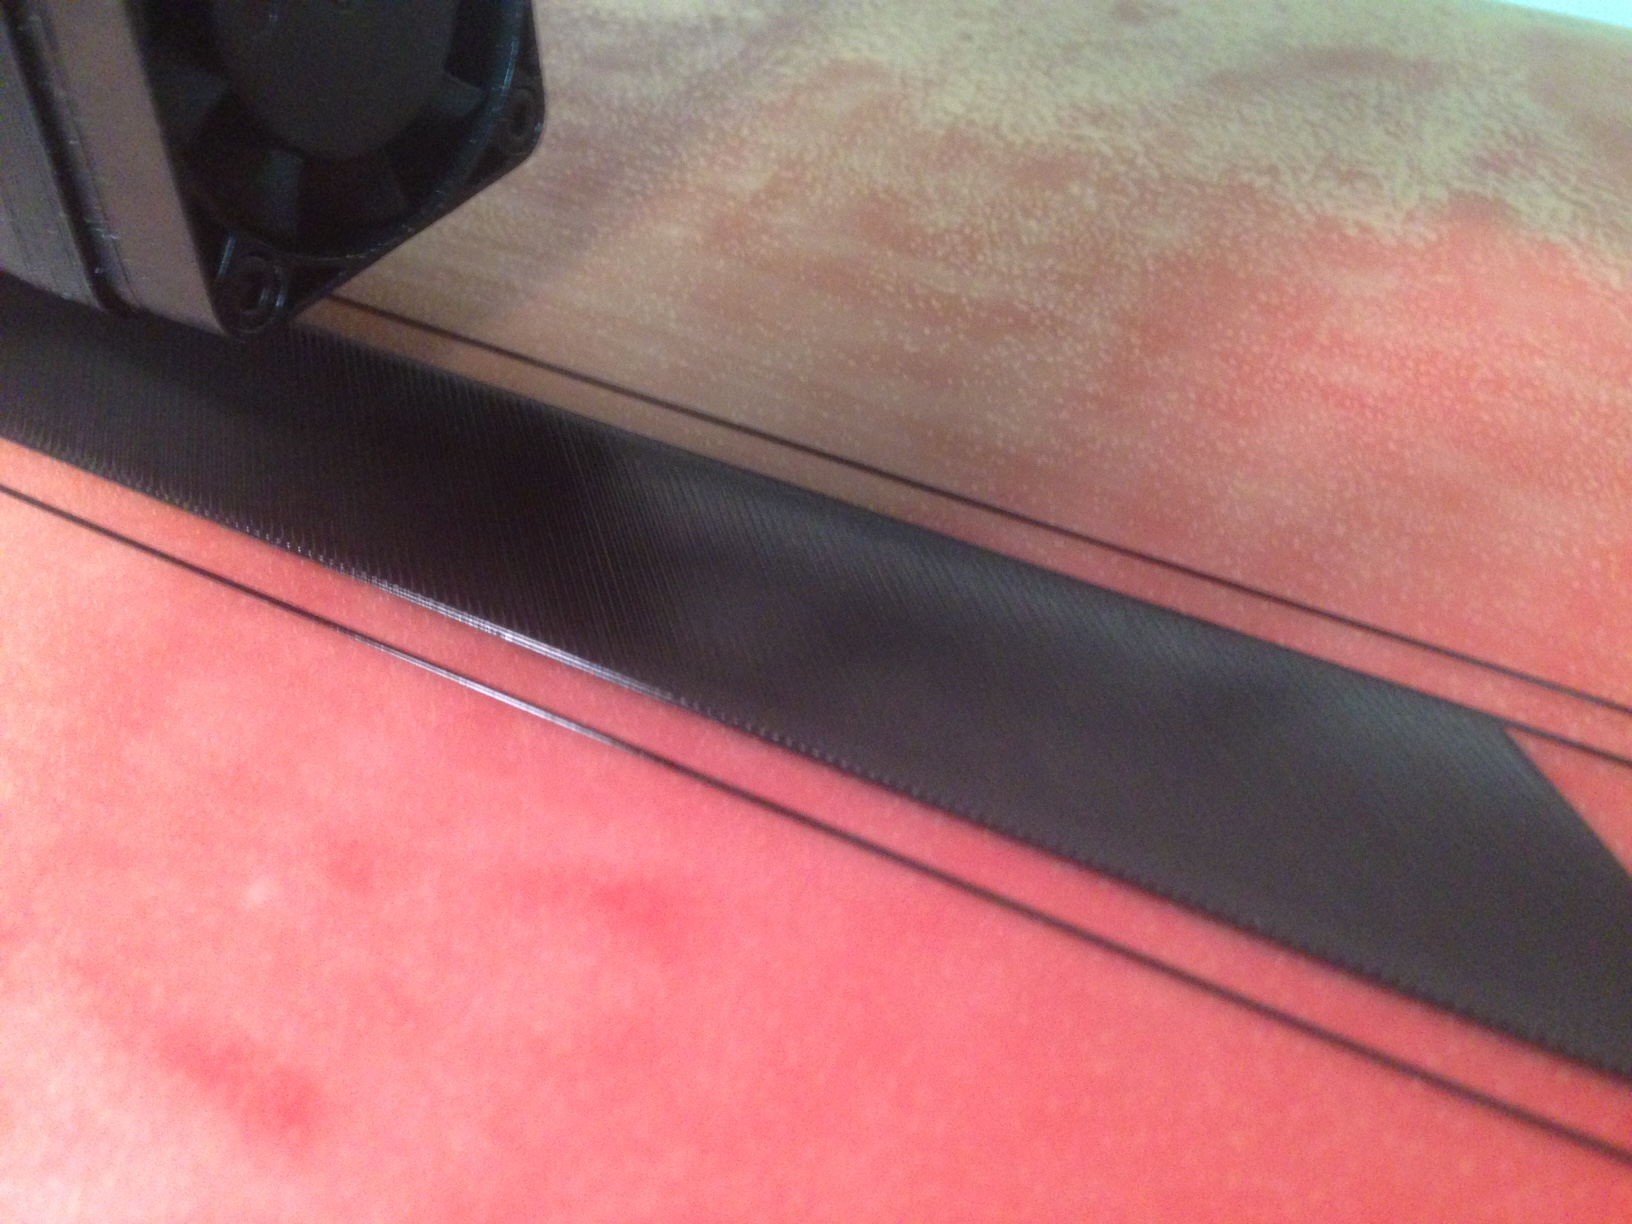
Absolutely PERFECT first layer. See previous post.
Very happy again.
Thank you Mike and Baltimorebully.
Mike, this is with 1.5 Prime/Suck settings, any reason to change that? . Stupid question I know based on what I’m looking at right now.
Mike, I posted before I saw your reply.
I would guess about 0.005 - 0.007" (that’s in inches. LOL)
No need to change the suck/prime (as you know!)
So that’s quite a bit of variation > .1mm. Is that with the plate removed form the machine, or clamped in?
I have a part building right now, so that was a guess. When this part is finished I’ll put a dial indicator on it and let you know.
I’d like you to check flatness with the bed removed so we can eliminate compression warpage from the mounting mechanism.
Mike,
OK will do.
Glad you are starting to get things sorted out. That really is a very nice first layer on those pics that you posted.
Mike,
I have finally gotten around to running my dial indicator across my bed.
I messed with it quite a bit. Because it is slightly bowed up in the center, that’s where I started.
The “fall-off” is between 3 and 4 thousandths below the center but all of the corners are withing 1-2 thousandths of each other. SO the corners are “flat” (on the same plane), if that makes sense.
I didn’t remove the bed from the rails, but I’m considering CNCing some 1/4" thick tool & Jig plate to replace the aluminum bed. The aluminum base just seems very “wibby” to me.
Also, have you tried the new KISSlicer 2.20 beta? I have, and it seems that the extrusion width does not seem as wide as before, with the same settings. Have you experienced that at all?
Let me know where you find 1/4 t&d plate. You can machine holes in the plate to significantly lighten it and get a nice flat substrate and low(it) mass. I intend to do this when I extend my X to 24".
I have been using the 2.20 beta on both Mac and Windows since it came out. I have not noticed an issue with extrusion width and I’ve sliced and printed quite a few things with this release.
I’m also considering DiBond for the bed: http://graphicdisplayusa.com/en/products/dibond/dibond/
very light, very flat and very cheap
As for the 2.20 It maybe that after messin’ with my bed the gap is a little wide (in Z0 I homed it a little closer and it seems fine now.
There’s a place right around the corner from me that we (I work closely with a machinist friend) get our jig plate from and he has 1/4 sheets. BUT light, flat and cheap, are three of my favorite words! Thanks for the tip.
I’m toying with the idea of building a delta machine. I’ve been reading your build (among others) over on the SeeMeCNC forum (can I mention that here? LOL). I’m a designer, ex-modelmaker and general tinkerer, so… In my mind the best way to learn is to do.
Some of the reprap crowd use the Dibond in 6mm for beds. It also looks cool as you can get it in many colors.
I’ve been mentioning my Taz on the SeeMe forum (I’m a moderator there) and haven’t taken any heat for it yet! I do love my big Rostock delta, it is fun to watch. But, I’m getting some great result from RazzMaTAZZ too and that’s really good considering I’m using the stock Budhashnozzle. I have had a couple of inexplicable plugs that required a tear down, but nt bad for a non-metal hot end.
OK,
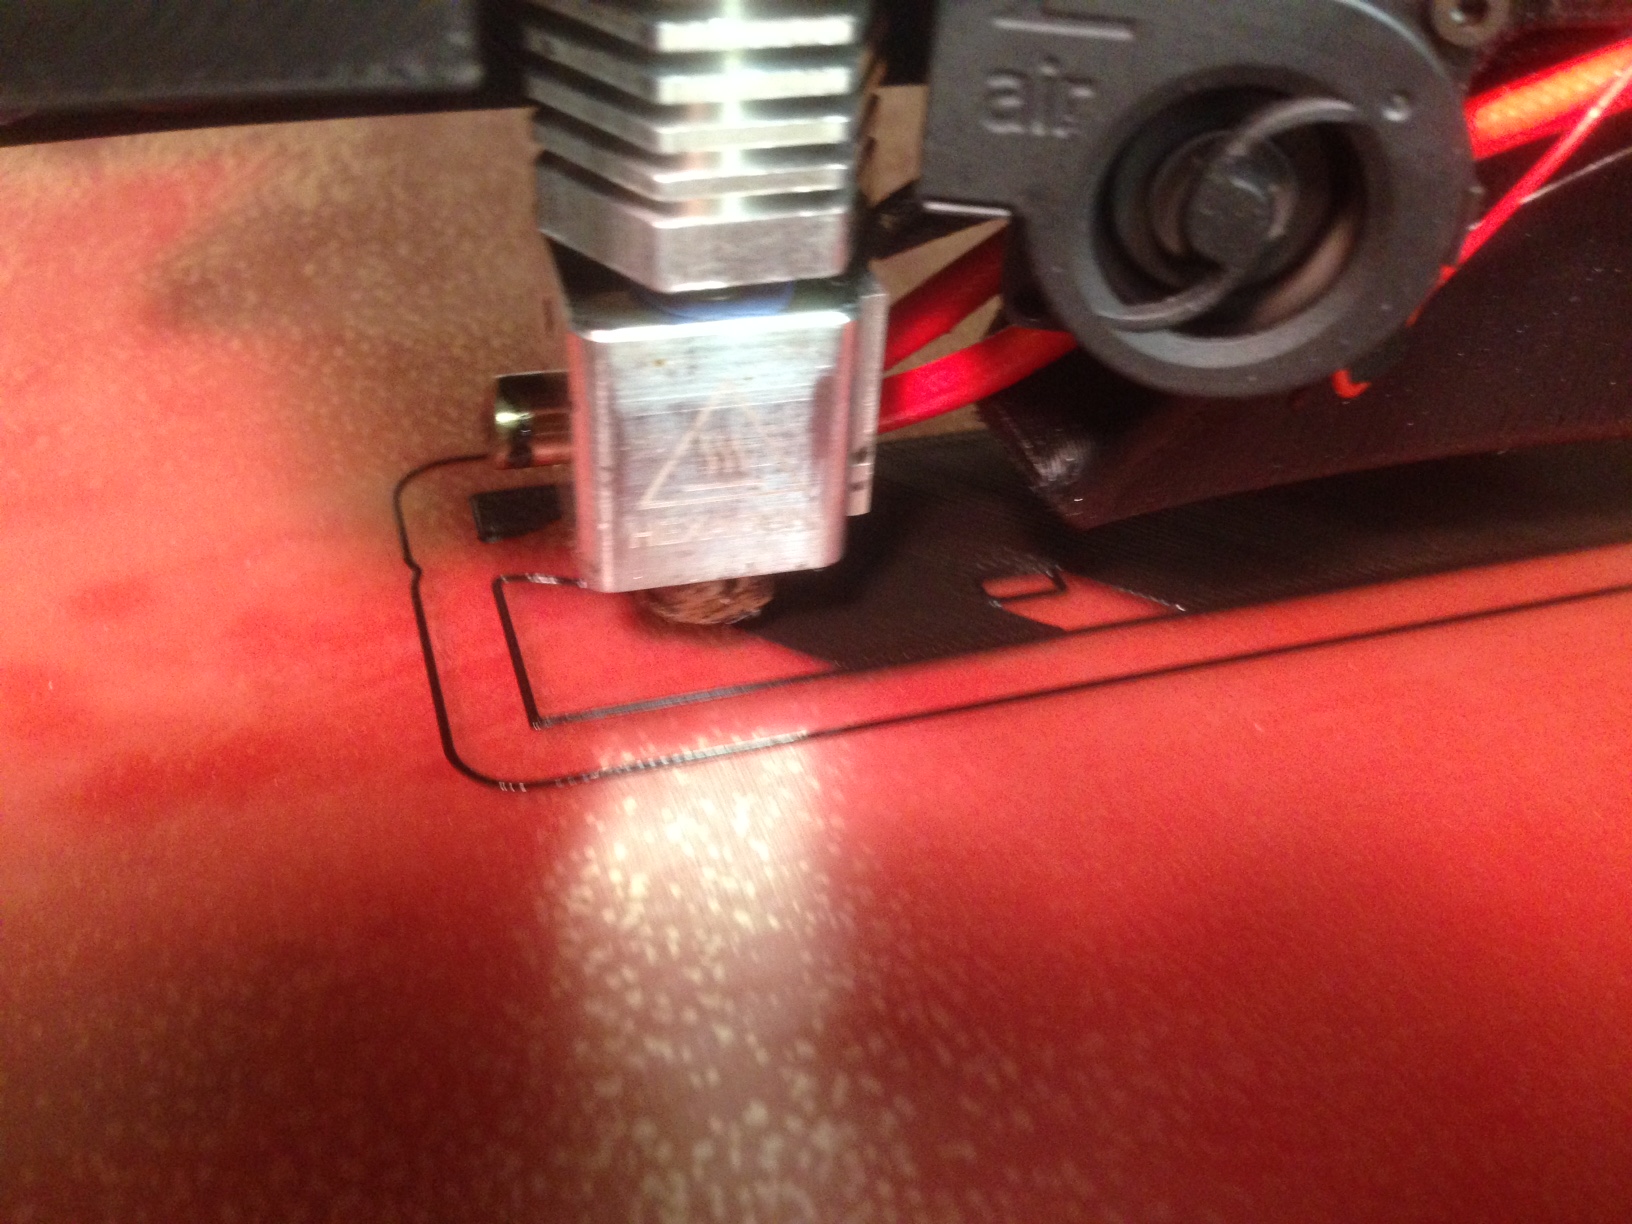
This is getting really frustrating!
That looks like under extrusion to me… maybe the hotend temps are too low or you’ve got a clogged nozzle.
You should definitely nail the first layer, but does the second layer look the same (wispy and sparse)?
kc,
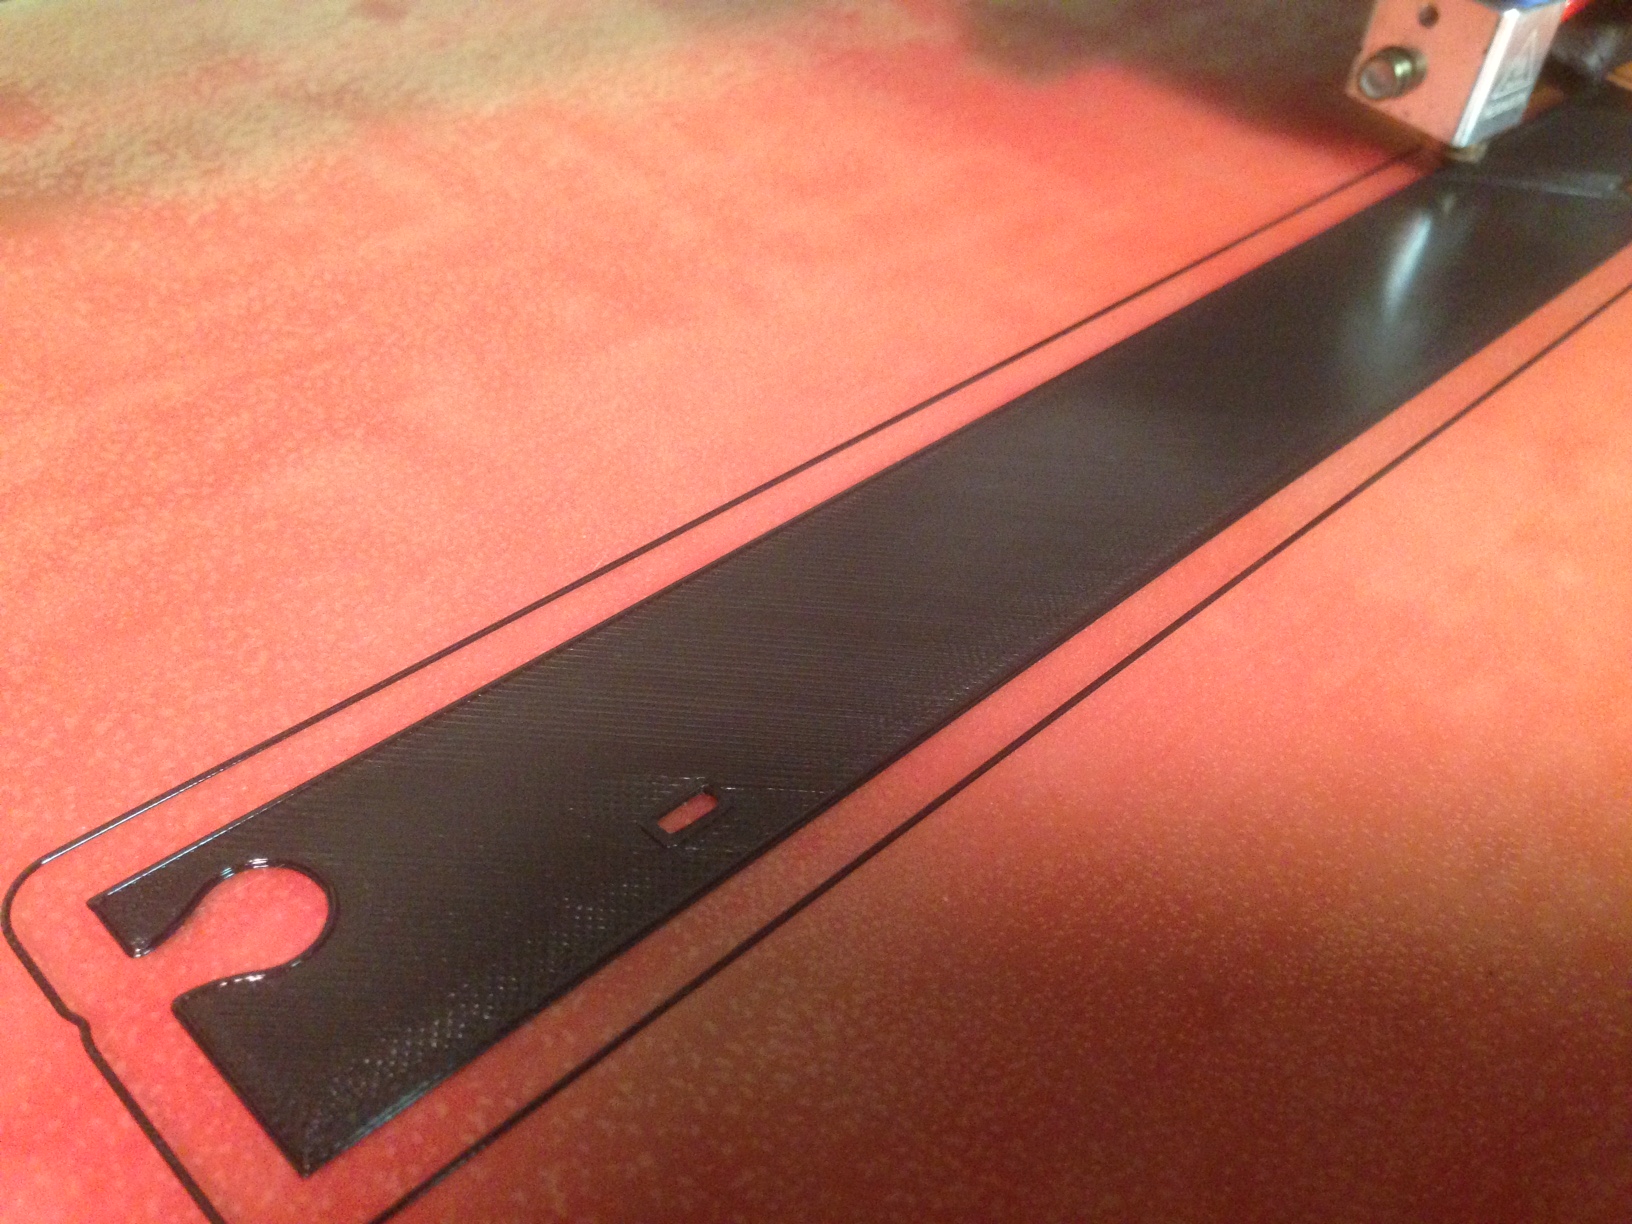
Thanks. I have backed away from the ledge and cleaned out the hobbed bolt and have been running another (different) print, again in PLA, and that is running fine; about to finish.
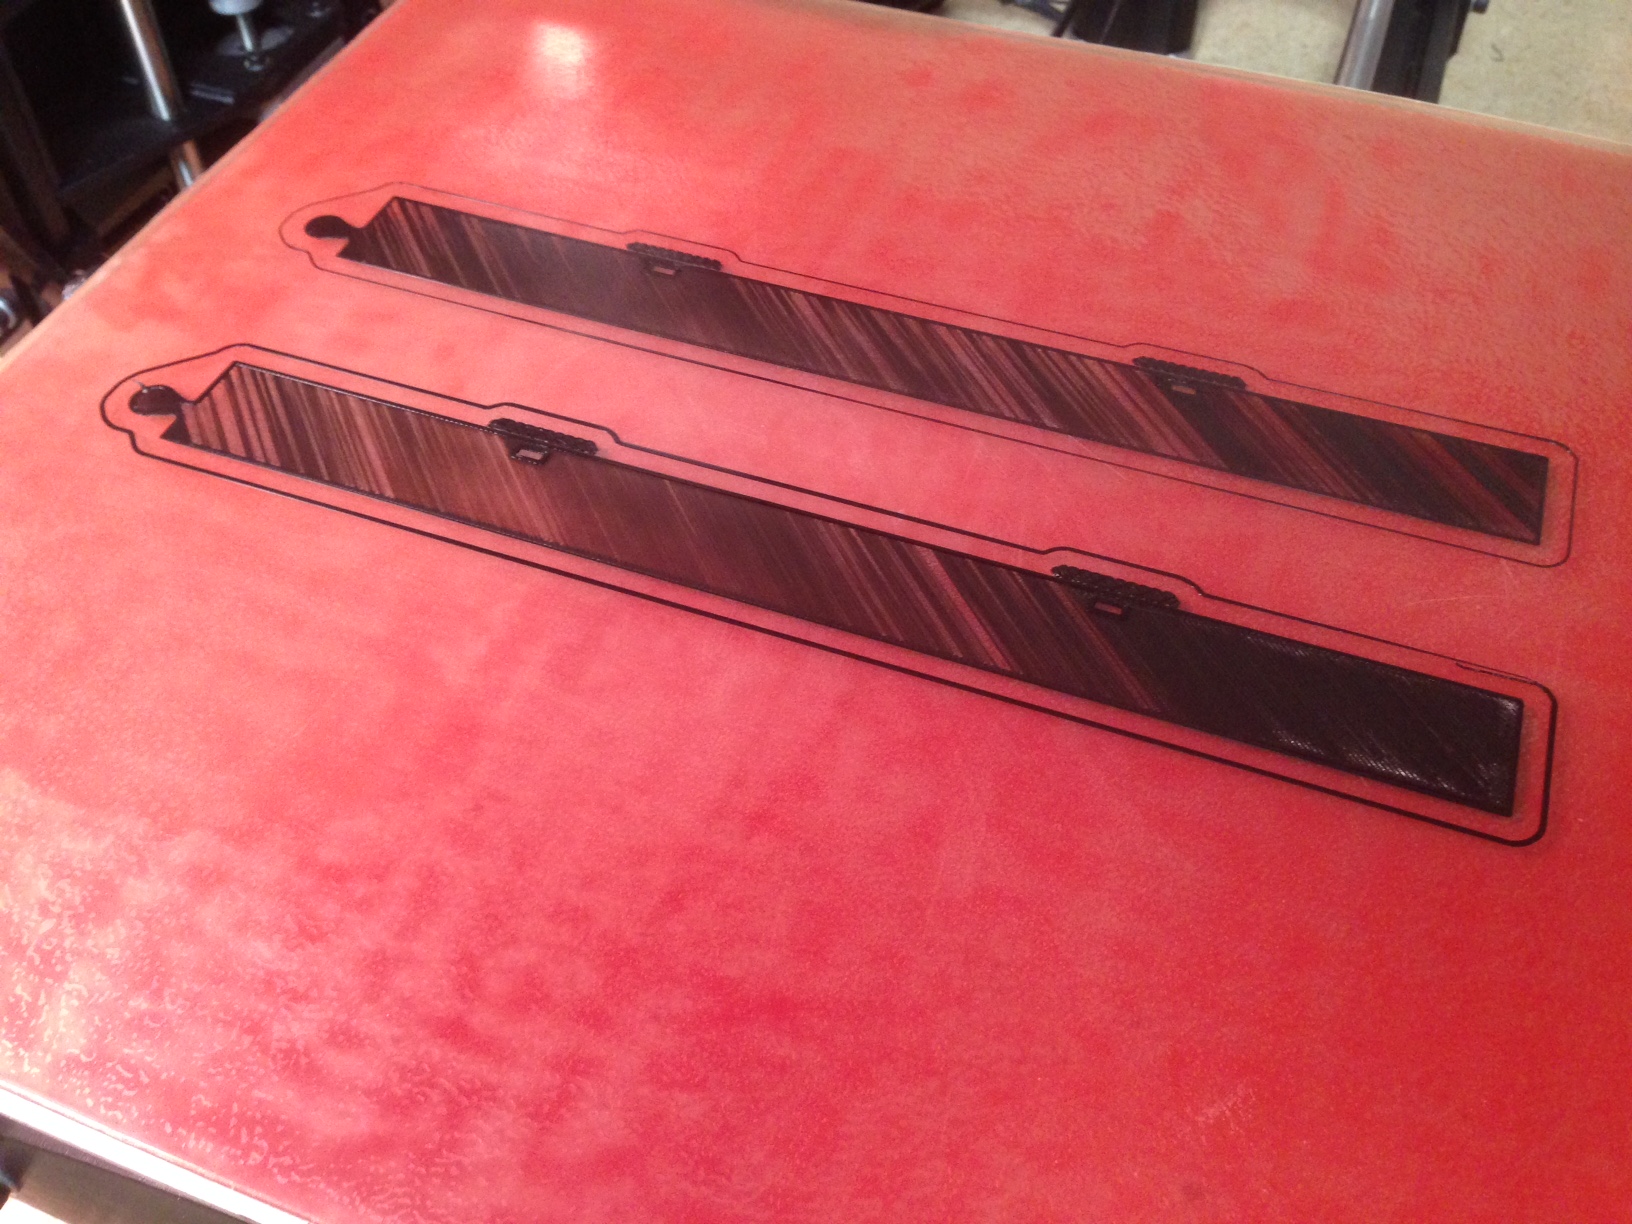
Why do you think this happens so often on the part pictured? Is it because it’s a long thin part with a lot on area to cover with the first three solid layers? I think I’ll clean out the hobbed bolt each time I start a build.
The part looks fine… the printer should have no problem with it. My guess would be something in software and most likely not mechanical.
What is your first layer height? Actually do you have a config (style) file I can load… maybe that’s easier.
Lastly, try a recommended slicer from Lulzbot with their pre-configured profiles. I would suggest Cura over Slic3r. If you continue to have issues, their support line might be able to help you.
You may want to make your first layer a lot fatter, we generally do that with defaults. If you are doing really fine layers, you can make the first one thicker.