Hey, I am new here. I am excited about the possibilities with my new TAZ 6 but am having some issues. The single extruder that came with it printed like a champ, but i’m having issues with the dual head extruder.
I am trying to set up the dual head extruder. I went through all of the steps on the Lulzbot website, but I am having some issues. Early on in a print, when the T0 (rear) head tries to print, the filament lowers back into the head, but it does not extrude. The drive gear is spinning, and cutting a divet out of the material, but it will not push it through the head. If I pause the print, lift the extruder in the z, and manually extrude, then it works, but as soon as I return to printing it will not work. Sometimes I have to pull the material out, and cut off the end above the divet cut by the drive gear, but when I reinstall the material it extrudes fine when it is up in the air. After 1 or 2 skipped layers by the T0 extruder it will start to print, but the quality is lacking. The T1 (front) extruder is working a little, but it is printing a very wide and squished out line and looks pretty terrible.
I think that the problem is that the rear head is being pushed into the bed and that is not allowing the material to print. I had noticed earlier in the process when I was using a piece of paper to level the two extruder heads to the bed that the heads were touching the bed at a Z height of 0.8 mm. If the first layer of print is done at a Z height of 0.0 then that would mean that both of the extruders are being pressed into the bed, but the T1 extruder is able to print because it is so cantilevered and is flexing.
I thought that the auto leveling process at the start of each print would place the extruders at the correct z height. Is there some way that I can adjust the Z height of the print from say Z: 0.0 to Z: 1.0mm?
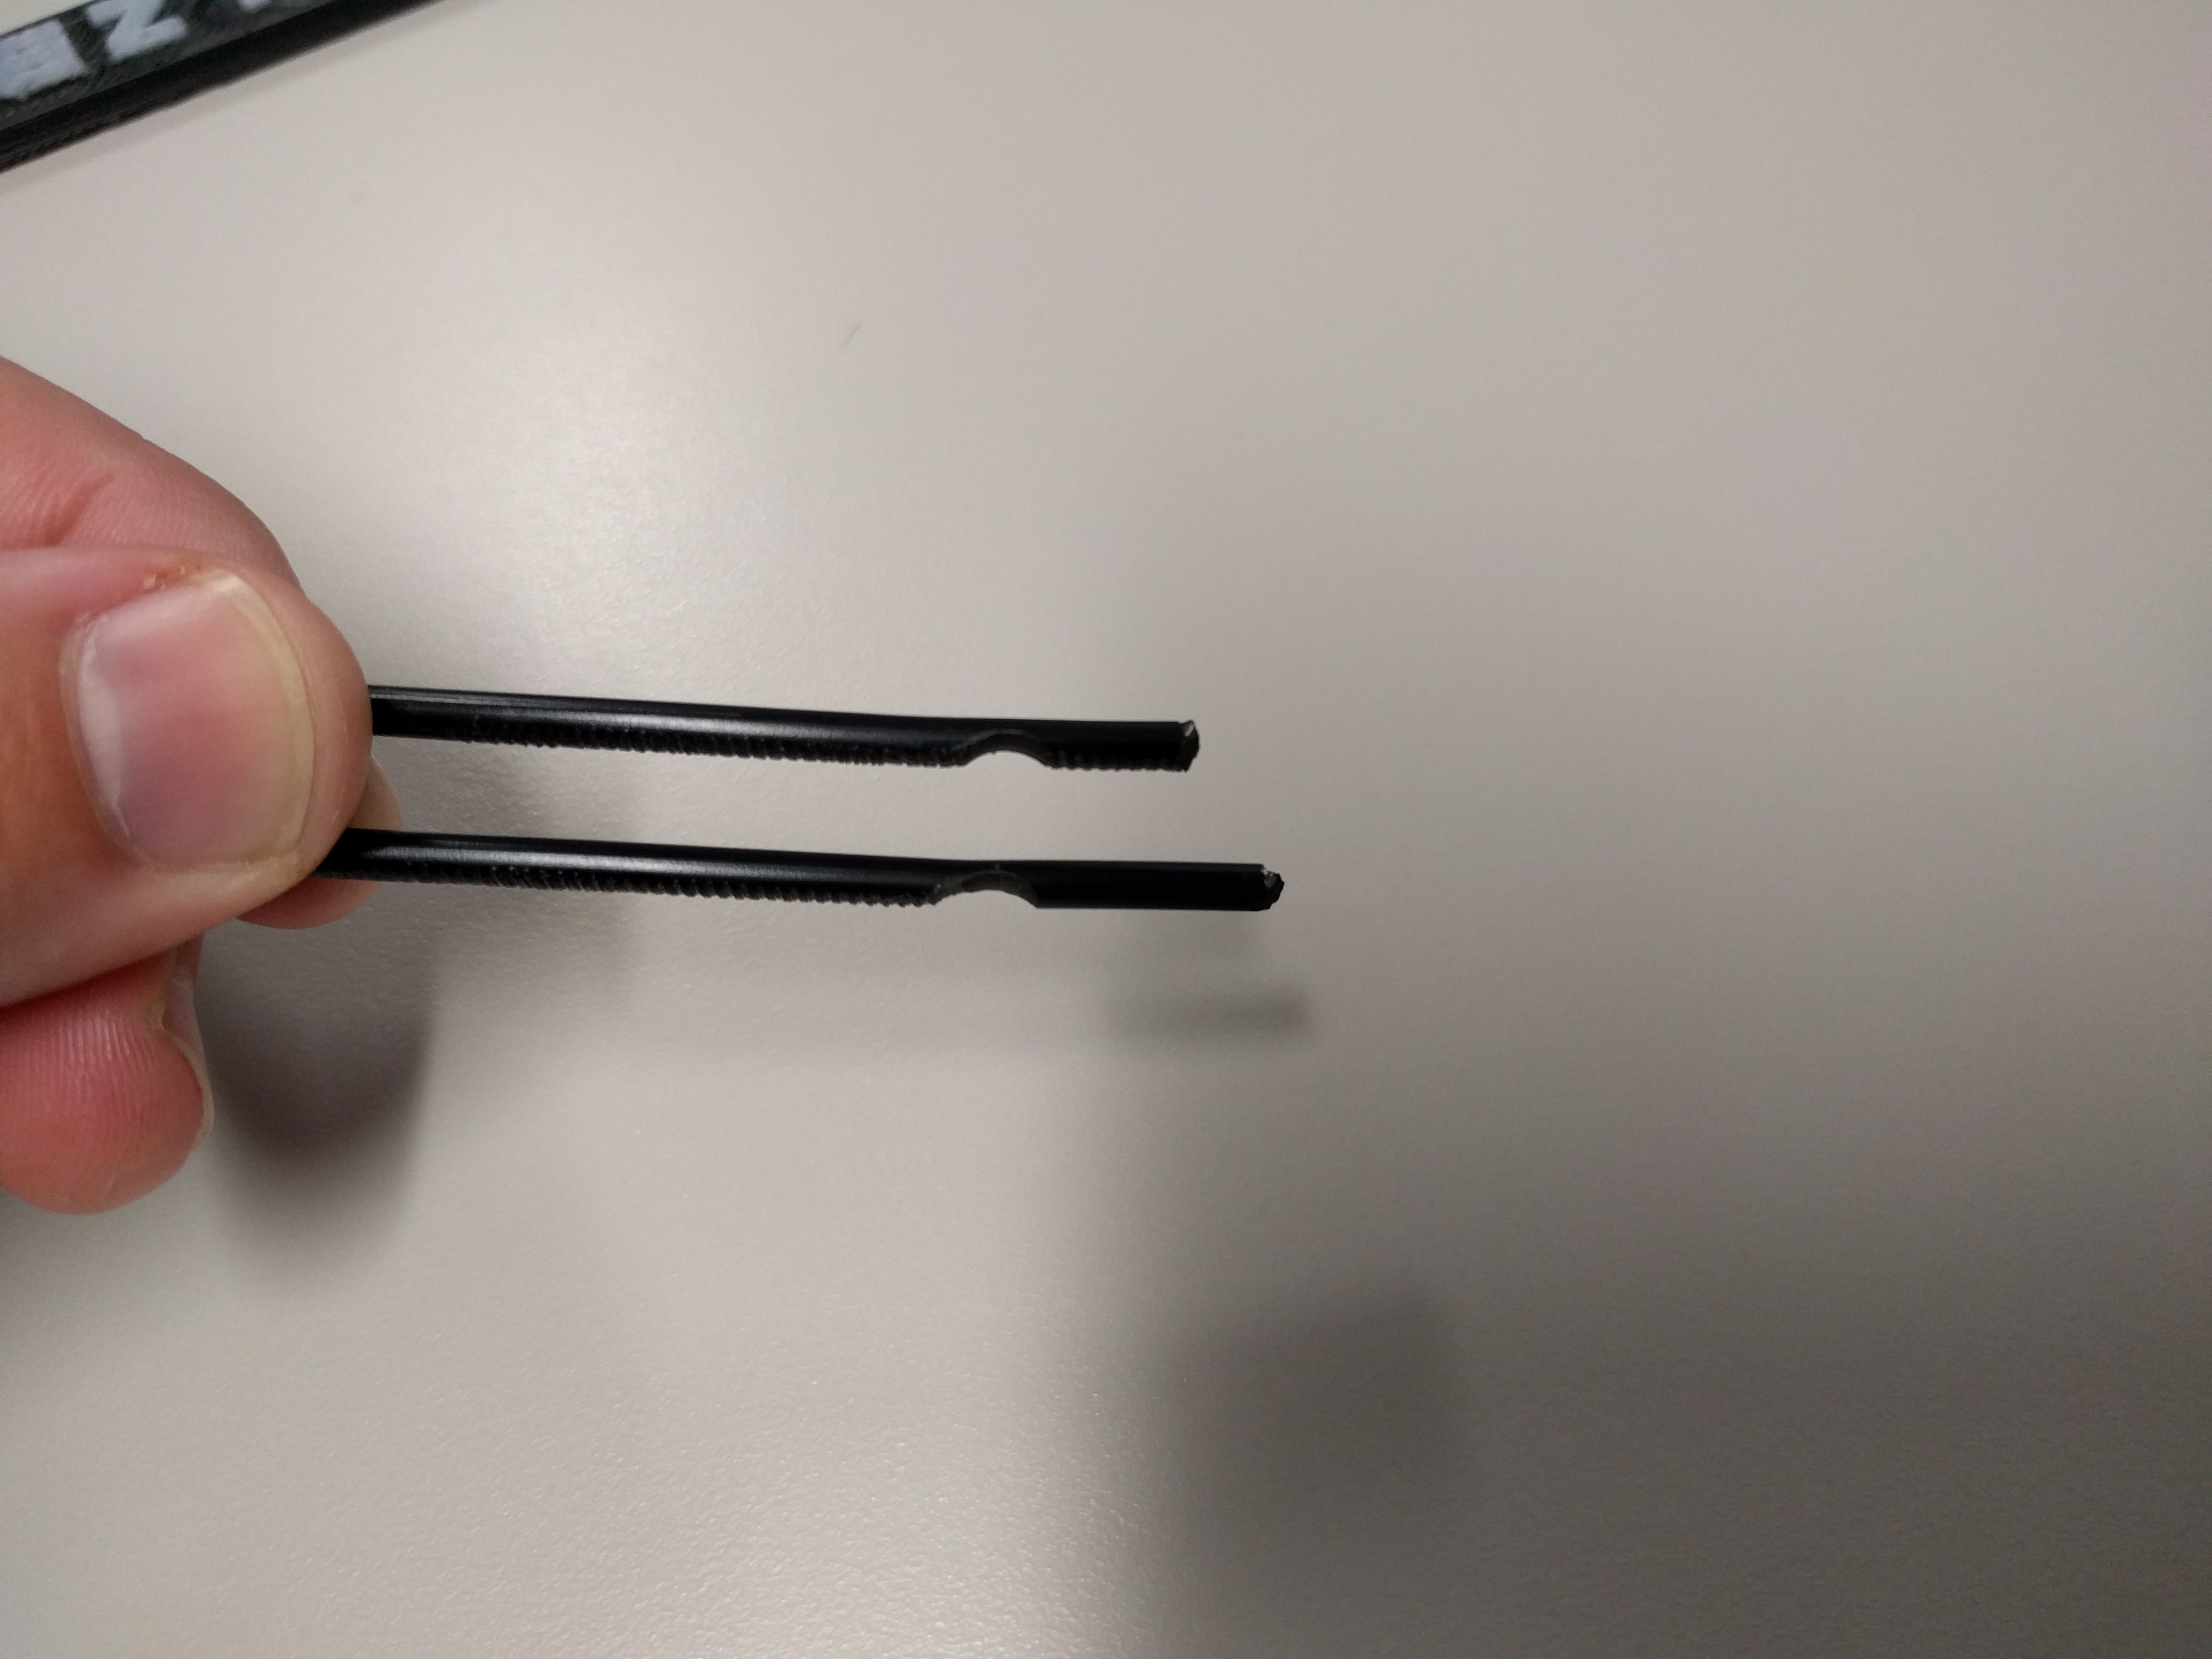
Attached are pictures of the filament with a chunk missing from the drive gear, and the Lulzbot keychain print, which looks terrible. On the keychain the black material is out of the T0 (rear) extruder and is ABS, the white material is HIPS and is out of the T1 (front) extruder. Head temps were 240c and bed temp was 110c. We went with standard settings, we havent messed with the advanced stuff yet.
Has anybody else had this problem? Do you think my assessment is correct? What can I do?