I am looking for the connectors orias listed. I would like to find a source other than DigiKey. Their minimum shipping charges tend to be high for small items like this.
I will probably change the connector to something I can source more easily.
Go to digikeys site, look up the part number orias gave. From digikey’s site, get the manufacturer’s part number. Key that number into octopart.com and you’ll get a bunch of vendors for it.
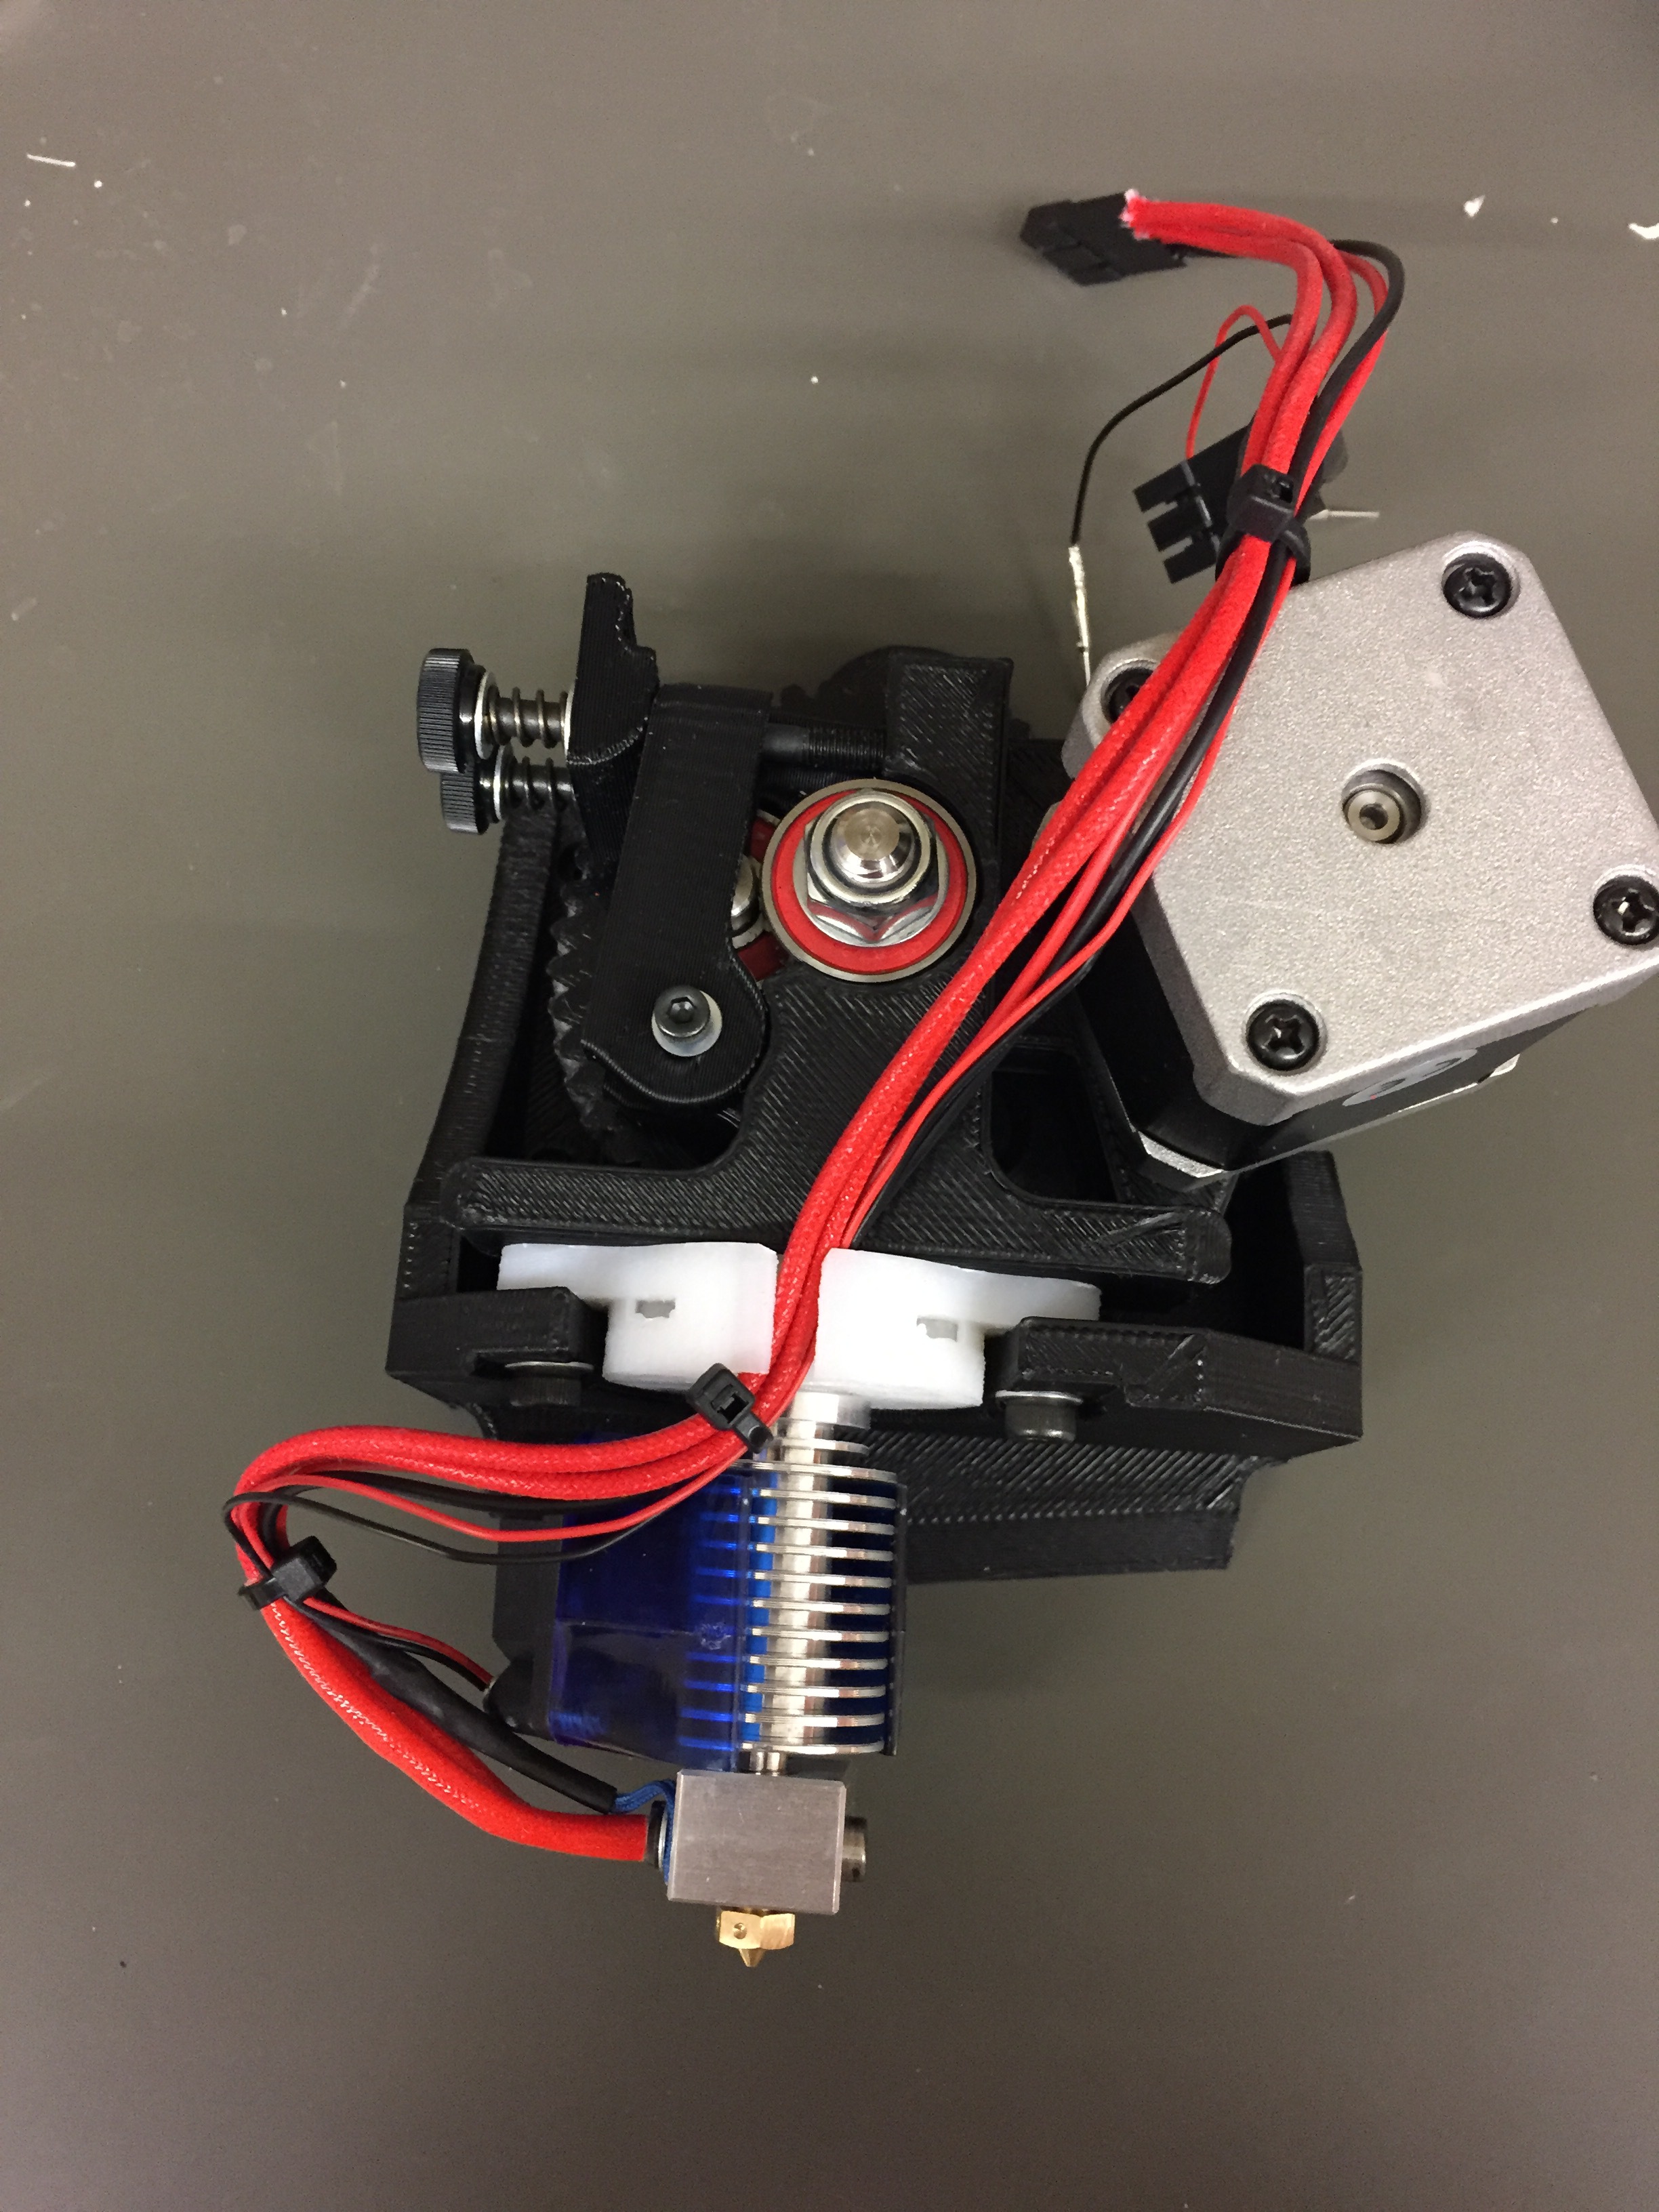
Here it is mounted up doing its thing. It is working well so far.
Has anyone else noticed the need to greatly reduce esteps when moving to this hot end? I went from 832 to 800 and I am still over extruding a bit. This is running with a 0.4mm nozzle.
Has anyone else noticed the need to greatly reduce esteps when moving to this hot end? I went from 832 to 800 and I am still over extruding a bit. This is running with a 0.4mm nozzle.
What are you running for steps now? I have an e3d on its way to me. I’ll put some posts up once I get it running.
Also the is no clear mention of what voltages are used for the heater cartridge and the hotend cooling fan. Anyone who has an e3d installed could you please post what voltages you ordered. Is anyone running a 1.75mm e3d on a TAZ?
Now that the hexagon hotend is officially released if you are going to build an e3d hotend following Lulzbot instructions should get you everything you need to know to wire up the cooling fan internally, install the new firmware, and get the new nozzle up and running.
I will have to look tonight. I have worked with the extruder calibration since that post. I have had a hard time with first layer and top layer quality with the E3D. Not sure if that is an inherent problem or just my poor set up. I have also struggled with the adapter you see in that picture. I am getting ready to swap in the Hexxagon style mount to eliminate the yellow one you see in the picture.
My Taz is a 2.1 so, everything is 12 volts. I am powering the hot end fan with a 12 volt wall wort.
I have 24V heater cartridges on my e3d’s, and printedsolid makes an extremely nice little epcos thermistor for use with them ( http://www.printedsolid.com/shop/e3d/stud-thermistor/ ). MUCH easier to deal with than the finicky and fragile thermistor e3d ships. By about a million percent.
I just got a volcano (debating getting a second one for my other extruder - for now I just printed a leveling bracket so they’re the same height). Printing with a 1.2mm nozzle size is very, very cool. Also, my parts are now almost TOO strong - I have to whip out the dremel if I need to post process it AT ALL.
@nopick & mushoo
Thanks for clearing up the voltage confusion.
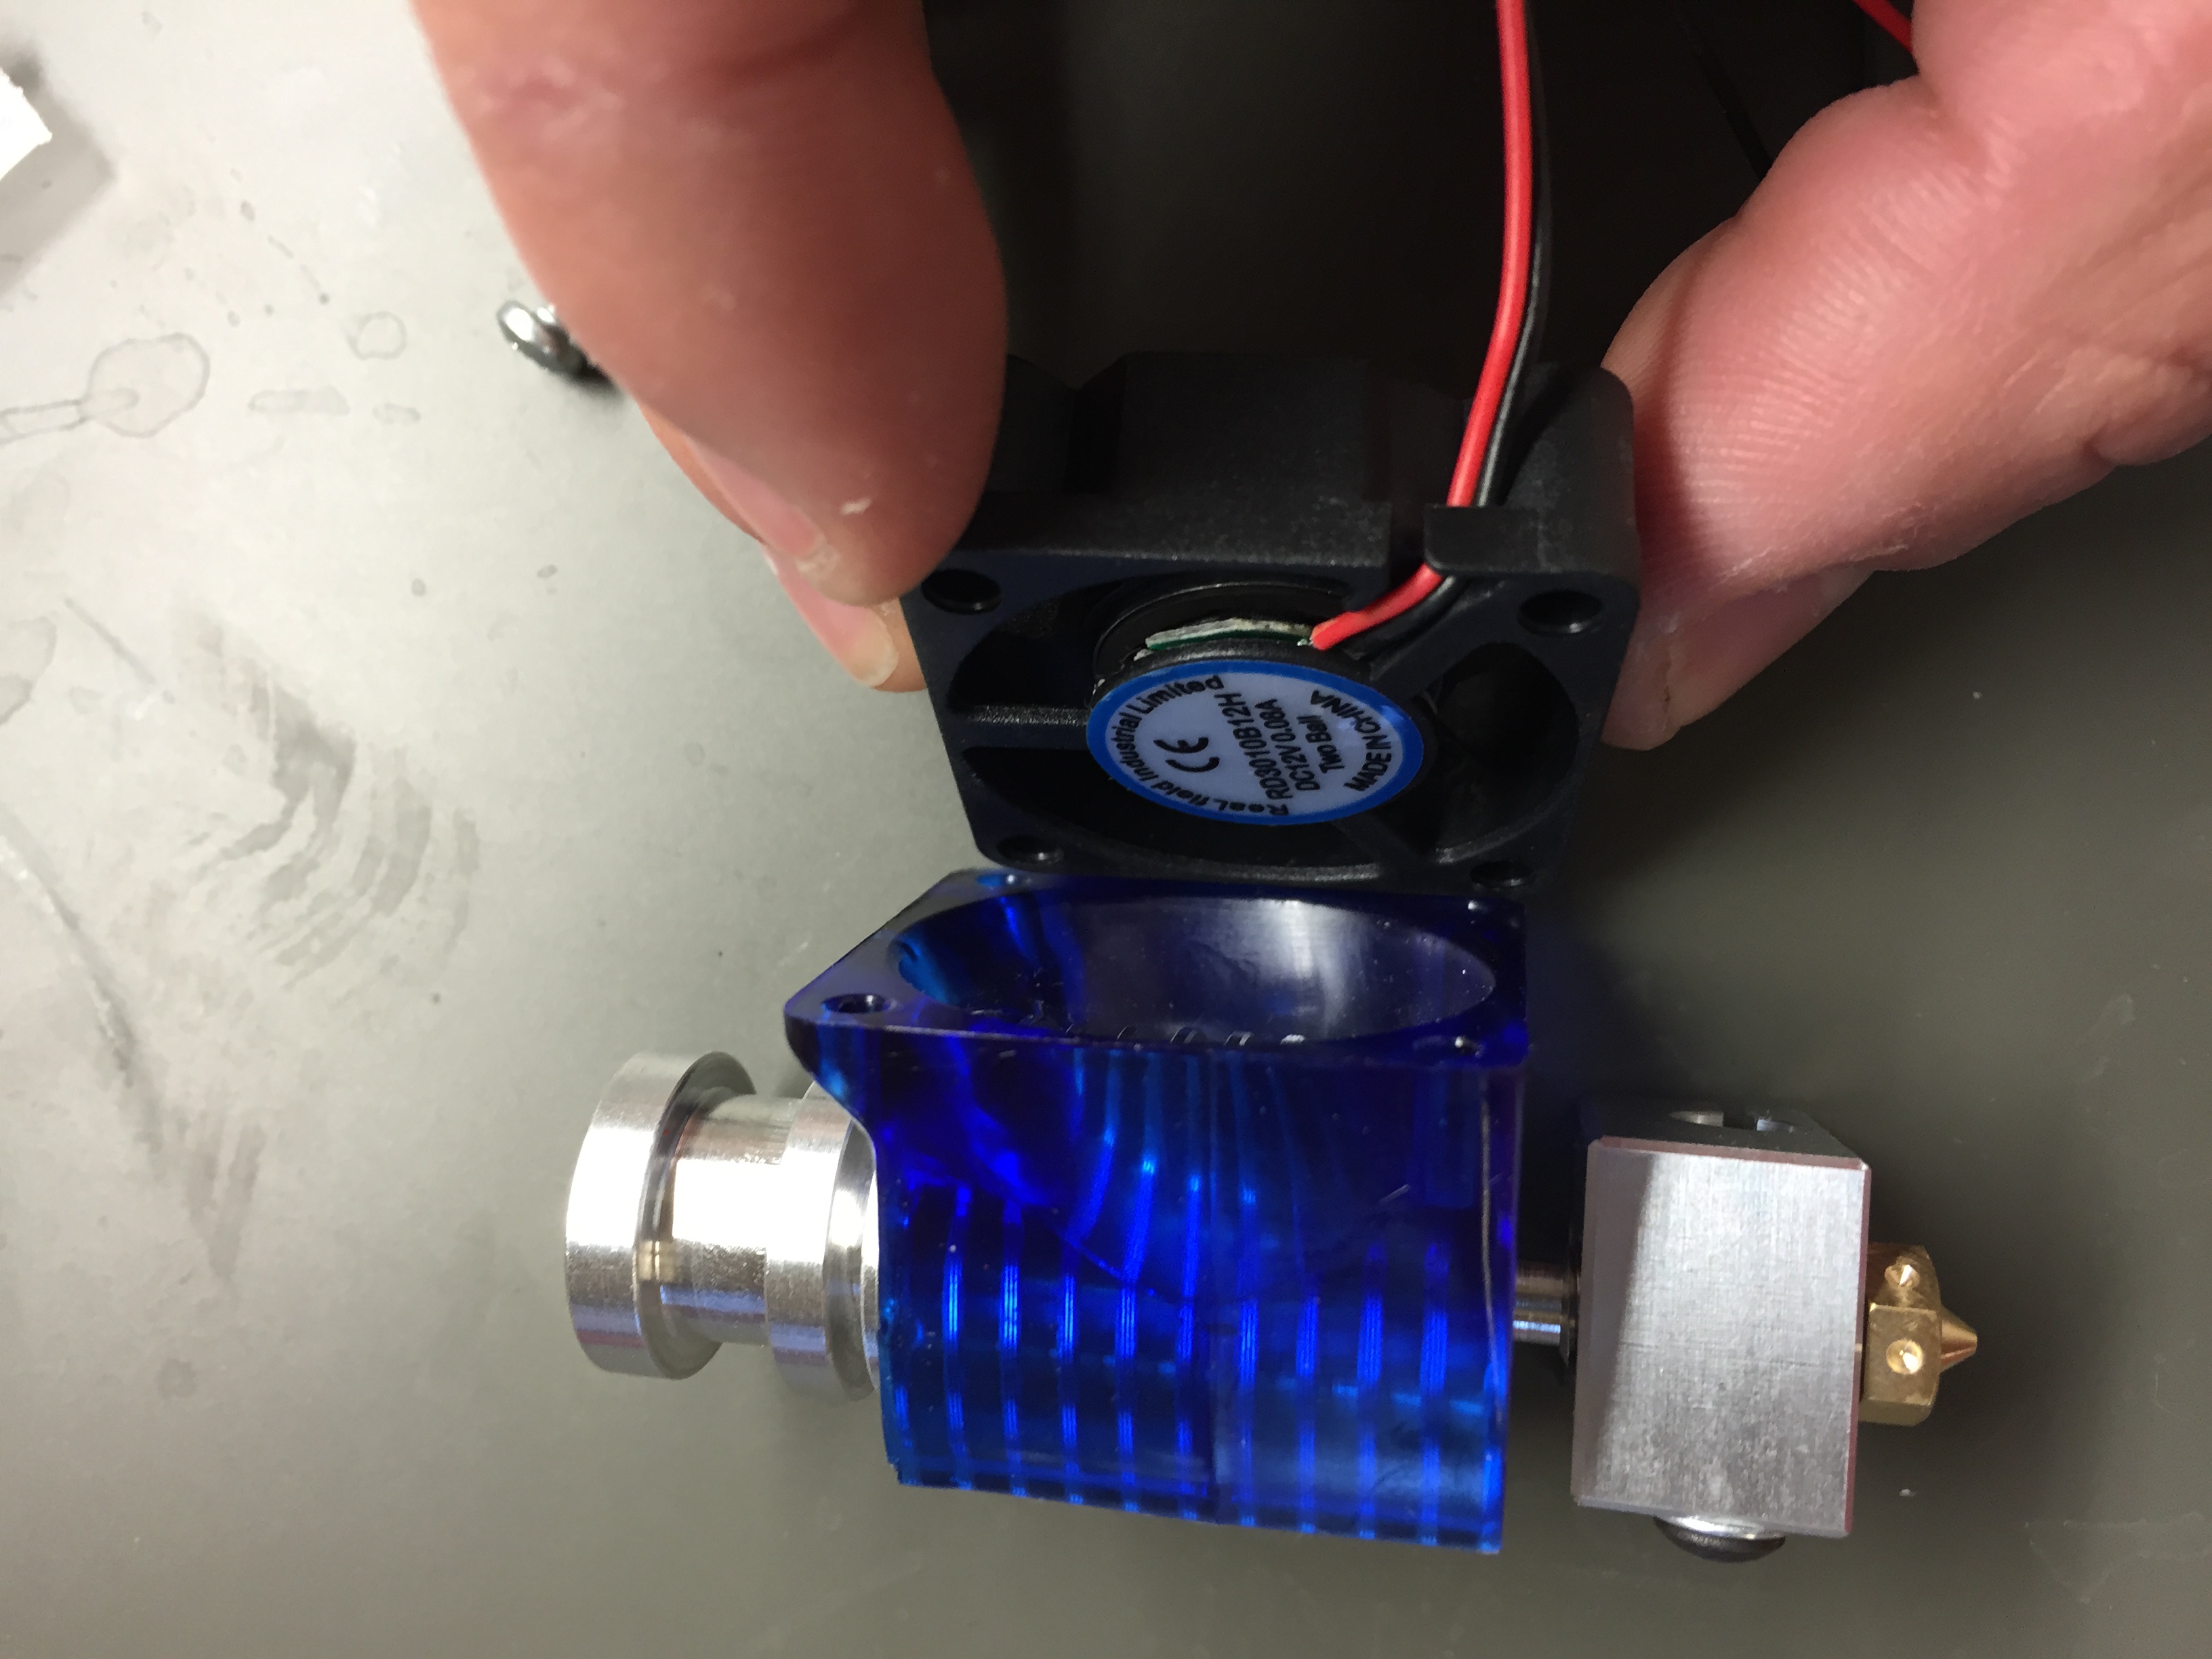
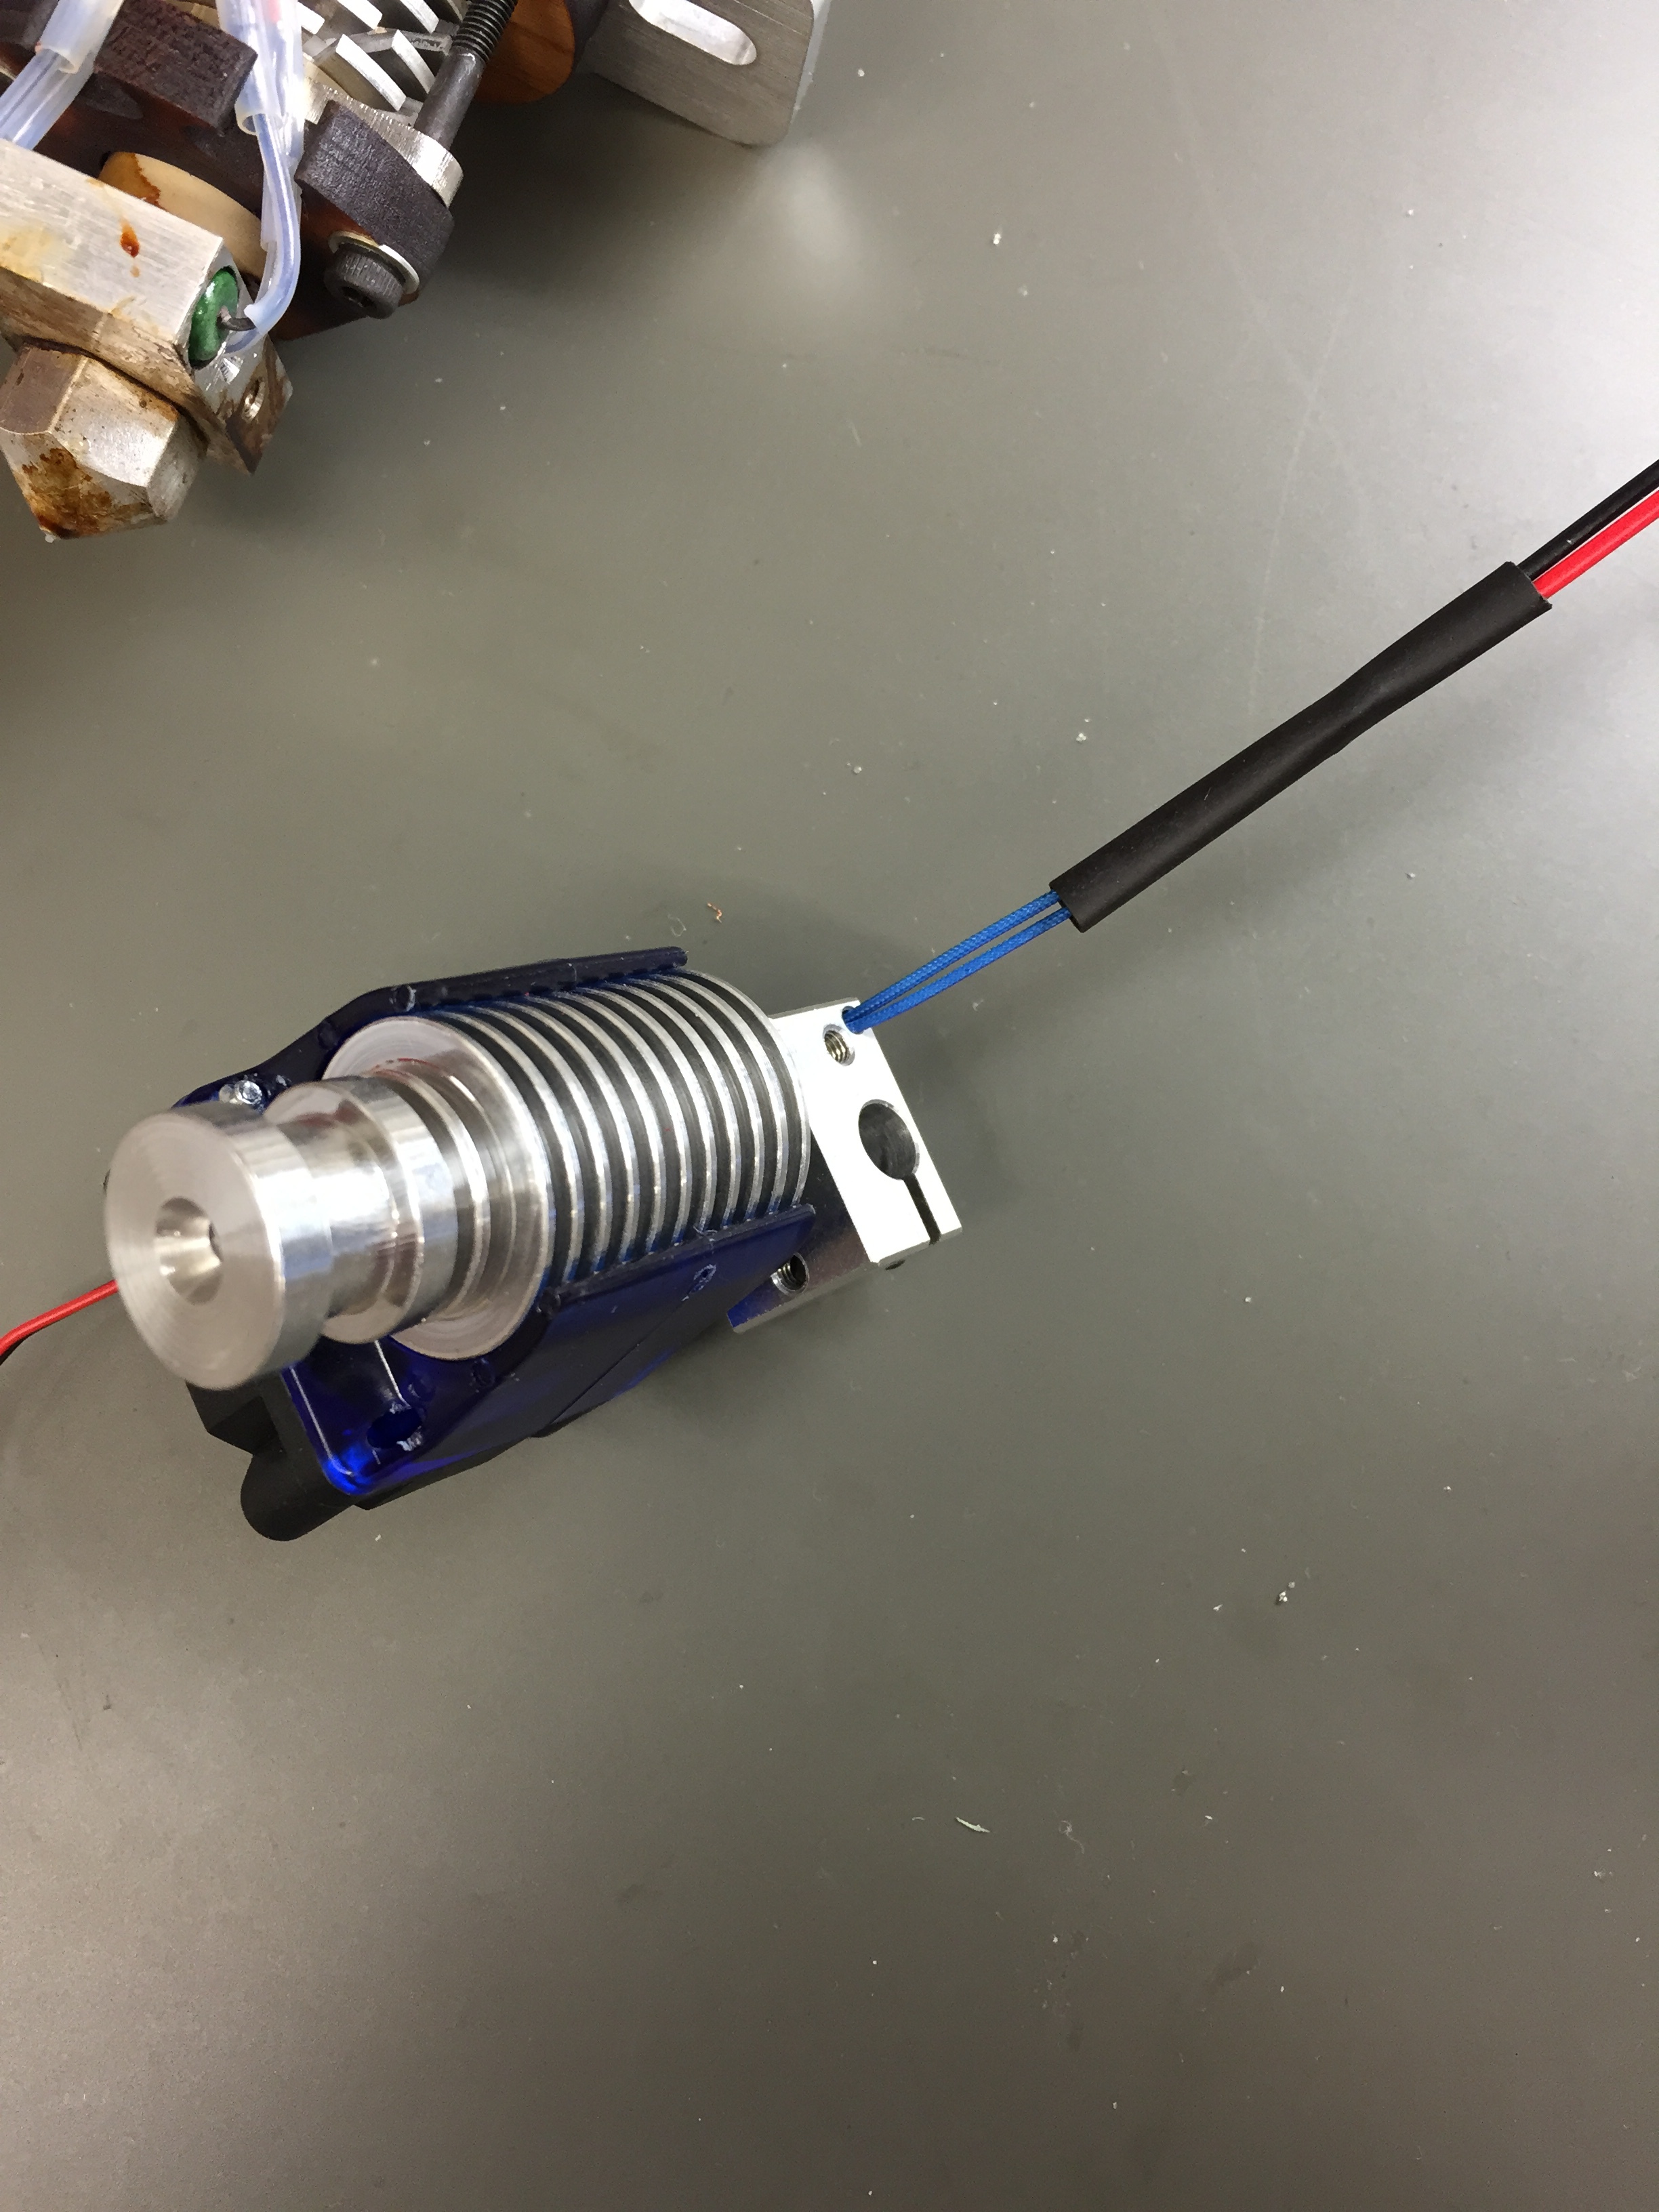
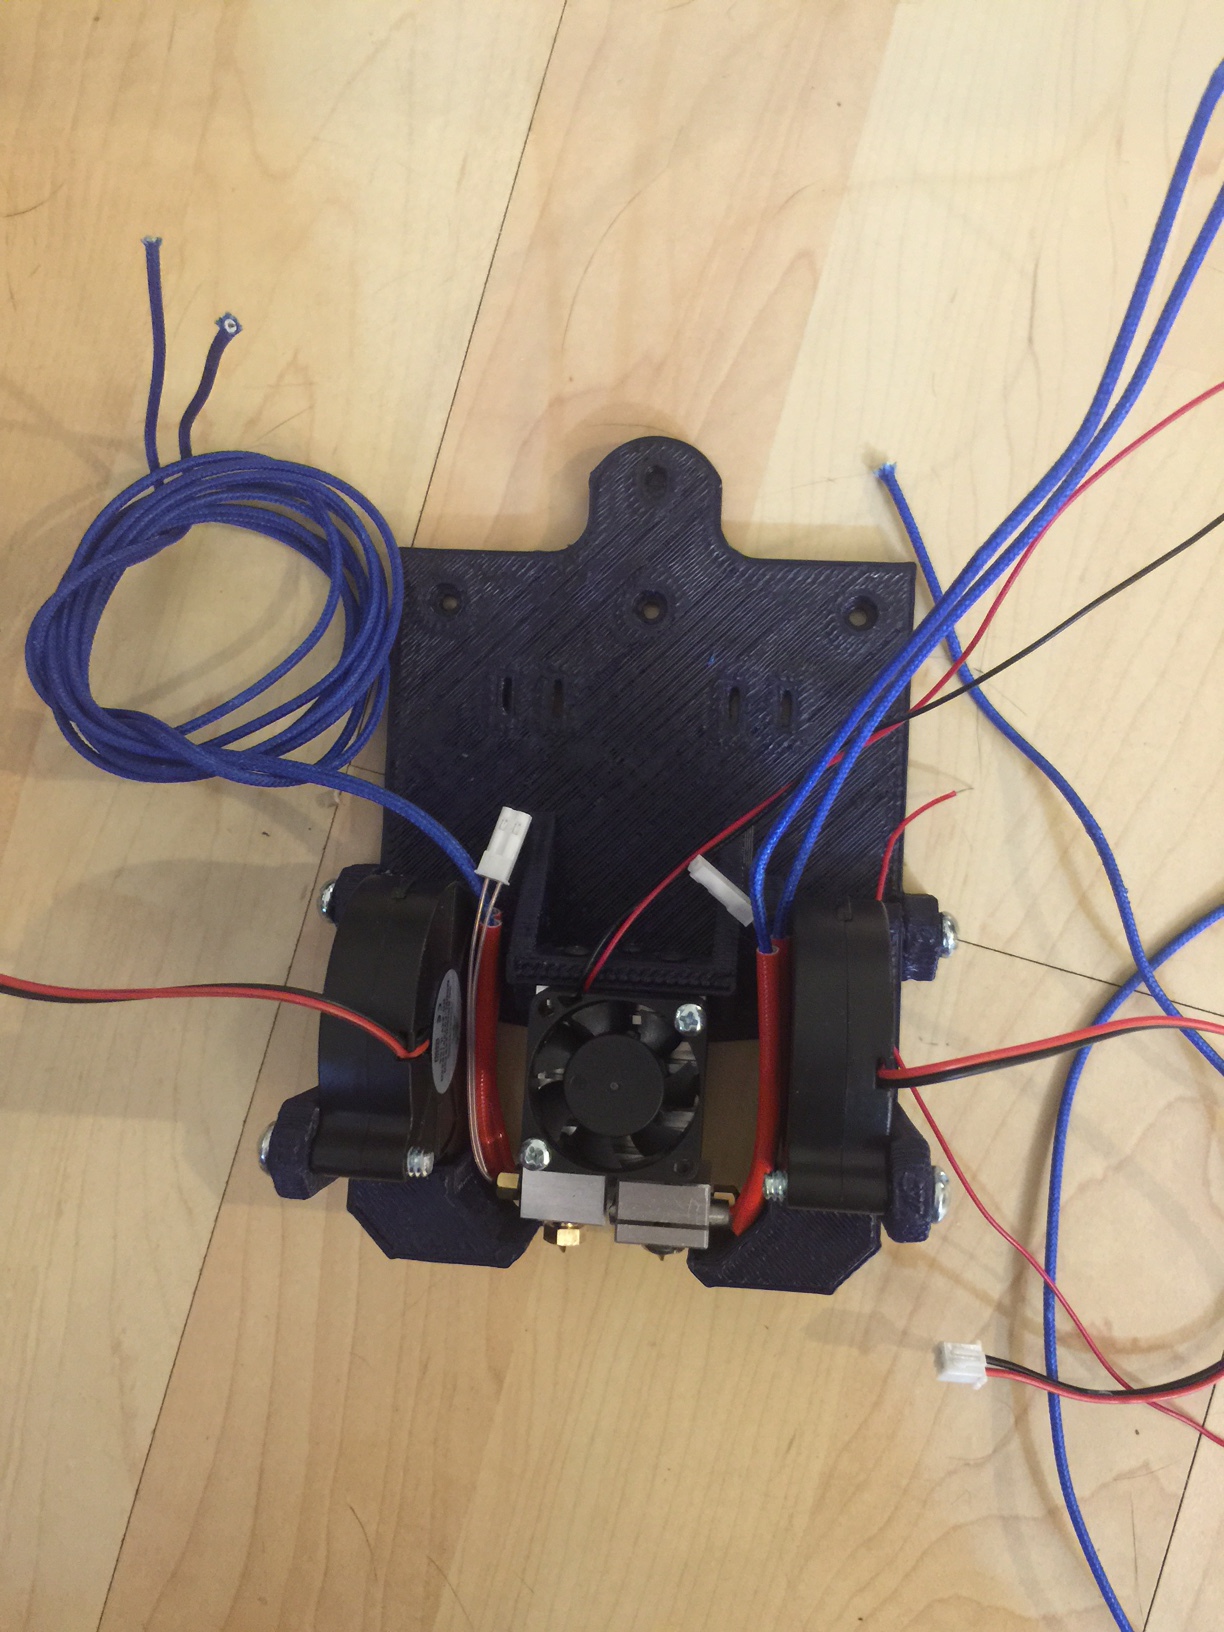
So I just got my E3D-v6 in and I’ll just give a picture install guide. I haven’t had the chance to try it out yet but stay tuned because I will soon do a print comparison between the E3D-V6 and the new Hexagon nozzle.
What mounting plate are you using for mating the E3d with the extruder? It looks sorta like one I designed, but I can’t remember if I put that one up on here somewhere or not. I’ve moved a bit away from using it as it seems to eventually loosen up, which can be frustrating in dual-extruder land. Having a millimeter or so of jitter makes it tough to align the print heads nicely.
I actually printed up one of the hexagon extruders, and the E3D’s fit nicely (though snugly!) into them. Not sure if the metal brace-plate that comes with the hexagon hotend will work, however (I don’t have one to test with). I used a plate I found on thingiverse, and then had to shave down a touch with an exacto.
At some point I’m planning to do an insane move to an E3D Chimera + two Volcano nozzles, and probably an HPX2-MAX extruder setup (single motor, dual extruder, uses a servo to switch ‘tools’). I’ll also have to move to 1.75mm filament to use the Chimeras, so I’ll be keeping my old Lulz-duallie setup intact. My hope is that I’ll have a lighter X-carriage, a much easier time aligning (and keeping alignment) between the two nozzles, and that the 1.75mm Volcano can keep filament hotter at high speeds. The 3mm Volcano is definitely faster than anything else, almost purely because I can print with 1mm layer height. But trying to run it at anything more than about 40mm/s and it’ll underextrude - it just can’t seem to heat that much filament that fast.
Alright, enough of my fevered ranting! Good job with the install, @Brew4You! I don’t know if you’ll have to tweak your firmware (You can go much, much hotter than the Buda nozzles, but the Hexagons should be similar), let me know if you do - there’s some tricks to it coming from the Buda.
(For others, if it hasn’t been mentioned before: The Budaschnozzles in the TAZ4 have a ‘bang bang’ max PWM value set to something like 70 - that can go all the way up to 255 (250-245 if you want to play it safe) with the 24v heater elements in the E3D. Leaving it set to 70 will make your E3D take FOREVER to heat up. PID only takes over temperature control when the temp reaches a window near the set temperature, and before that it uses bang-bang. Basically, it just uses a constant PWM ‘voltage’ until it reaches 16-20 degrees off from the set temp. At a PWM value of 70, you’re only putting about 6.5 volts into your 24v heater cartridge!)
mushoo
It is totally the bulkhead you designed I meant to cite you on it, sorry the forum is a bit cumbersome on a phone. You shared the .stl in this thread just look back a page, haha. You’re crazy and I can’t wait to see what you cook up. I bought my TAZ4 right before they came out with the 5 so they shipped me the official fangtooth for free so it’s like a TAZ4.5. I also have the 2015Q1 firmware installed which is for the hexagon hotend so I think I’m good with the high temp firmware setup, if anything a PID tuning might be needed–I’ve gotten pretty good at tuning them on my own based on what I see happening and I think I’m dead on. Haven’t checked through the firmware yet to see the proportional max PWM but my nozzle heats up about 2X faster than the bed. Throw your other tips up here if anything it will be good for others or forgetful people like me.
I hear you on high volume heating issues. But what’s more interesting for me is where the physical machine limits are for speed. Even more interesting is where is the print speed processing limit. I’m not sure if you follow my other posts but the mounting plate you see there was printed with the stock 0.35mm nozzle and the following: 80mm/s outer shell, 160mm/s inner shell, 200mm/s top&bottom, and 240mm/s infill–the true speed comes from the fact that I have the acceleration set to 2000mm/s^2 (4X the factory). My TAZ4.5 moves like a hummingbird–I’m working on a whole article about TAZ speed I hope to have it out tomorrow. I just did half a chess set at the same parameters but I think my filament got thicker down the roll–$20/kg ABS from amazon so I’m not expecting it to be awesome.
Does anyone know what’s with the $24/kg PLA on LulzBot? Seems way too cheap to be good.
Definitely curious about that speed article/post! Sadly my current extruder head is… heavy as hell. I printed up one of the lulz Dual mounts, and have two extruders running (one a Volcano, one a regular e3Dv6 at .6mm). Sadly, the thing is EXTREMELY heavy - and with the Volcano as the main extruder - so I just can’t move it very fast without it shaking itself apart and/or underextruding and … knobbling. Which is totally a word now. I mean the sorta wispy/blobby stuff that happens when you … underextrude.
It’s why I’m looking into that HPX2-MAX - annoyingly closed source, but it’s two extruders from a single motor, easily converted to a bowden setup if needed. I’m hoping that I can get ninjaflex working with it too. But the goal in mind is being able to move that x-carriage a lot faster than I currently can. It weighs all of 275g! I think you were the one that posted the weights on the stock extruders - I sadly don’t have a scale, but I expect the Lulz dual extruder chassis, when fully populated, weighs at least double the hexagon hotend. So… really, really heavy.
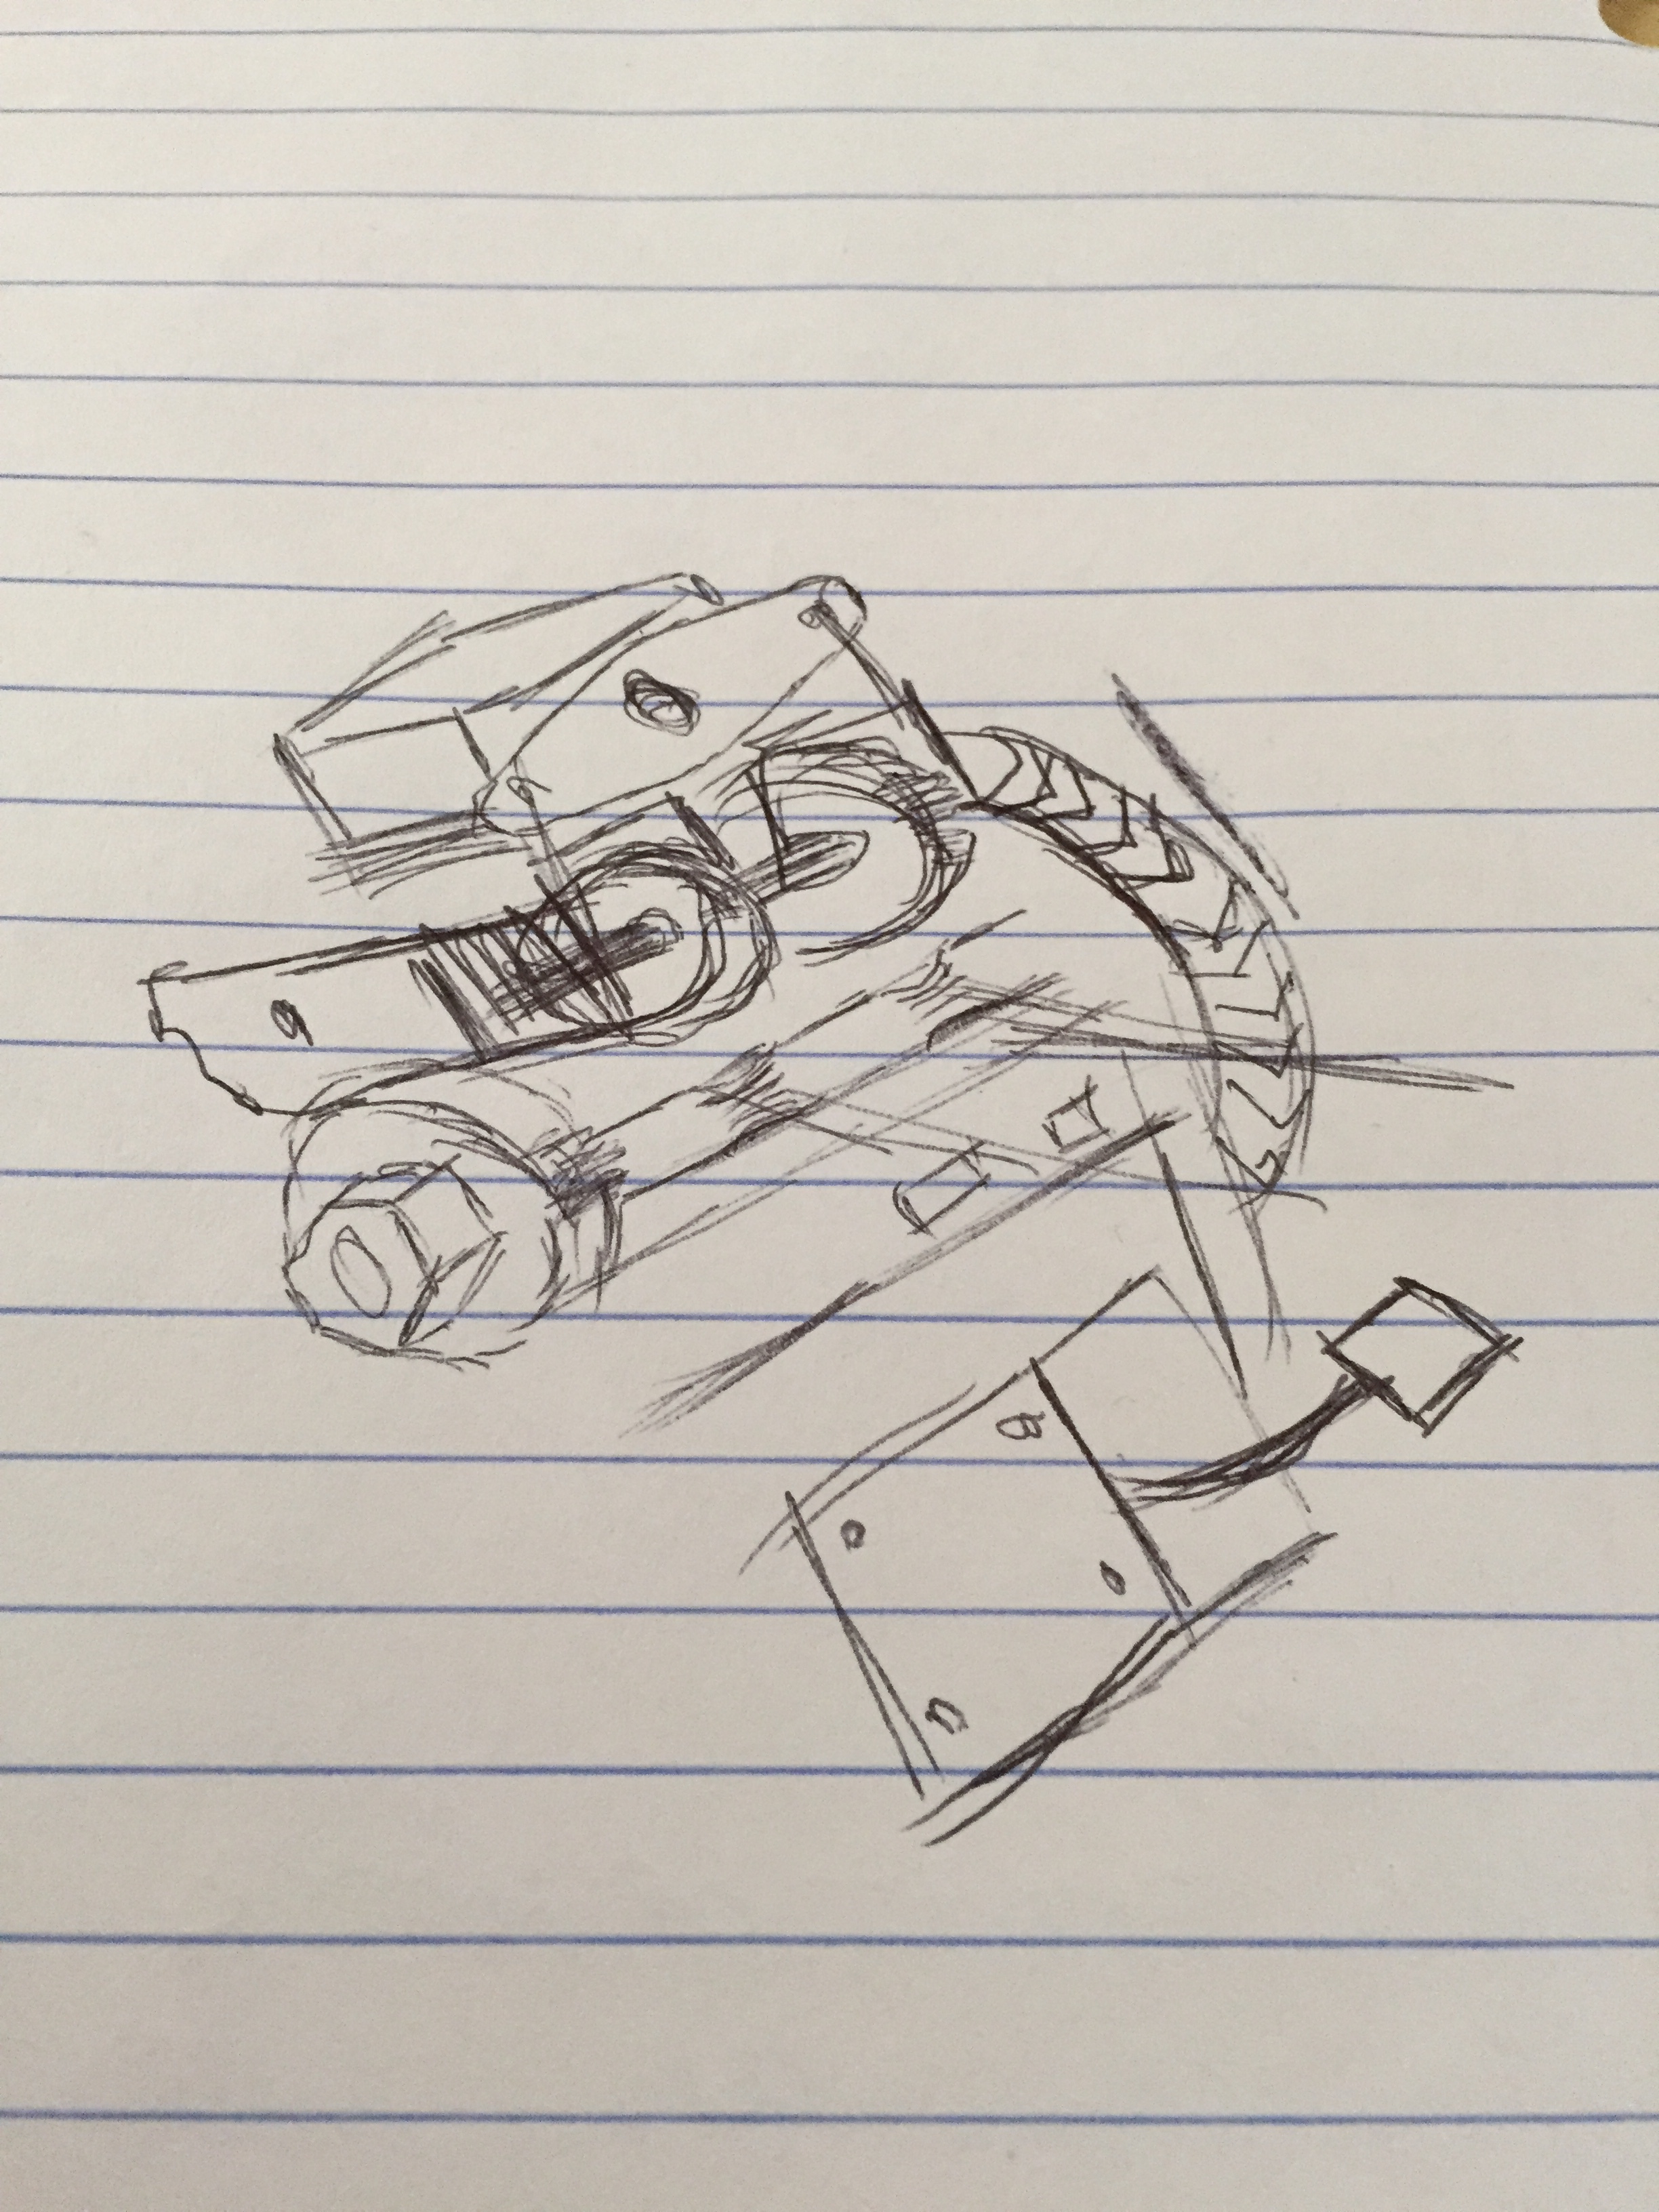
If you base the dimensions off of using a Chimera nozzle from MatterHackers you have the extrusion tube spacing for a two point hobbed bolt.
Then if you mount a servo motor with a proper horn it could easily control the idler pressures–one idler would be applying pressure while the other idler would be retracted. If you used a servo with analog feedback you could actually control the amount of idler pressure applied in software.
To control oozing you could go through these steps when switching between filaments; idler pressure high on extruder 1, retract extruder 1 filament, switch idler pressure–extruder 1 low extruder 0 high, move filament 0 forward retraction length, start printing.
This setup would strip a bunch of weight off of the dually plus the nozzles will be super close together, it could run on a single drive train, and use different filaments at different temperatures. I’m gonna work on doing this I think–at least the software side of things, I don’t have the cash to get a Chimera yet.
This servo would probably work, maybe a non-feedback servo would be fine too.
So an update - I’ve ordered a Chimera, and am toying with purchasing a D3D servo/stepper dual extruder (similar to your rough design, Brew4You).
But, I’d also definitely be interested in working out a way to get a more… open source servo-based dual extruder from a single stepper going. You might have noticed a post I made about mulling over making a RAMBo expansion board, which I can probably design so that it lets you use an extra 3 steppers+heaters+thermistors, or two extruder sets and two servo outputs, which would mean quad extrusion from a lulz-style dual extruder mount.
If we wanted to get really fancy it might be possible to get 6 heater mosfets and thermistors, with one extra stepper driver - for a total of 3 motors, 3 servos, 7 heaters (6x extruder + 1x bed), and 7 thermistors (6x extruders, 1 bed).
The major thing I’d worry about with servos is torque in keeping that idler compressed.
With the way RC monster trucks are going finding big high torque servos with analog feedback shouldn’t be a problem. It could also be mounted so the shaft is between where the filaments feed into the hobbed bolt and have the horn drive a wedge to push the idler over. The real game is about making it as light as possible. I really want to work on this but I’m in my last semester of my undergraduate and mostly out of time for more projects, I’ll see where you are at in May and give more of a hand then.
Just to think about: I’m not sure what the SRAM load is with the current Marlin Dually firmware but with a bunch more add-ons you may have/want to move up to a smoothie board. Or make your own from scratch with the new RPi 2, I bet there are a lot of people that would want to go down on that.
Yeah, 8k of RAM is pretty tight. I’m not sure how much Marlin is using (Arduino won’t show me the ‘estimated RAM use’ for some reason) at the moment.
That said, I’ve seen some threads on the pjrc forums about getting Marlin running on a Teensy. I friggin’ love the Teensy boards, and have made a few custom PCBs based on their chips. The 3.1 uses a freescale MK20 ARM Cortex M4 chip, which is 256kb program space and 64k of RAM. And runs at 72mhz (and seems to handle overclocking to 144mhz just fine).
But, that’s a biiig undertaking, making a completely new 3d printer control board. I’d be up to the task, but hard to justify the time put into it at that point.
So I’ve begun getting my new E3D Chimera mounted. Not entirely sure how I’m going to mount the extruders, yet. The Wades will be, at least at first, true bowden and mounted to the frame somewhere. I’ve ordered a D3D HPX2MAX, which is a dual extruder that uses only a single stepper, and a servo to switch ‘tools.’ I’m planning for that one to be mounted directly to the x-carriage, though it’ll probably still be ‘bowden’ (just with exceedingly short PTFE tubes).
At some point, when I have more than a day here and there to spend on this, I’ll toy around with making a custom dual-wades (probably also servo-switched) with a hobbed bolt that has spacing identical to the Chimera spacing, for a true direct-drive.
This still needs a couple more iterations - the fan shrouds are mighty close to the heater blocks, and the bottom os the shrouds is EXACTLY in line with the bottom of the nozzles, which is a bit close for my tastes!
Why are you bothering with the 3D3 extruder if it’s going to be in a Bowden setup? I figured you’d just take the extruder rig you already have and mount it on the frame.
You should take some more pictures at some different angles, I’m having a hard time seeing everything.
Do you have an stl of a solid e3d mount that you’ve been using? I tried the one you made a while ago and it comes loose often–like you said it would. I haven’t messed with it too much since I’ve been working with the hexagon nozzle lately.